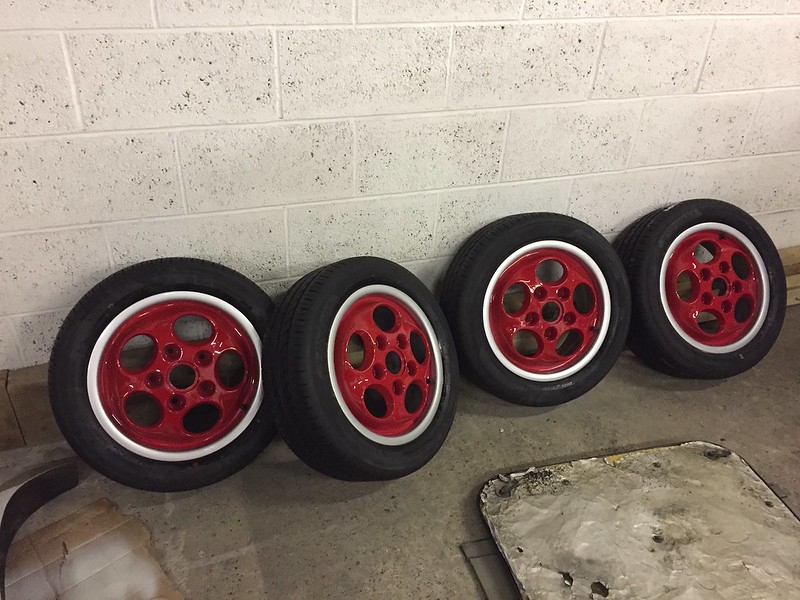
Very happy with them. Looking forward to seeing them when the car is on the ground off the axle stands.
 IMG_4331 by Craig Mudd, on Flickr
 IMG_4329 by Craig Mudd, on Flickr
 IMG_4332 by Craig Mudd, on Flickr
 IMG_4333 by Craig Mudd, on Flickr
 IMG_4334 by Craig Mudd, on Flickr
 IMG_4335 by Craig Mudd, on Flickr
 IMG_4338 by Craig Mudd, on Flickr
Im not at all jealous
 IMG_4401 by Craig Mudd, on Flickr
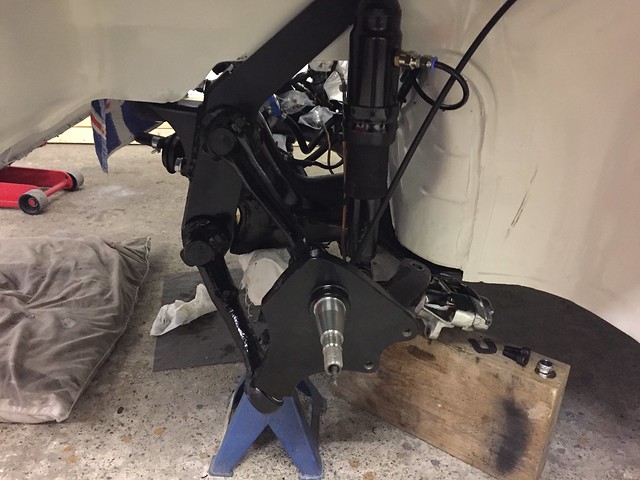 IMG_4399 by Craig Mudd, on Flickr
 IMG_4400 by Craig Mudd, on Flickr
 IMG_4409 by Craig Mudd, on Flickr
 IMG_4423 by Craig Mudd, on Flickr
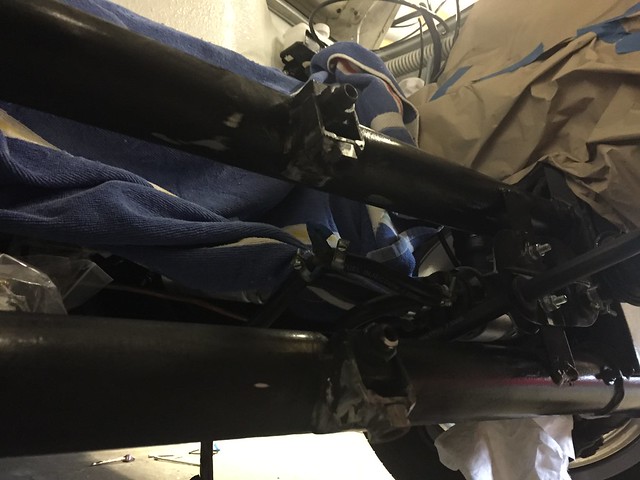 IMG_4424 by Craig Mudd, on Flickr
 IMG_4426 by Craig Mudd, on Flickr
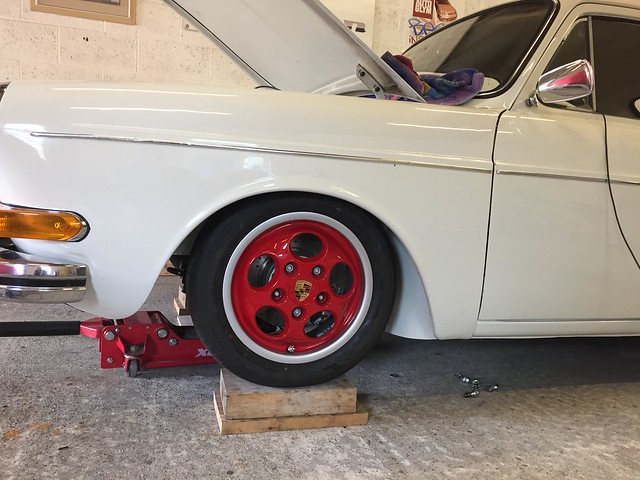 IMG_4434 by Craig Mudd, on Flickr
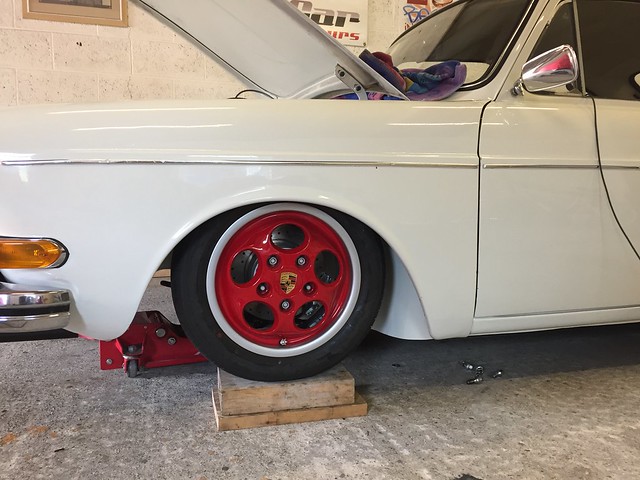 IMG_4433 by Craig Mudd, on Flickr
 IMG_4429 by Craig Mudd, on Flickr
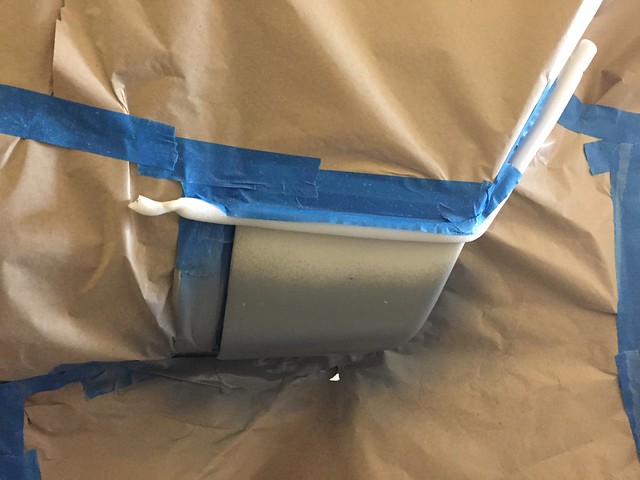 IMG_4430 by Craig Mudd, on Flickr
 IMG_4431 by Craig Mudd, on Flickr
 IMG_4432 by Craig Mudd, on Flickr
 IMG_4498 by Craig Mudd, on Flickr
 IMG_4502 by Craig Mudd, on Flickr
 IMG_4475 by Craig Mudd, on Flickr
 IMG_4480 by Craig Mudd, on Flickr
 IMG_4479 by Craig Mudd, on Flickr
 IMG_4473 by Craig Mudd, on Flickr
 IMG_4478 by Craig Mudd, on Flickr