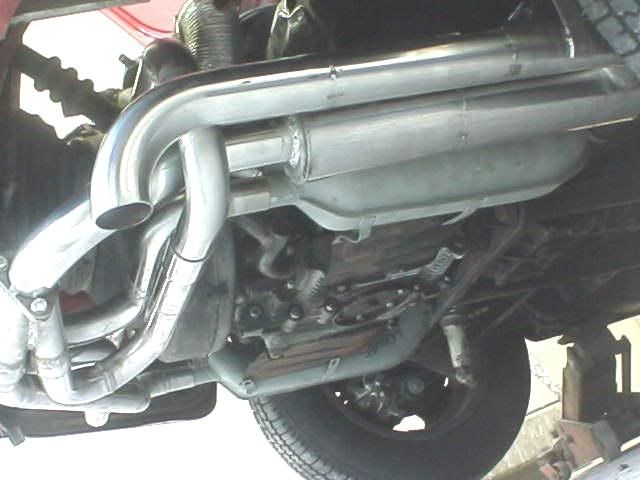
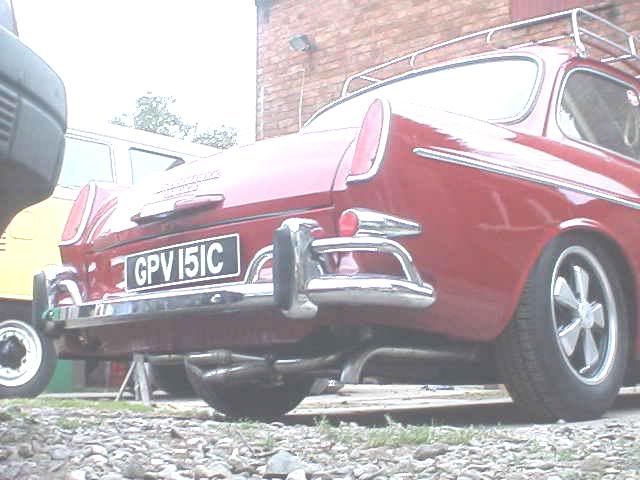
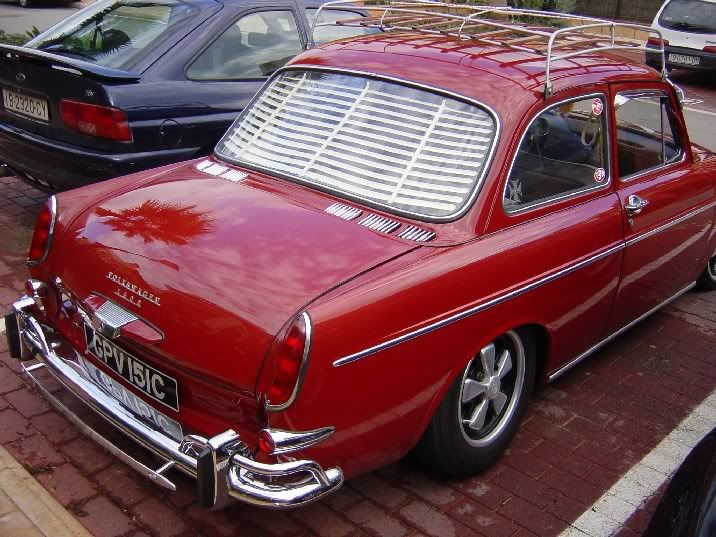
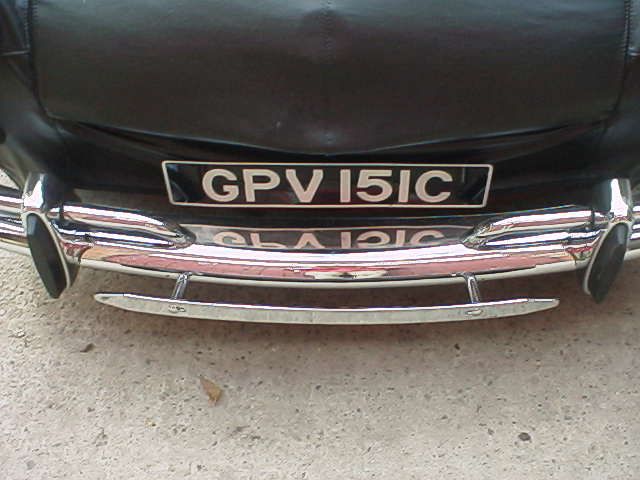
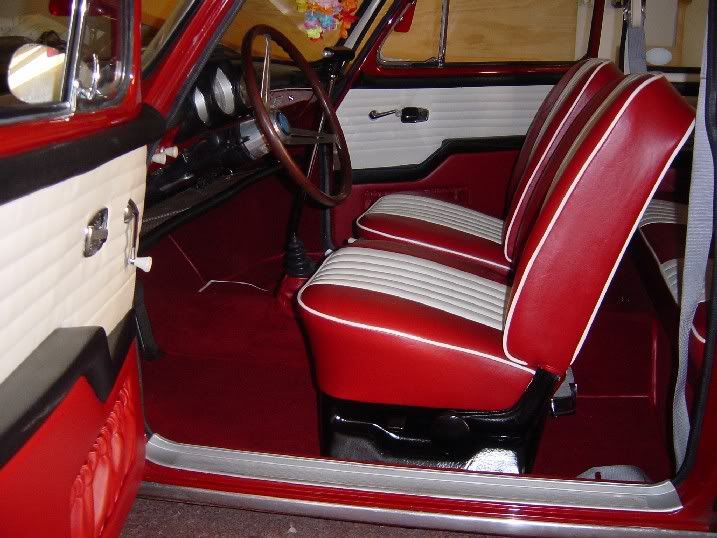
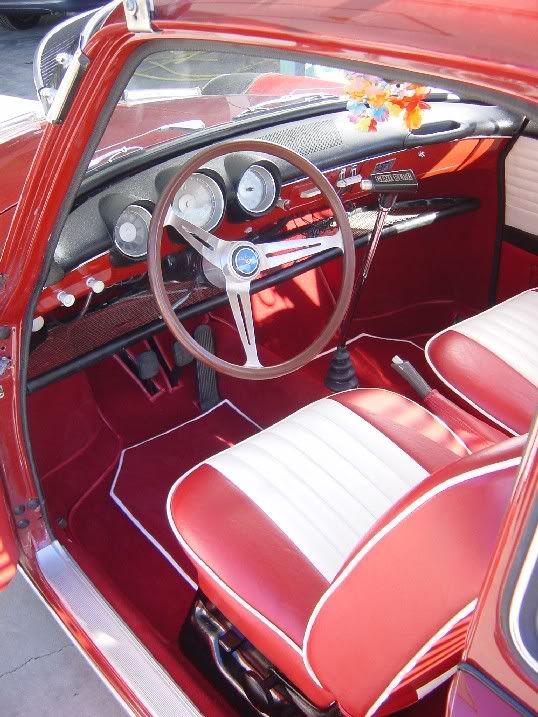
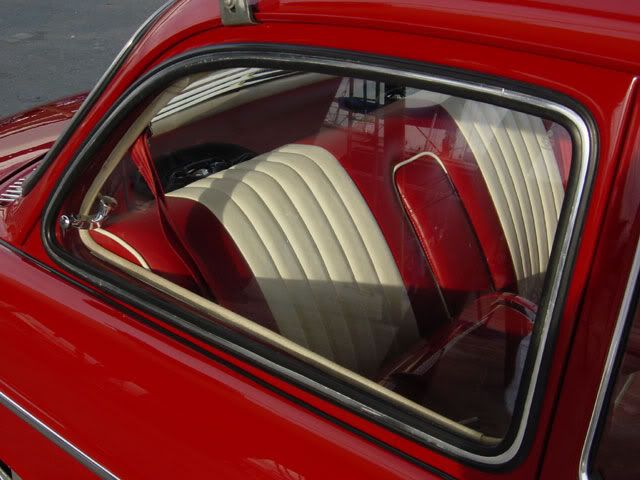
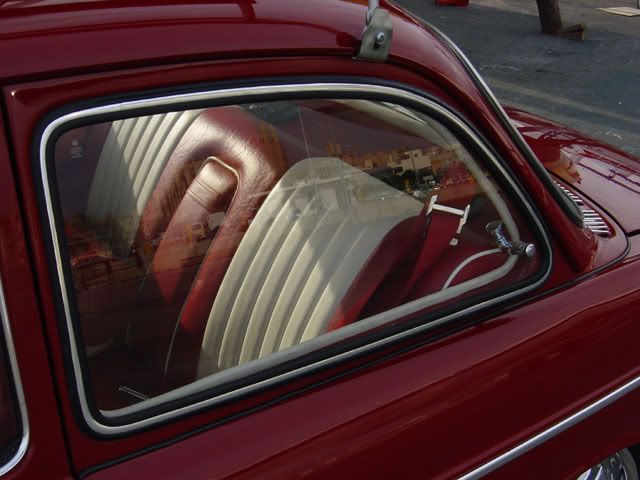
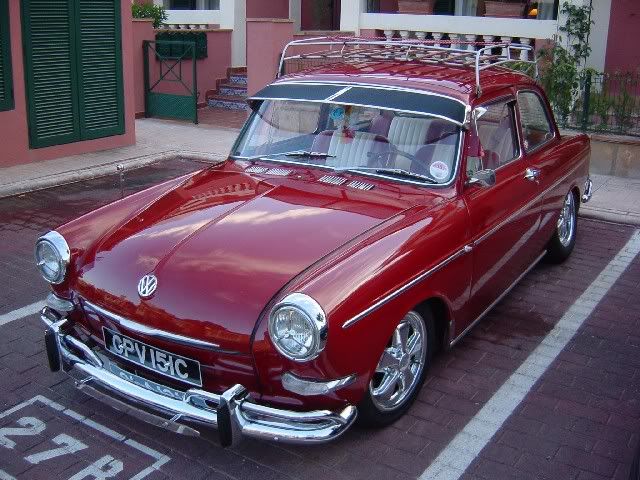
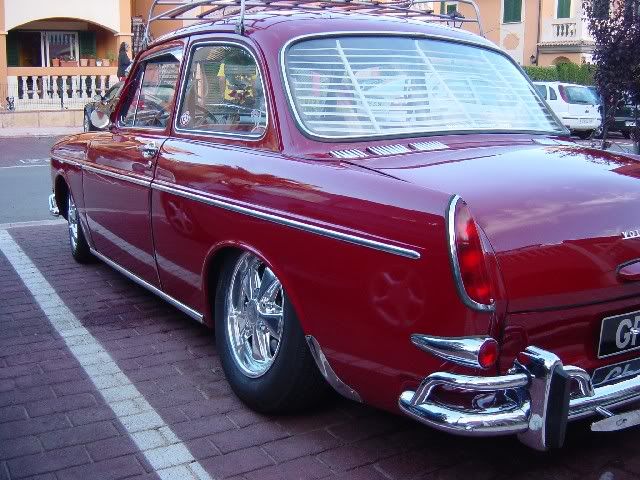
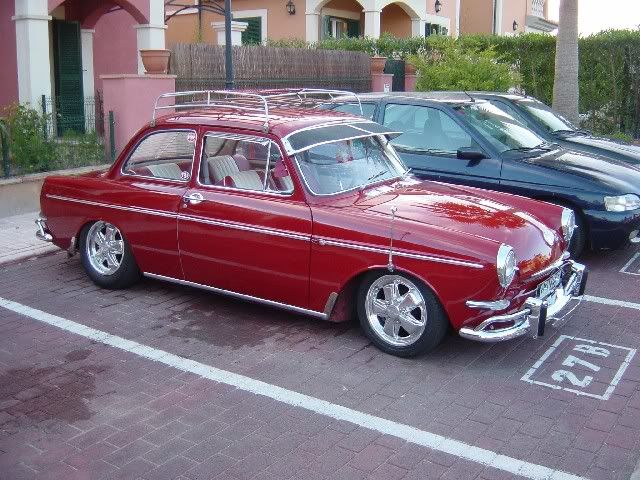
Here's a few piccies of my '65 Notch. Most of you will recognise it as Brian Burrows car which was featured in Volksworld last Year. I bought it in June this year at VWoodstock and took it to BugJam and VW Action. She has had a new Turbo Thomas stainless exhaust, a Berg Bus shifter and genuine vent trims fitted since I've had her.
I have just driven this car 1248mls in 3 days from Chester to Mallorca via Southampton/Dover/Calais/Barcelona without major problems.
The starter solenoid decided to stick on when the motor was hot meaning I had to leave the engine running or use the old screwdriver trick across the terminals to turn her over but apart from that she was sweet
She is staying out here for 12 months with me but coming back to the UK next year.
BugJam
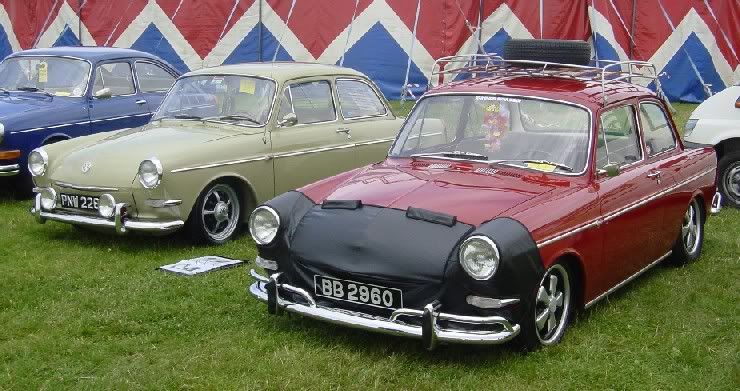
Thats Glenn's notch next to her at BugJam, which won Best Type3 and is currently for sale
VWAction
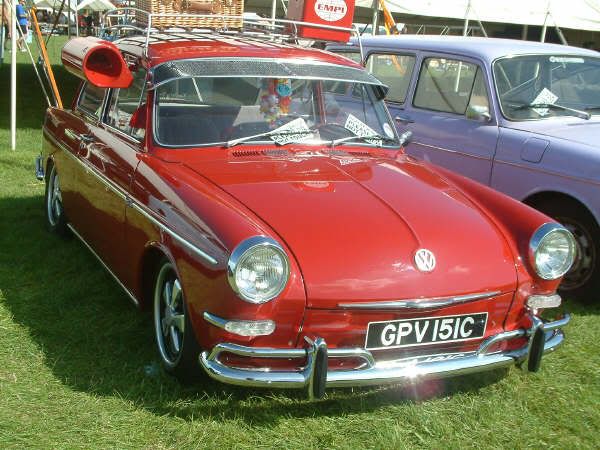
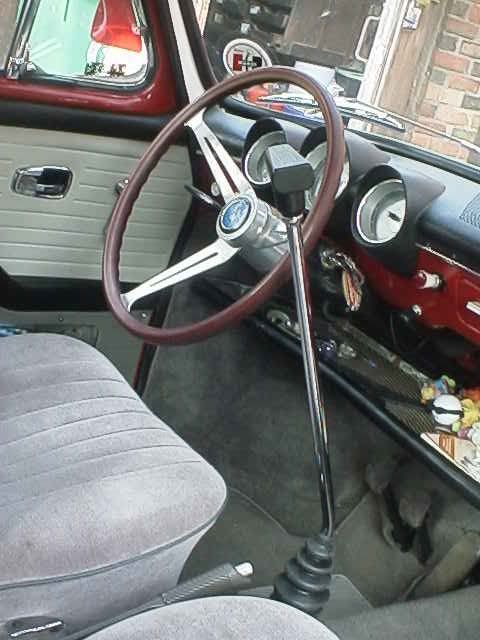
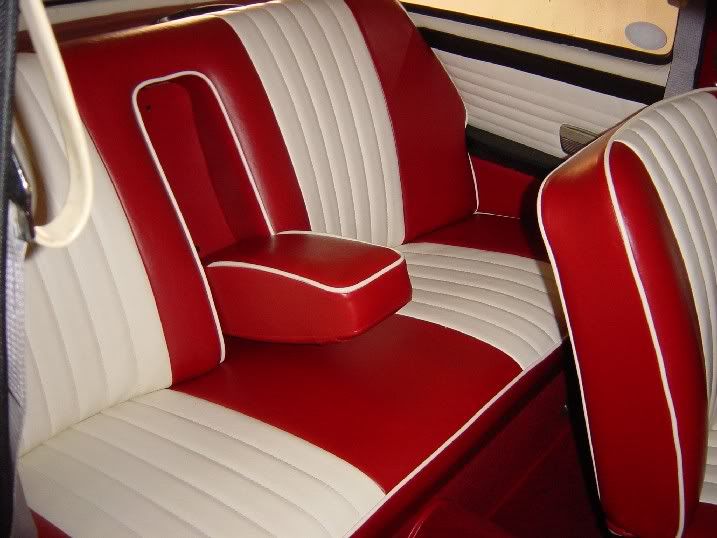
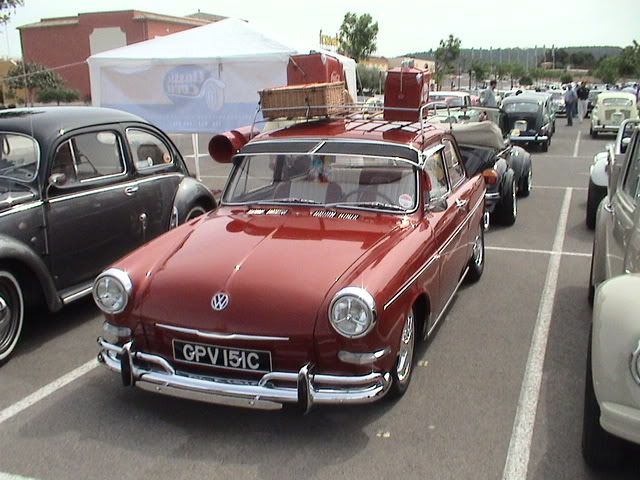
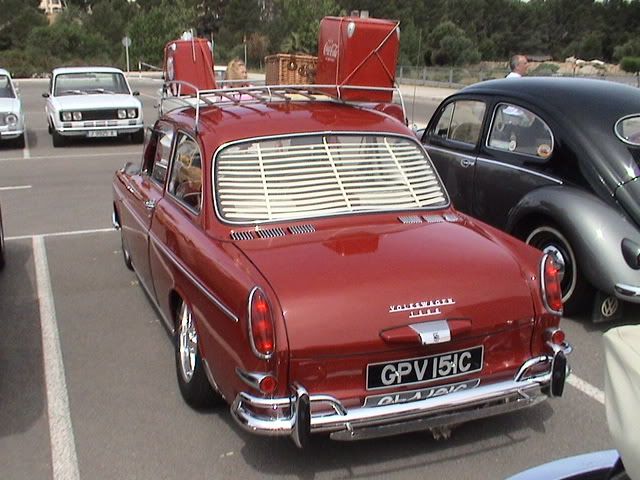
A few personal accessories to give it my personal touch.
Mallorca
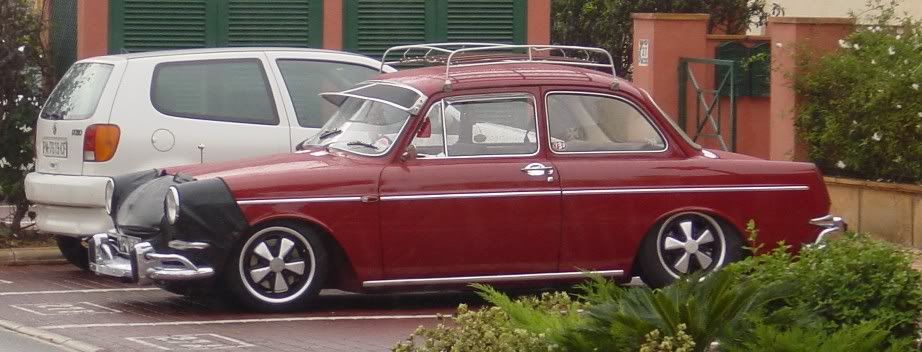
Home Sweet Home
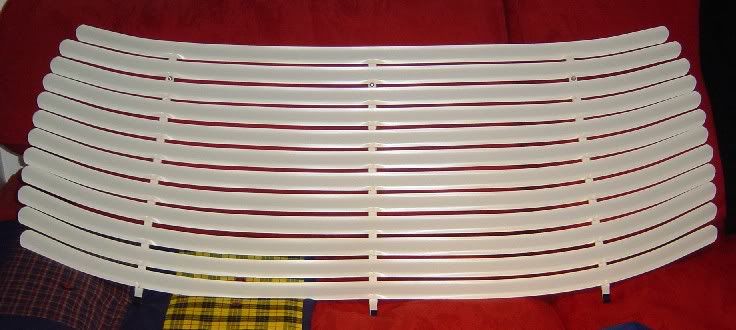
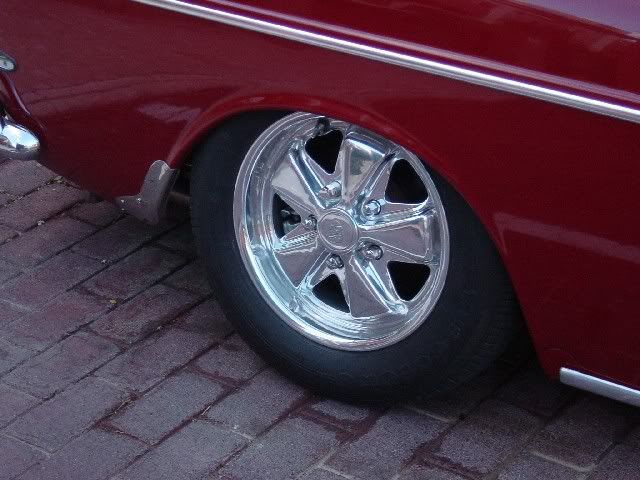
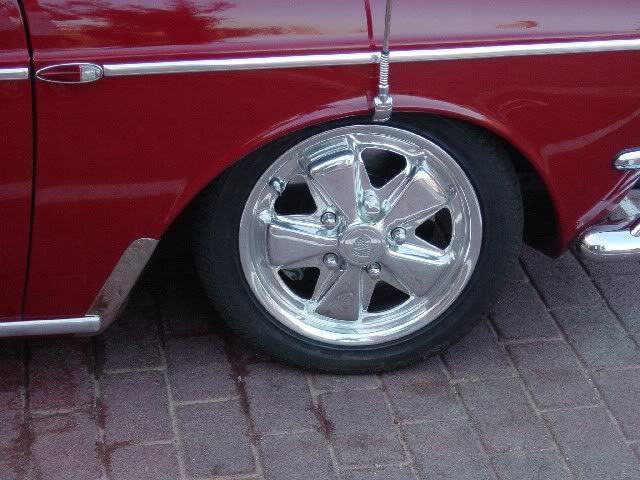
No big plans for her at the moment although a change of wheels and discs to wide 5 and OG Sprints may be possible soon. Other than that, its just a case of rigging up the parking lights to work, new interior light, passenger door mirror and fit the popouts which are in the boot. I also have an Australian rear window blind and NOS door edge protectors to fit.