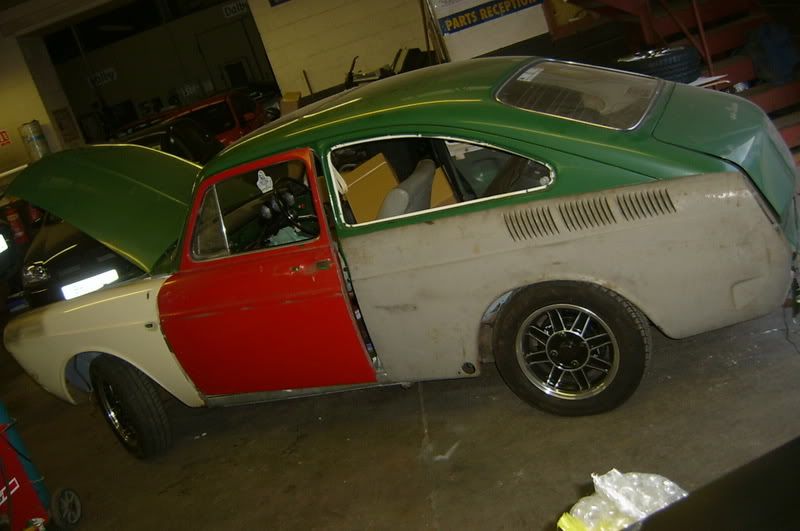
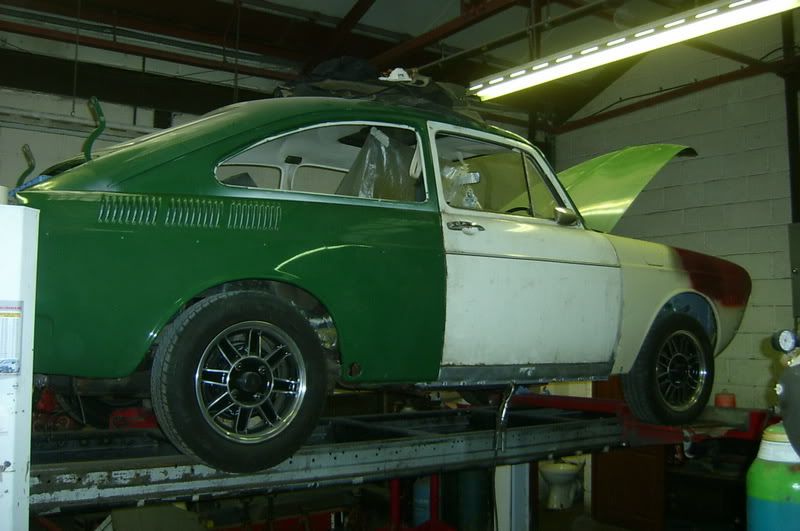
So once the local council agreed to pay up I used the money and the help of a friend who runs a body shop to start a full resto and re-spray.
Instead of posting a link to the restoration thread I started on my local site http://www.vwscotclub.co.uk/forum/default.asp I thought I would post progress pictures here.
It might be 2 months in but I am only working on it 2 nights a week and the occasional Saturday and I have been on holiday during the process as well.
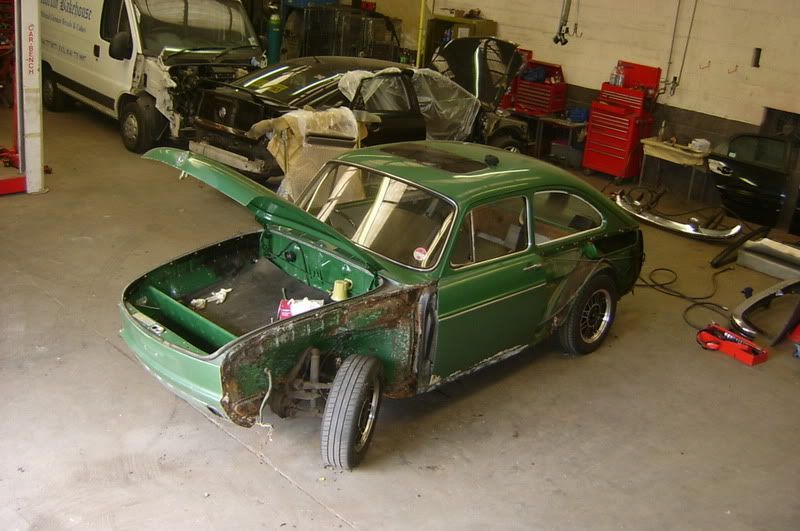
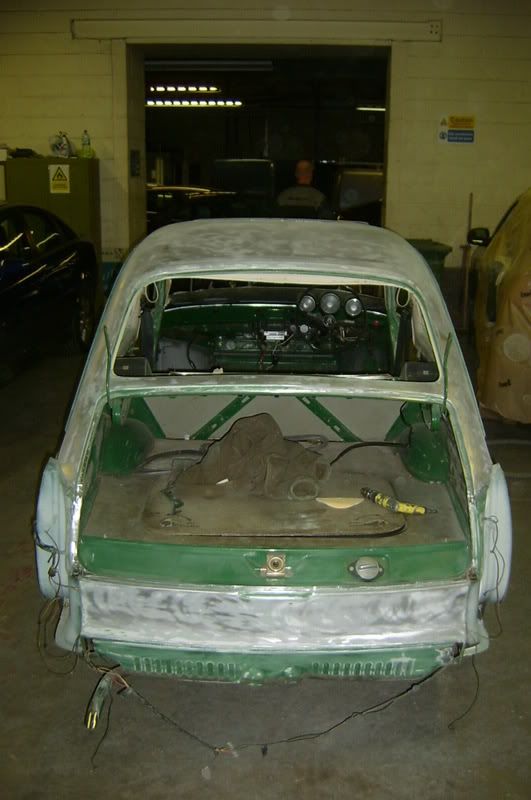
Starting with day 1 and the tear down;
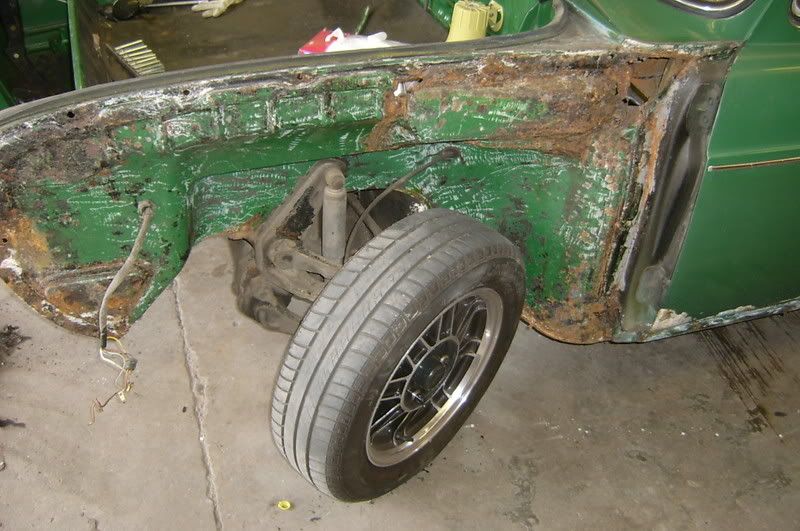
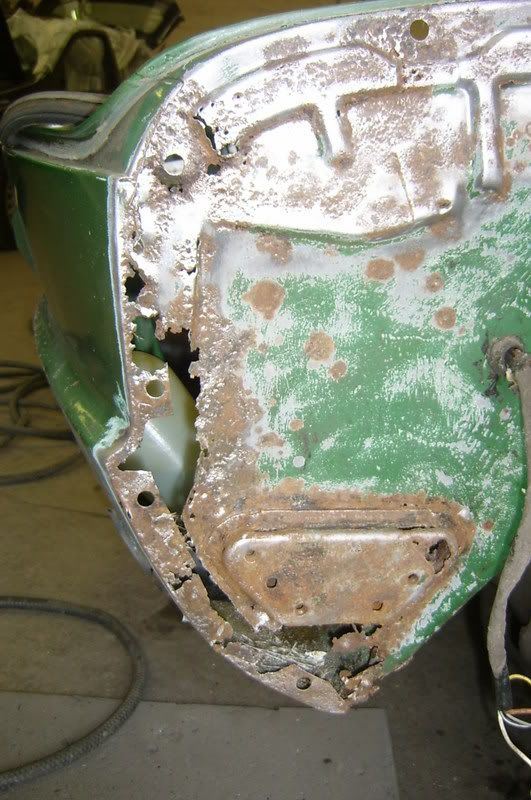
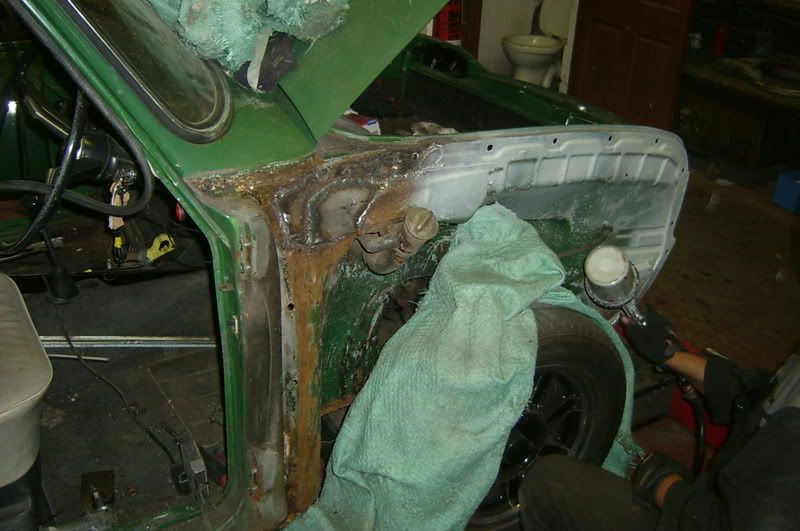
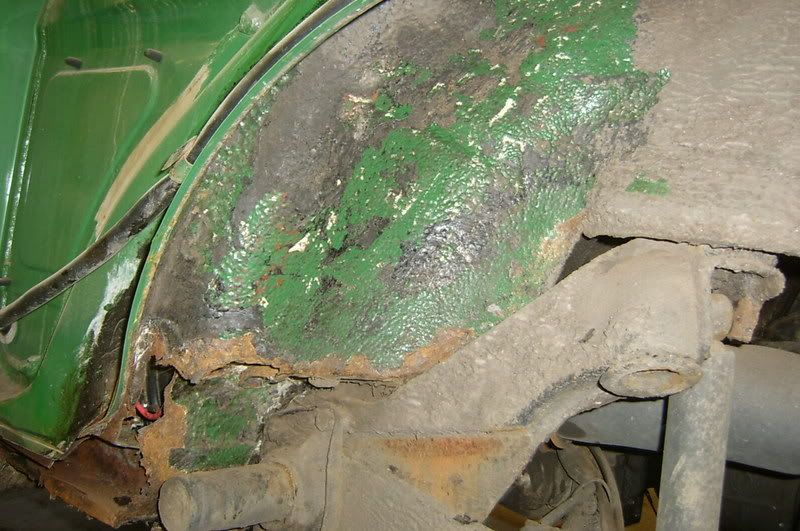
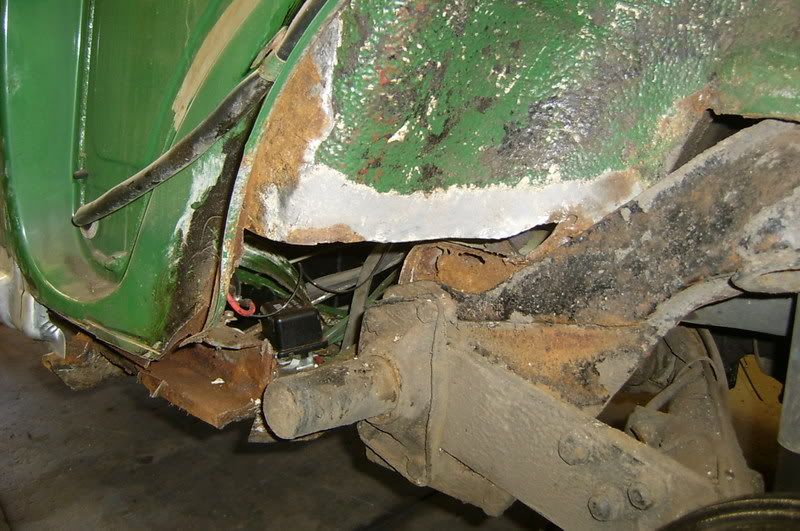
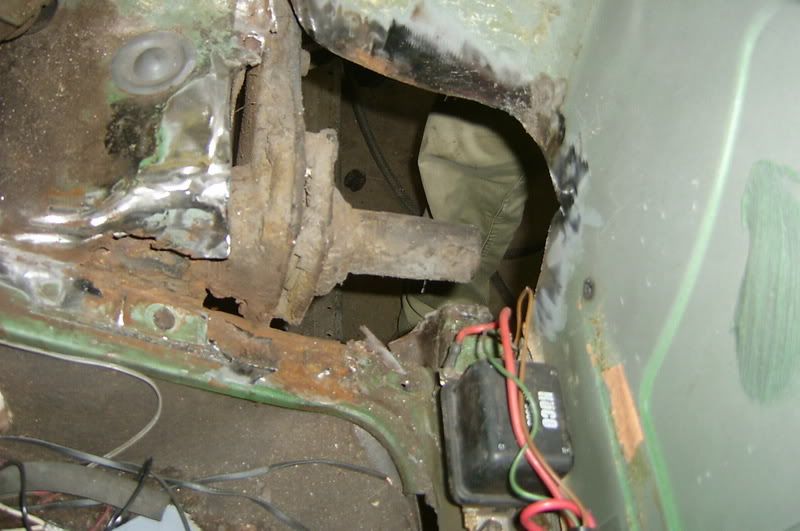
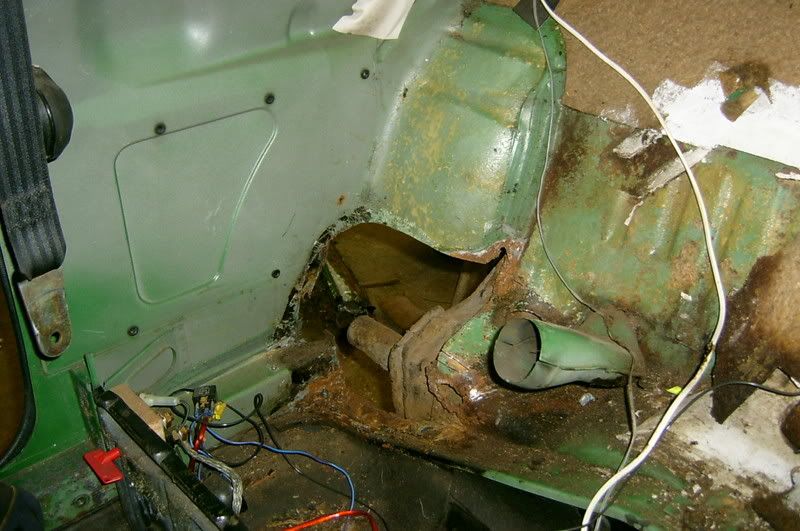
Some rust in the inner wings, to be expected I suppose;
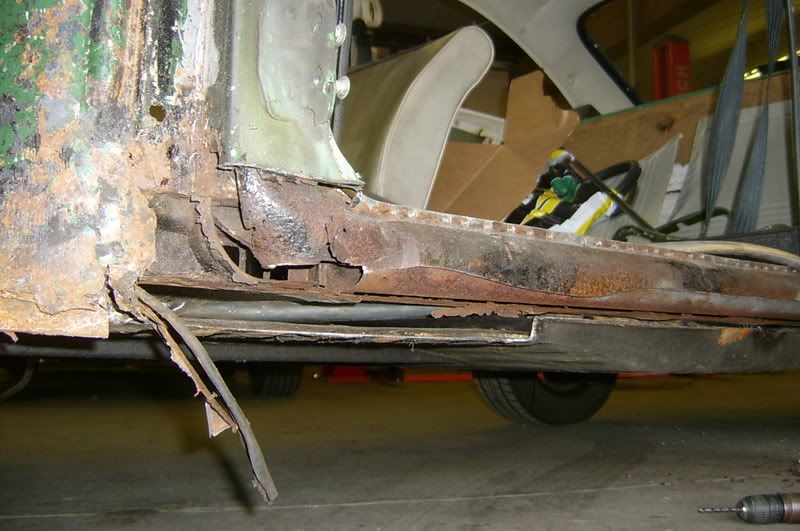
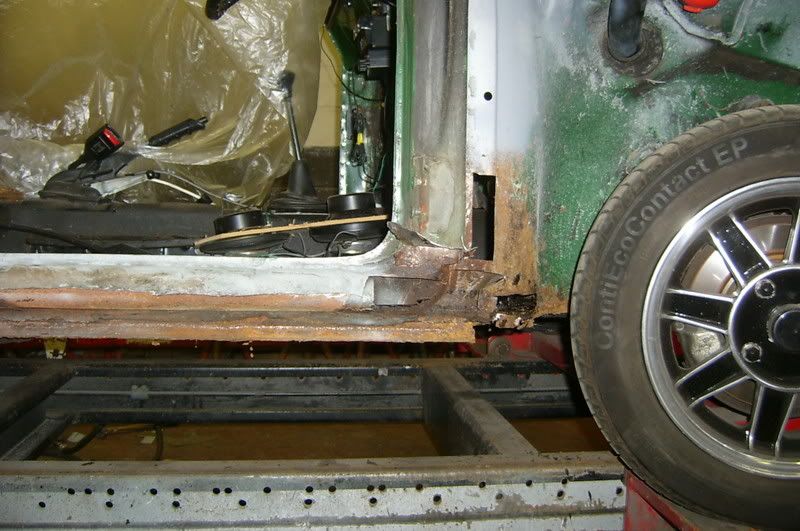
Outer sills were OK (not great but OK) but the inner sills needed replaced;
Rot cut out of the inner wings;
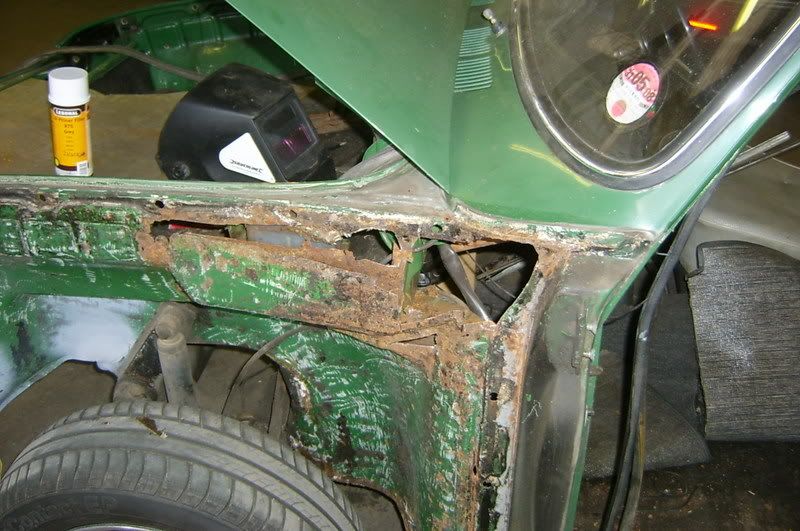
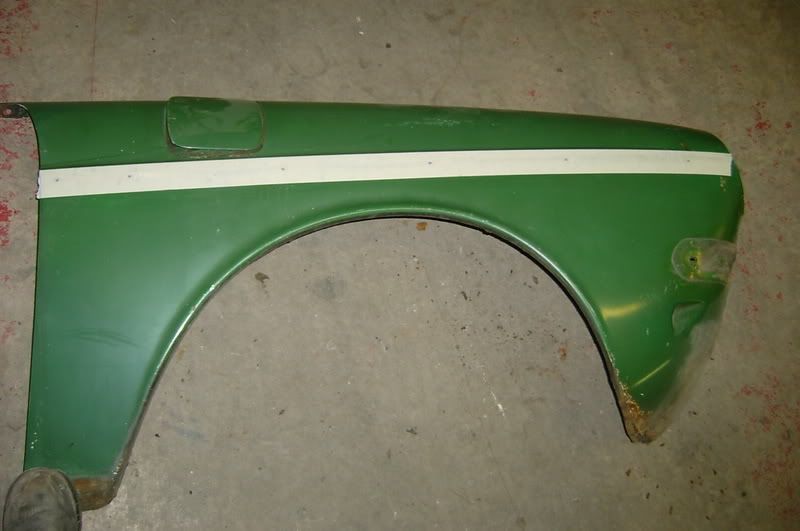
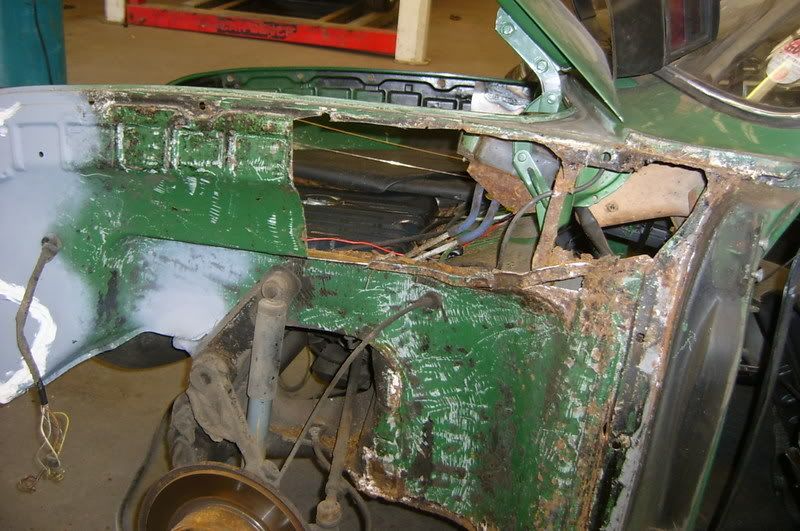
Other side is rough as well but not as bad;
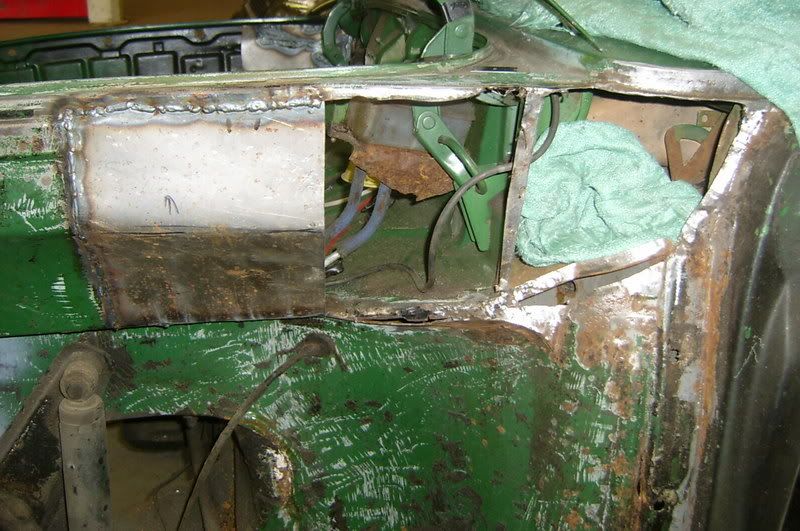
Metal replacement stars;

Going;
Going;
Gone;
Original steel;
Wasnt very solid;
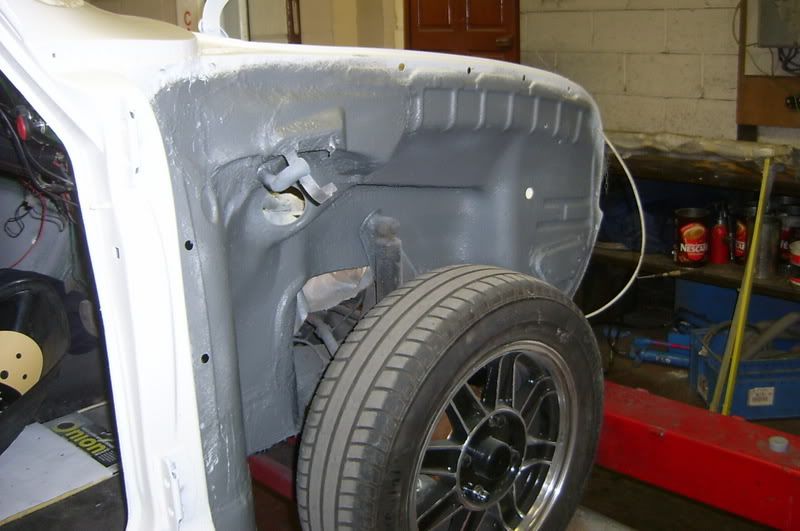
Front inner sealed and primed;
Outer sill sat in place to align;
Panels on to check gaps;
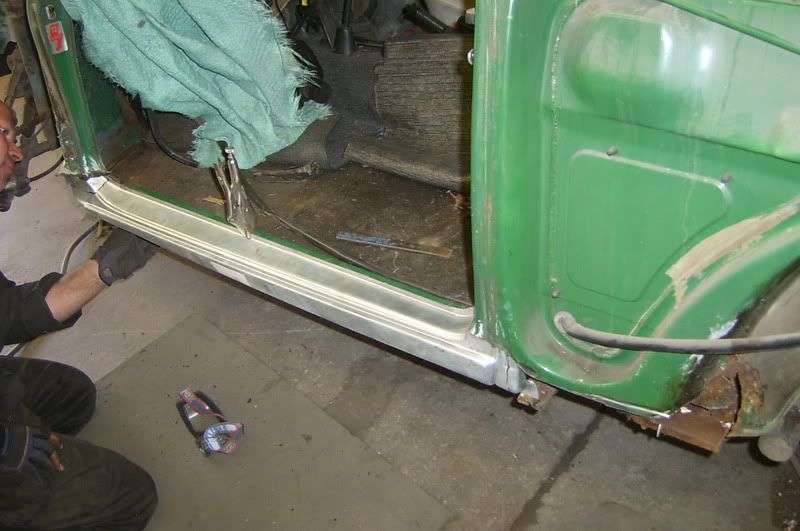
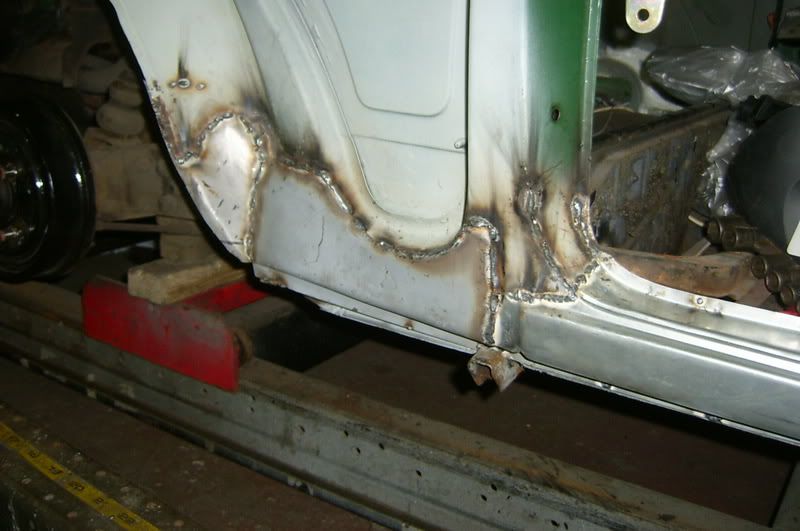
Sill complete;

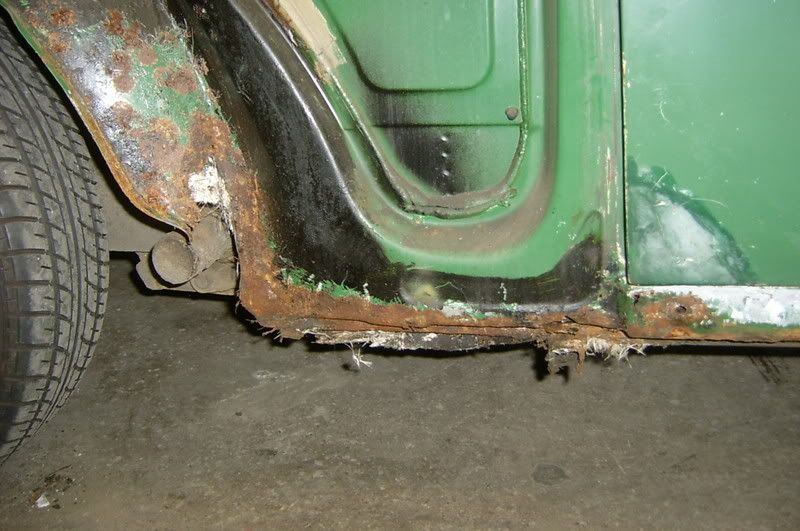
Hole;
No more hole;
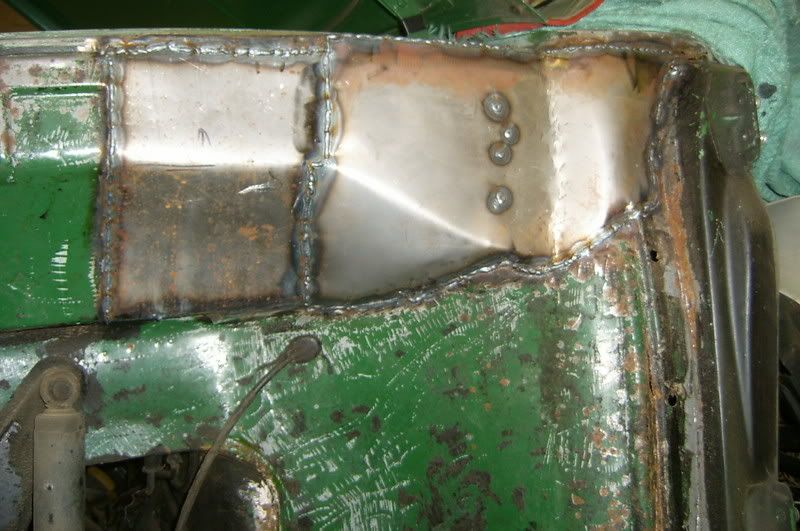
Rear inner wing complete;
On to the other side;
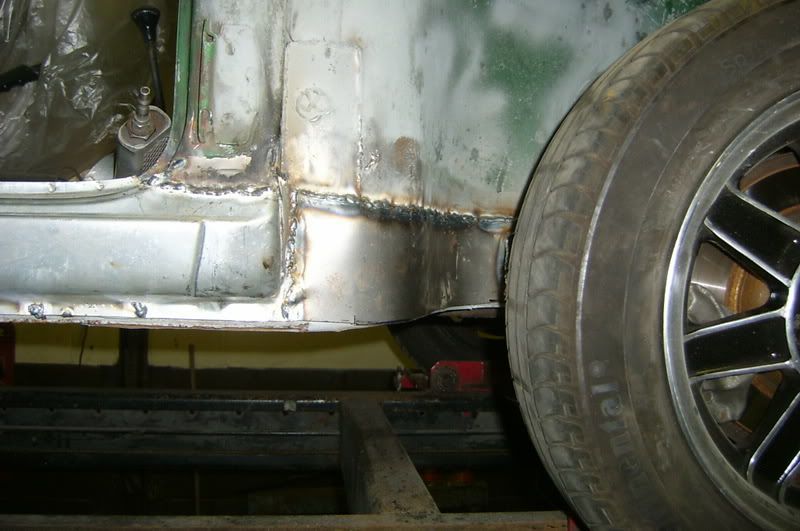
Panels lined up to get sill in place;
Other sill in place;
Another hole;
Another hole fixed;
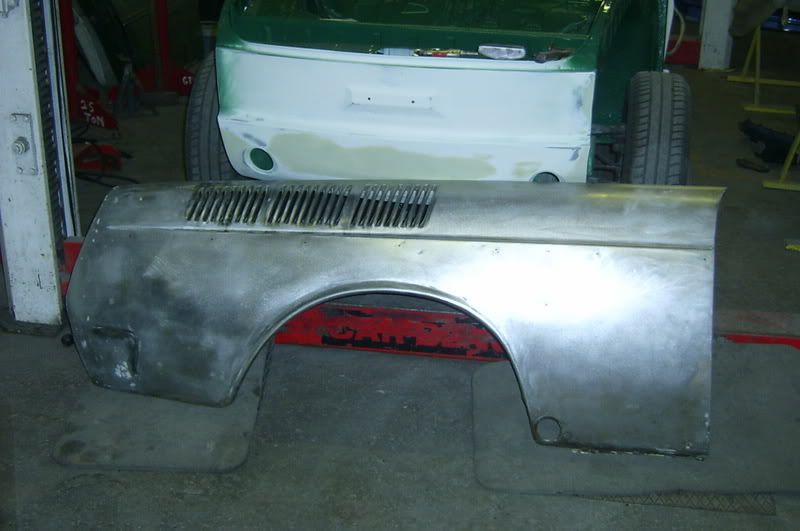
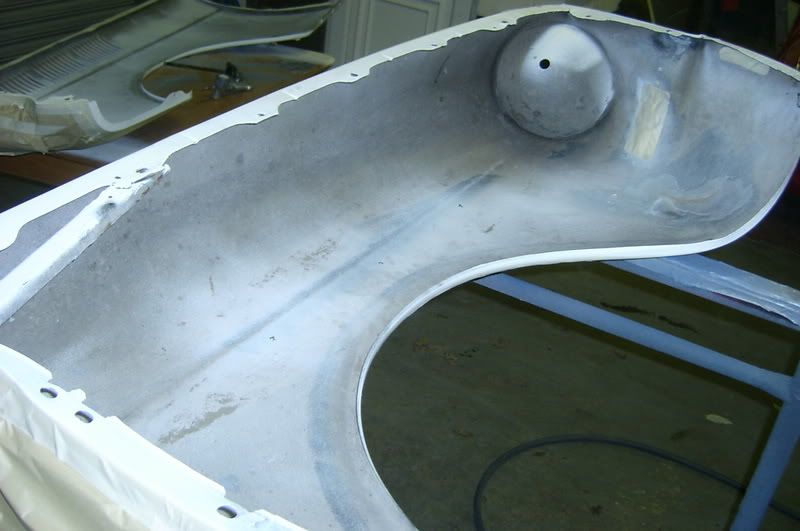
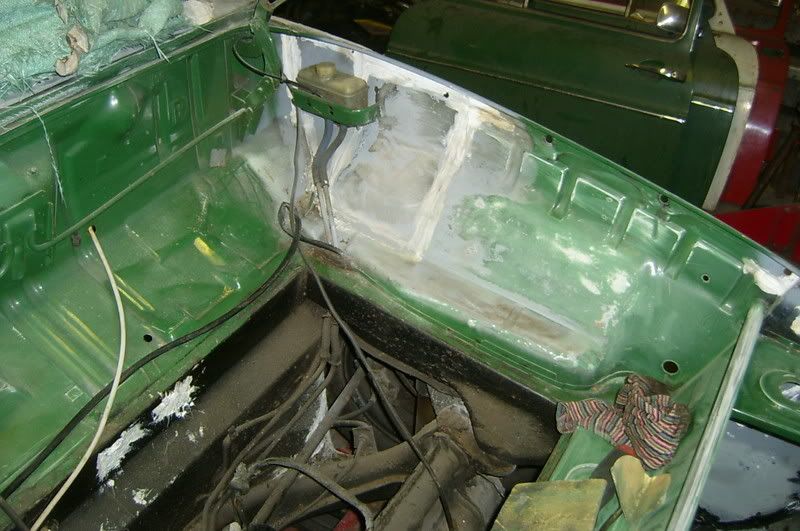
Boot bare metalled;

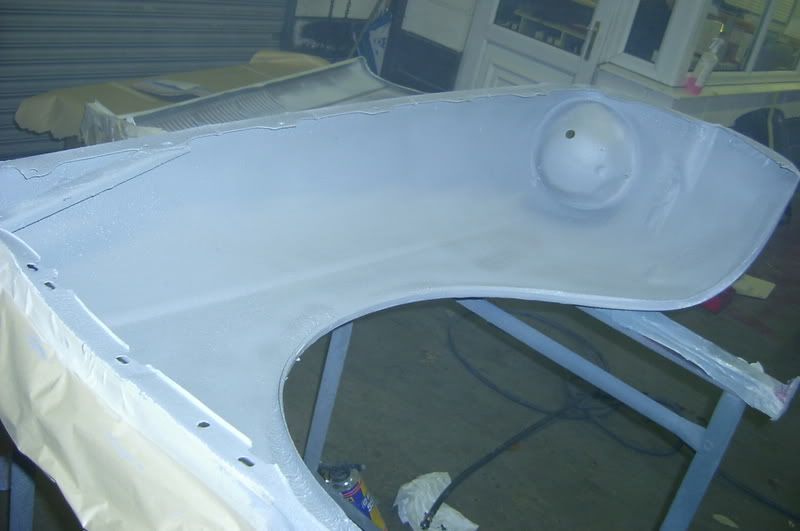
Then etch primed;
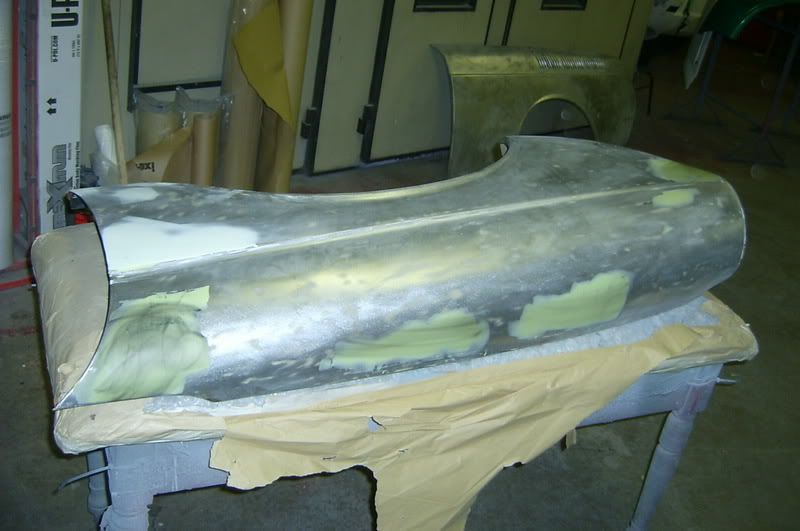
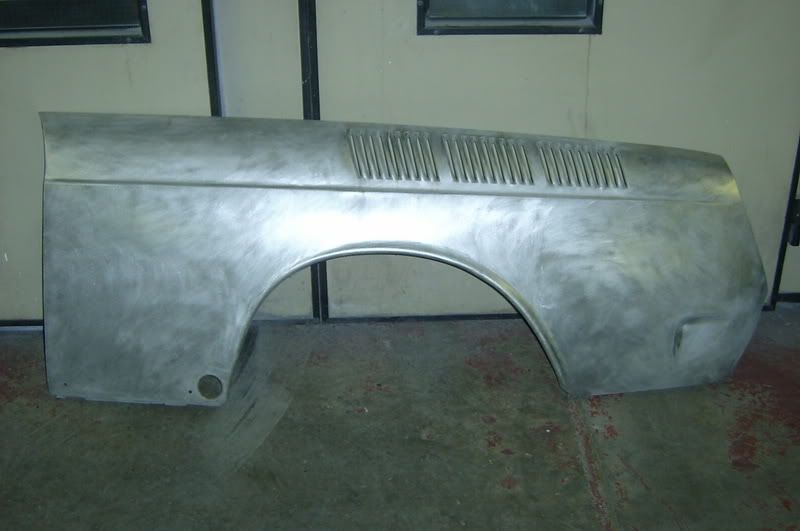
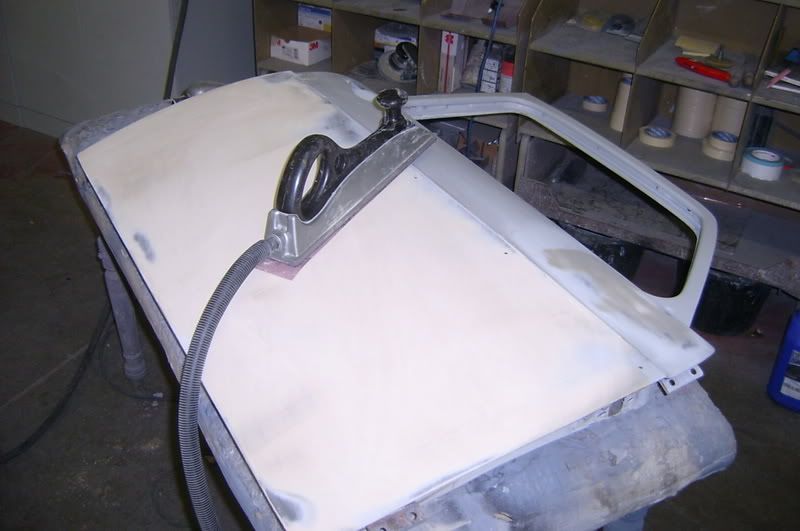
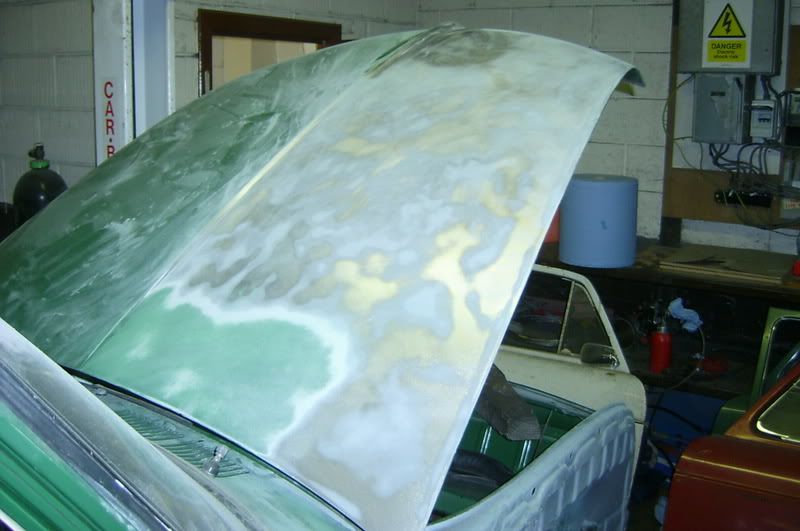
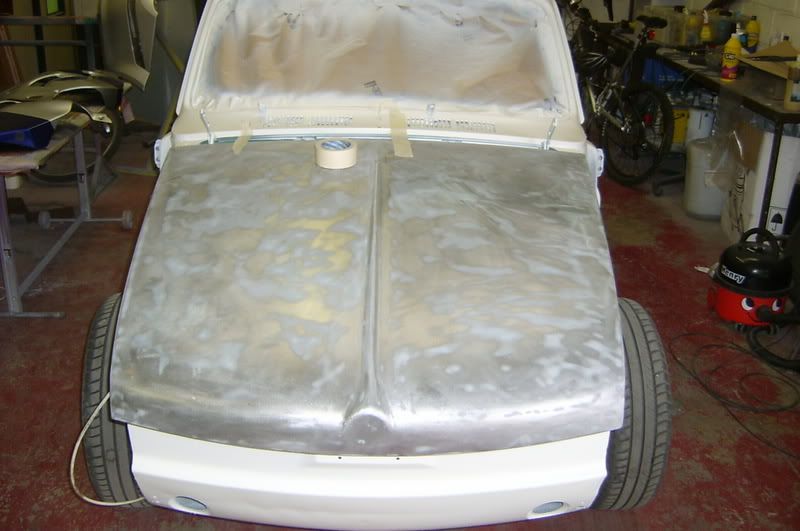
Bare metalling the bonnet;
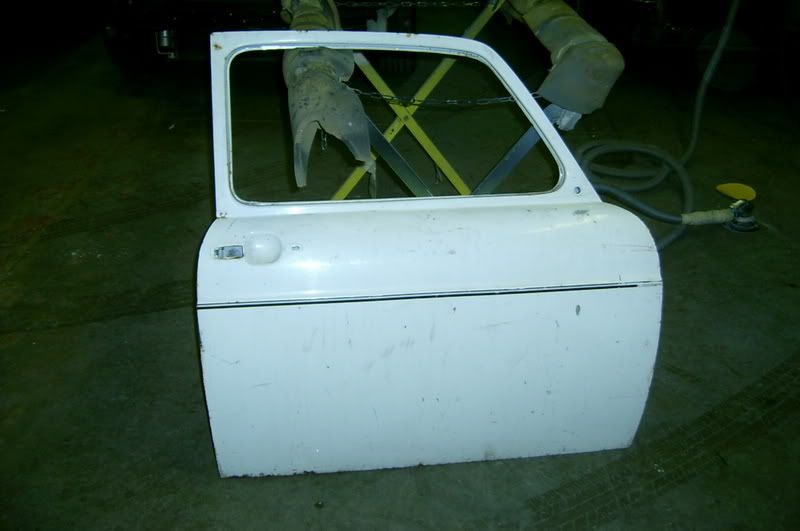
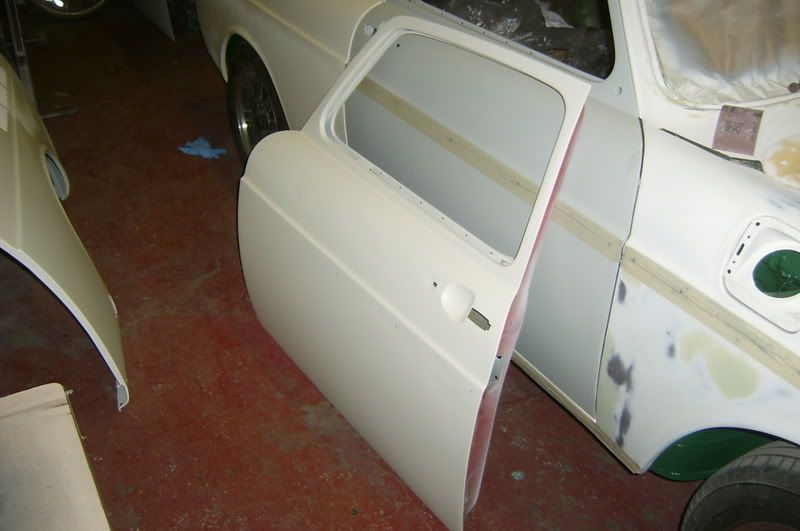
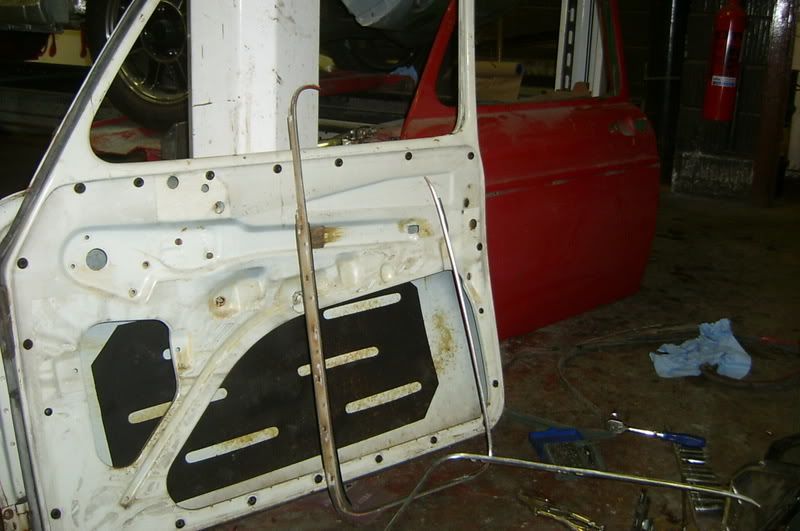
Doors stripped;
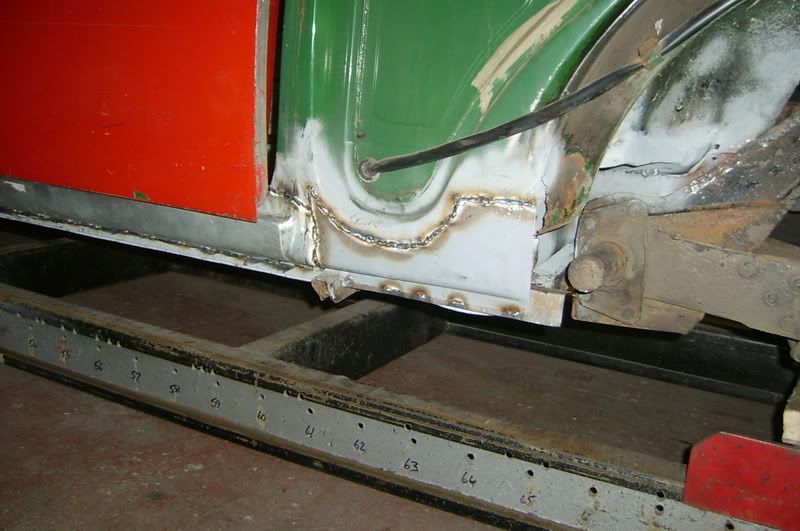
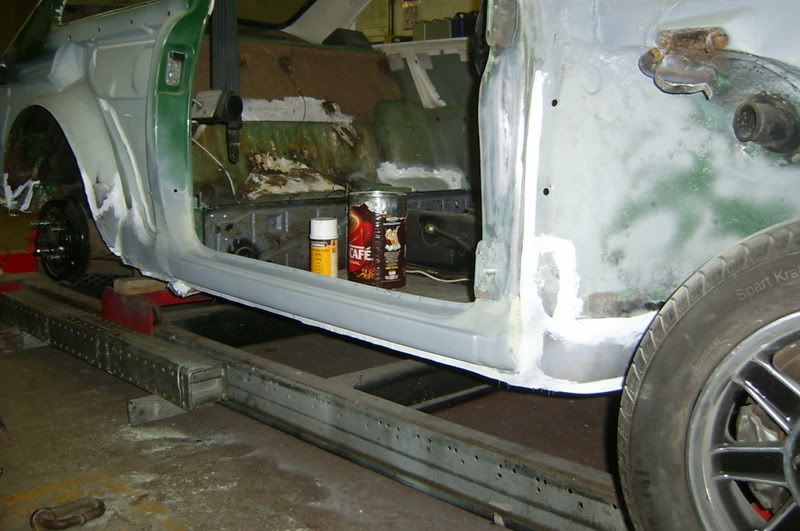
Sill finished off;
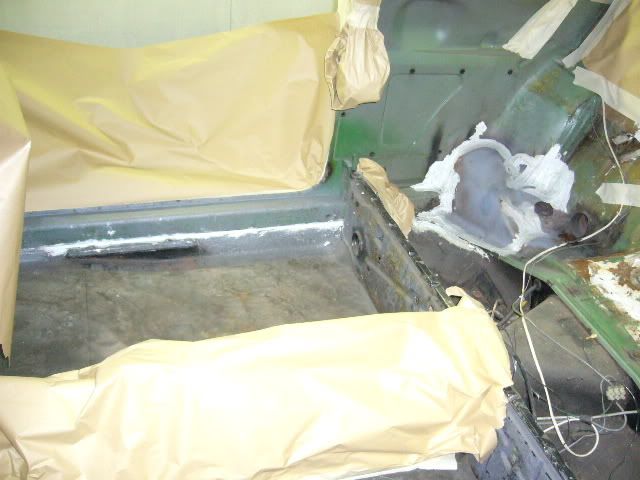
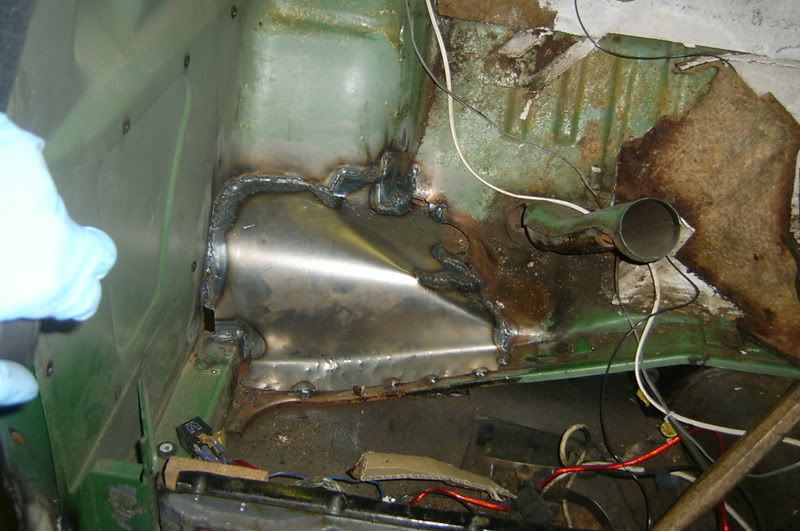
Small bit of floor edge replaced;

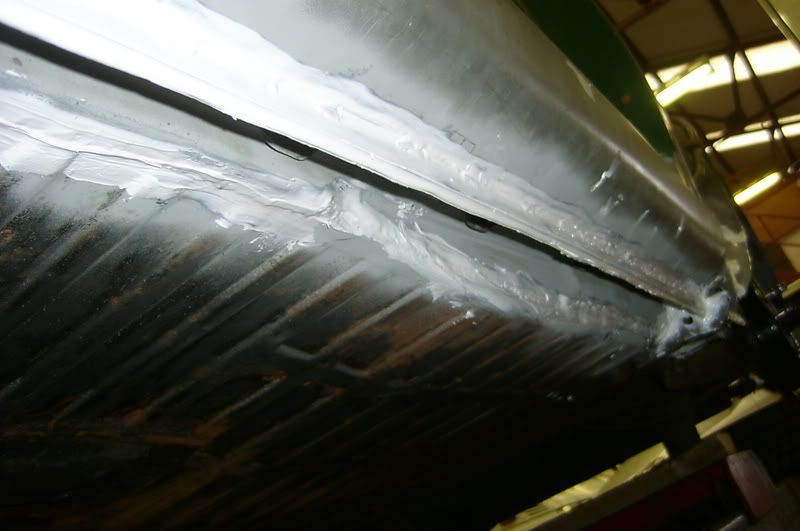
Welds sealed up and a splash of primer;
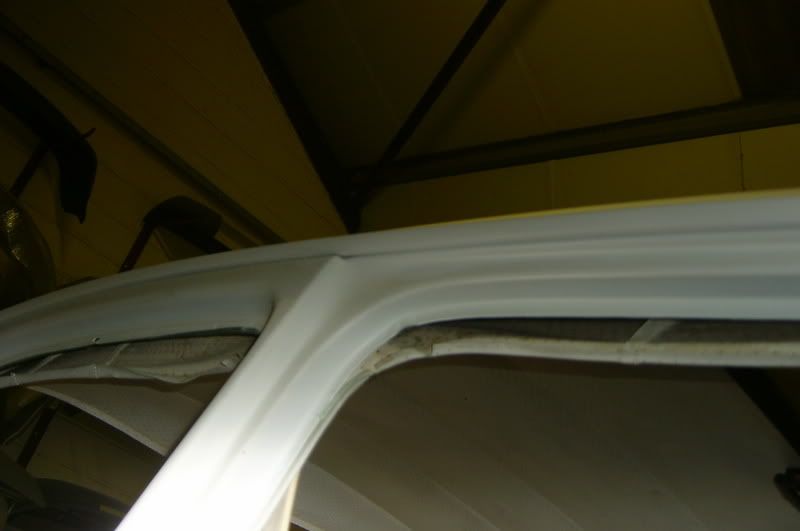
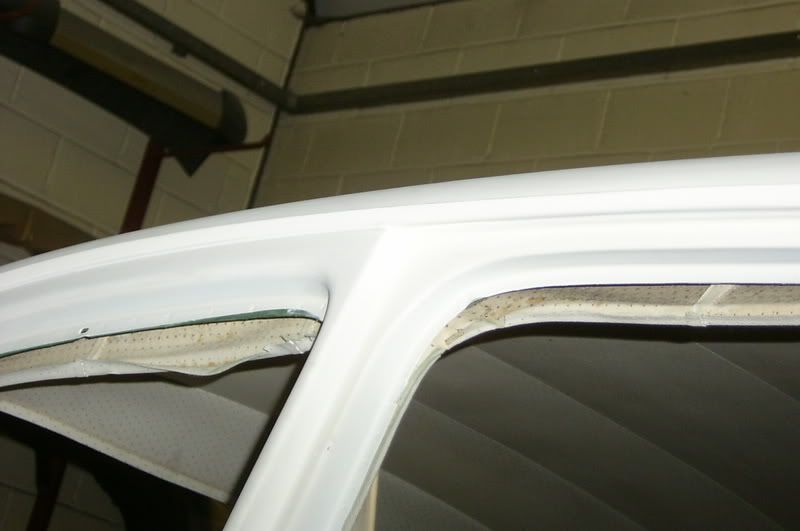
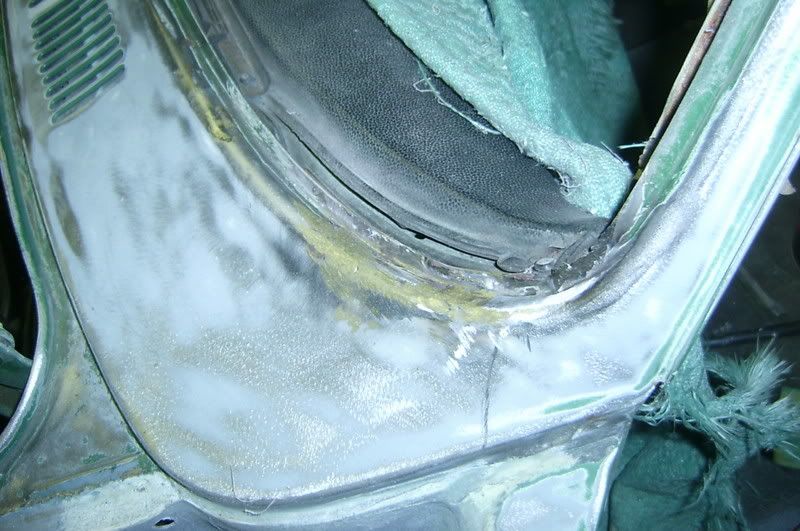
Wee bit of corrosion in the screen corners;
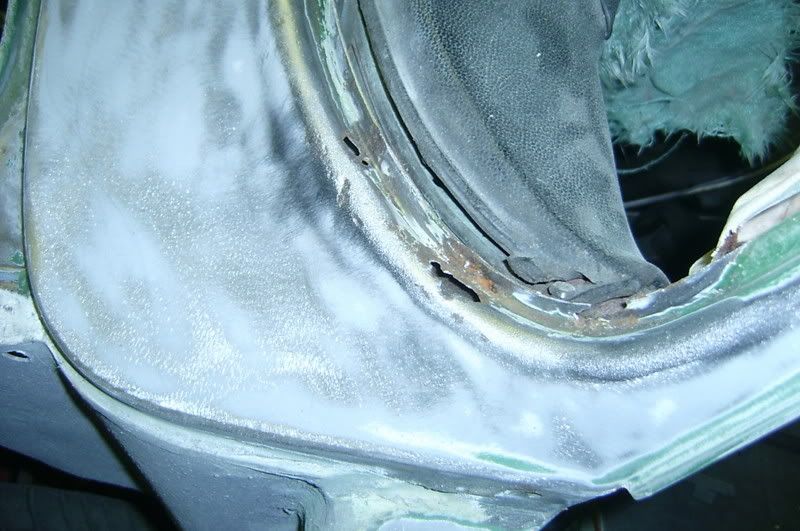
Easy fix;
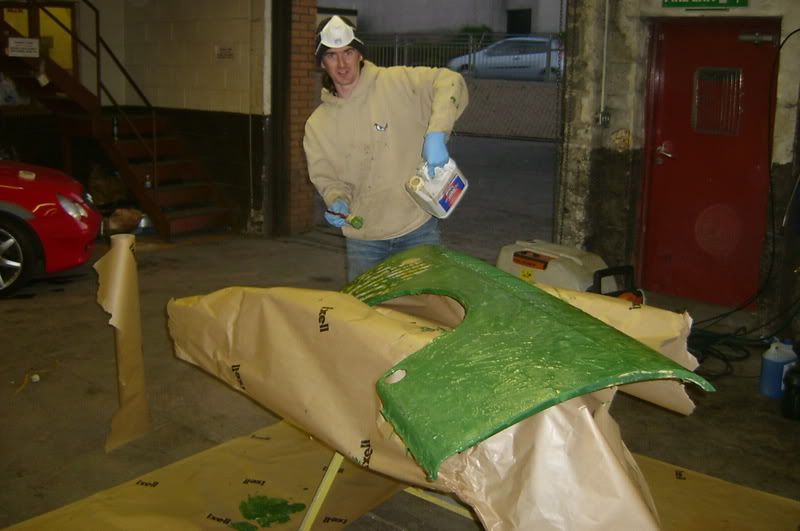
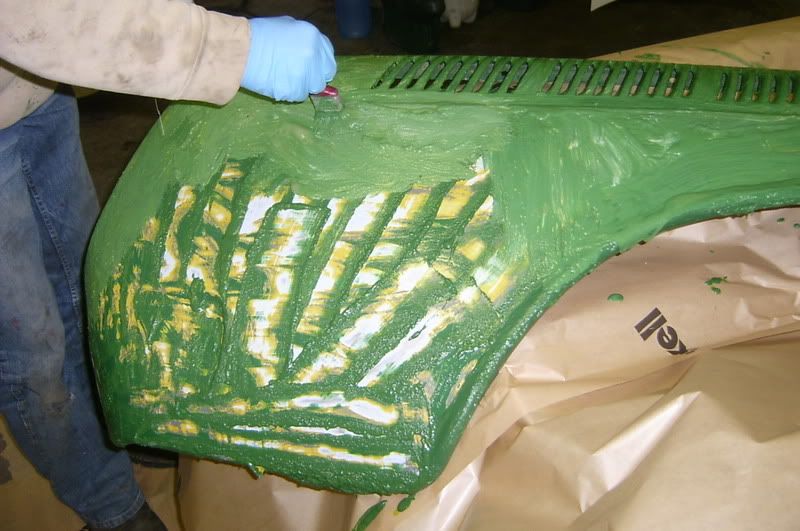
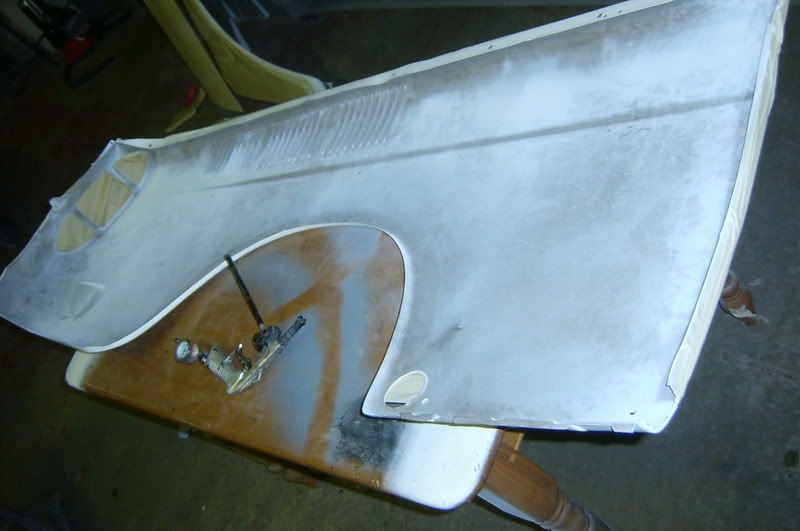
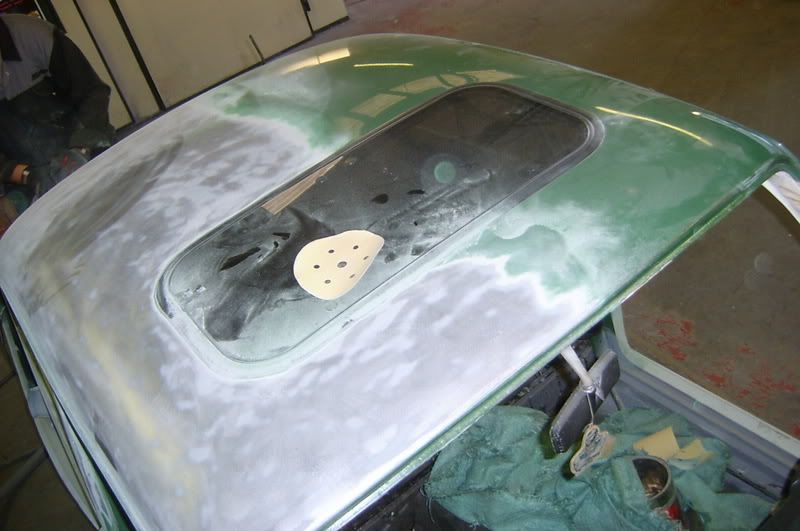
Boot rubbed down;
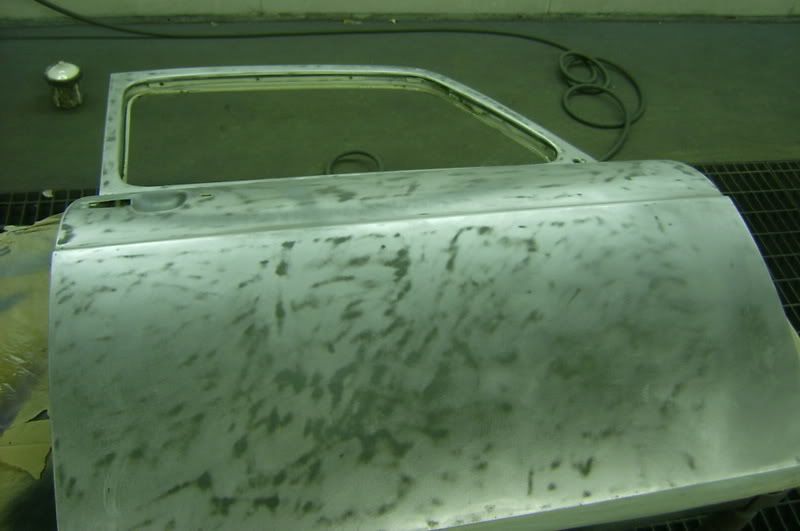
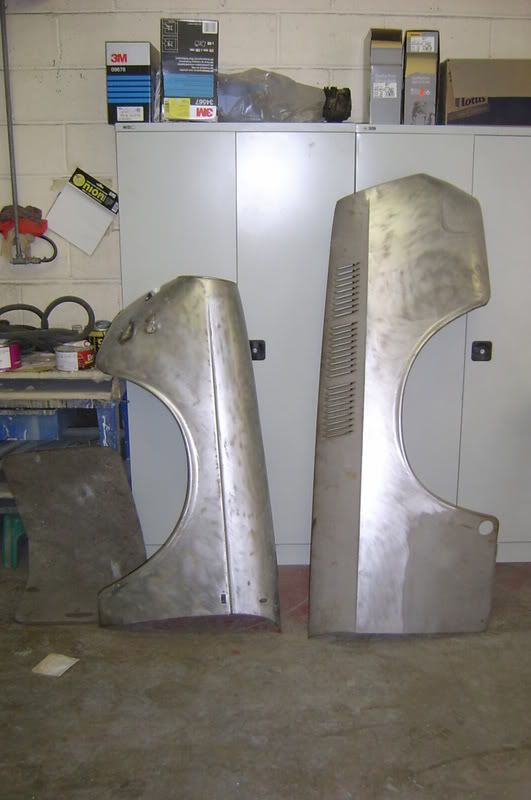
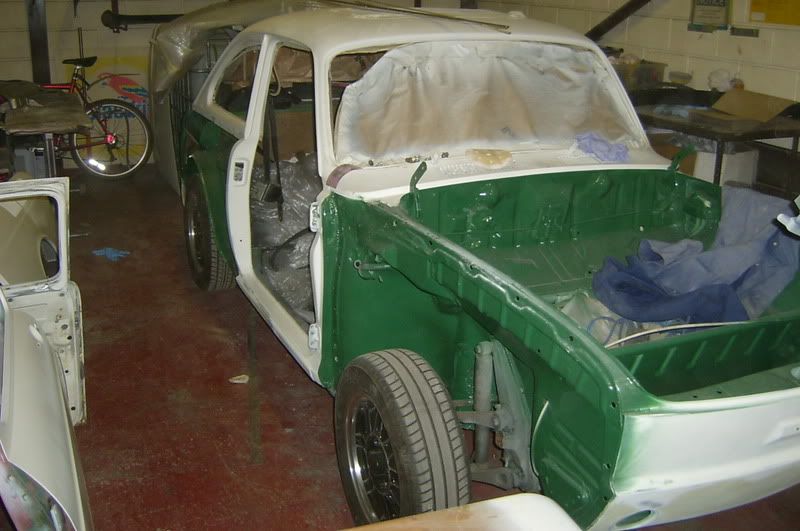
Let the bare metal process begin;
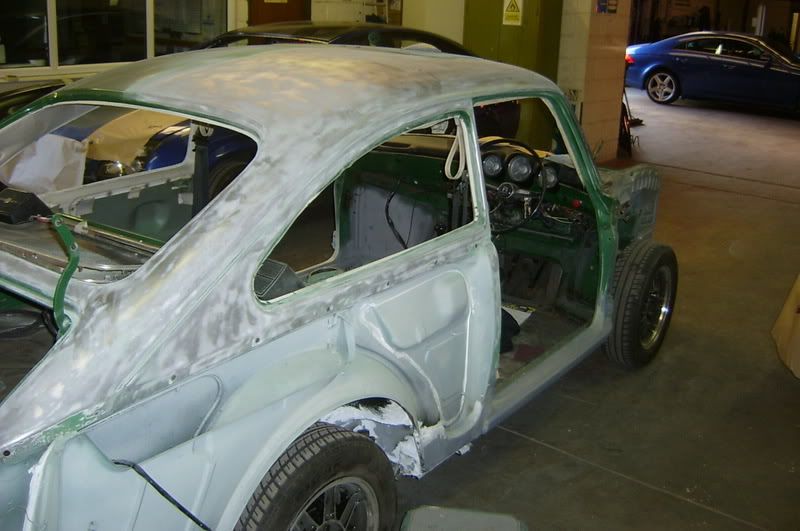
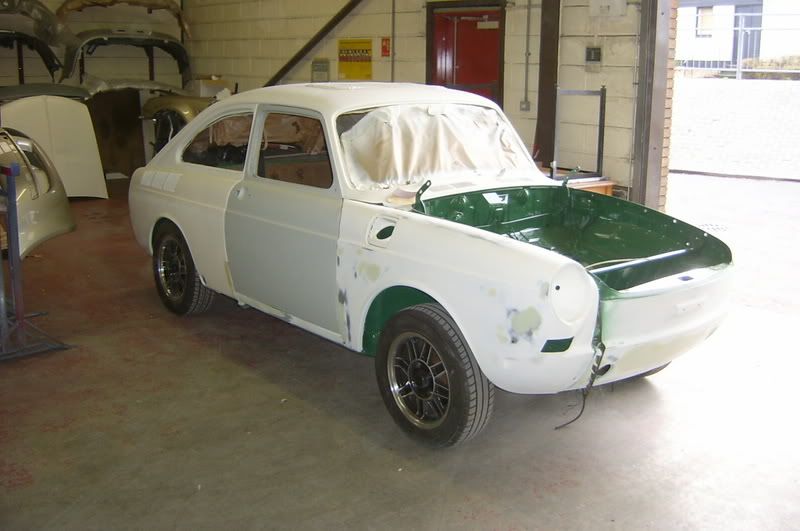
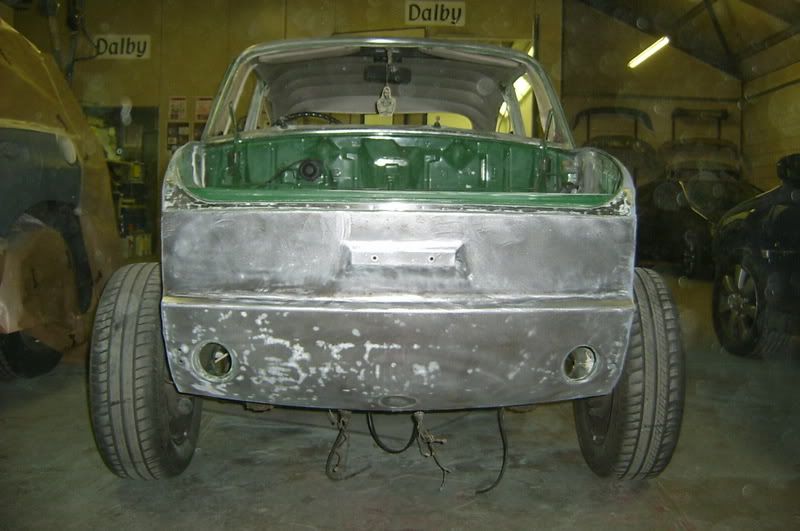
A naked shell;
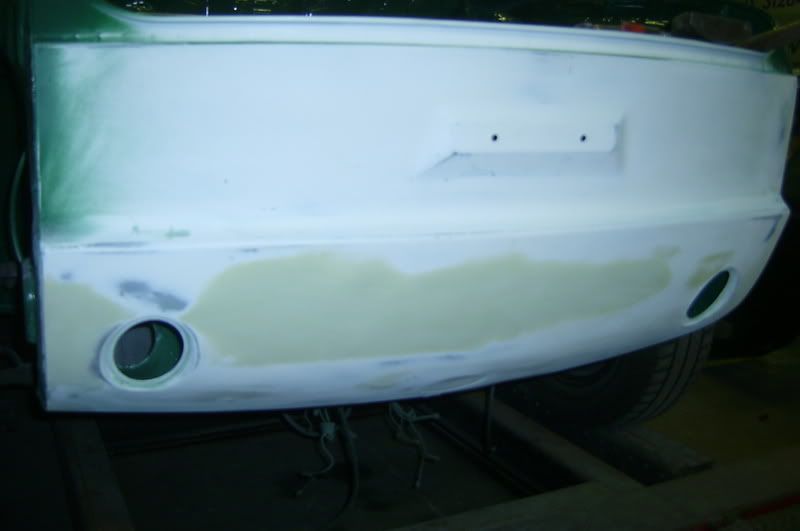
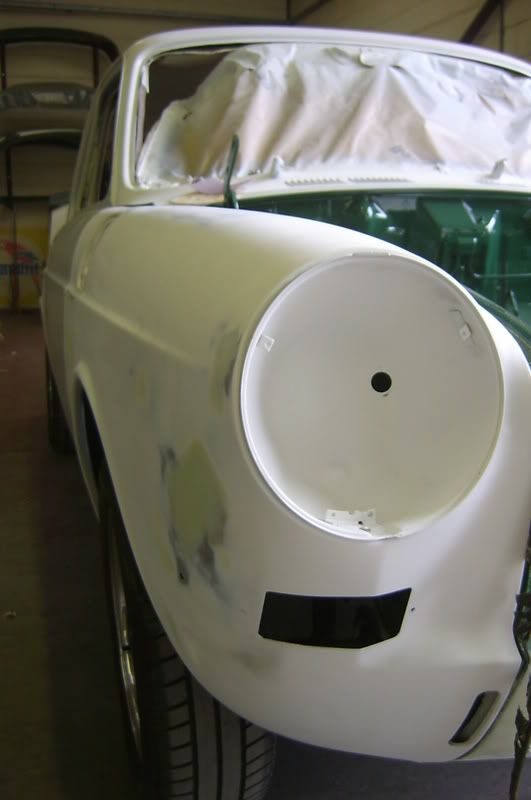
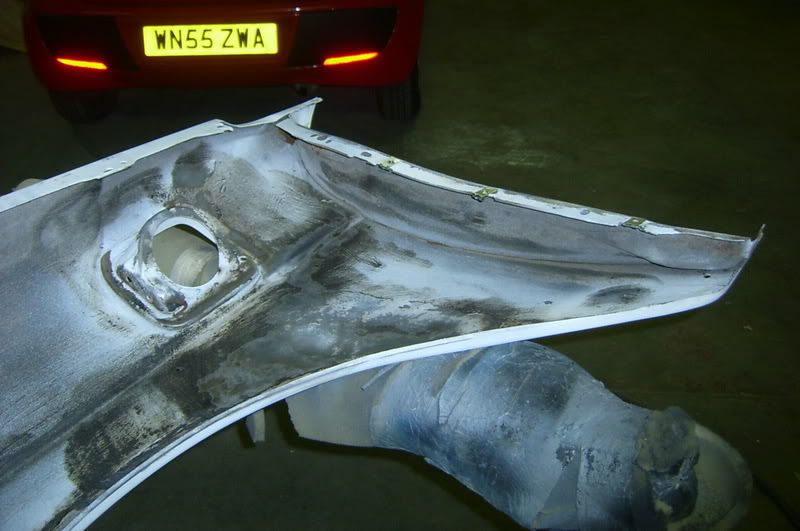
Original front panel, this could have been the first bump this car ever had;
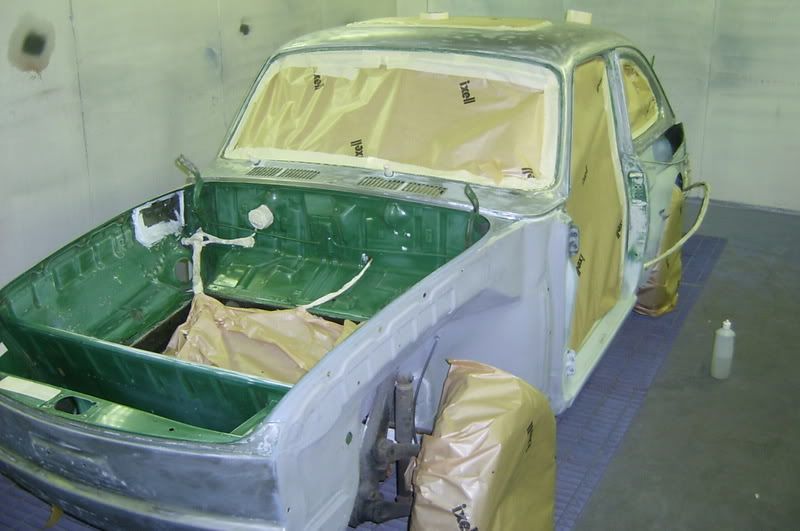
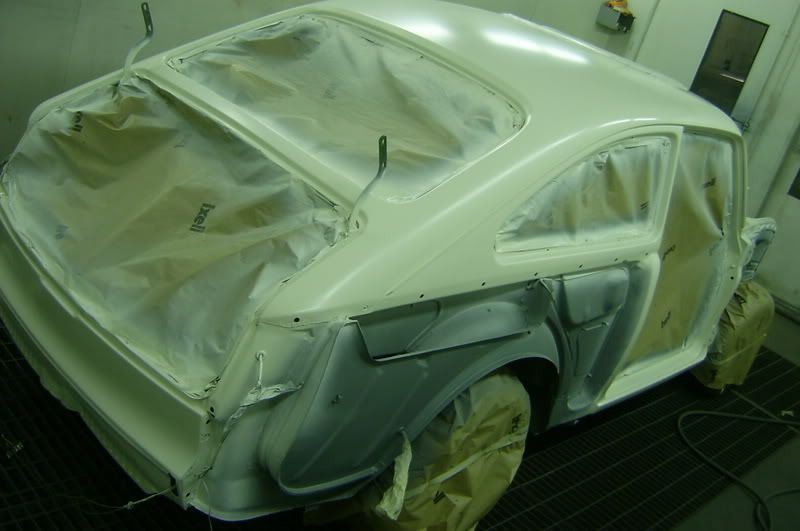
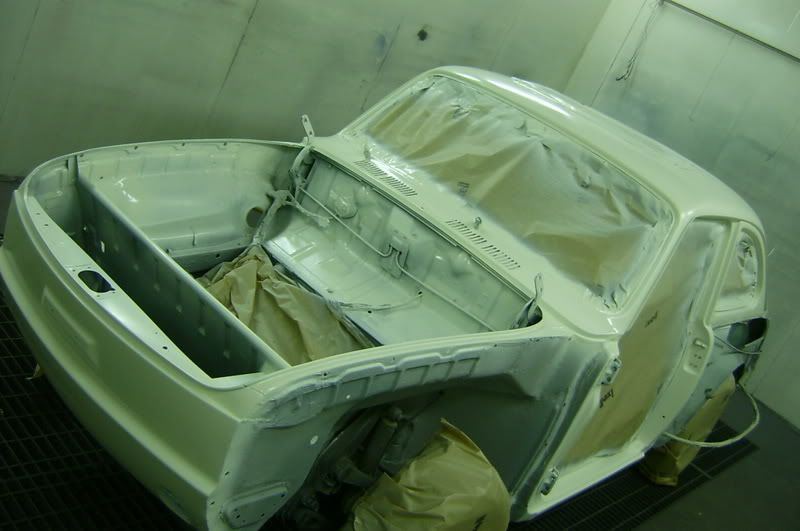
First layer of etch primer;
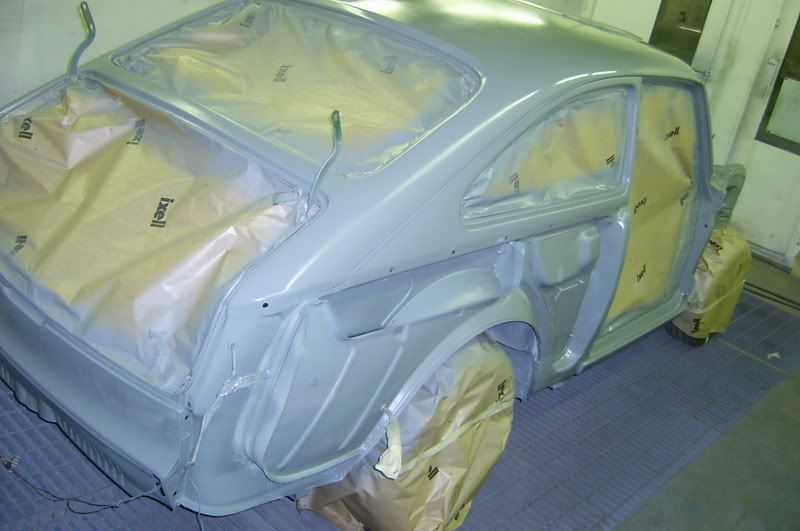
Then high build primer;
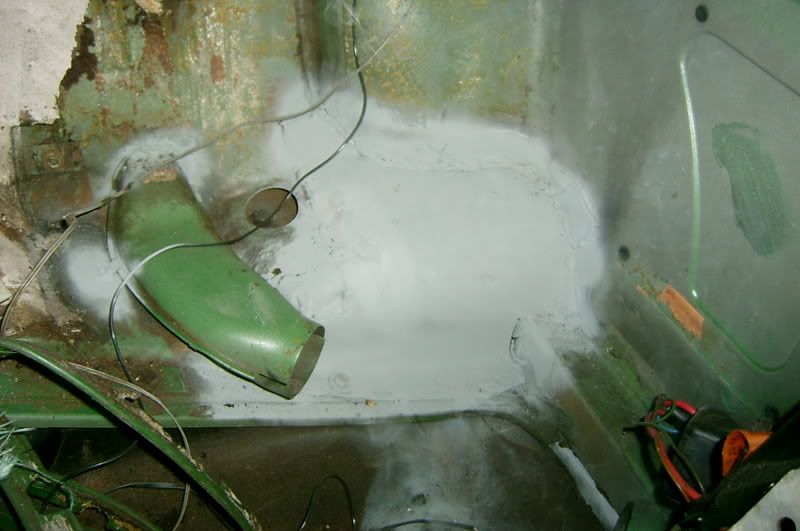
I spent 4 hours cleaning off under seal to reveal a solid pan;
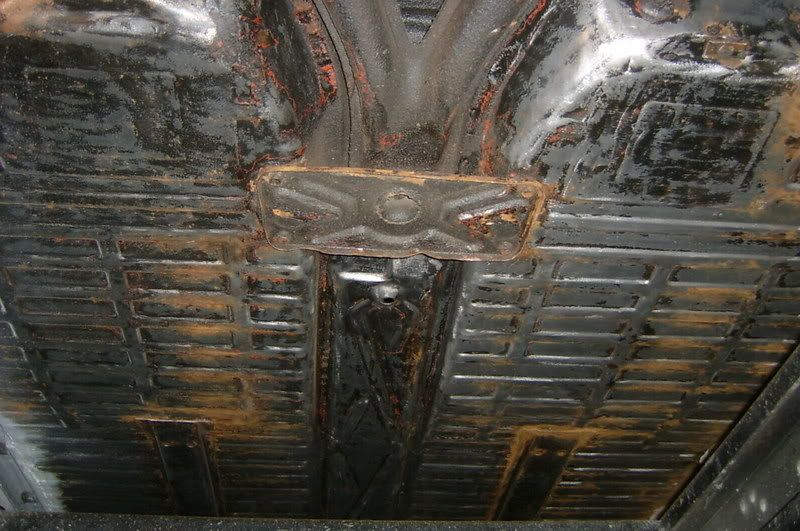
Then sealed it up again;

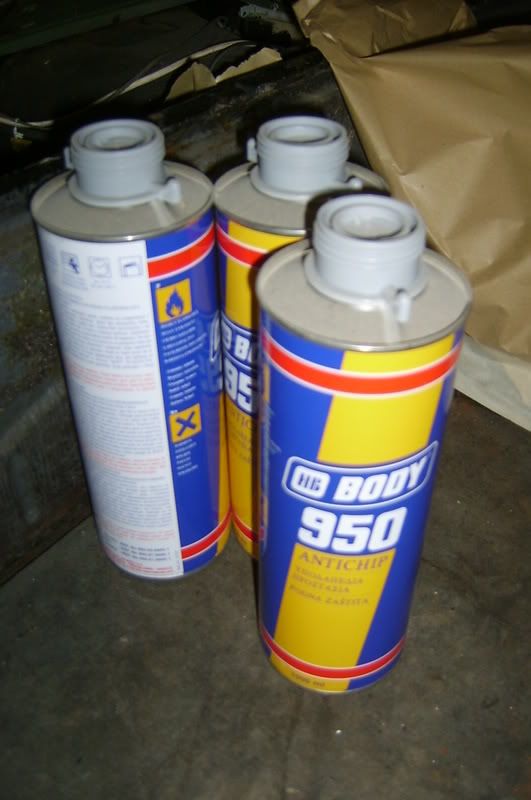
And stone chipped all the arches;
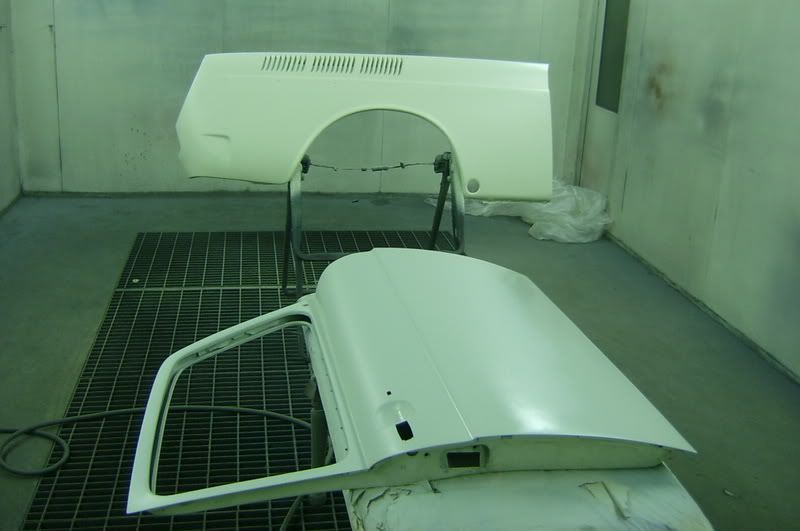
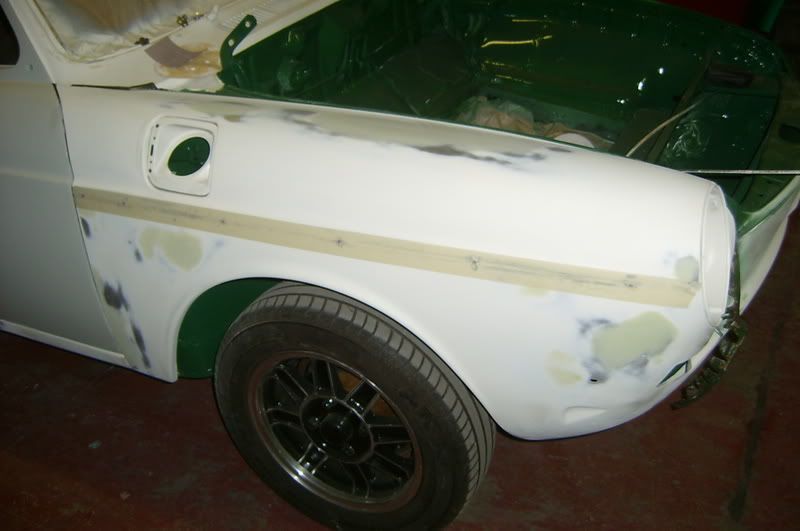
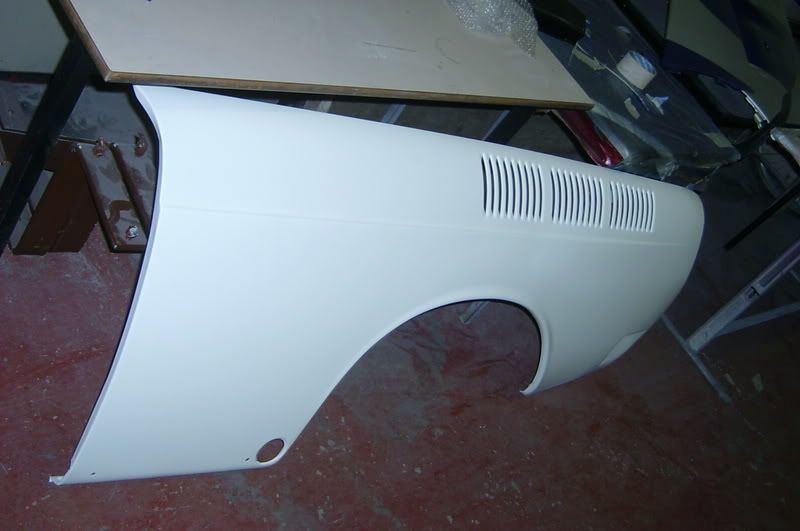
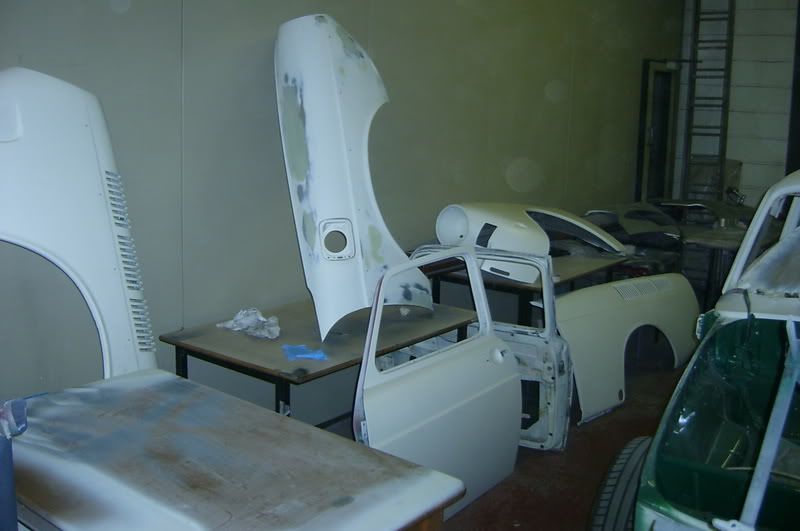
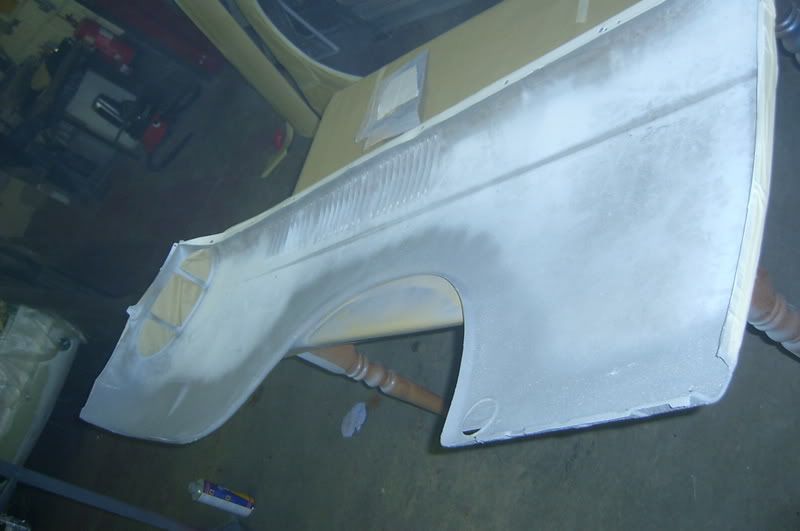
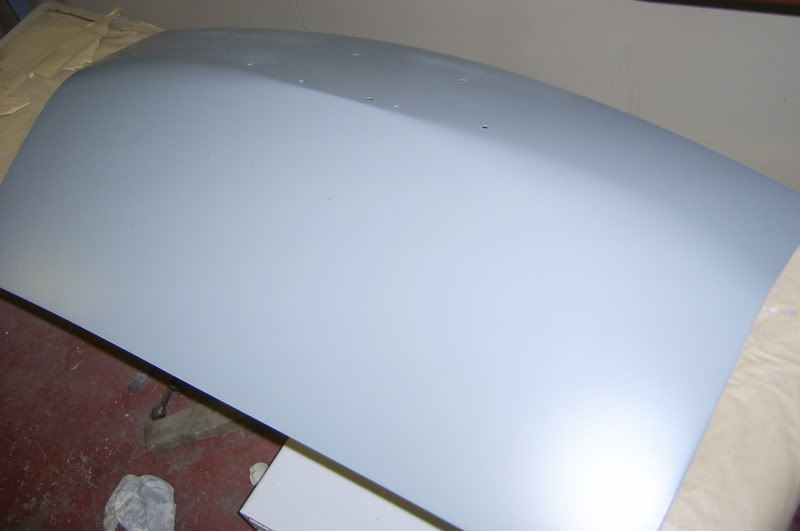
Bonnet ready for priming;
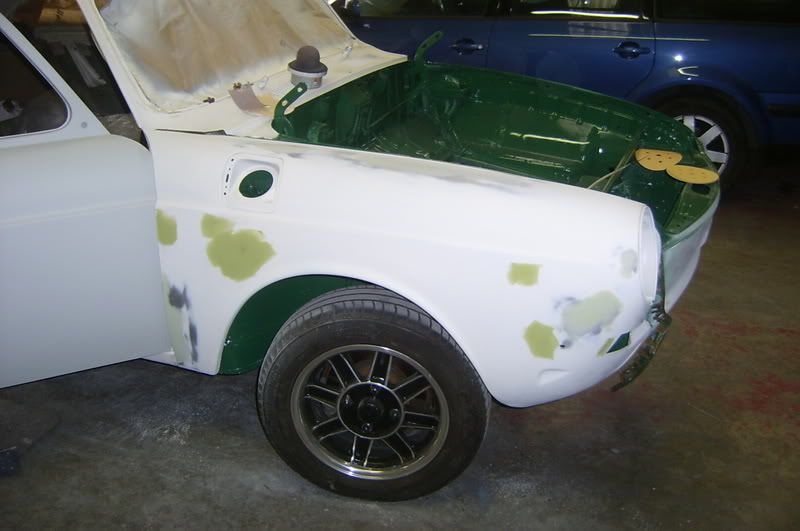
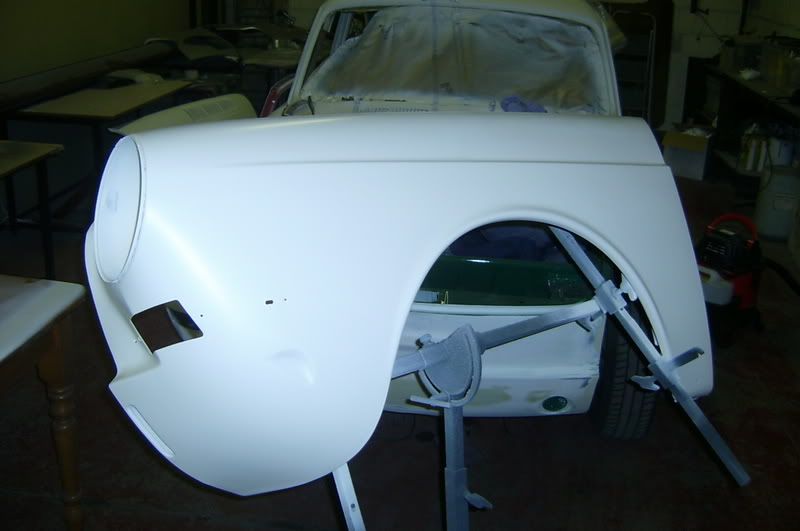
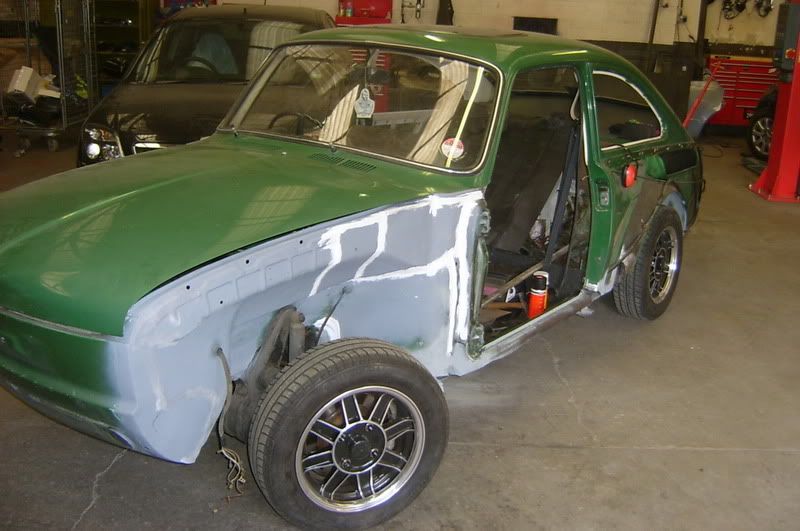
Bonnet and a front wing primed;
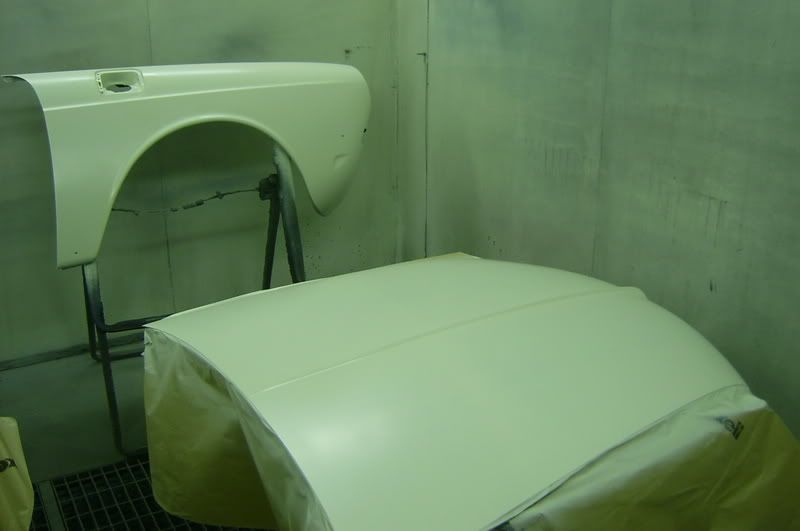
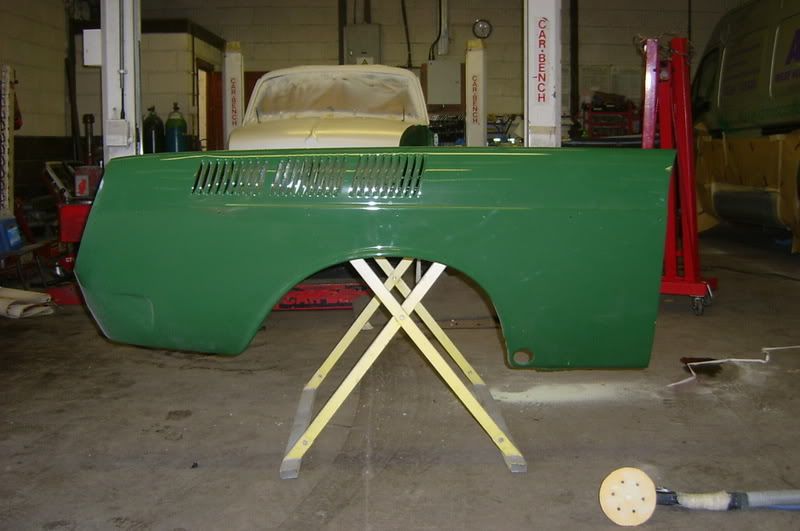
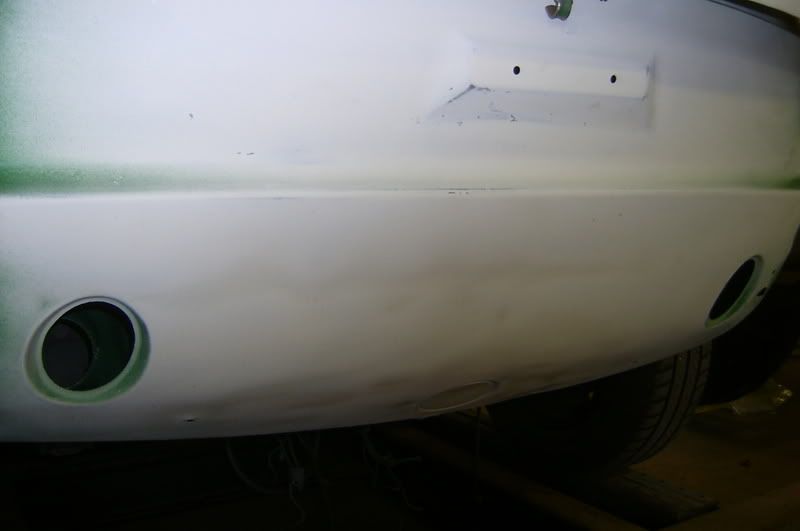
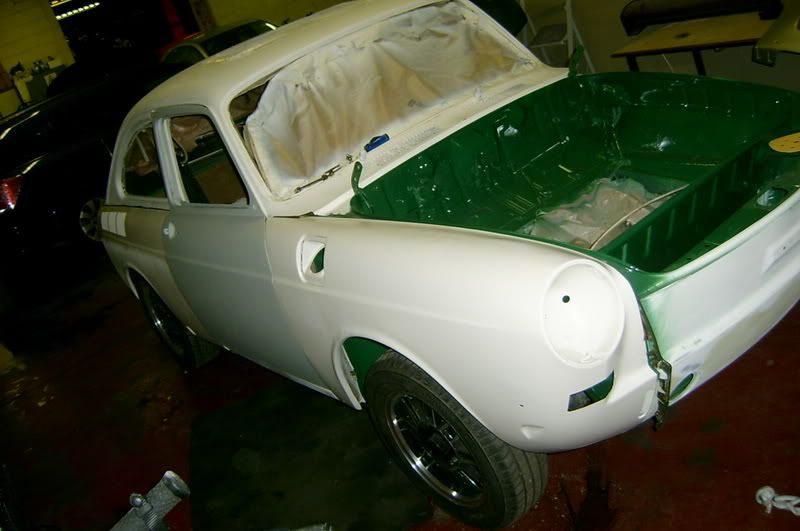
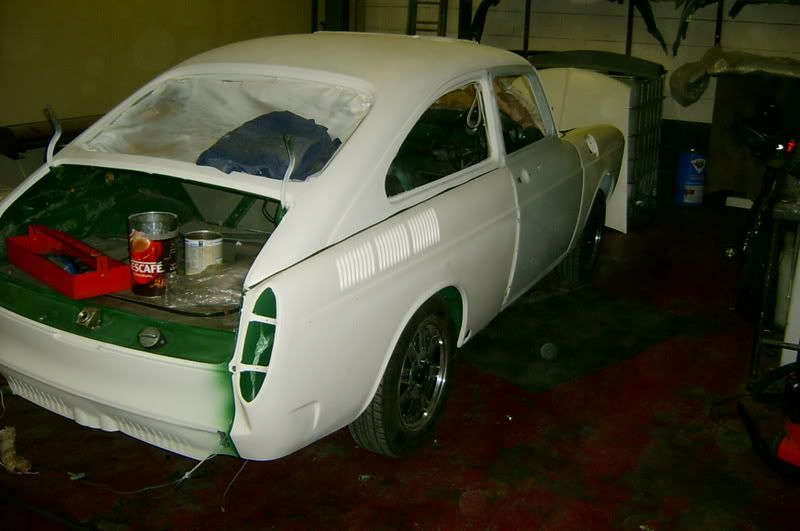
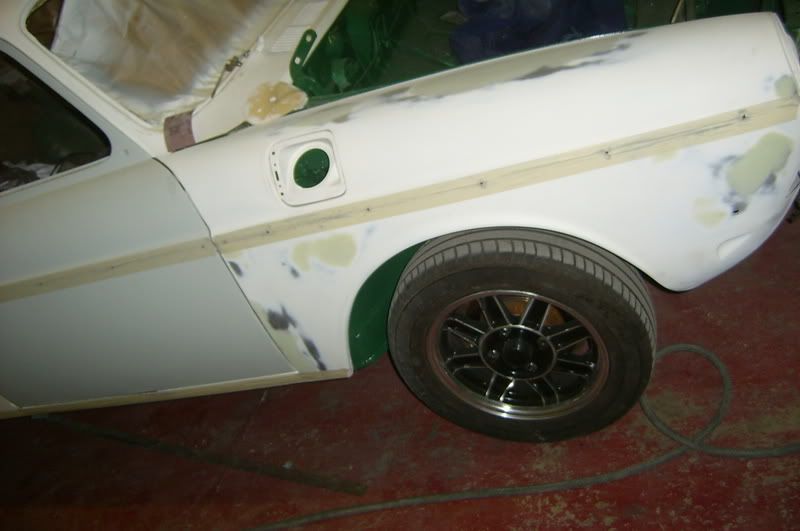
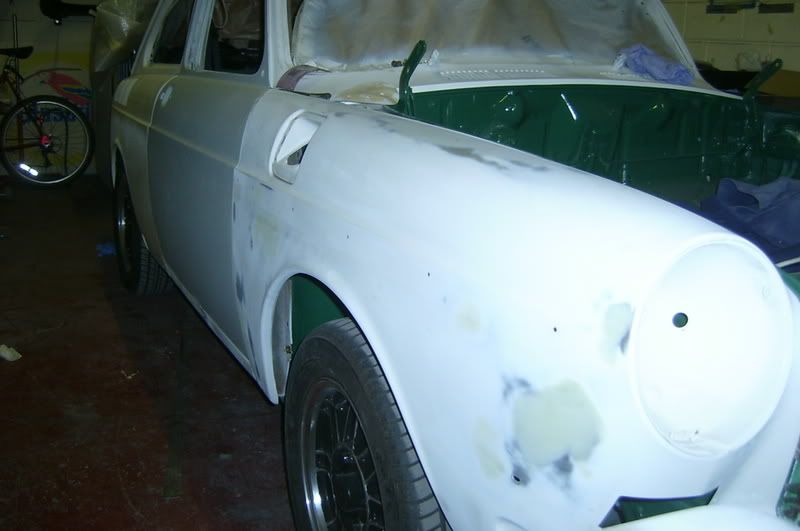
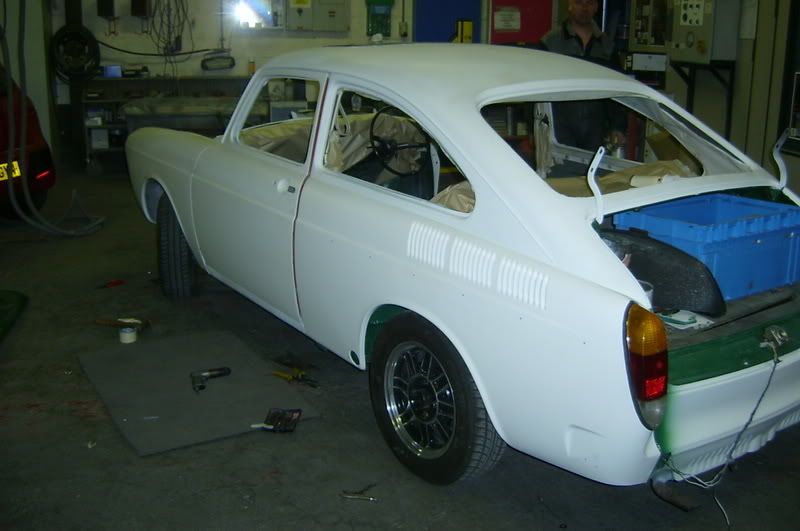
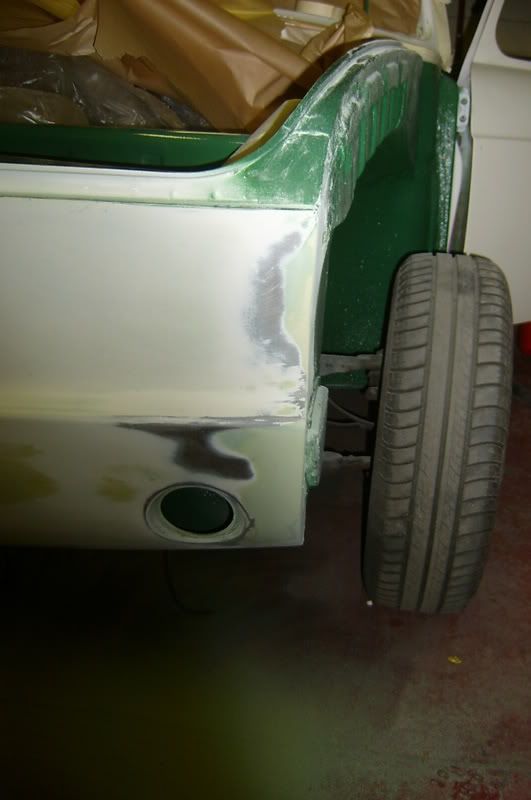
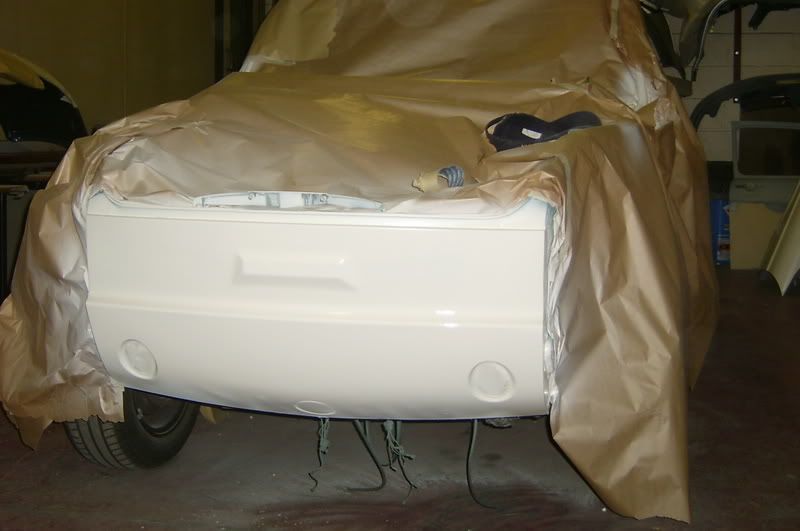
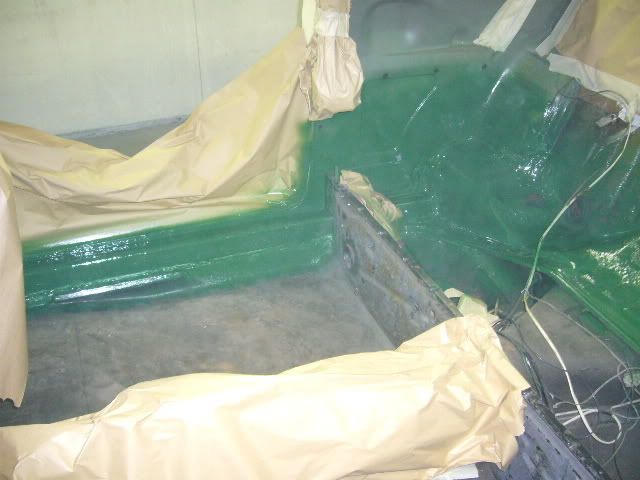
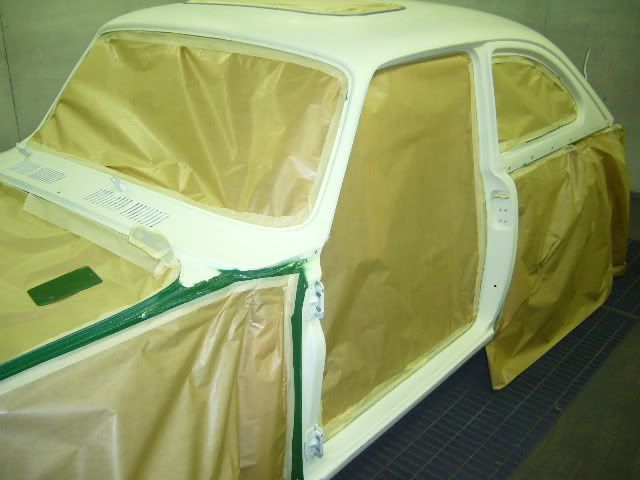
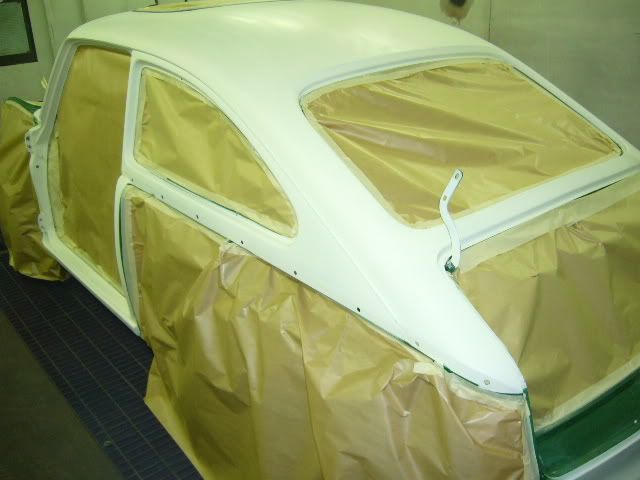
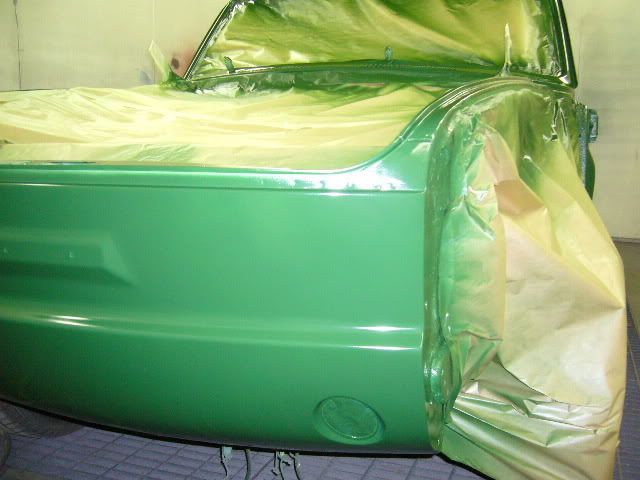
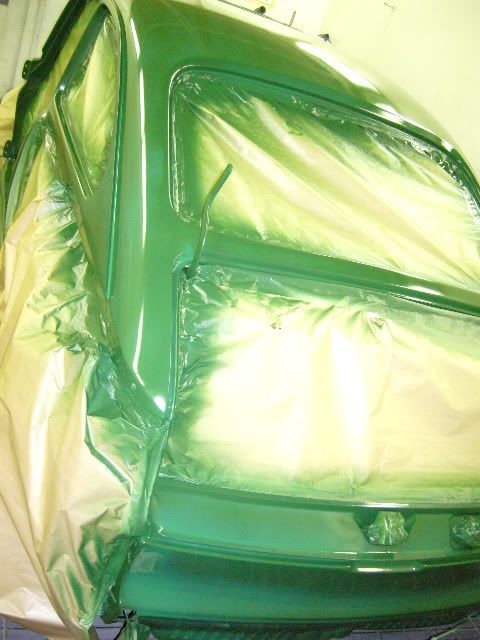
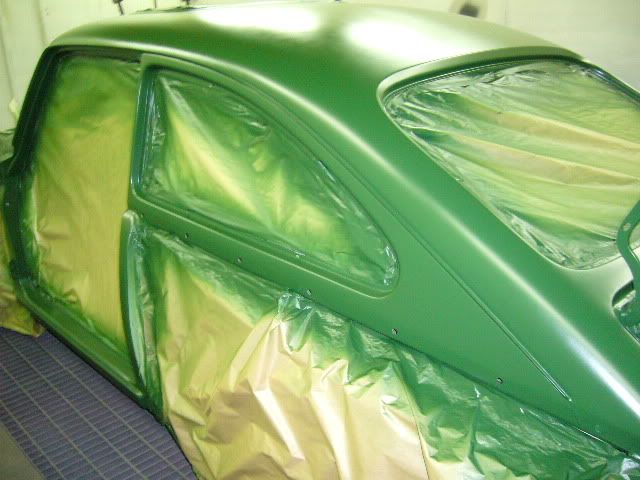
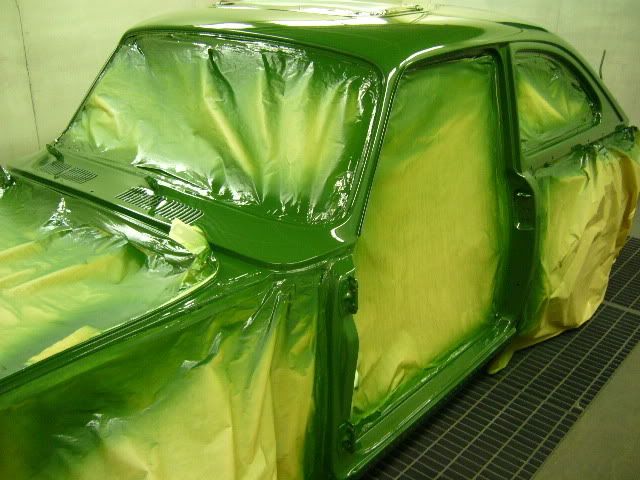
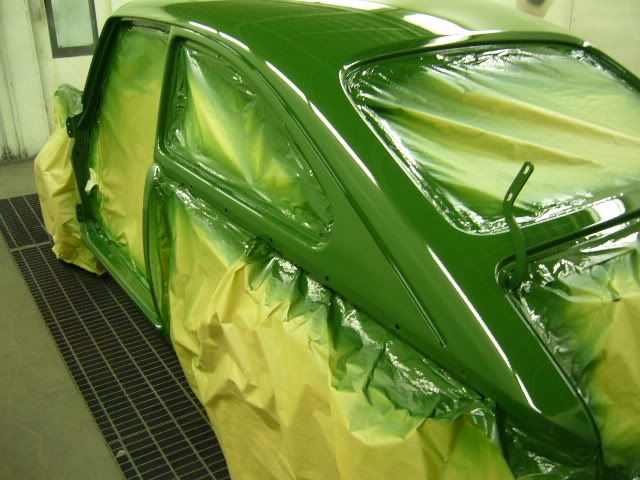
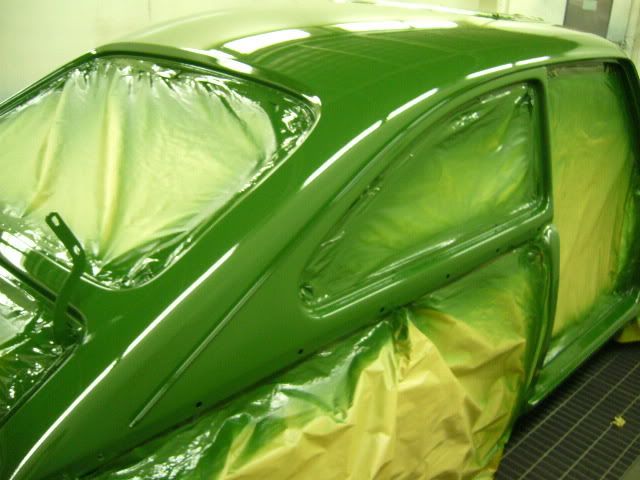
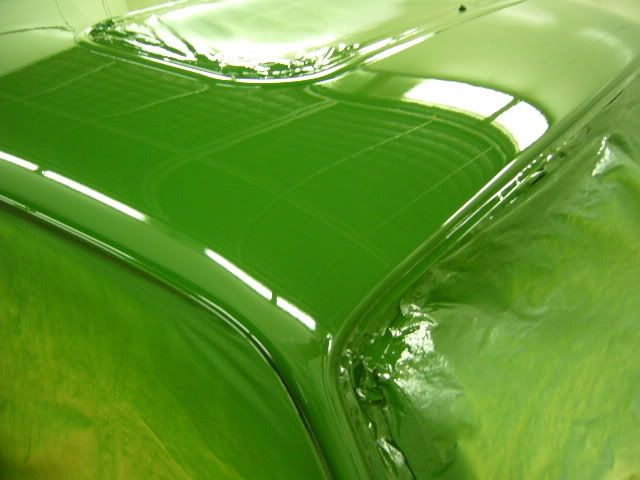
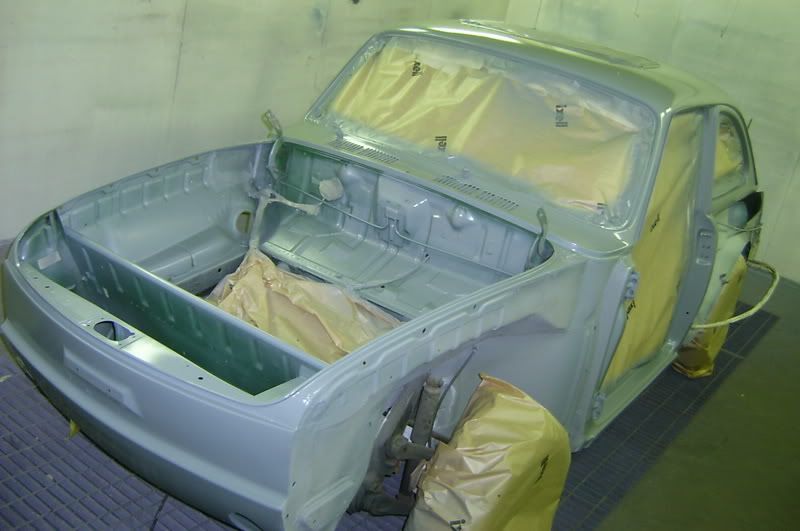
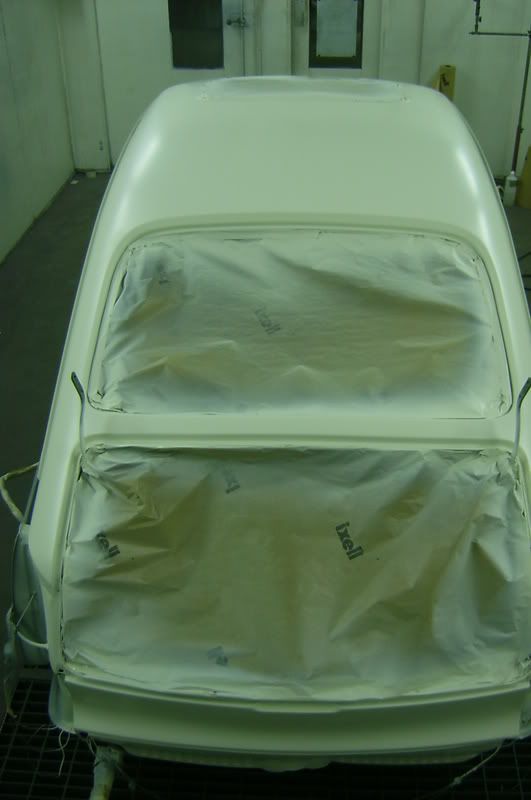
First splash of colour applied;
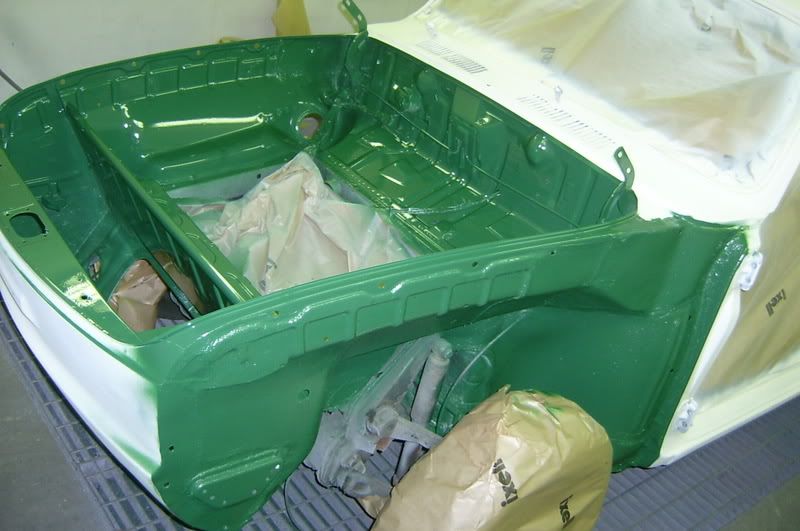
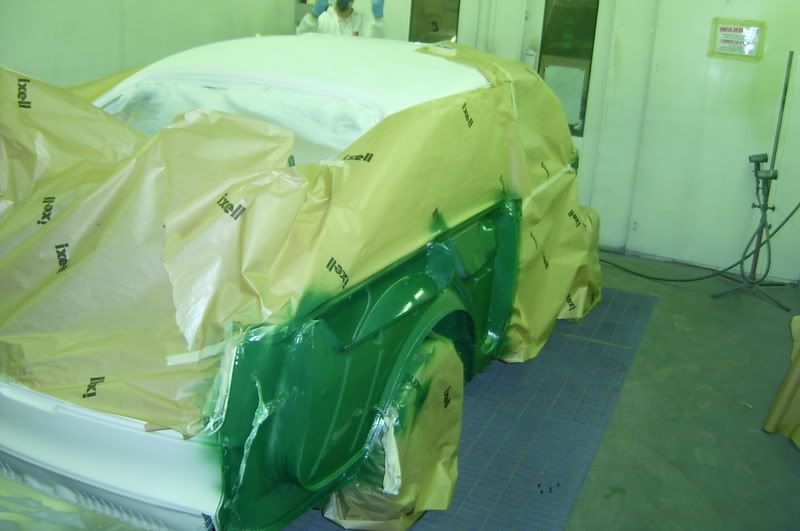
And this brings us up to date with the workshop closed for a week.
Sorry for the monster post, the updates should be in more managable bite sized chunks.
Dave.