The barons restoration. 1970 fasty.

For Type 3 and 4 restoration projects, interesting history, adventure trips etc
BTJustice
Posts: 200
Joined: 5th March 2005 - 5:13pm

Post by BTJustice » 3rd December 2007 - 9:45pm

More updates now as we spent the evening in the workshop.

I spent my time prepping the inside of the doors for primer and the under bonnet.
Image
Right is before, left is after;
Image

And while I was doing this Mick polished up the shell.
Started with this;
Image

Then began to sand with 1200;
Image
Image

Till the whole lot looked like this;
Image

Next was the 4000 grade with a wee bit of water;
Image
Image

This was followed by a polish with the course then fine cutting compound which left it looking like this;
Image

Just check the depth of shine;
Image
And it feels like a pool ball
:D :D
Dave.
I will finish it some day!!

Rust free imports direct from California;

www.route9autos.co.uk

The west of Scotland VW club.

http://vwscotclub.co.uk/forum/

User avatar
nitro_warrior
Posts: 217
Joined: 3rd April 2007 - 1:41pm
Location: Edinburgh

Post by nitro_warrior » 4th December 2007 - 12:47am

Image ooooh shiney!

User avatar
easy
Posts: 408
Joined: 17th October 2007 - 11:00am
Location: Bristol

Post by easy » 5th December 2007 - 10:17am

looking gurt lush their dood! 8)
Chrome doesnt get you home...

User avatar
Editor
Posts: 5515
Joined: 10th October 2004 - 8:52pm
Location: Pensford, Bristol
Contact:

Post by Editor » 5th December 2007 - 11:38am

"...And it feels like a pool ball..."

Nah - that's just because you haven't got any fingerprints left!

I got my wife to wet-and-dry the louvres in the rear wings on my Fastback - never misses a chance to remind me, wearing her fingers to the bone.

(Green with jealousy, me; where do you get your energy from?)

Dave.

BTJustice
Posts: 200
Joined: 5th March 2005 - 5:13pm

Post by BTJustice » 6th December 2007 - 9:52pm

Im not quite sure where the energy is coming from, must be the excitement of seeing it coming together and by the way, wet and dry is apparently a dirty word in the body shop, there are all sorts of sanding materials which make the job a bit easier.

Another update for y'all, not a very exciting one thought.

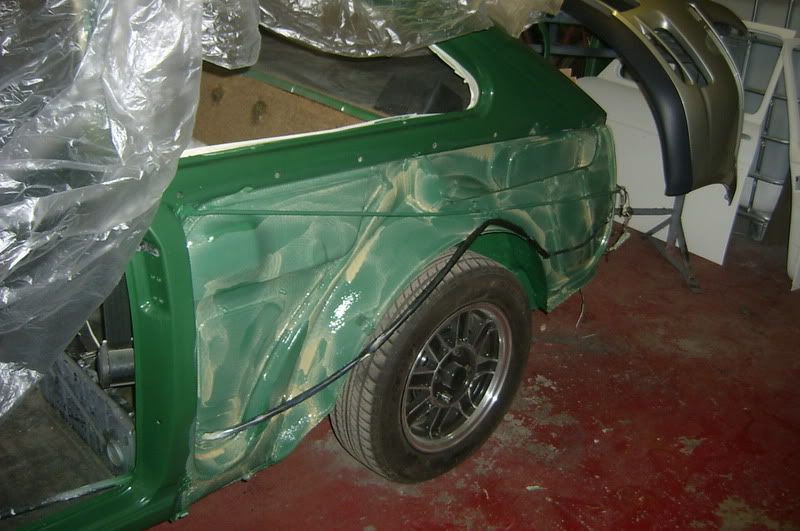
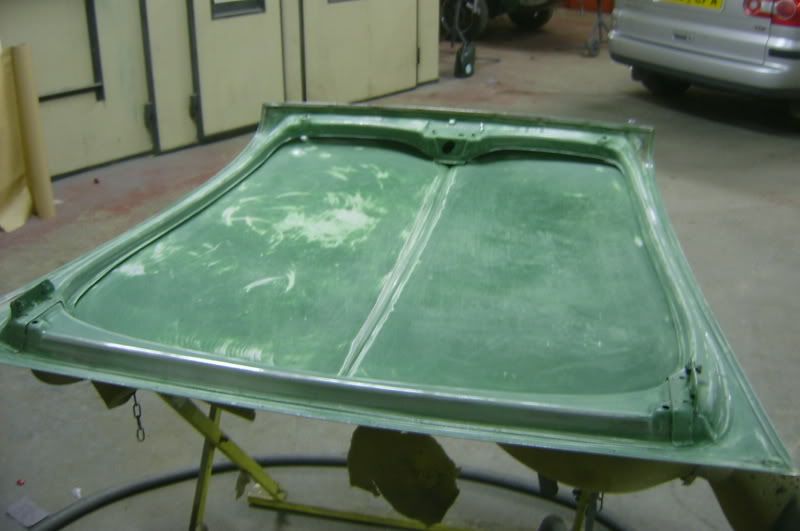
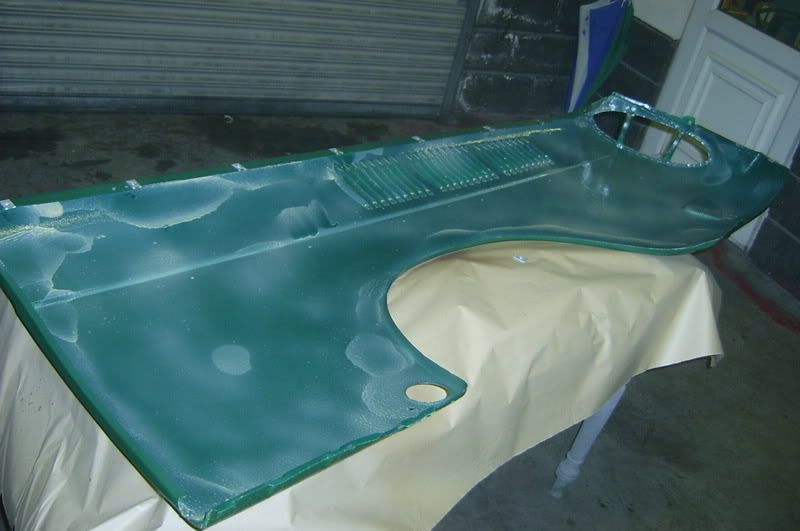
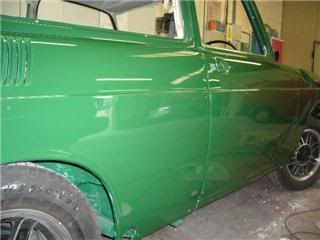
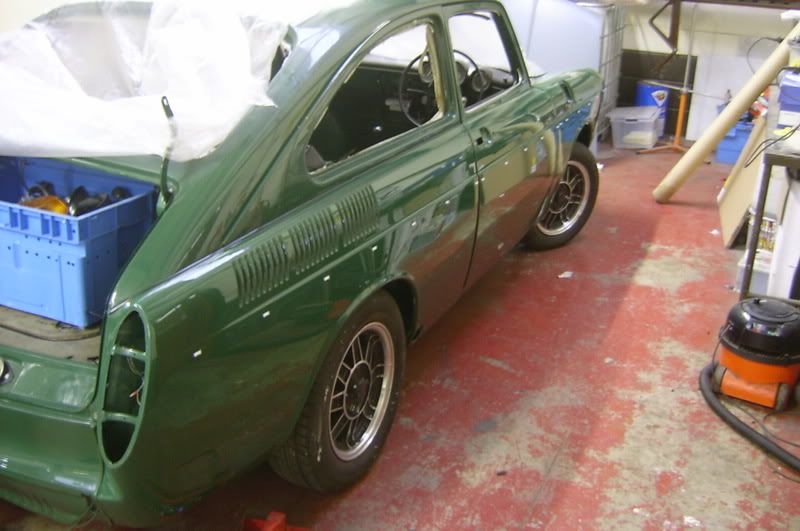
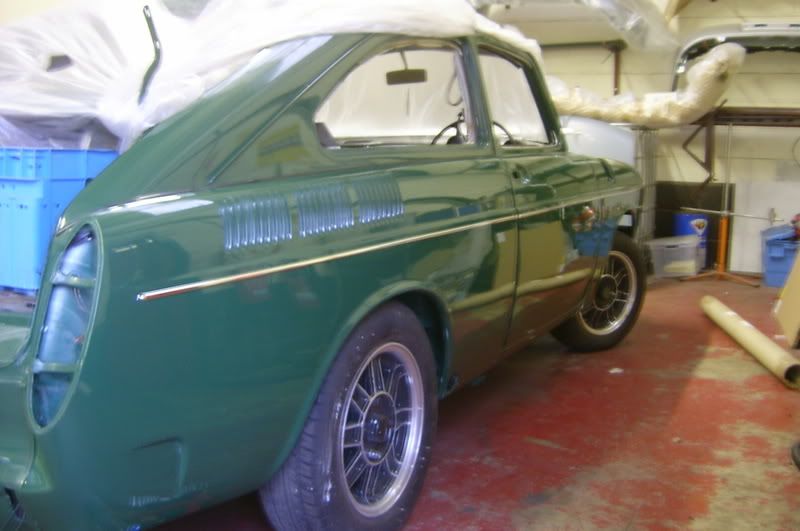
As we are in the middle of the final prep, every job done here will make the final finish better so the panels which have been repaired were pulled out for block sanding tonight.

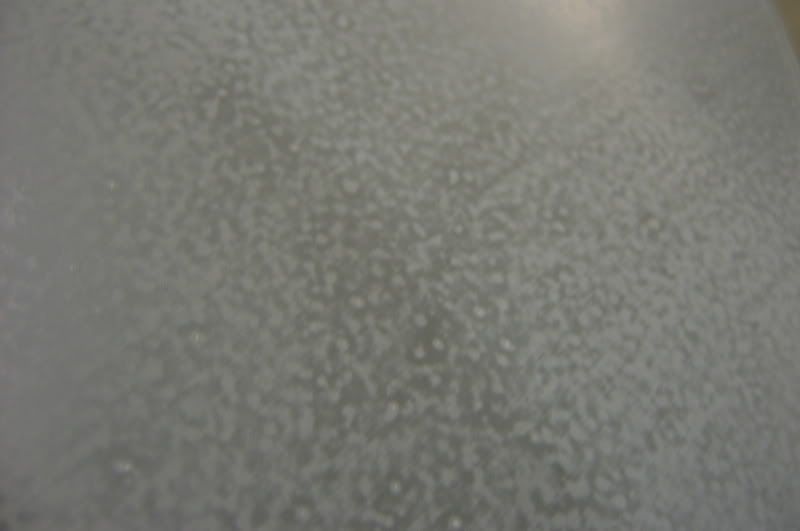
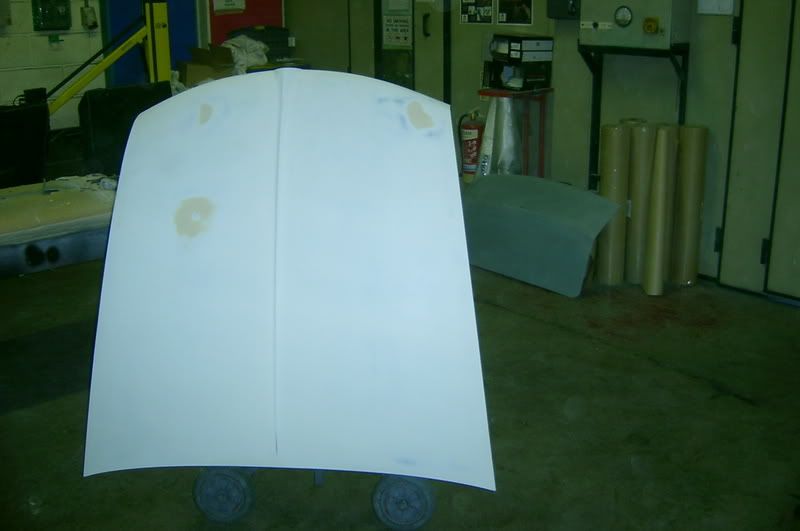
The panels were given a light covering of guide coat, this stuff;
Image
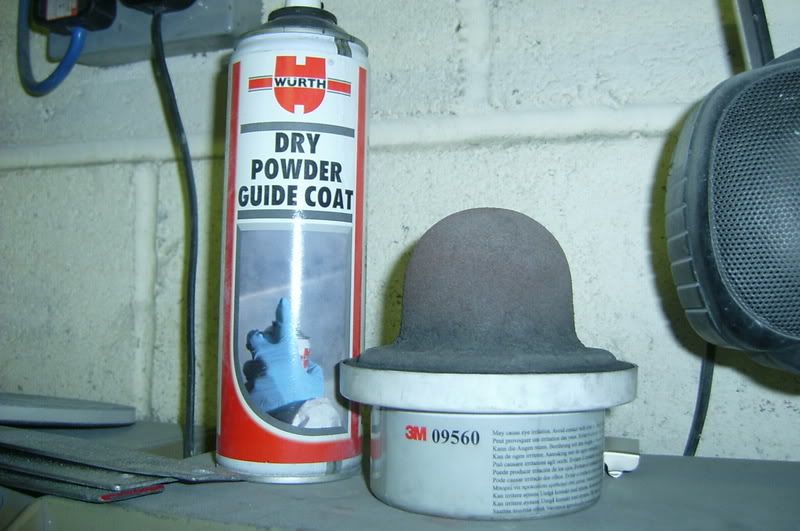
(I moved onto the spray as the powder was running out)

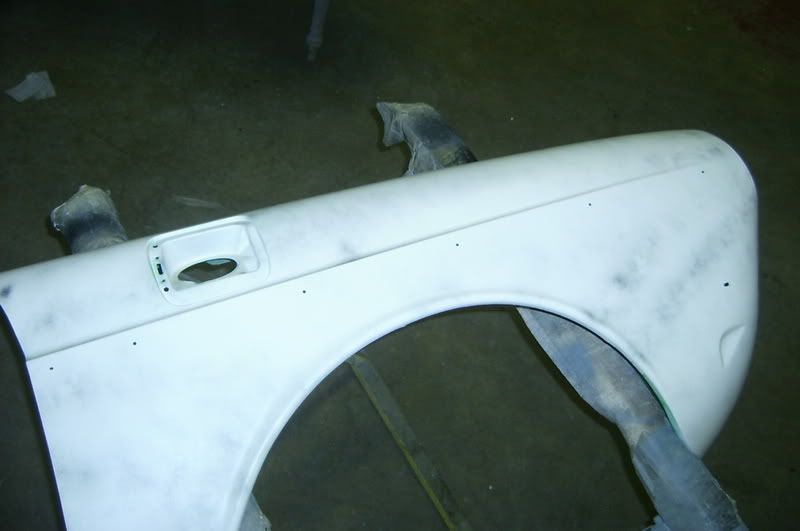
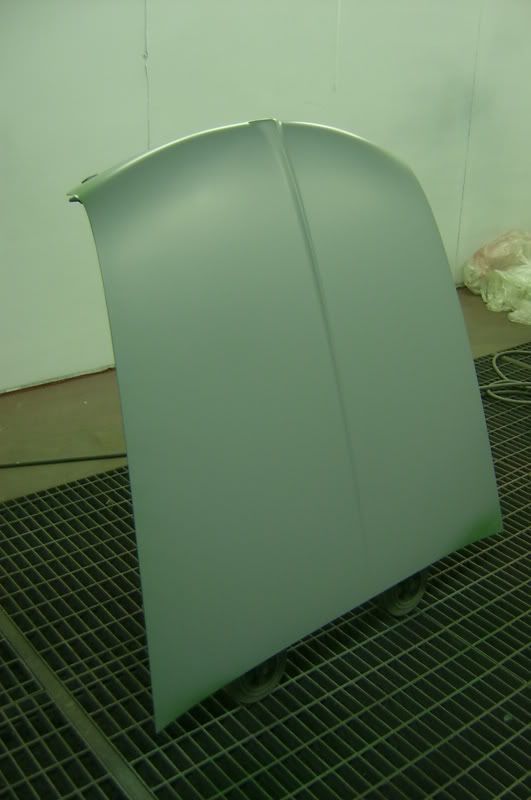
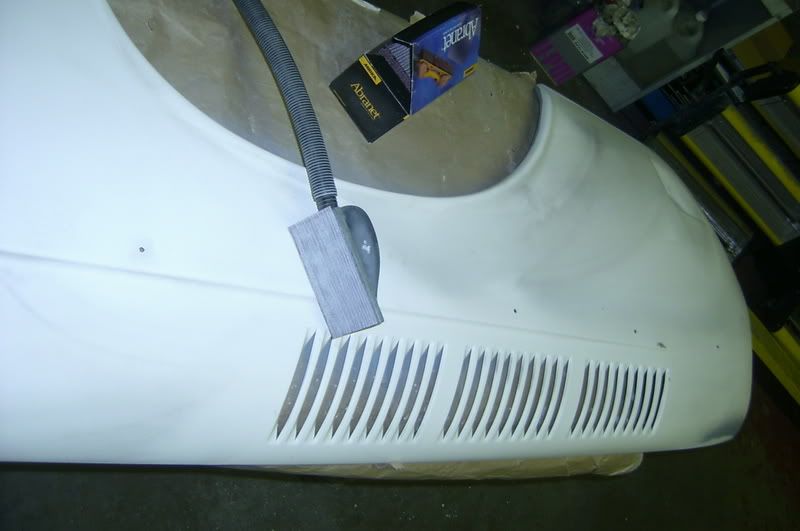
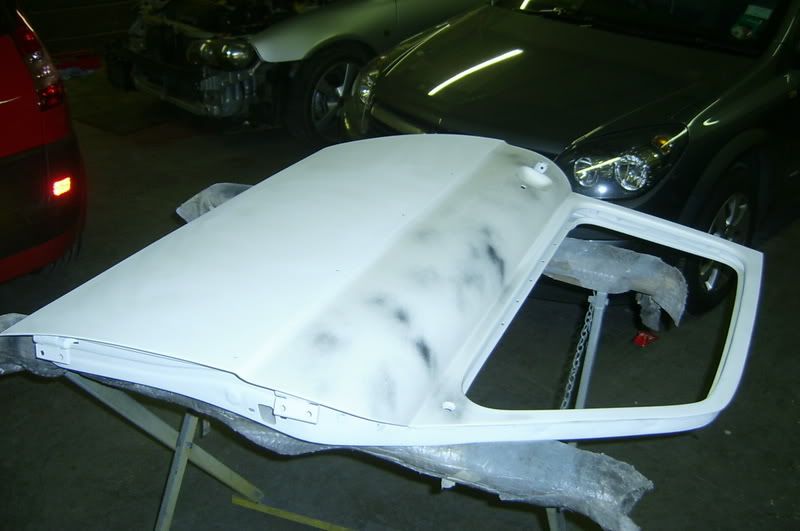
And then block sanded. This is the rear wing about half way through (closest to the camera is the sanded part)
Image

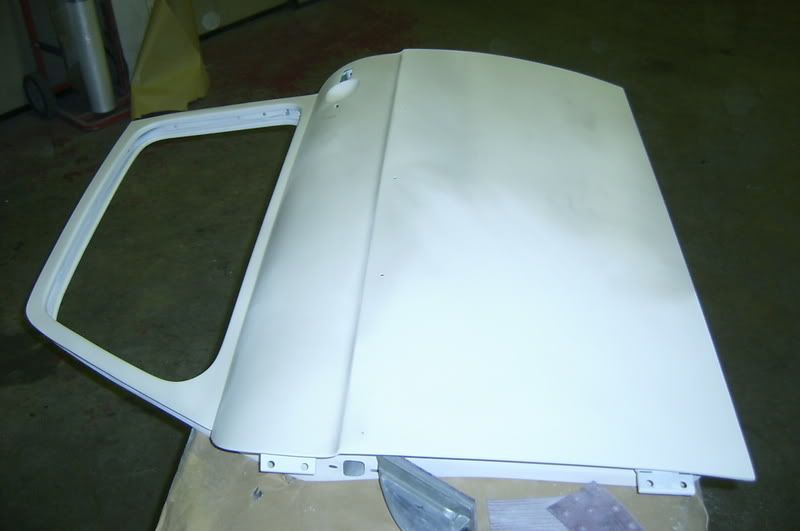
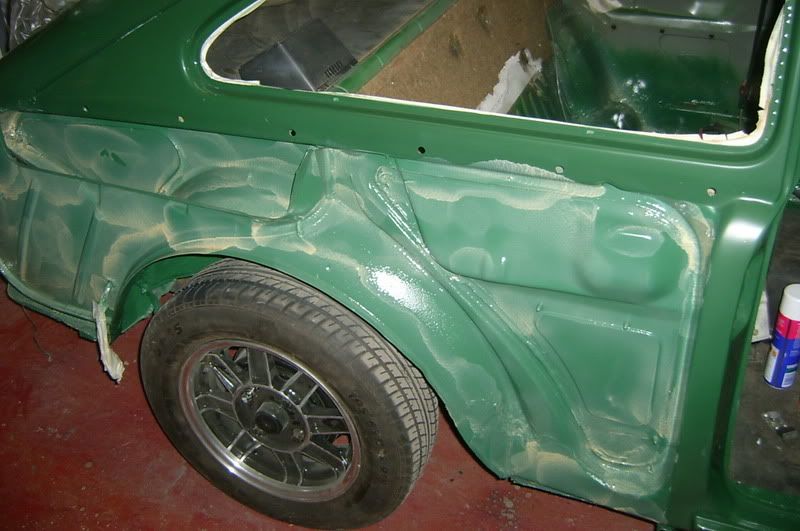
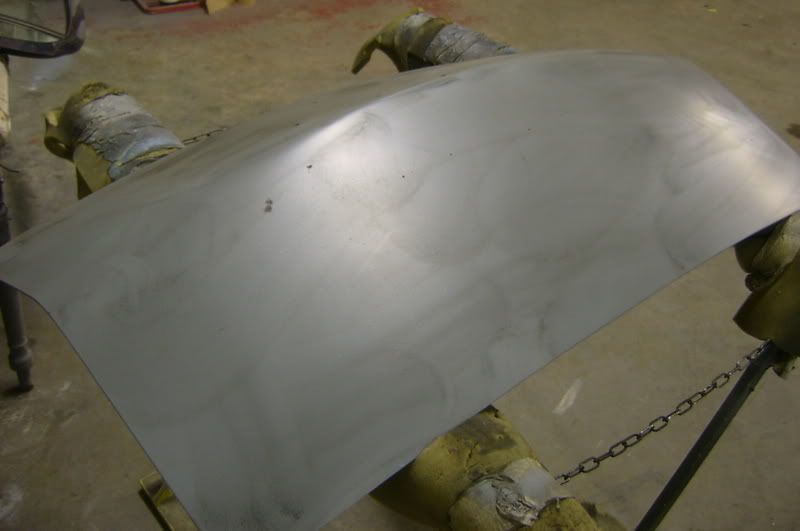
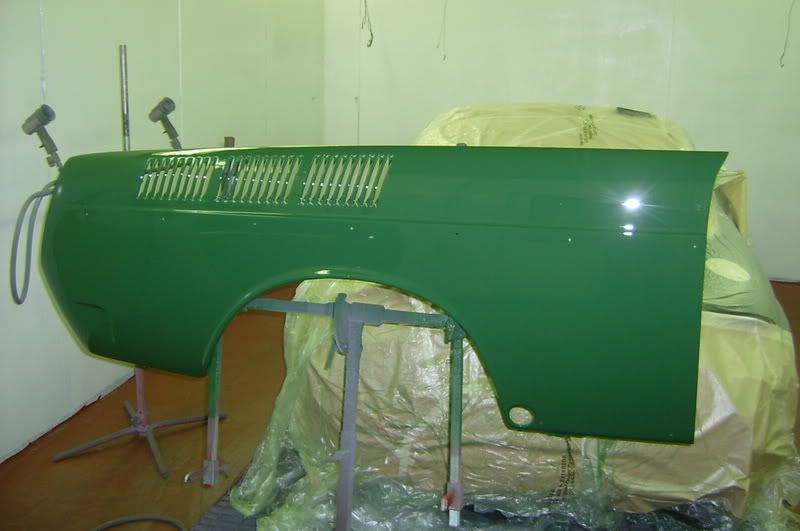
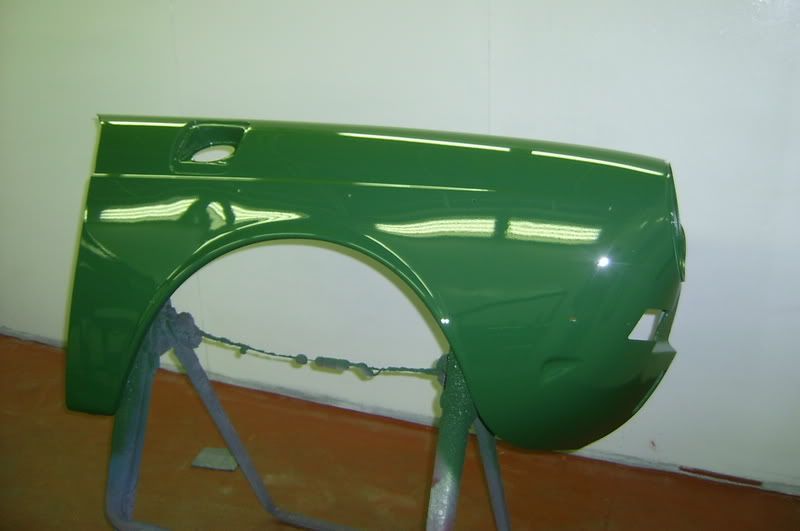
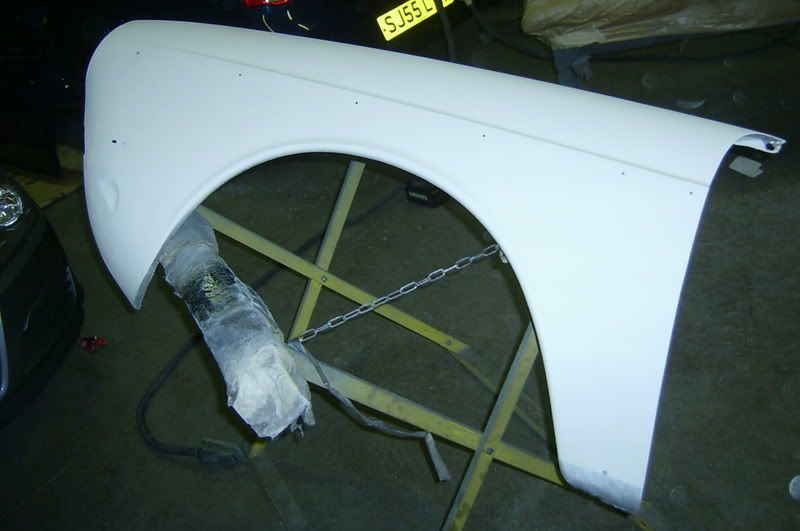
I also got the front wing done tonight;
Image

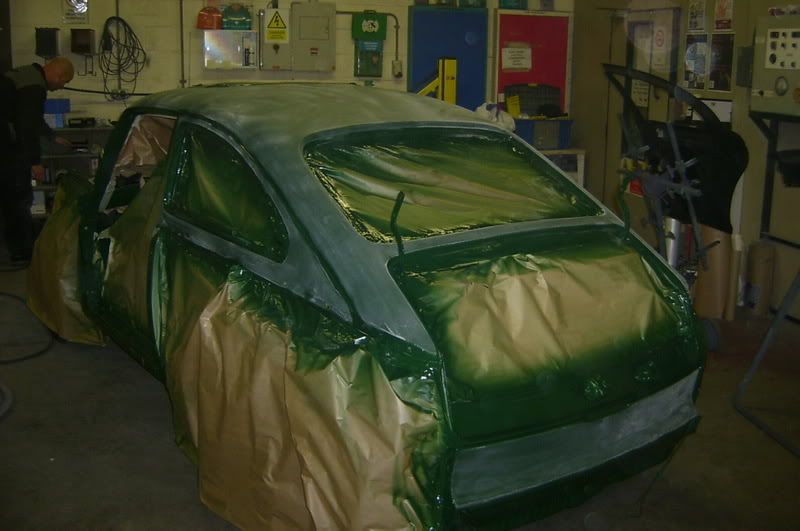
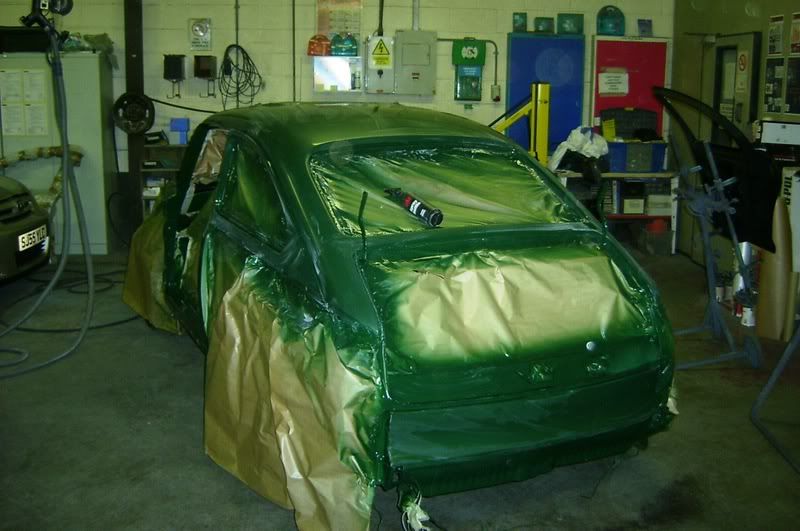
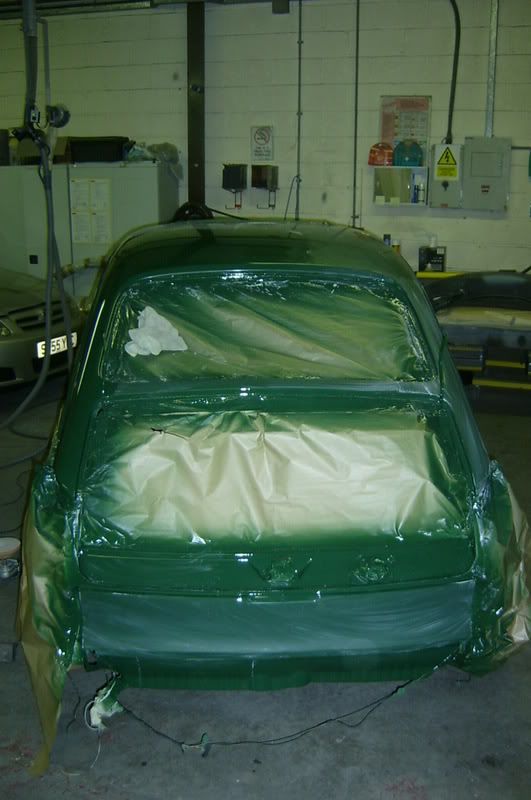
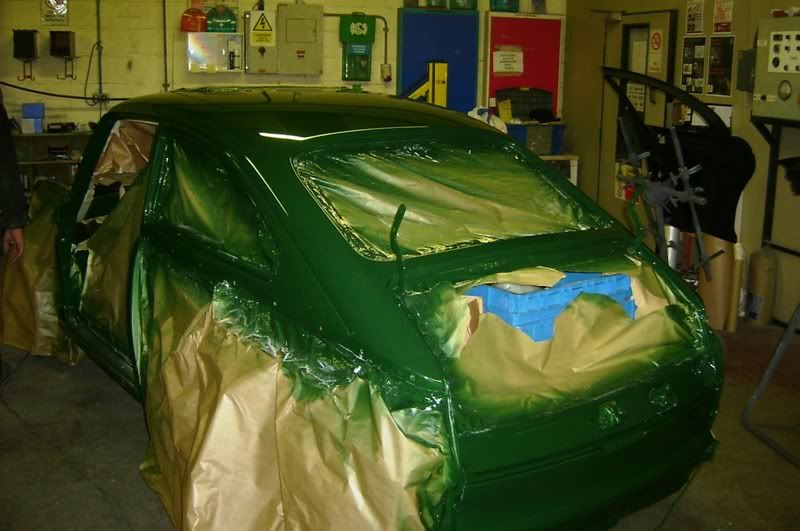
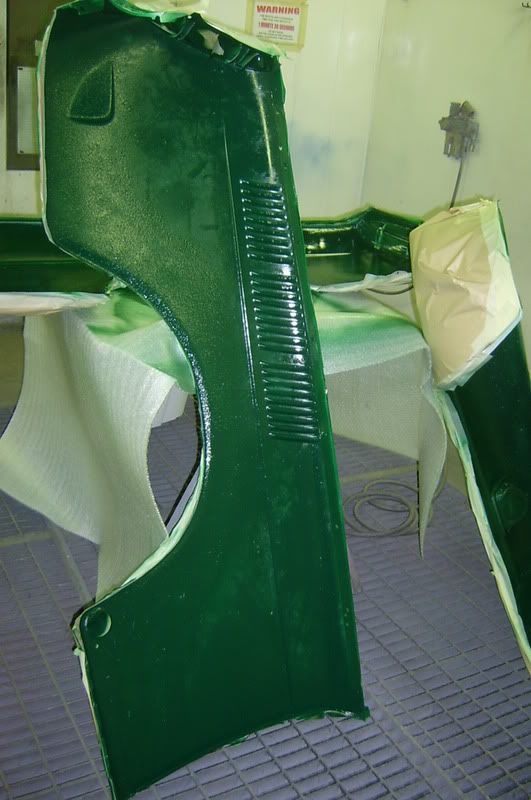
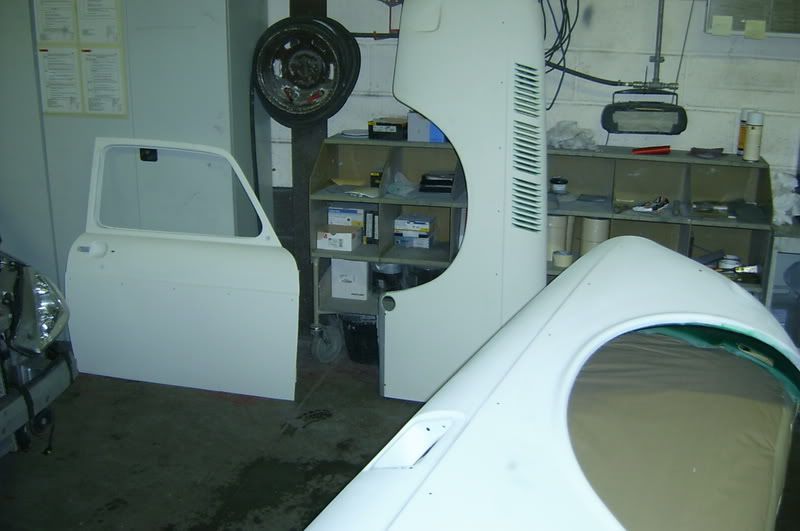
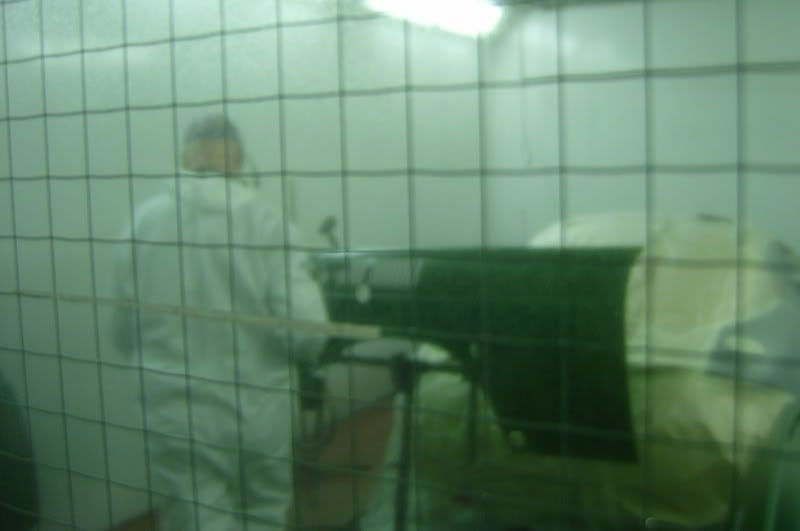
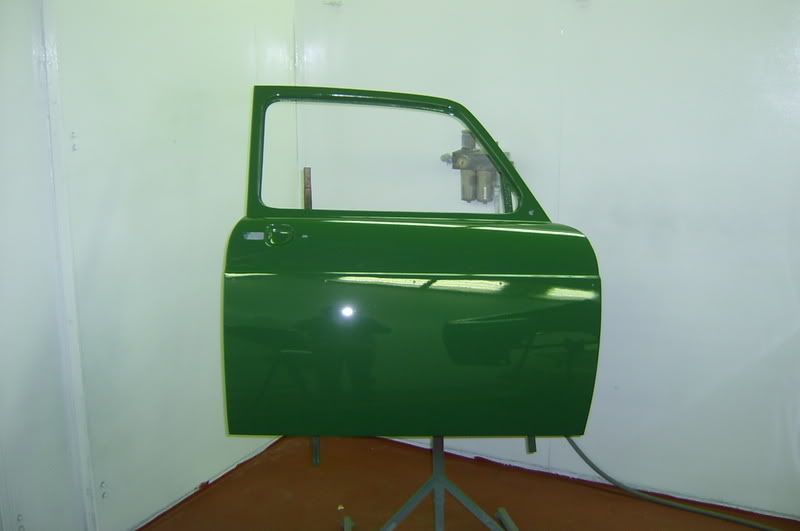
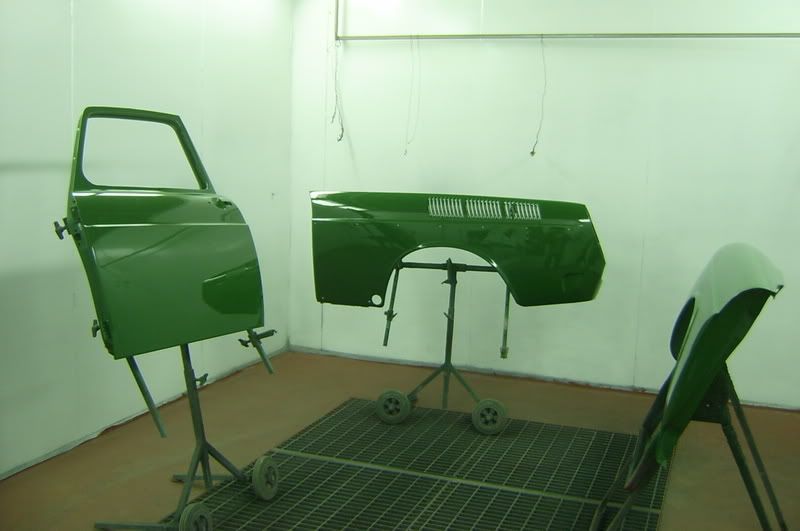
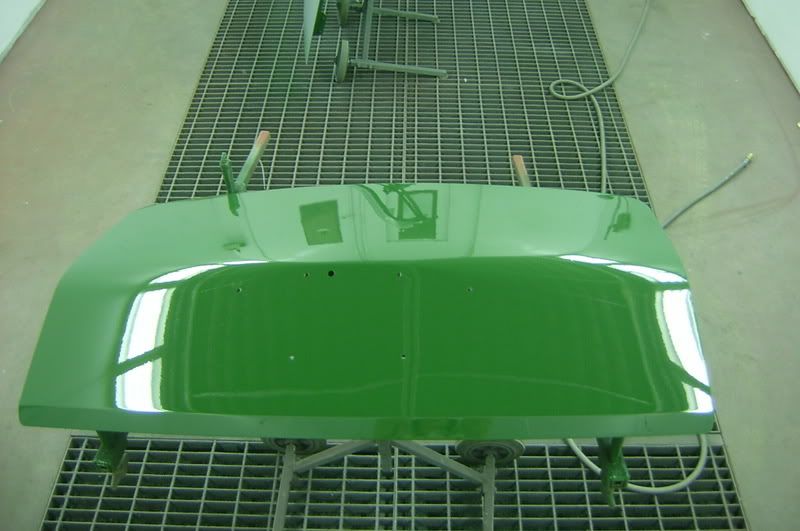
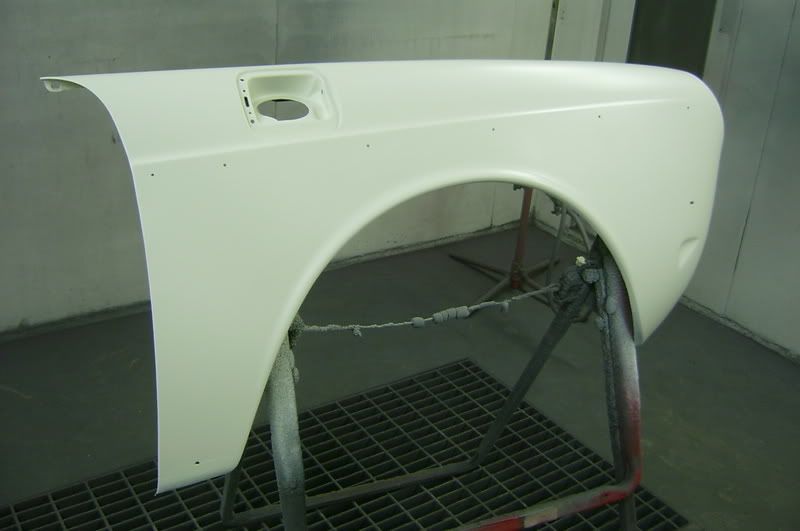
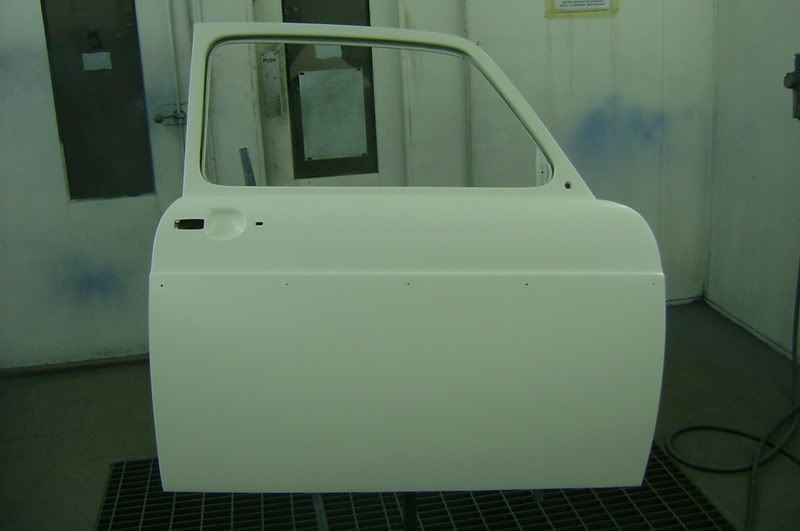
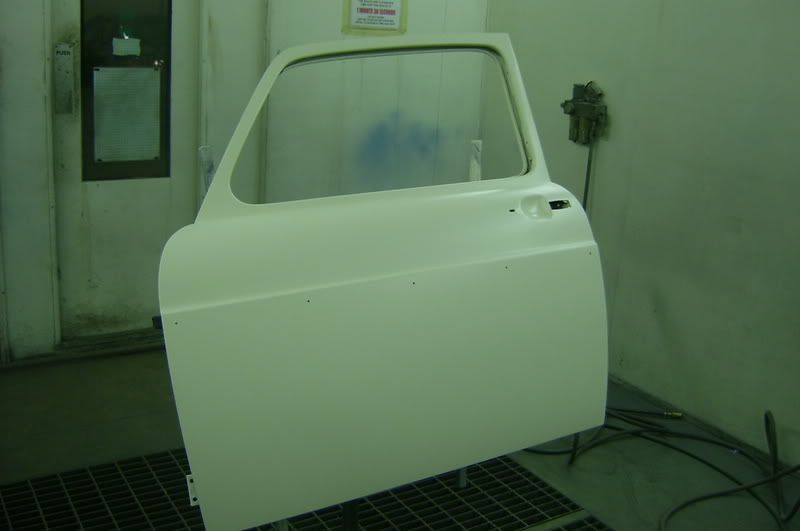
Mick was in the spray booth priming the allready repaired drivers door and drivers side front wing;
Image

Image

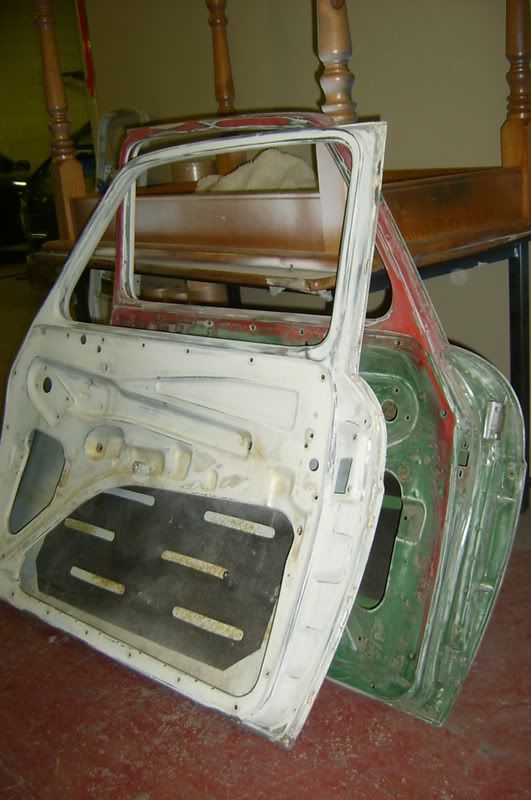
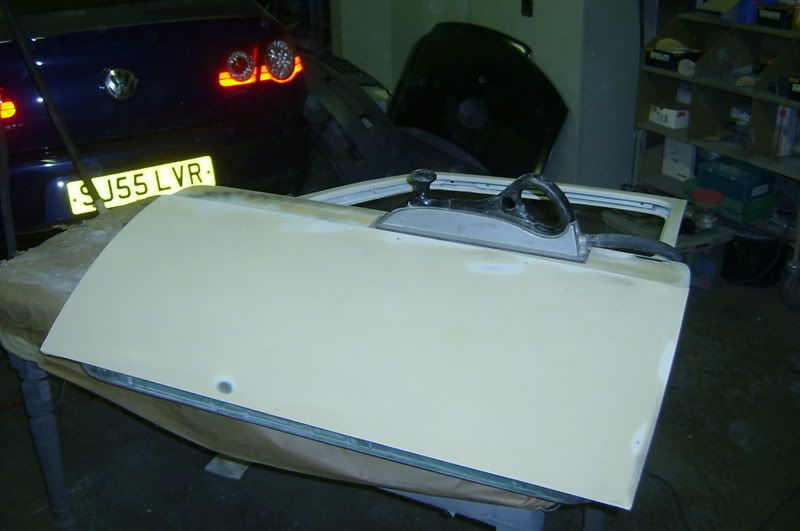
While I was getting the front wing block sanded Mick made a start repairing the passenger side door;
Image

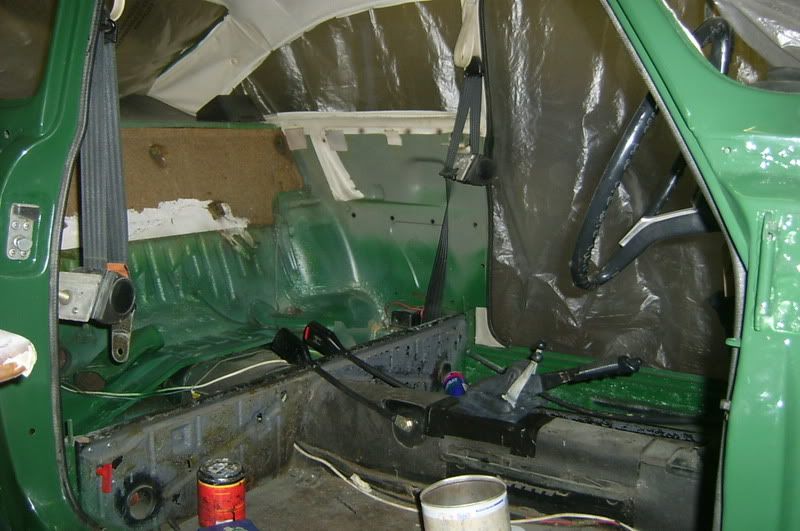
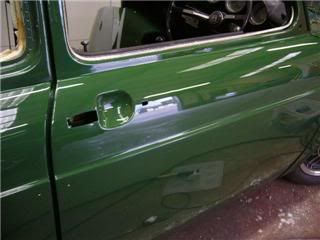
And once dry I made a start on sanding the drivers side door.
Image

Mick got the passenger door fixed and headed back into the booth to get it primed before we packed up for the night;
Image

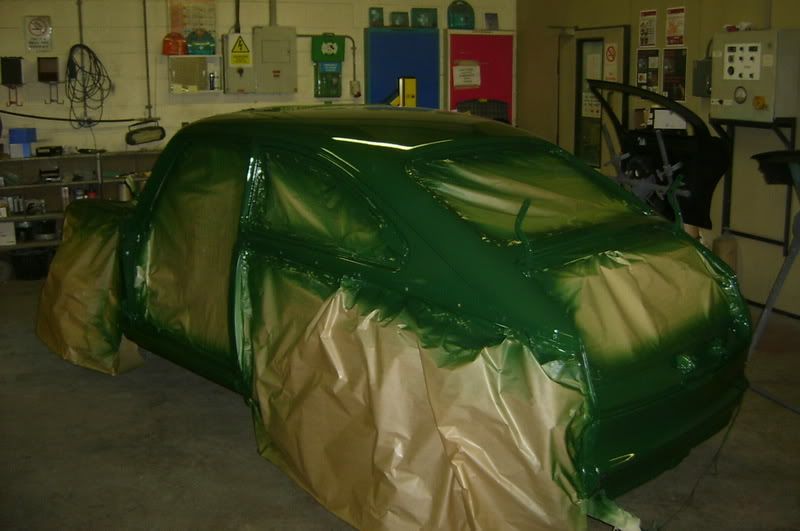
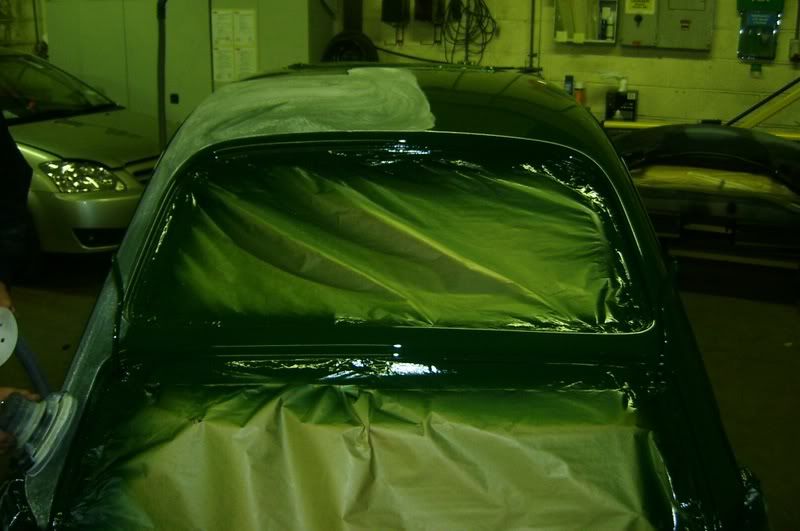
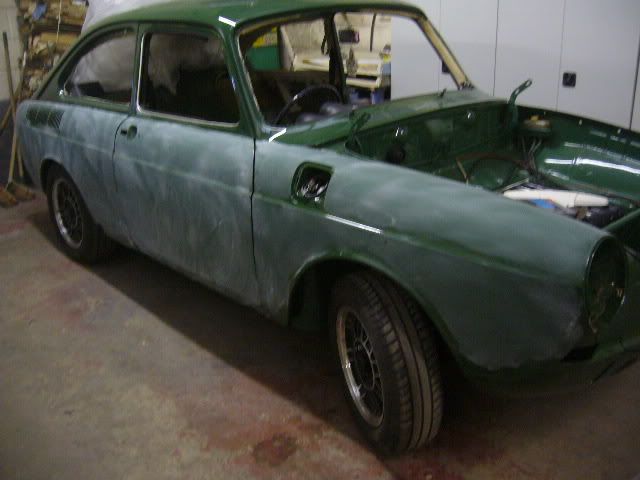
Back up next week and hopefully some of the panels will start to see paint.
I will finish it some day!!

Rust free imports direct from California;

www.route9autos.co.uk

The west of Scotland VW club.

http://vwscotclub.co.uk/forum/

BTJustice
Posts: 200
Joined: 5th March 2005 - 5:13pm

Post by BTJustice » 11th December 2007 - 9:54pm

Time for the next instalment.
Tonight was pretty mutch more of the same, block sanding and prepping.
I got the passenger door sanded;
Image

While Mick was in the booth painting the backs of the wings;
Image

And once the backs were dry I got the front drivers wing sanded while Mick worked on the rear offside wing.
Image

We wont be working Thursday this week but hope to get all day Saturday spent on it.

Dave
I will finish it some day!!

Rust free imports direct from California;

www.route9autos.co.uk

The west of Scotland VW club.

http://vwscotclub.co.uk/forum/

BTJustice
Posts: 200
Joined: 5th March 2005 - 5:13pm

Post by BTJustice » 15th December 2007 - 4:43pm

Well, the wait for Saturdays update is over.

I started at the garage at 9 (ish) this morning, Mick was busy with customers so no painting gor done but it did mean I got a chance to get started on some of the little jobs that will make a big difference.

With the inner front wings now nicely painted the front suspension, steering and brake hubs were looking grotty so a coat of black paint to tidy them up;
Image
This will be dirty again after a couple miles drive but might as well look good to start with.

I then moved on to getting all the masking tape off the wiring and routing them around the under bonnet before I started waxing;
Image

Then it got messy with the black wax;
Image
Image

Finishing up with fitting the petrol tank;
Image

While the wax gun was out I used clear wax and the injector hose to coat the inside of the sills and door pillars before fitting the nozzel back on and giving the rear inner wings a light* coat.
Image
Image

Another jump closer to finishing and we might get another shift in before the workshop closes for christmas but it depends how busy Mick is.

Dave

*Obviously in my mind "light" is open to interperatation
I will finish it some day!!

Rust free imports direct from California;

www.route9autos.co.uk

The west of Scotland VW club.

http://vwscotclub.co.uk/forum/

BTJustice
Posts: 200
Joined: 5th March 2005 - 5:13pm

Post by BTJustice » 18th December 2007 - 9:44pm

Well, next update time.
Started with a load of little jobs tonight, wiring in the door switches, washer pump and fuse box then fitting the fuel filler kneck that I painted on Saturday;
Image

Then onto more sanding and panel prep. All the wings and doors are now done so onto block sanding the bootlid.

This is the surface I started with (this was the roughest panet, the rest were smoother) for comparison;
Image

I covered the panel with guide coat;
Image

And as you sand the high pionts get lighter and the low points stay black;
Image

Keep sanding untill the black dissapears and you get a nice smooth finish;
Image

Once that was done I finished the night by doing more prep on the inner bonnet surface;
Image

As the workshop will be closing for Christmas at the end of the week this will be the last update of 2007 so Merry Christmas and look out for more updates in the new year.

Dave.
I will finish it some day!!

Rust free imports direct from California;

www.route9autos.co.uk

The west of Scotland VW club.

http://vwscotclub.co.uk/forum/

BTJustice
Posts: 200
Joined: 5th March 2005 - 5:13pm

Post by BTJustice » 8th January 2008 - 9:53pm

Happy new year everybody, Christmas is over and I was back up to get more work done tonight.
I spent the evening doing loads of little jobs like re-mounting the regulator, heater pipes, door edge trim, rear wing seals, headlining, door latches and loom cover.
Image
While I was doing this Mick took the driver side panels from this;
Image
And added some colour;
Image
After 3 coats of colour and 2 of laquer they looked like this;
Image
Image
Image

Shiny? You bet, this was taken from across the room;
Image

Back up Thursday hopefully to start mounting the painted panels.
Dave.
I will finish it some day!!

Rust free imports direct from California;

www.route9autos.co.uk

The west of Scotland VW club.

http://vwscotclub.co.uk/forum/

BTJustice
Posts: 200
Joined: 5th March 2005 - 5:13pm

Post by BTJustice » 10th January 2008 - 9:39pm

I was off today so I went up to the workshop a few hours earlier and as you will see it really paid off.

Job 1, fit front wing;

Image

Job 2, fit door;

Image

Job 3, spend about 2 hours stripping old door and transfering the lock, outer scraper, inner scraper,check strap, felt and window winder into the new door. Couldnt complete the door as I want to paint up the 1/4 window frames before fitting so moved onto......

Job 4, way the inner side of the rear wing;

Image

Job 5, fit rear wing then stand back and look as its almost a car again

Image

While I was doing this Mick was in the booth adding paint to the passenger side panels;

Image

Its all coming together quite quickly now but still loads of wee bits to do.

Dave.

P.S. I really need a complete fuel flap operating cable with knob if anybody has one.
I will finish it some day!!

Rust free imports direct from California;

www.route9autos.co.uk

The west of Scotland VW club.

http://vwscotclub.co.uk/forum/

User avatar
nitro_warrior
Posts: 217
Joined: 3rd April 2007 - 1:41pm
Location: Edinburgh

Post by nitro_warrior » 11th January 2008 - 9:15am

I missed your updates over the holidays!

It's looking really good.

User avatar
easy
Posts: 408
Joined: 17th October 2007 - 11:00am
Location: Bristol

Post by easy » 11th January 2008 - 11:58am

looking blinking lovely! 8)
Chrome doesnt get you home...

User avatar
Editor
Posts: 5515
Joined: 10th October 2004 - 8:52pm
Location: Pensford, Bristol
Contact:

Post by Editor » 11th January 2008 - 12:20pm

Phil Evans had a NOS fuel flap release - maybe not the knob. Look at the parts for sale. Lorenzo posted a photo of it on a NOS front panel.
See viewtopic.php?t=1517

BTJustice
Posts: 200
Joined: 5th March 2005 - 5:13pm

Post by BTJustice » 12th January 2008 - 6:55pm

Cheers guys,
Micks been busy today, thats the panels flatted back;
Image

Then polished;
Image
Image

Dave

P.S. I found an NOS cable release on VZi about 2 minutes after posting the request, aint the internet amazing?
I will finish it some day!!

Rust free imports direct from California;

www.route9autos.co.uk

The west of Scotland VW club.

http://vwscotclub.co.uk/forum/

User avatar
Editor
Posts: 5515
Joined: 10th October 2004 - 8:52pm
Location: Pensford, Bristol
Contact:

Post by Editor » 13th January 2008 - 1:51am

Glad you've got one.

Dave.

BTJustice
Posts: 200
Joined: 5th March 2005 - 5:13pm

Post by BTJustice » 15th January 2008 - 9:32pm

Went up a wee bit earlier again today and managed to get a good bit done.
I fitted the wing beading to the drivers side which I wasnt fitting until Mick had polished the paint to save polish from getting stuck under the rubber.
As the panels are now polished I started with this;
Image
And using a roll of wing beading:
Image
I managed to get the drivers side finished off;
Image
Image
I havent decided yet if its staying black or if I am going to try and make it green as it was before.

I then waxed up the passenger side rear wing and fitted up the passenger side panels so it really does look like a car again;
Image

More on Thursday I hope.

Dave
I will finish it some day!!

Rust free imports direct from California;

www.route9autos.co.uk

The west of Scotland VW club.

http://vwscotclub.co.uk/forum/

User avatar
Editor
Posts: 5515
Joined: 10th October 2004 - 8:52pm
Location: Pensford, Bristol
Contact:

Post by Editor » 16th January 2008 - 12:47am

It's smart with the black.

Mind you it would be with green as well!

Is that T-section or round? Looks OK whatever. I think T-section is still used on black cabs.

BTJustice
Posts: 200
Joined: 5th March 2005 - 5:13pm

Post by BTJustice » 16th January 2008 - 12:56pm

The wing beading is T section. I know what you mean about the black looking not too bad but I am going to wait until I see it in daylight before I decide for definate.
I had to use the original green beading between the back wing and vallance as the new stuff was too springy to get it sitting nicely.
I will finish it some day!!

Rust free imports direct from California;

www.route9autos.co.uk

The west of Scotland VW club.

http://vwscotclub.co.uk/forum/

BTJustice
Posts: 200
Joined: 5th March 2005 - 5:13pm

Post by BTJustice » 17th January 2008 - 9:43pm

Time for a new update, lots of little jobs that seem to take forever and a couple of biggies.

I fitted up the windscreen skoosher nozzle, fuel flap release and finished off the wing beading on the passenger side;

Image

While Mick repaired the bonnet;

Image

Primed the outside and painted the inside;

Image

Image

The bootlid also recieved a coat of paint tonight;

Image

I hope to get up for a few hours tomorrow so watch this space.
I will finish it some day!!

Rust free imports direct from California;

www.route9autos.co.uk

The west of Scotland VW club.

http://vwscotclub.co.uk/forum/

BTJustice
Posts: 200
Joined: 5th March 2005 - 5:13pm

Post by BTJustice » 18th January 2008 - 6:35pm

Right you lucky people, here is the second update in 24 hours and its a goody.

I had a day off work so I headed up to the workshop at lunch time and started by fitting the trim clips along the side panel;
Image
I sourced a brand new set of trims so it was just a case of carefully unwrapping them and figuring out which was which;
Image
Once fitted up I spent a bit of time getting the door lined up properly and Im pretty chuffed with how it looks;
Image
Image

Now here is the biggy. I spent a good 3 hours on this as its really surprising how long each wee job takes and even more so when trying not to scratch new paint. My car has a face again;

Image

I still have a few bits to finish off at the front but its looking great, just wish my new bumpers had arrived from the states as the ones I have are showing their age a bit.

I also need to decide if I am ordering up black and silver plates;
Image

Seems a shame to take off the plates it has worn all its life but black and silver might suit the car better.

Dave.
I will finish it some day!!

Rust free imports direct from California;

www.route9autos.co.uk

The west of Scotland VW club.

http://vwscotclub.co.uk/forum/

User avatar
Angelo Amato
Posts: 337
Joined: 25th January 2005 - 12:54pm
Location: Wirral

fasty

Post by Angelo Amato » 19th January 2008 - 12:25am

FANTASTIC job Dave - well chuffed for you.

I know what it's like, alot of hours and hard work, but looking GOOD ! 8)

Angelo

BTJustice
Posts: 200
Joined: 5th March 2005 - 5:13pm

Post by BTJustice » 19th January 2008 - 8:35pm

Cheers mate.

A HUGE thanks to Mick who went to the workshop and got the last of the painting done.
The top of the bonnet, torsion bar access covers, number plate light and fuel flap were readied and painted;

Image

Image

And the boot lid was flatted back;

Image

and polished up to a shine;

Image

Dave.
I will finish it some day!!

Rust free imports direct from California;

www.route9autos.co.uk

The west of Scotland VW club.

http://vwscotclub.co.uk/forum/

User avatar
nidge
Posts: 301
Joined: 25th May 2005 - 5:41pm
Location: Norwich
Contact:

Post by nidge » 19th January 2008 - 9:14pm

a big YES to black and silver plates 8)

you are doing a grand job Dave and if there was a prize for the best resto thread of the year it would have your name on it 8)
72 square
71 Fasty
67 Fasty - broken! parts for sale , try me.
64 Ghia
67 squareblack

User avatar
Editor
Posts: 5515
Joined: 10th October 2004 - 8:52pm
Location: Pensford, Bristol
Contact:

Post by Editor » 20th January 2008 - 1:20pm

Maybe we need some cyber prizes on here.

BTJustice
Posts: 200
Joined: 5th March 2005 - 5:13pm

Post by BTJustice » 23rd January 2008 - 2:10pm

Cheers for saying so Nidge, I'll just be happy to get it back on the road.,

Time for Tuesday nights update.

I started by masking off the front wings so that I didnt get evo stick on the paint while applying the bonnet seal;
Image

With that in place;
Image

I moved on to the boot lid seal;
Image

And while I was sniffing the glue I got the edges of the headliner stuck back down around the windows;
Image

While I was glueing Mick was polishing so once I had finished off we got the boot lid in place;
Image

Followed by the bonnet;
Image

And as you can see I decided to go for black and silver plates.

Dave.
I will finish it some day!!

Rust free imports direct from California;

www.route9autos.co.uk

The west of Scotland VW club.

http://vwscotclub.co.uk/forum/

Post Reply