My 64 Notch

For Type 3 and 4 restoration projects, interesting history, adventure trips etc
User avatar
mr scoops
Posts: 226
Joined: 3rd April 2008 - 9:41am
Location: Weston-Super-Duper-Mare
Contact:

My 64 Notch

Post by mr scoops » 5th August 2008 - 8:26am

Well, I have got the Notch in with Classy Campers in Weston Super Mare to get that bloody drivers side door resprayed. It was the one thing about the car that really bothered me, whilst it was in there I decided to have a good poke around and sort out anything else that may have needed doing. The sills were looking a bit crusty so they are going to get a looking at, as well as some bubbles on both doors.

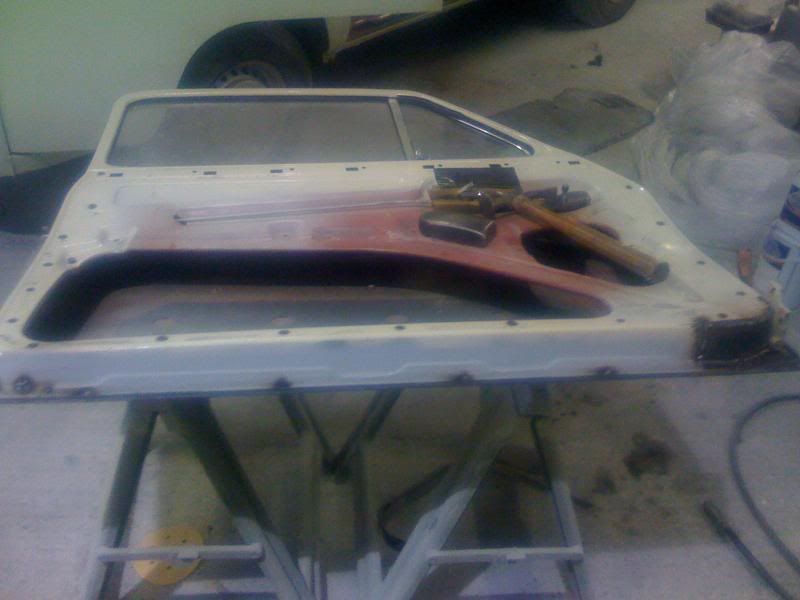
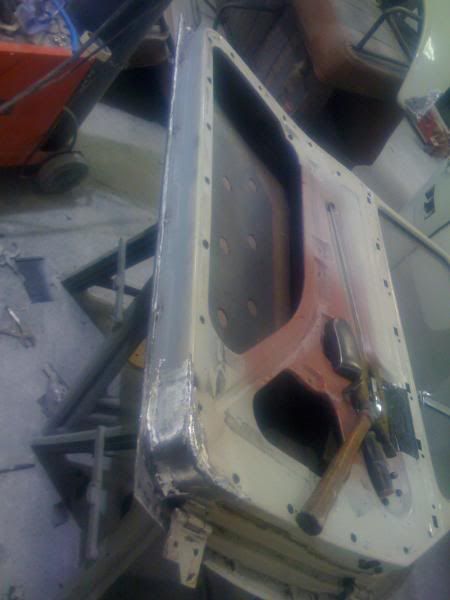
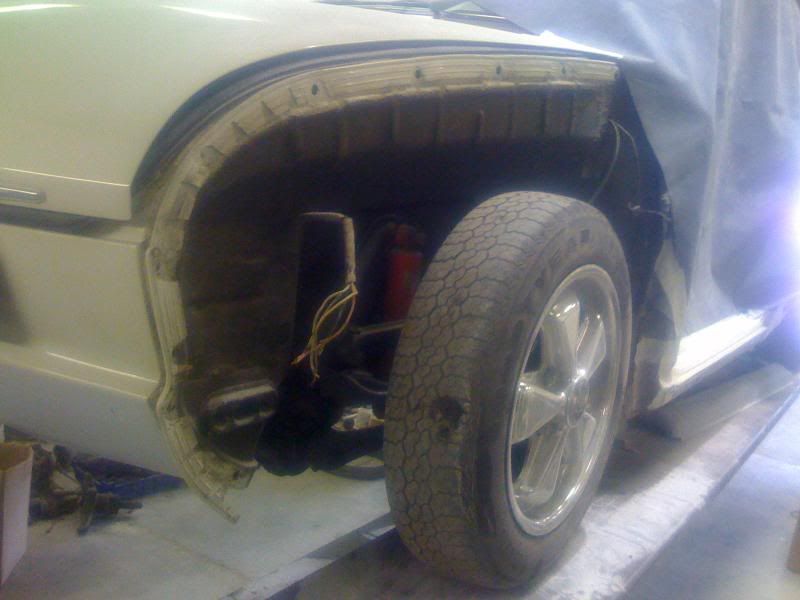
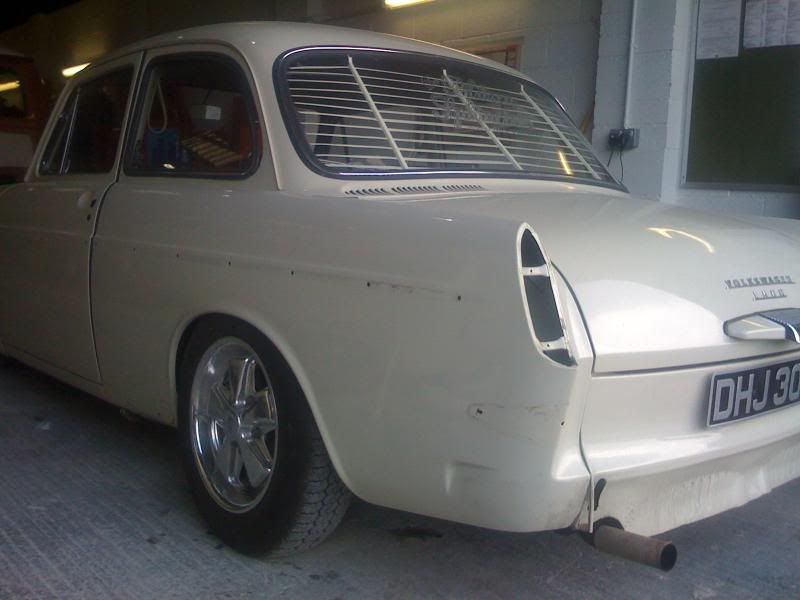
Here she is......................getting naked, ready for a rub down!!
Image

Image

Image


Image

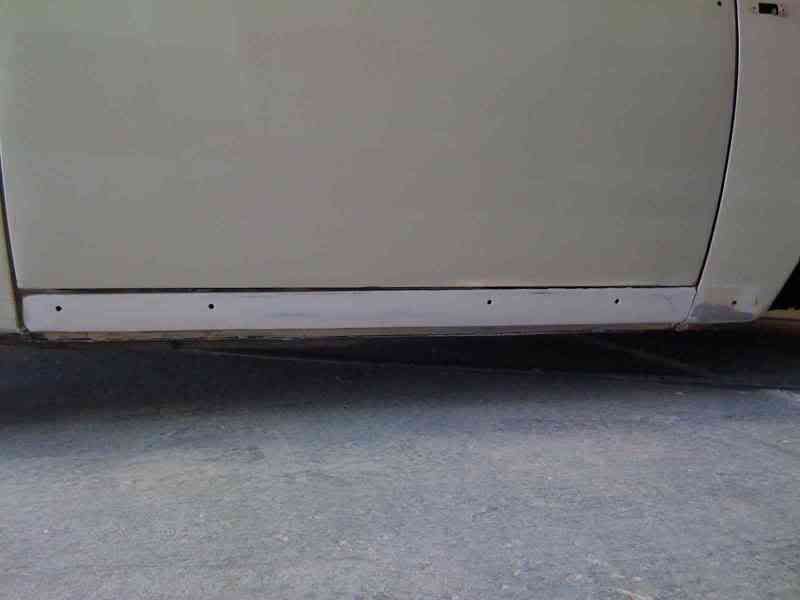
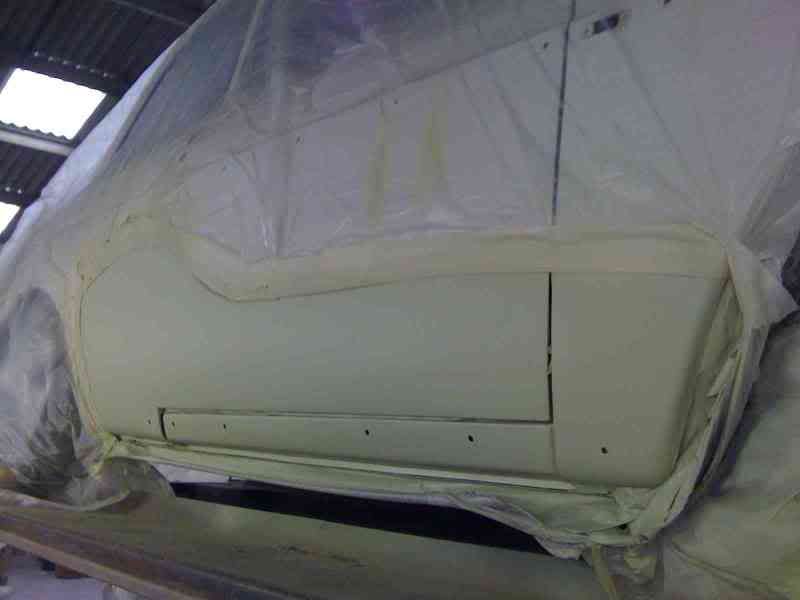
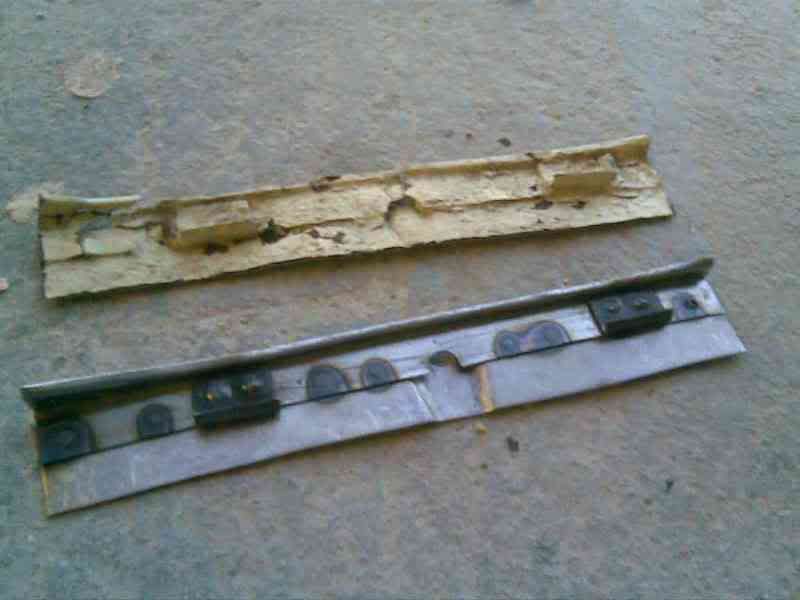
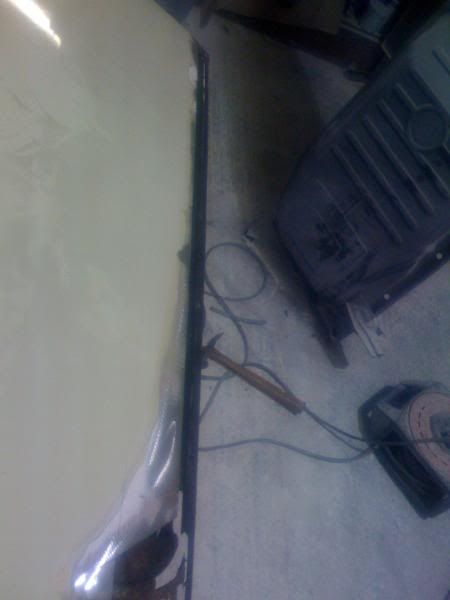
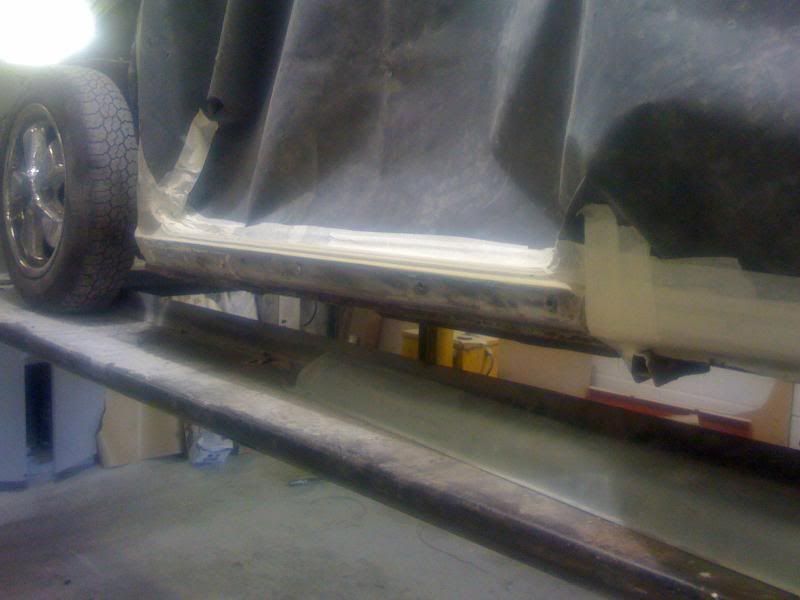
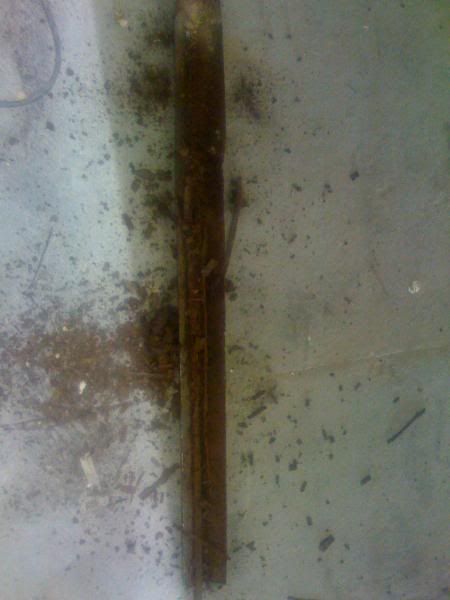
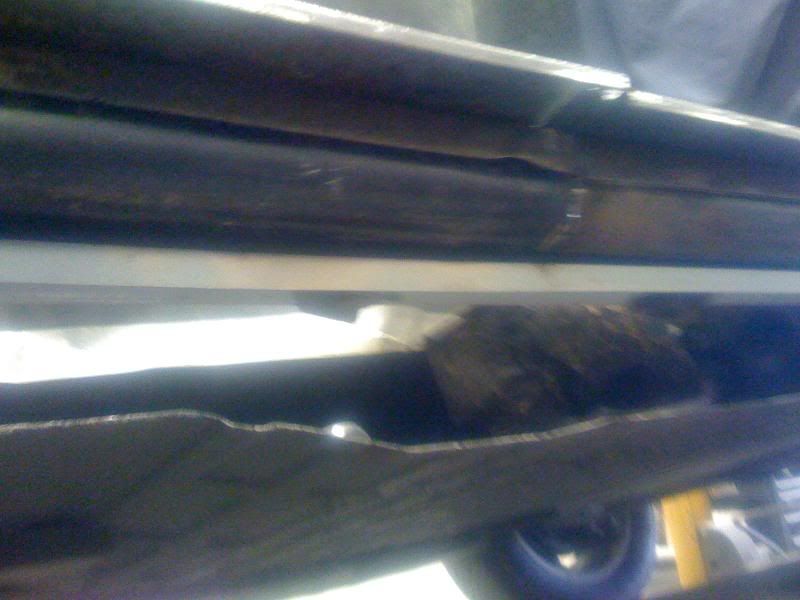
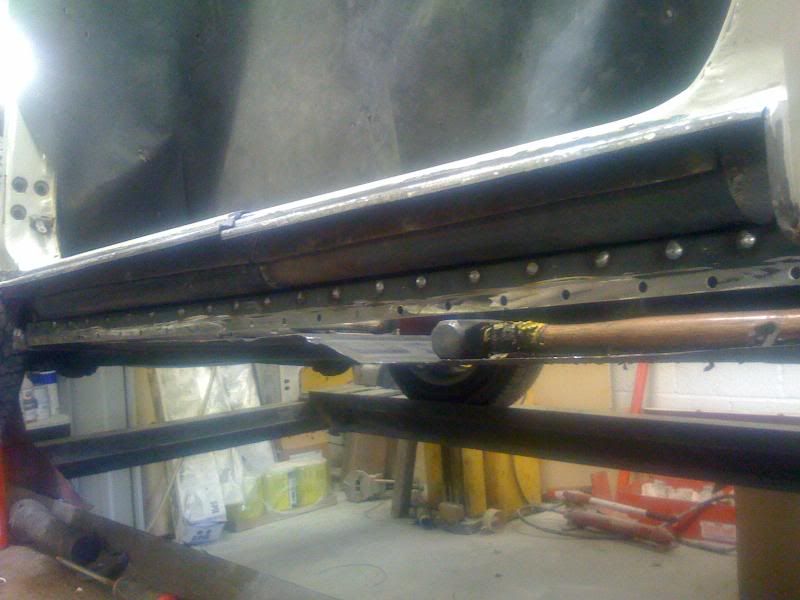
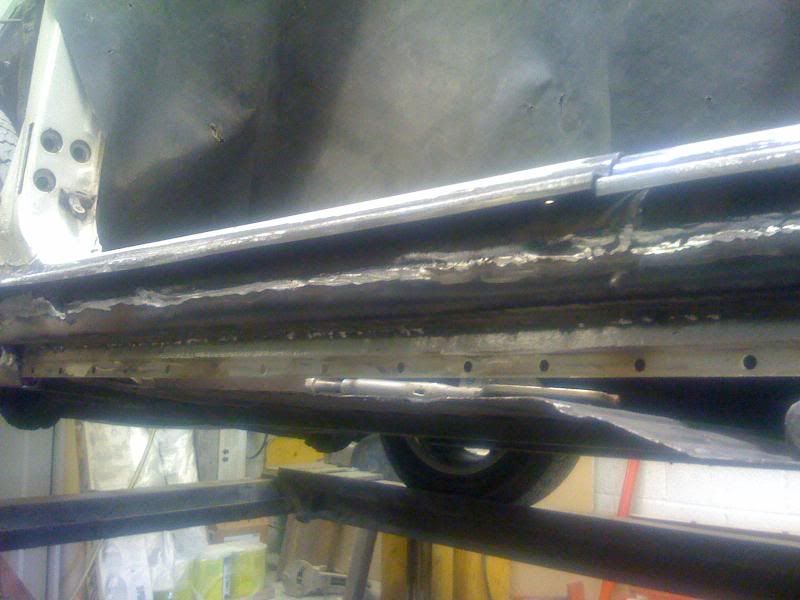
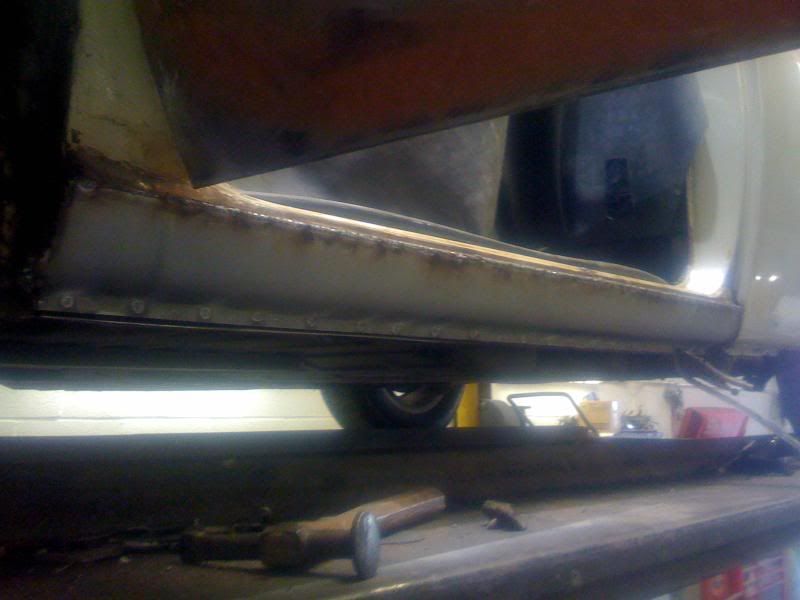
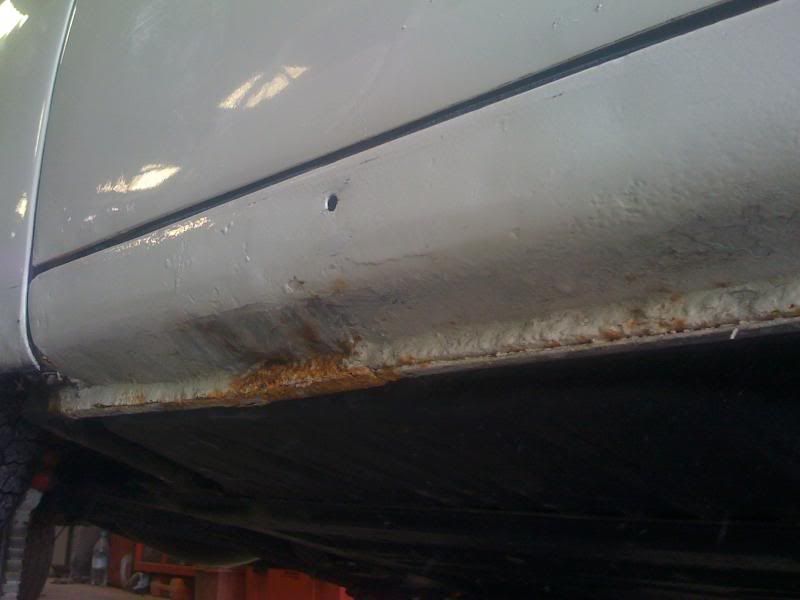
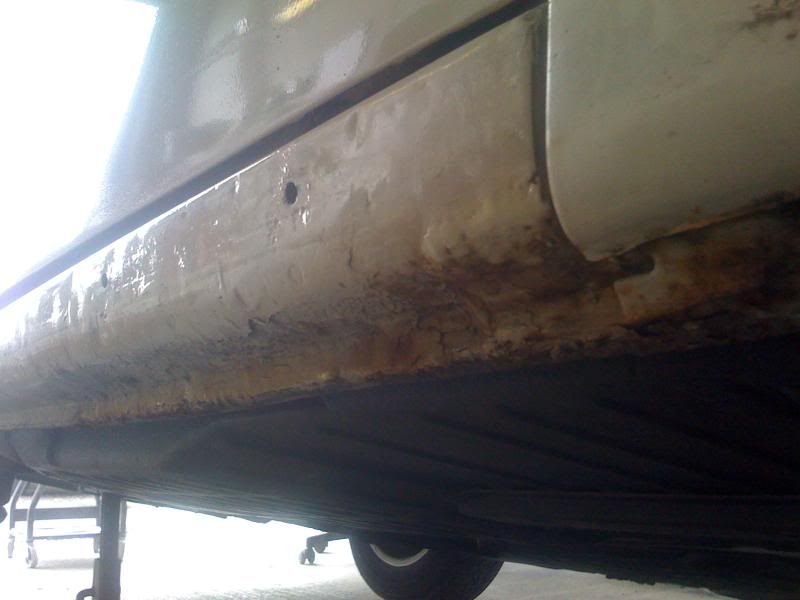
Passenger side sill.
Image

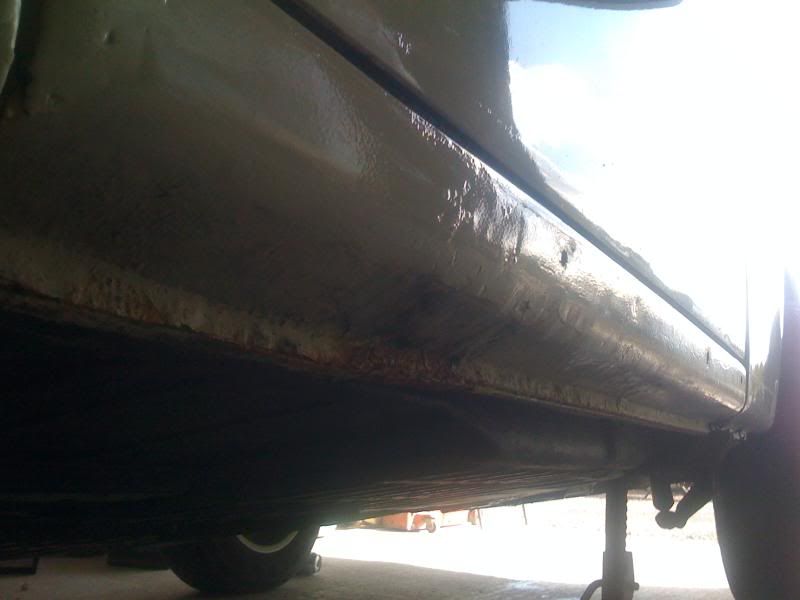
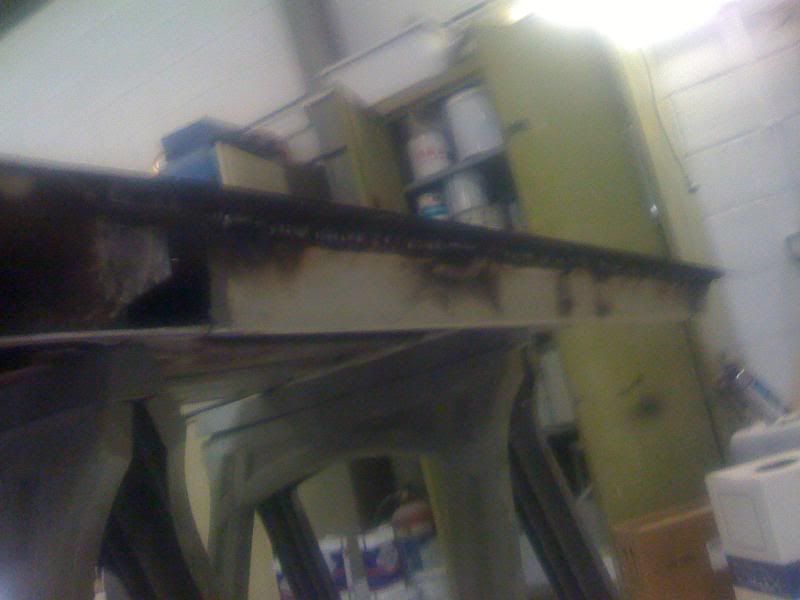
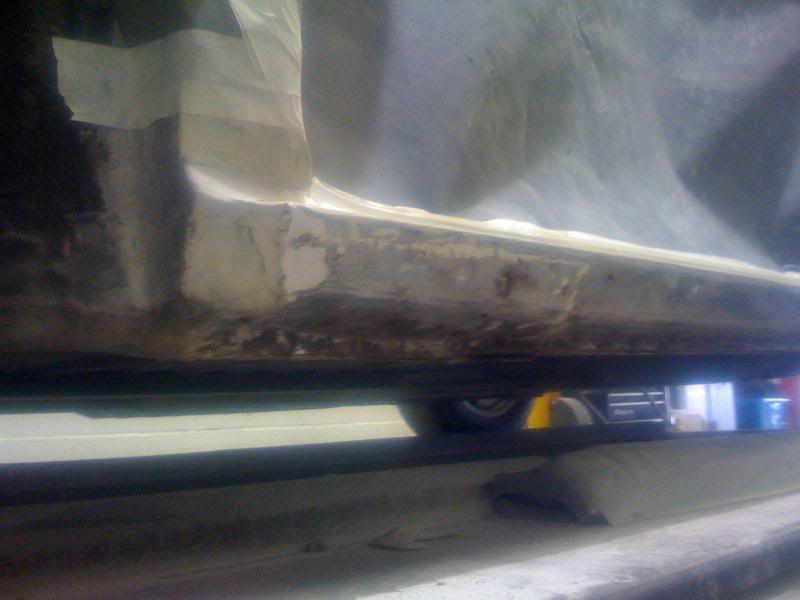
Looks even rougher up close!!

Image

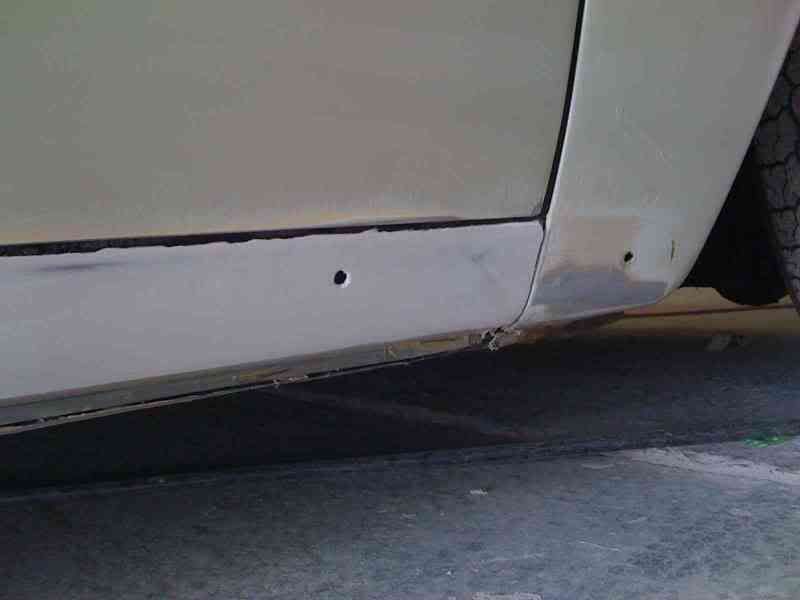
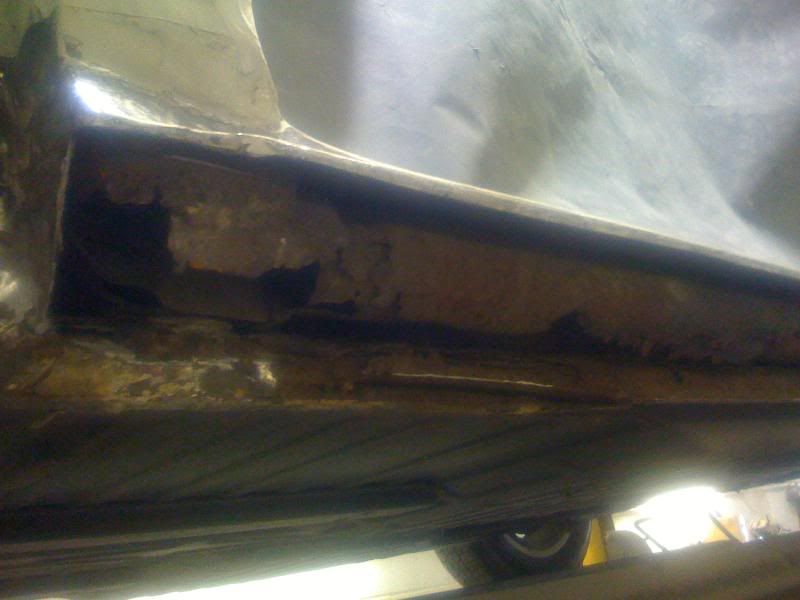
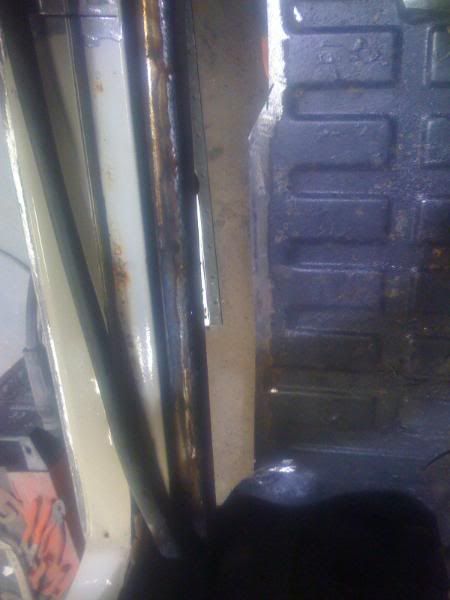
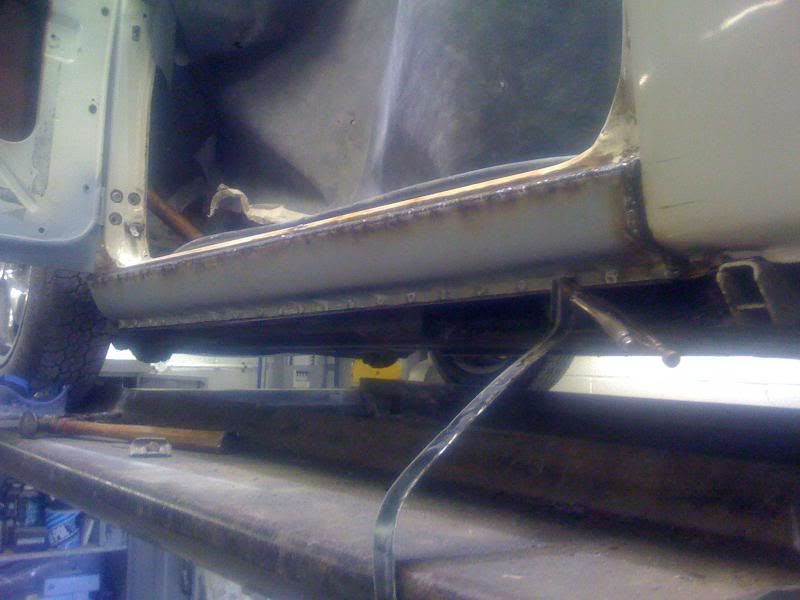
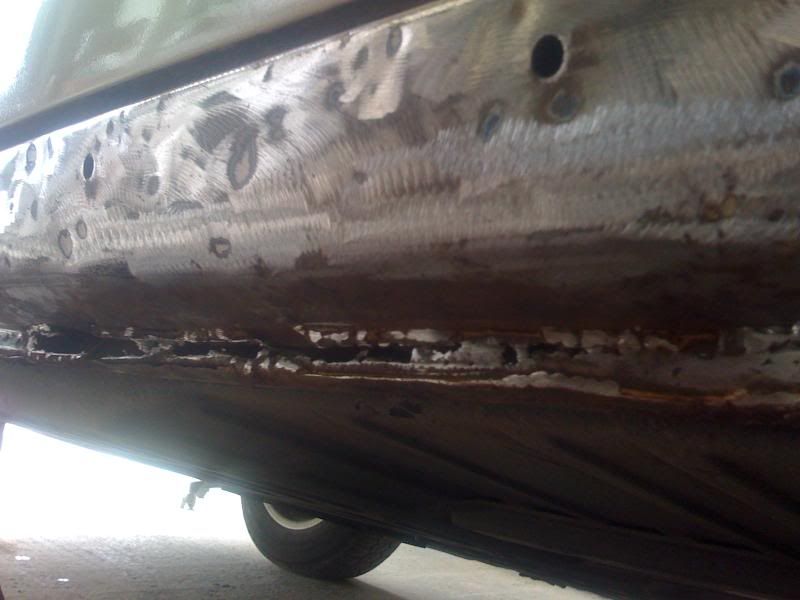
Get the paint off and see what is going on...
Image

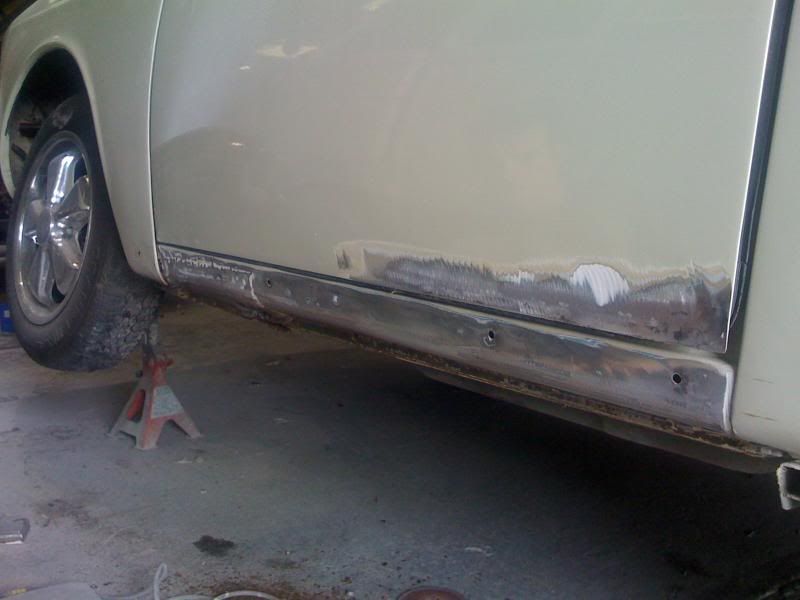
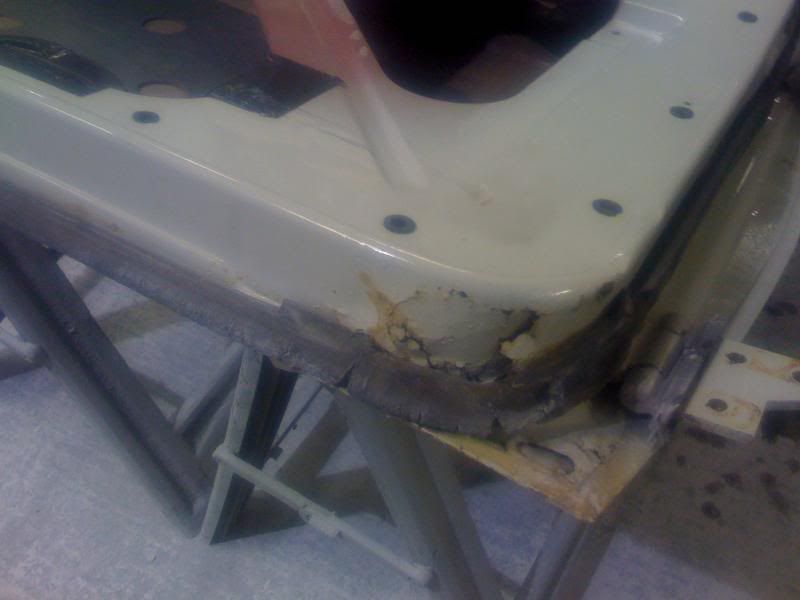
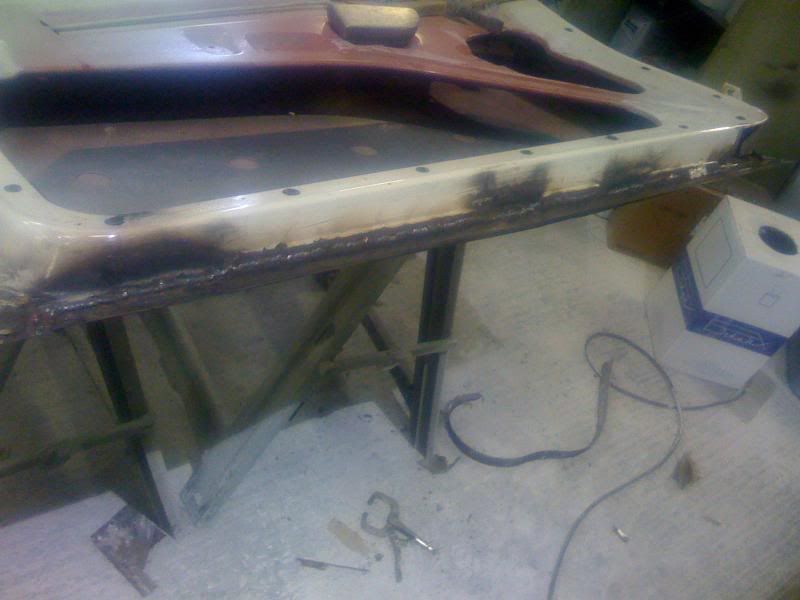
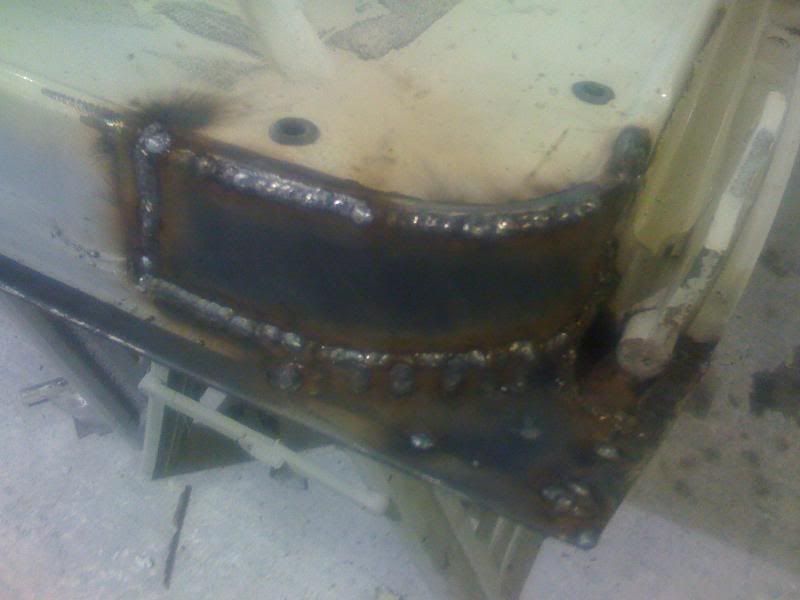
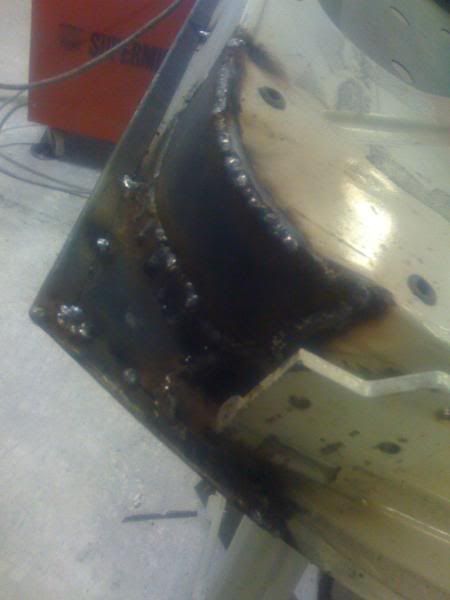
Hmmmm, some of these previous repairs aren't to the best standard.
Image

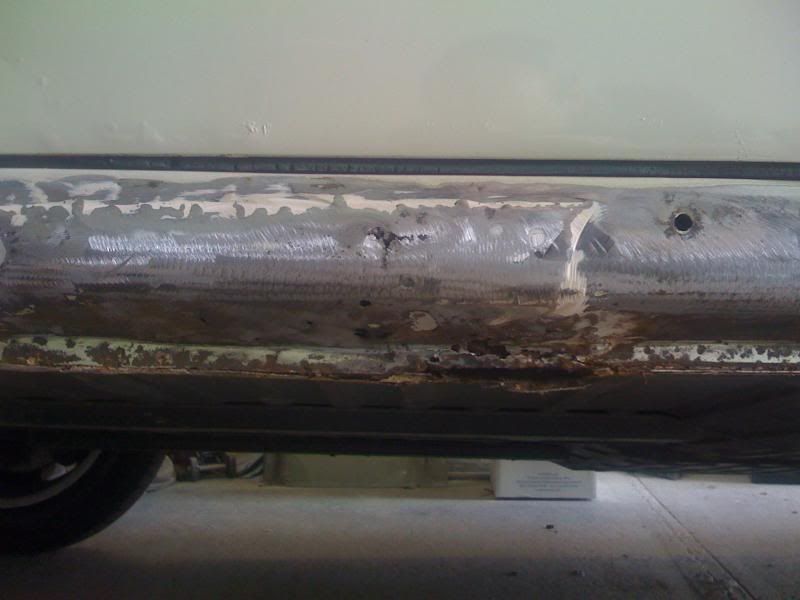
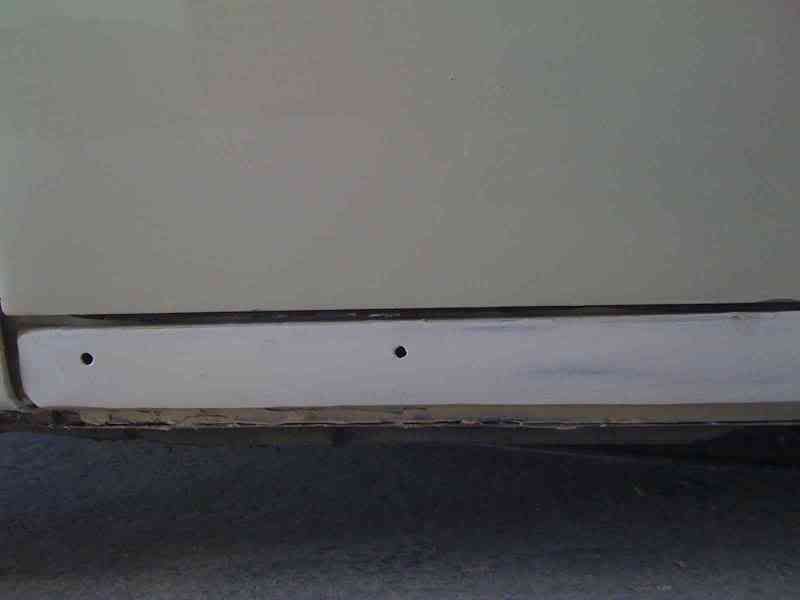
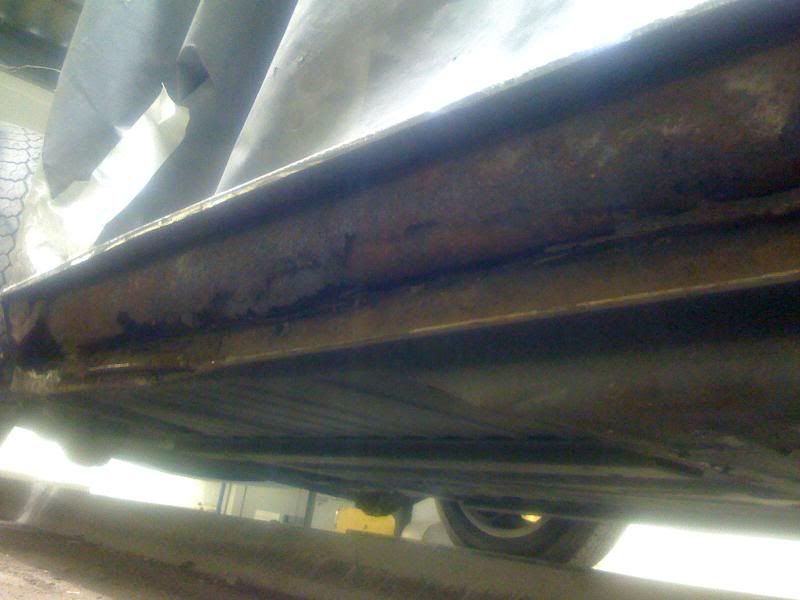
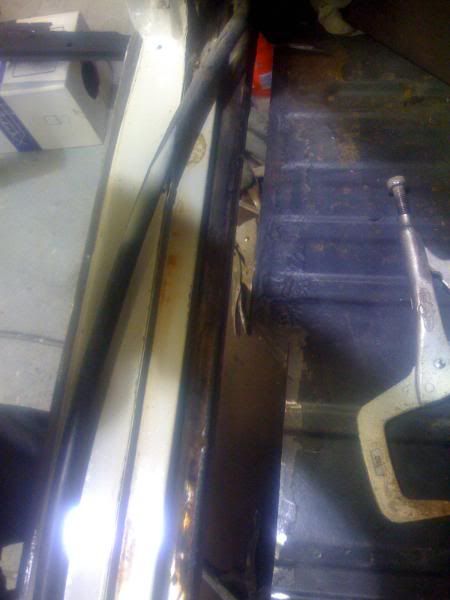
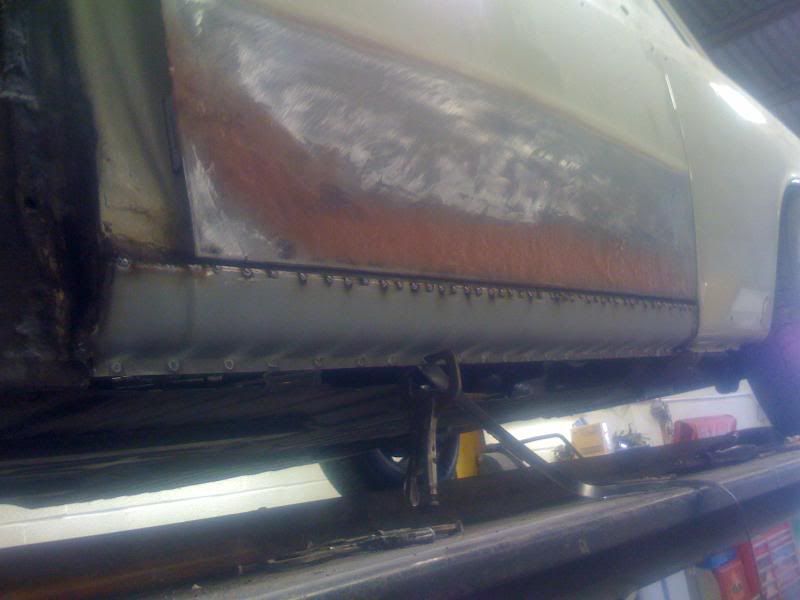
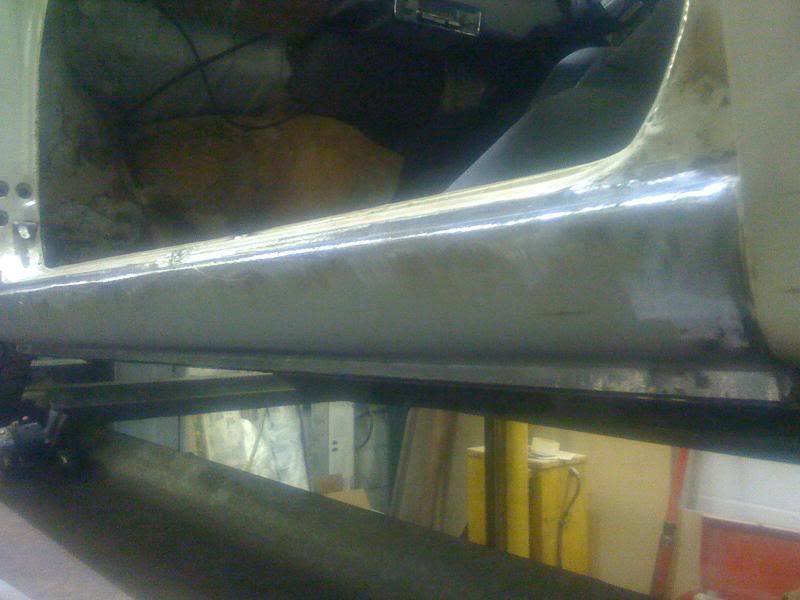
Nothing too much to worry about. A panel is en route from Type 3 Detectives for this side.
Image

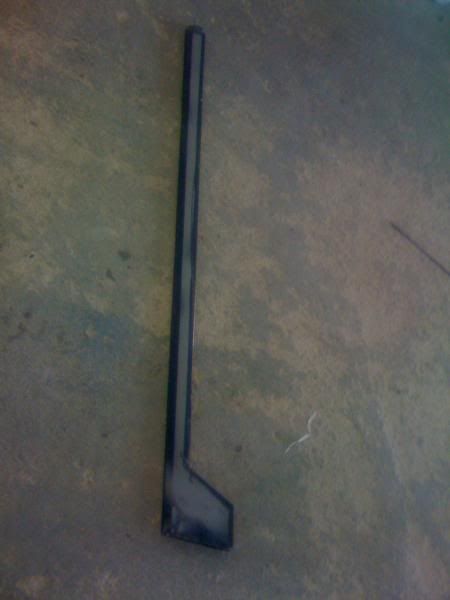
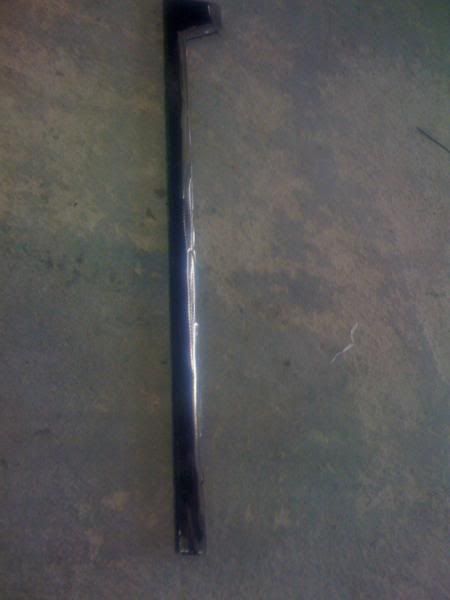
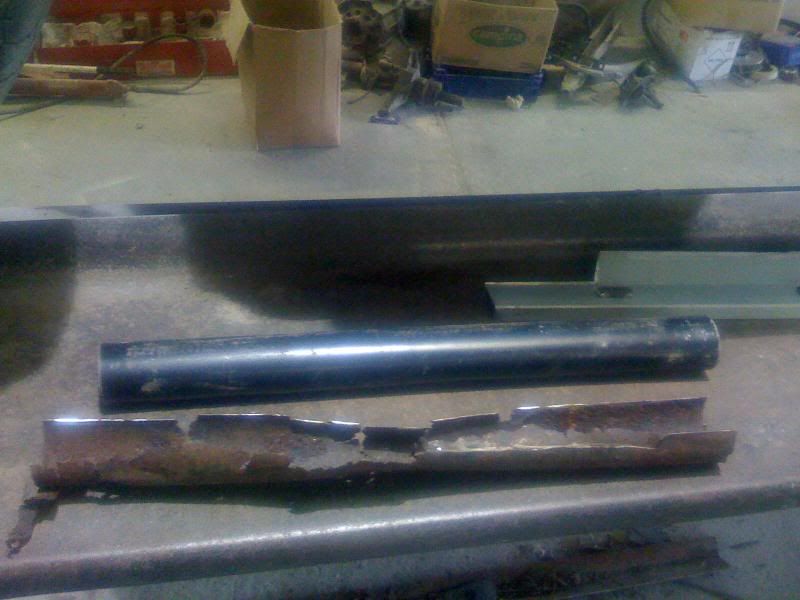
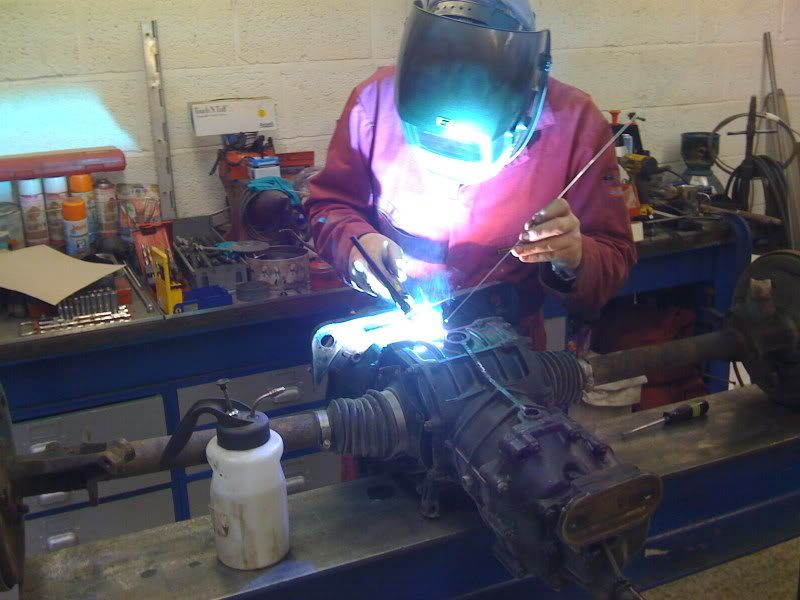
All the rot is to be cut out and replaced with fresh metal.
Image

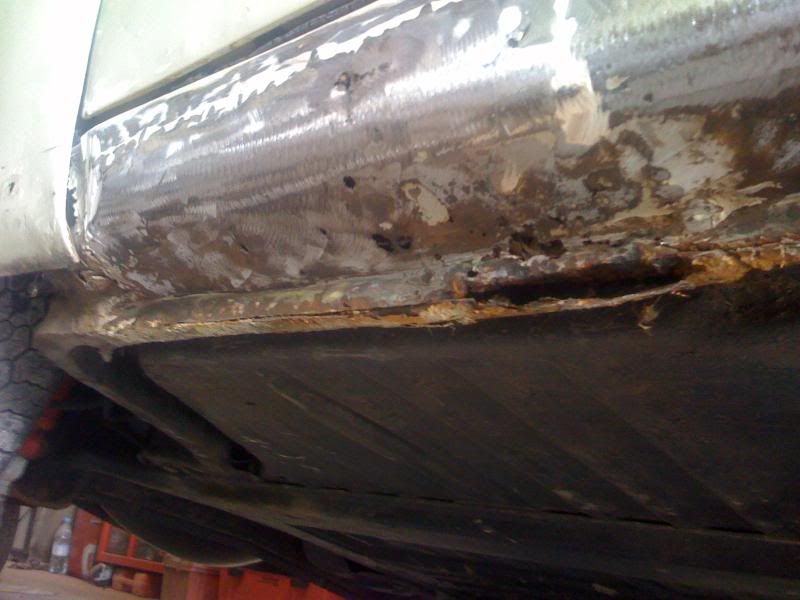
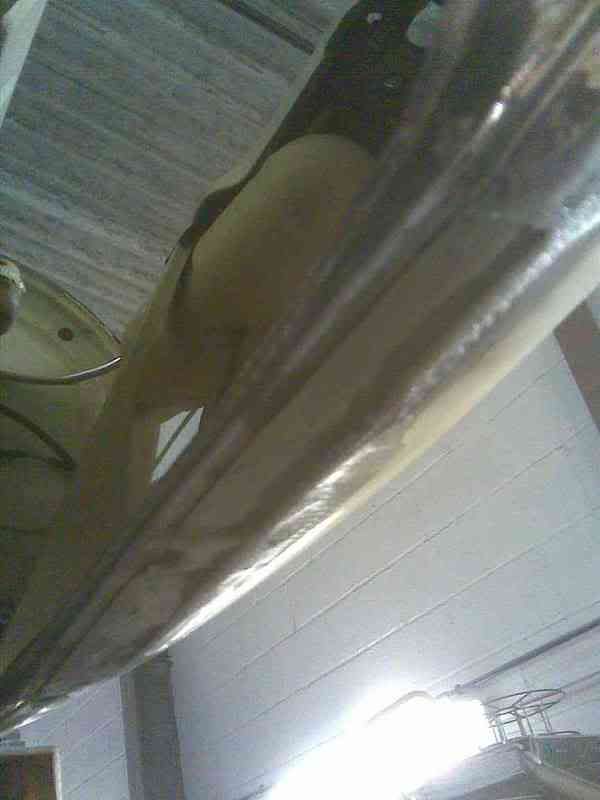
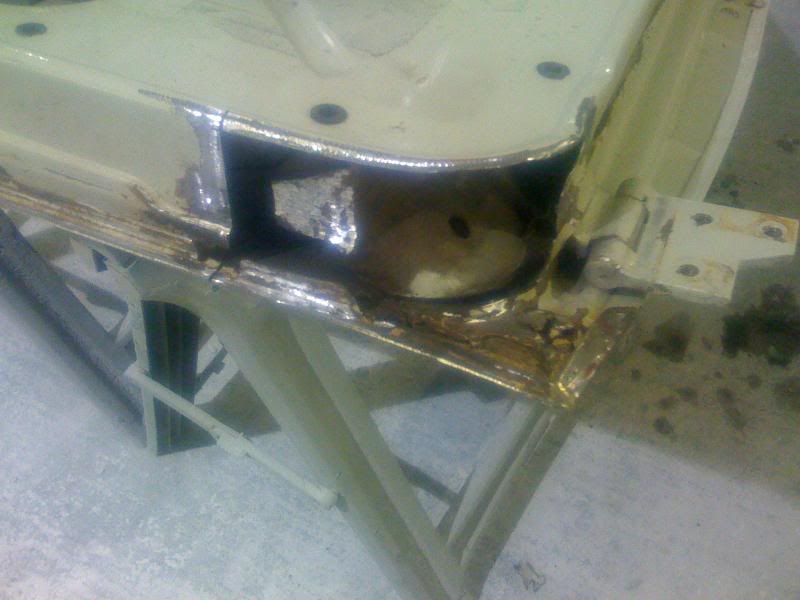
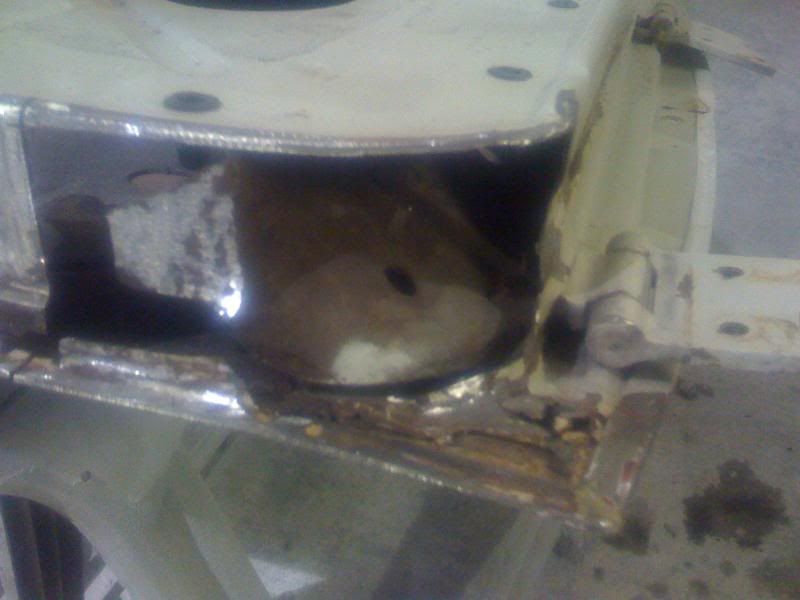
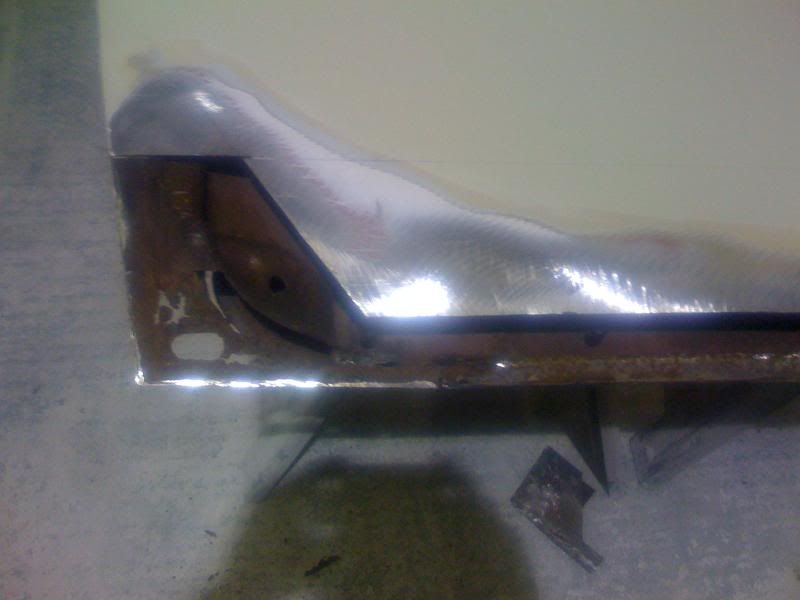
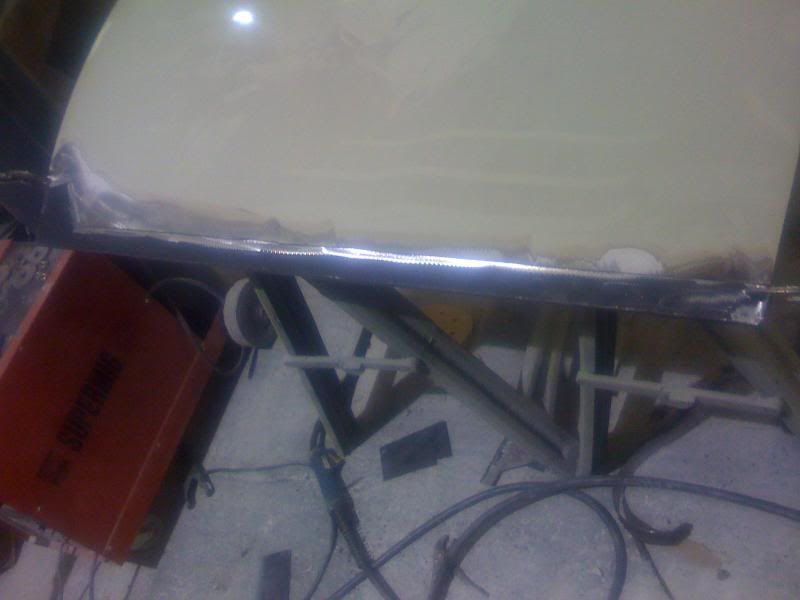
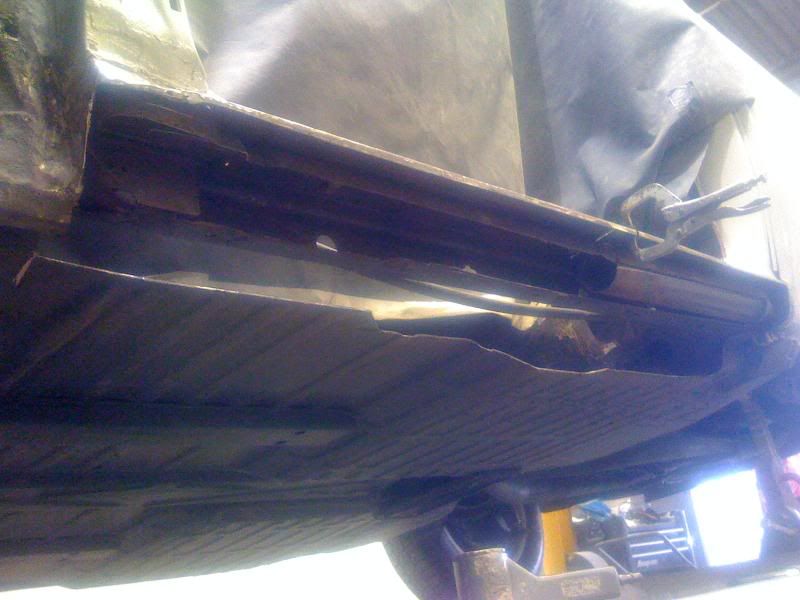
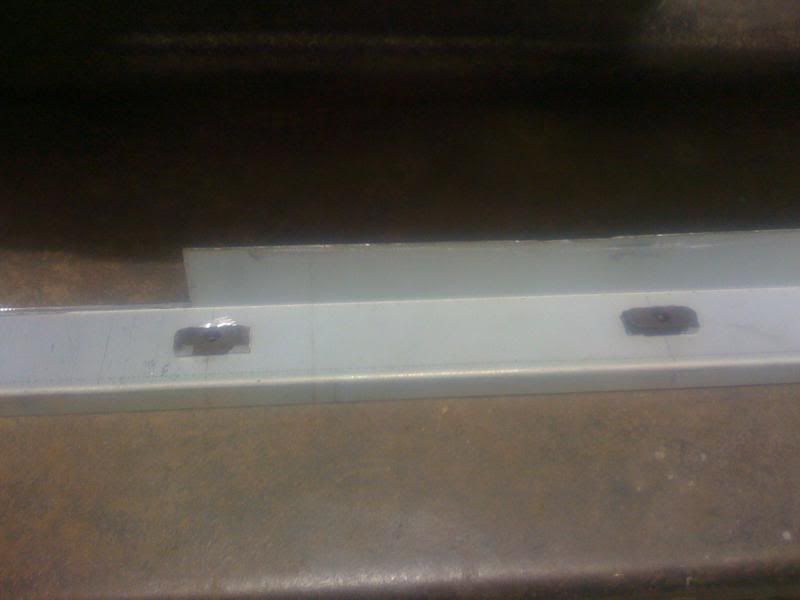
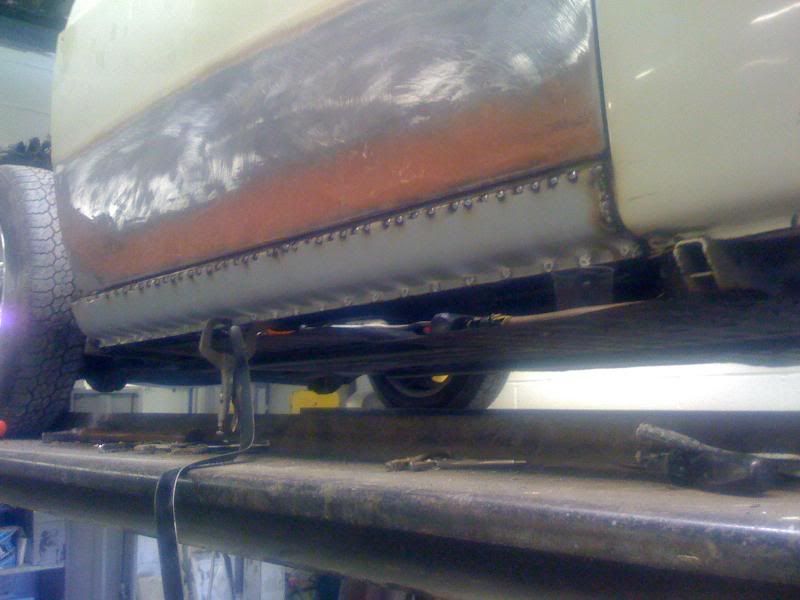
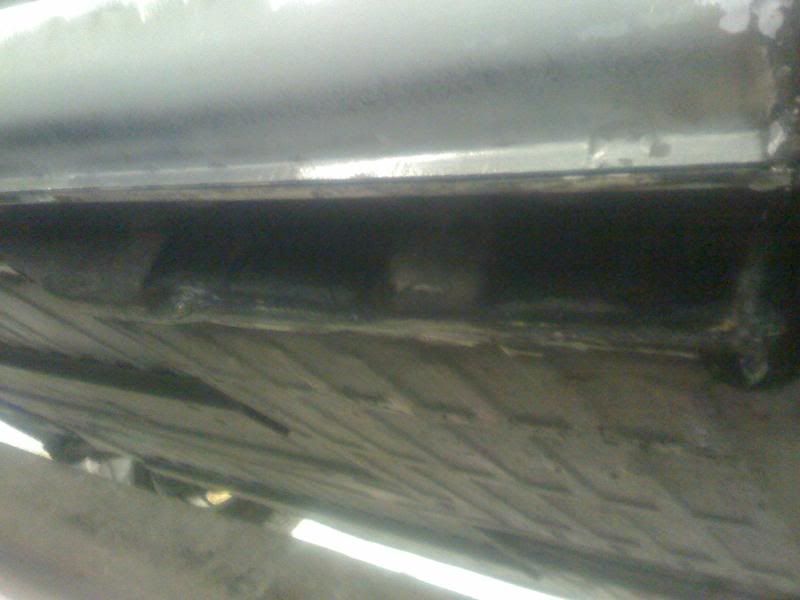
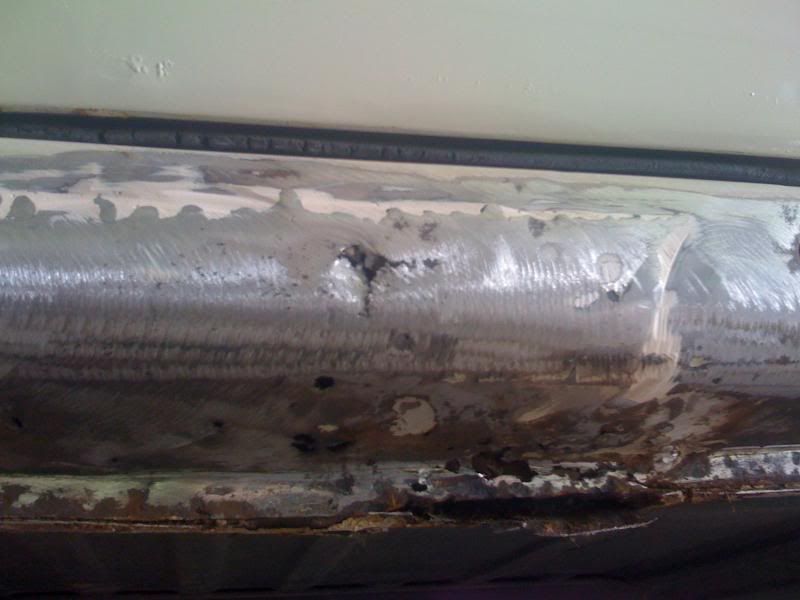
Ah bliss, this end of the sill didn't benefit from previous welding, simply plug the area with filler!! :roll:
Image

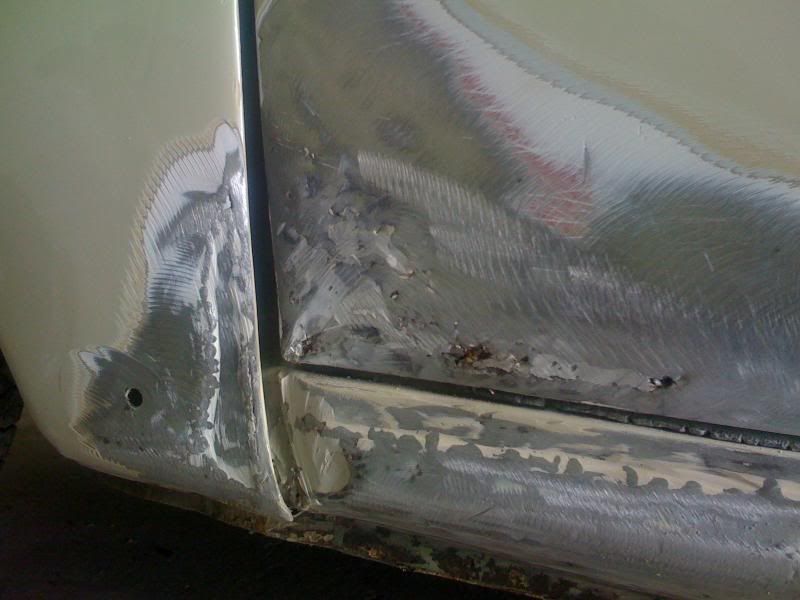
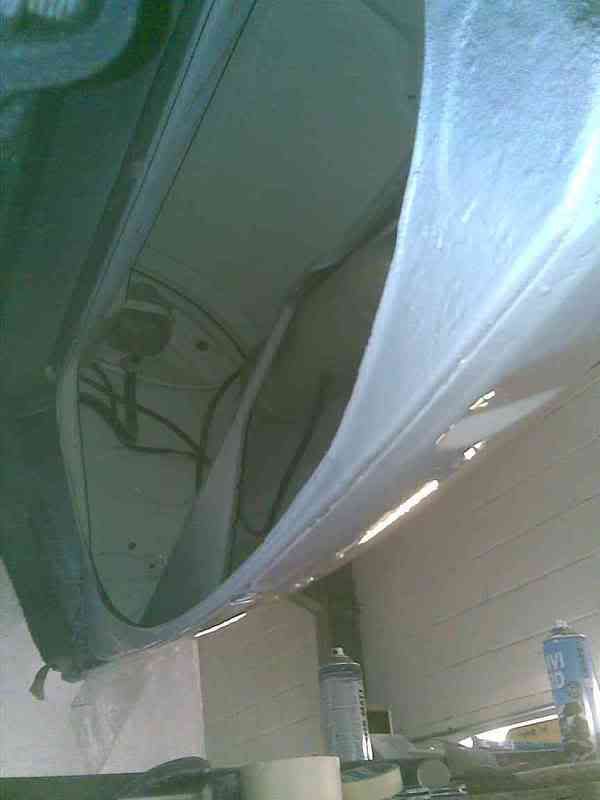
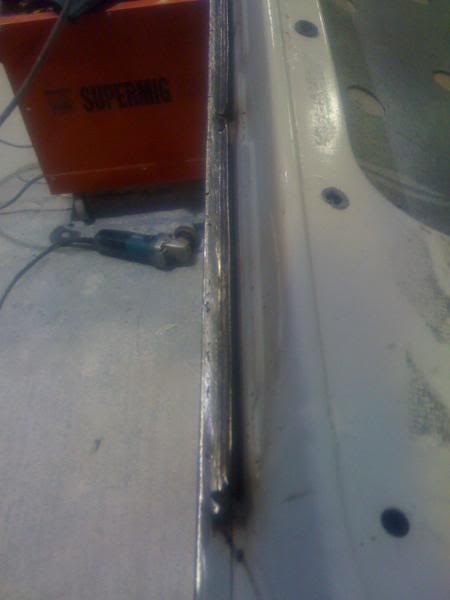
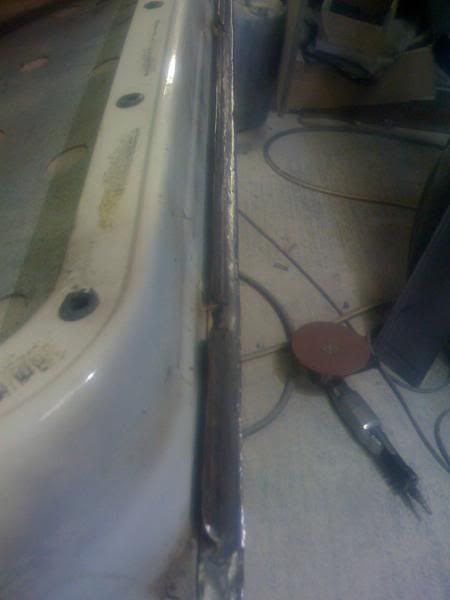
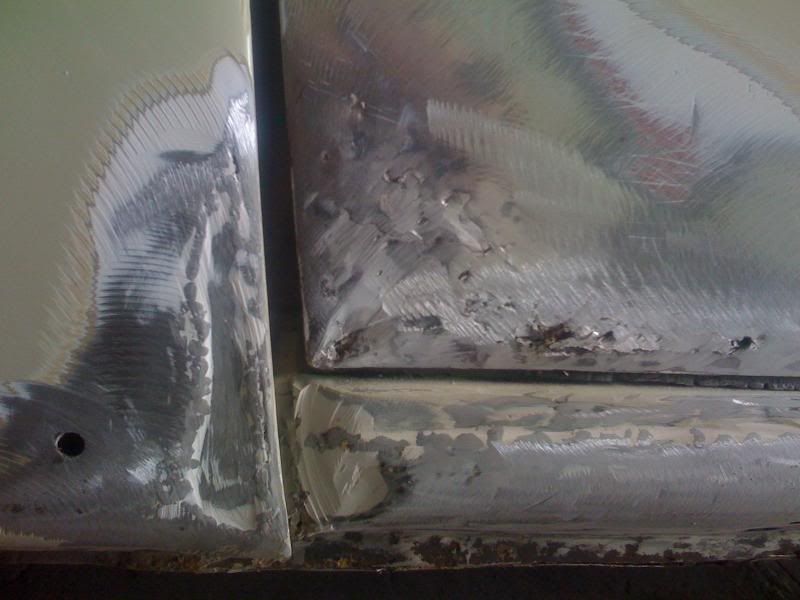
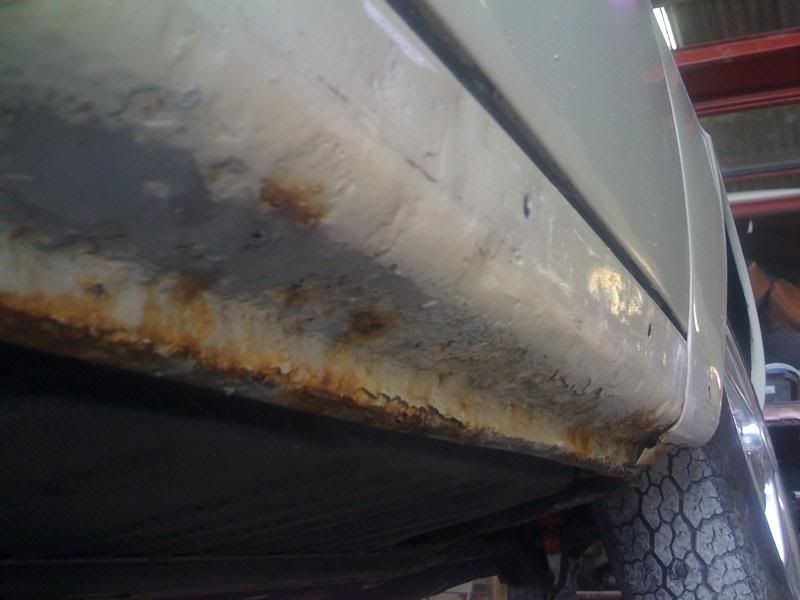
The bubbles along the bottom of the door have turned into this.....
Image

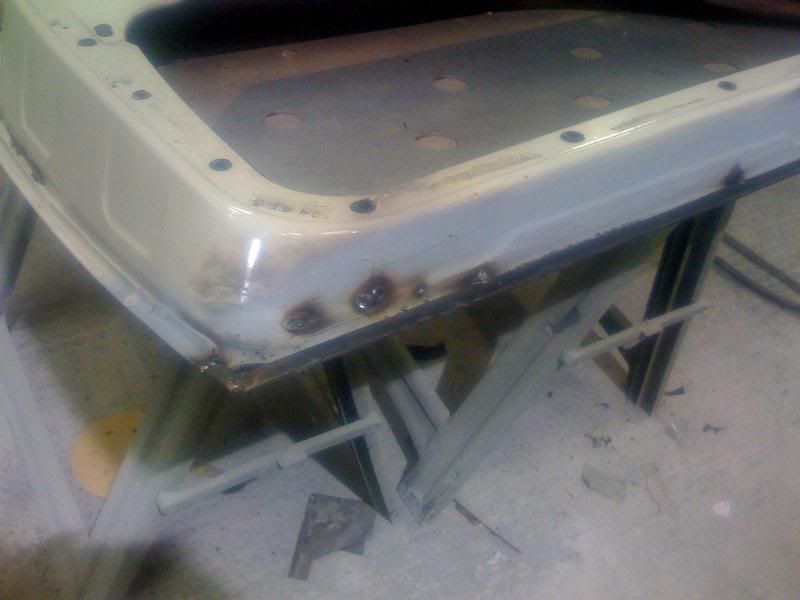
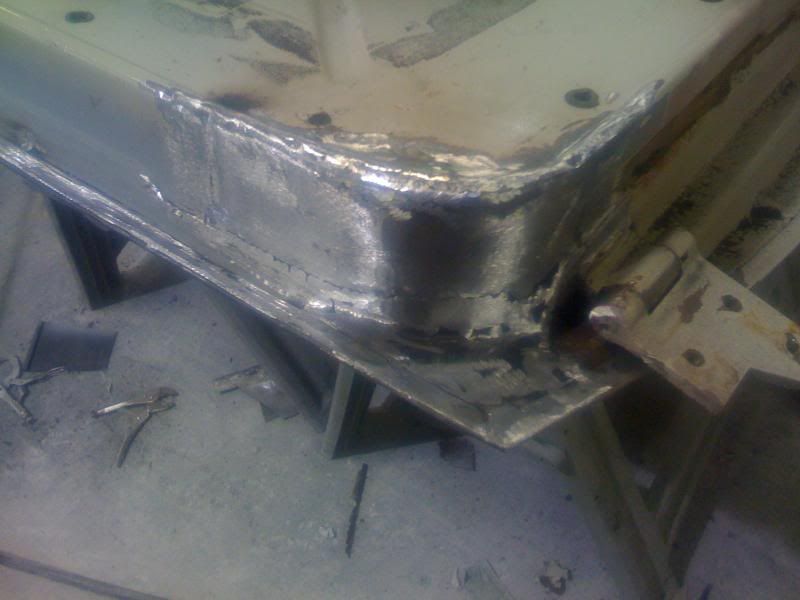
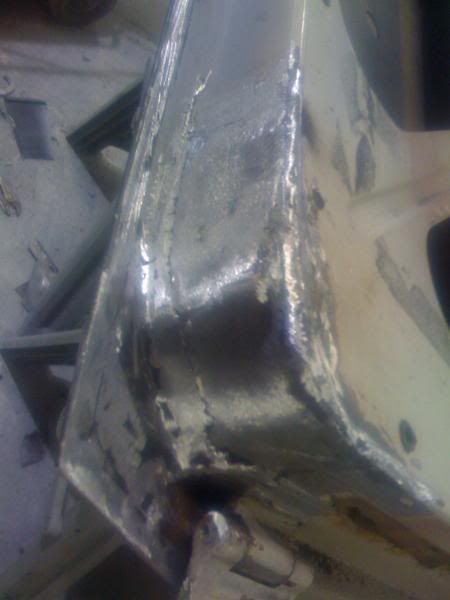
One previous repair on this corner of the door was ok, lead loaded, shame about the later work.
Image

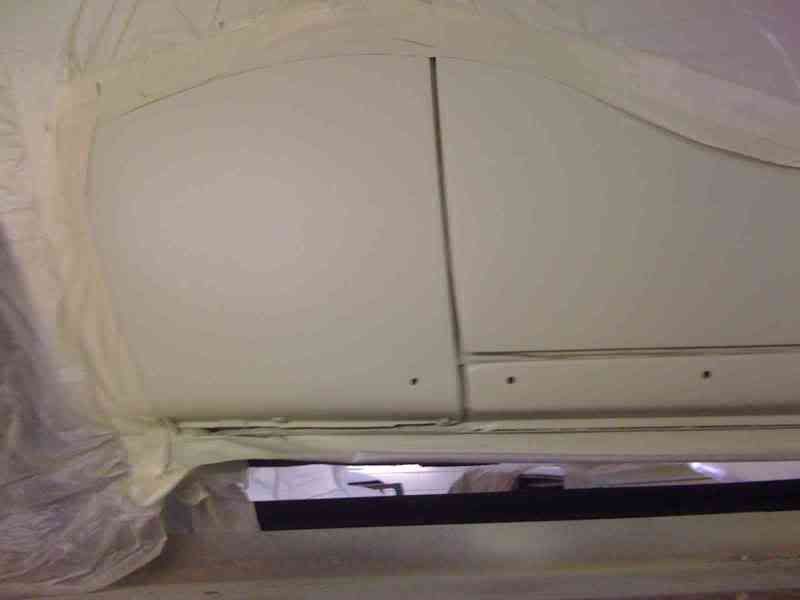
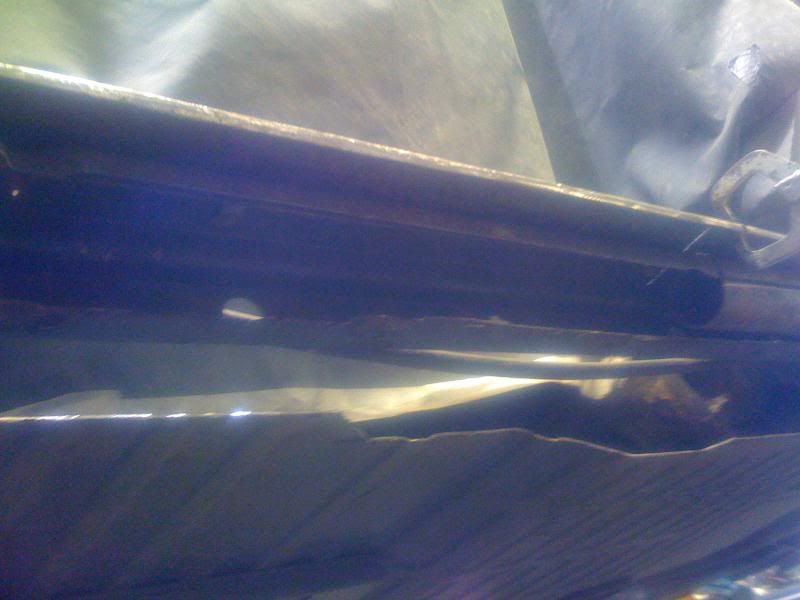
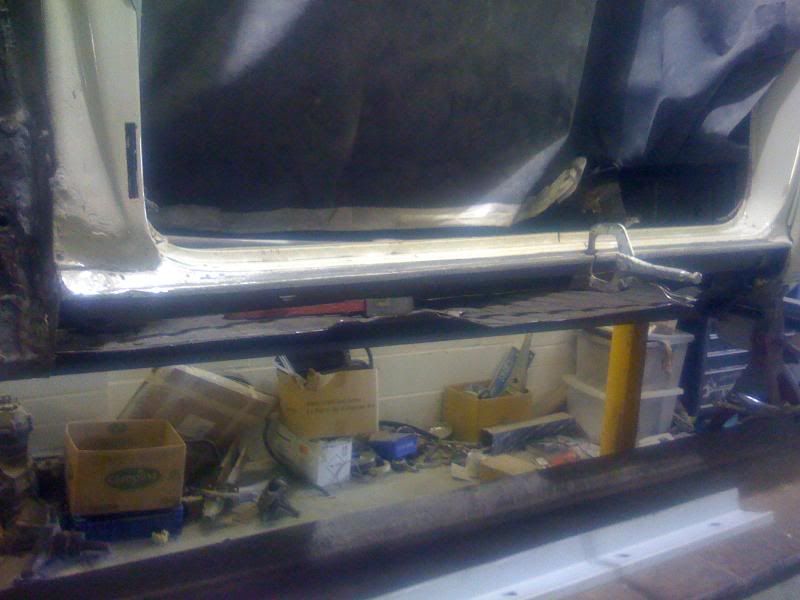
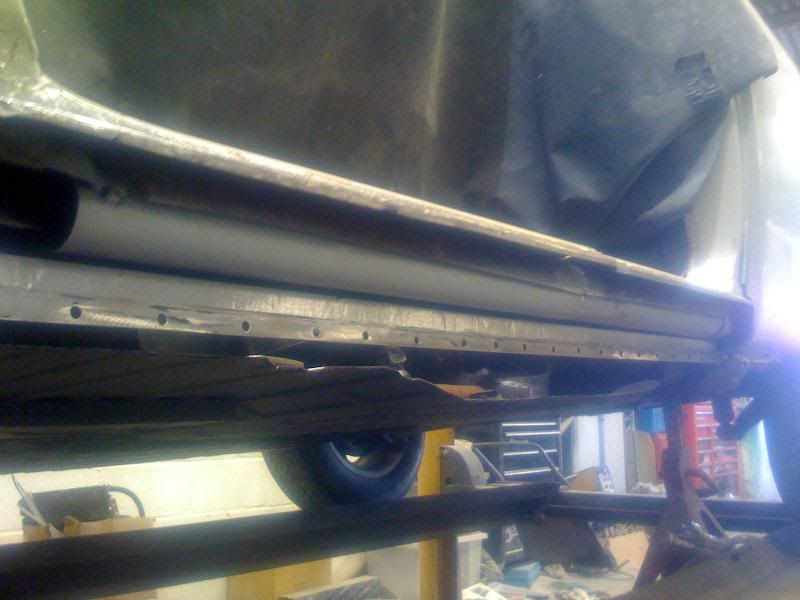
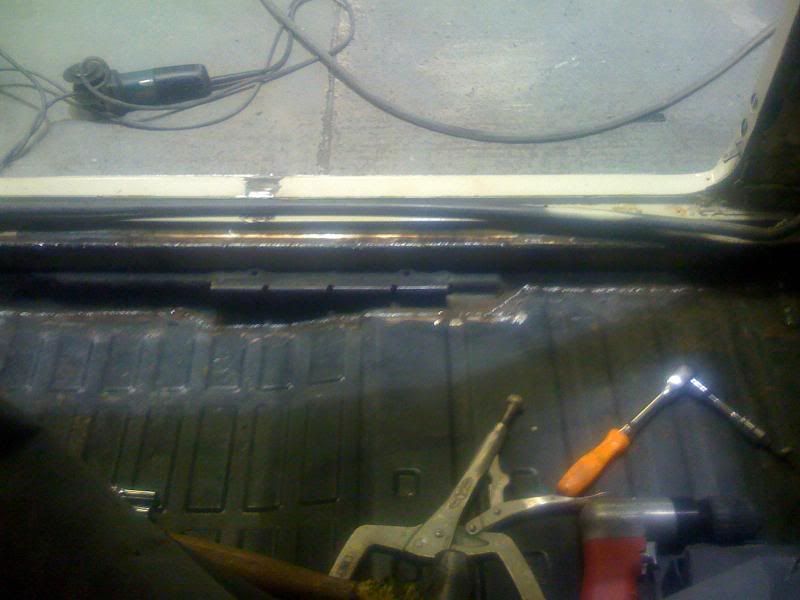
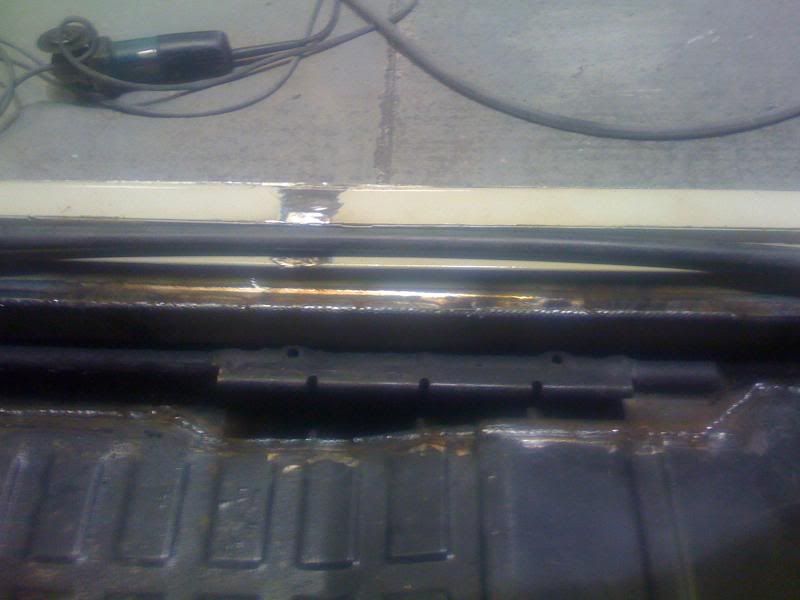
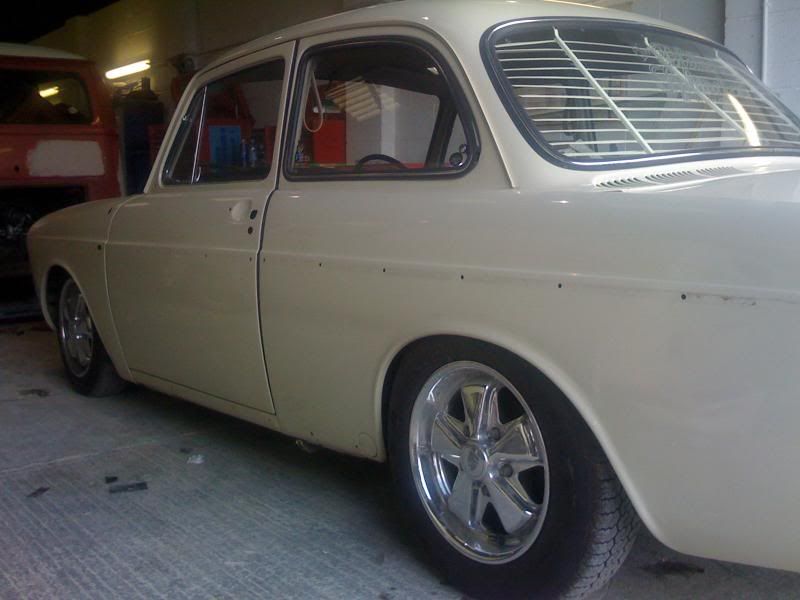
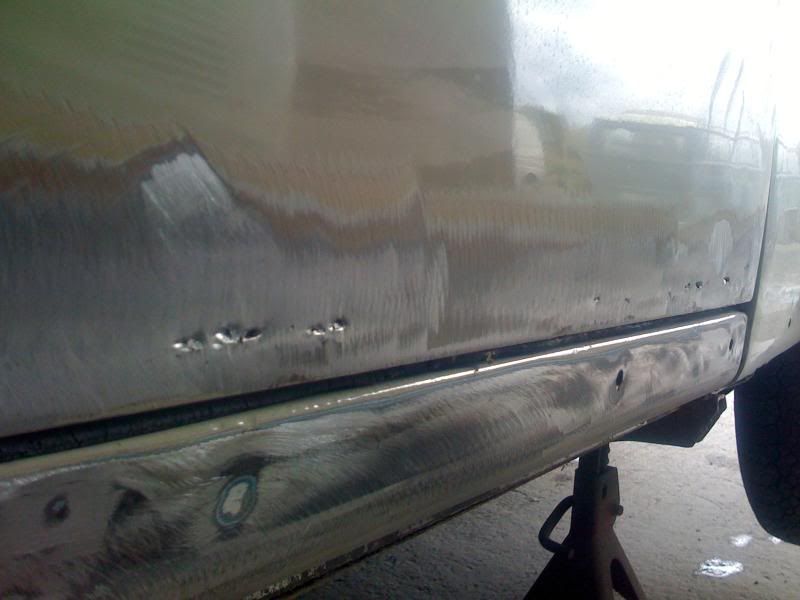
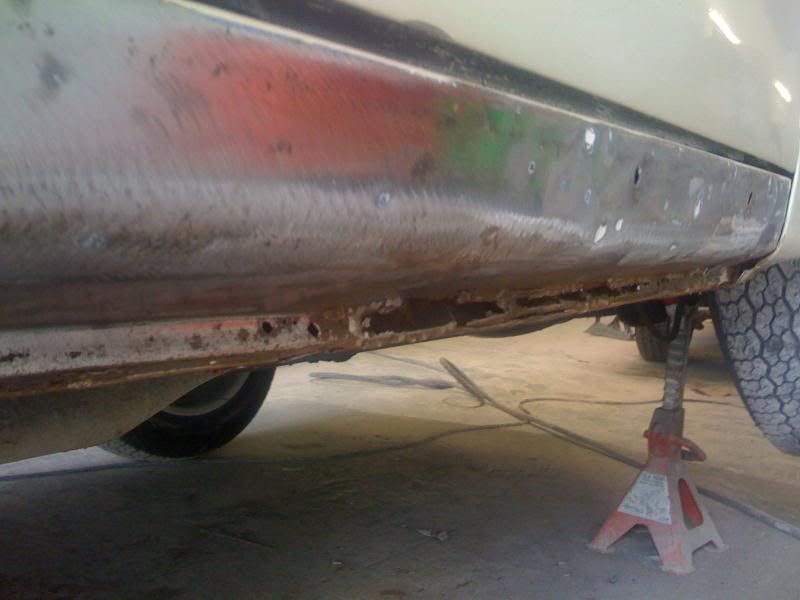
Now round to the drivers side.
Image

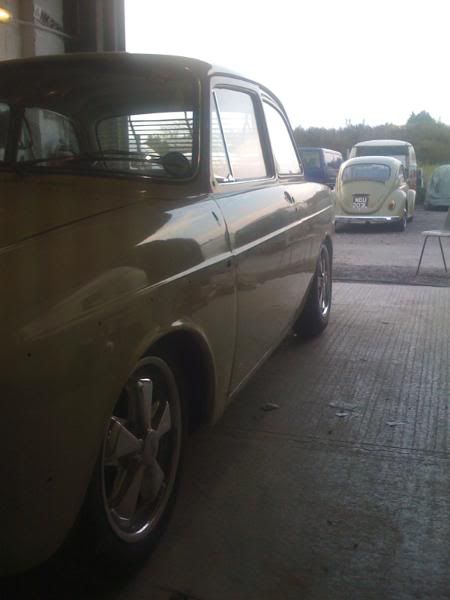
I didn't think this side looked as bad........
Image

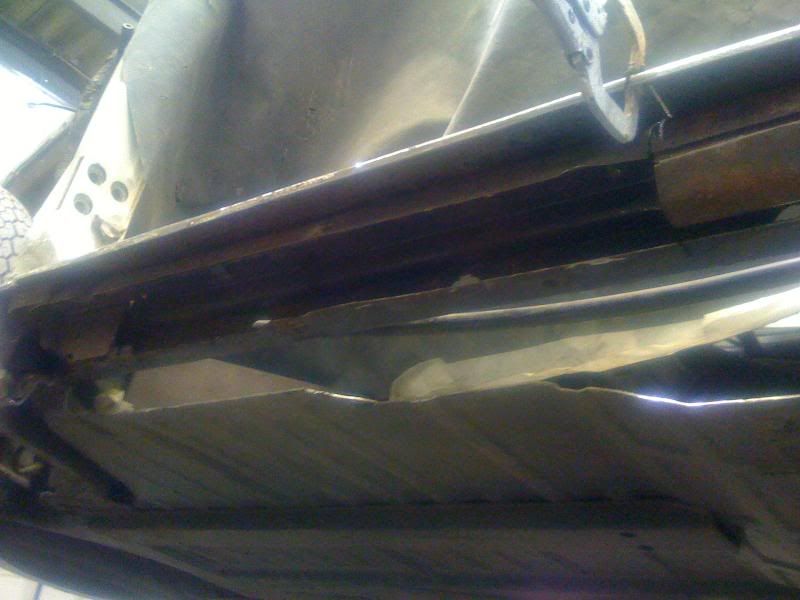
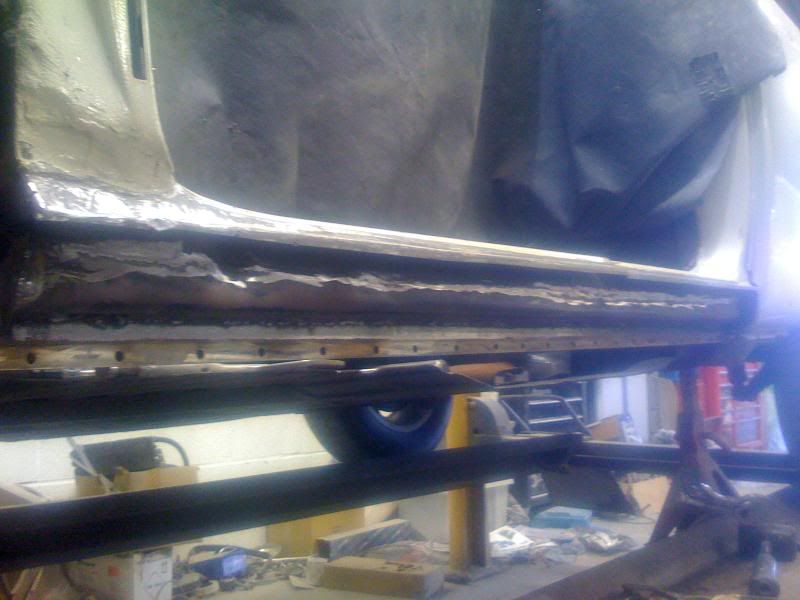
Get the paint off for a proper look. :affraid:
Image

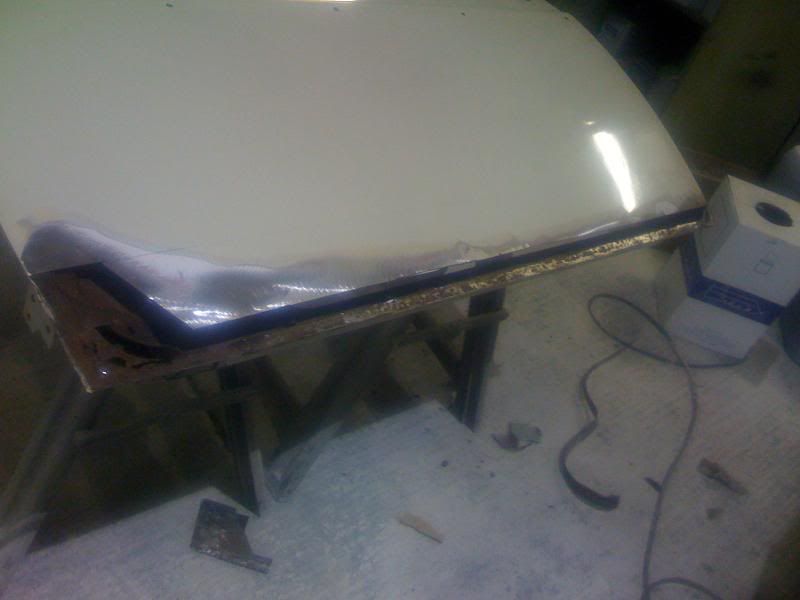
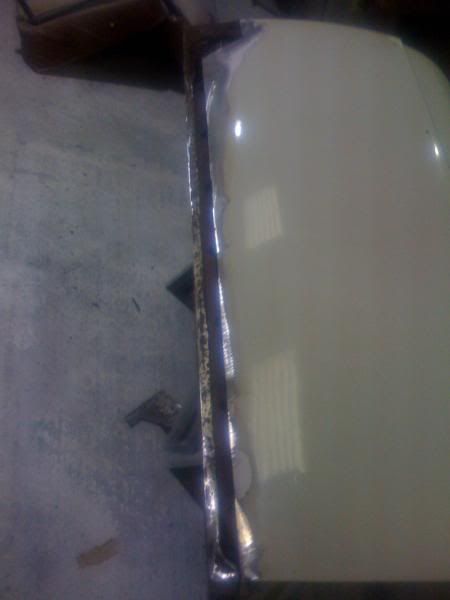
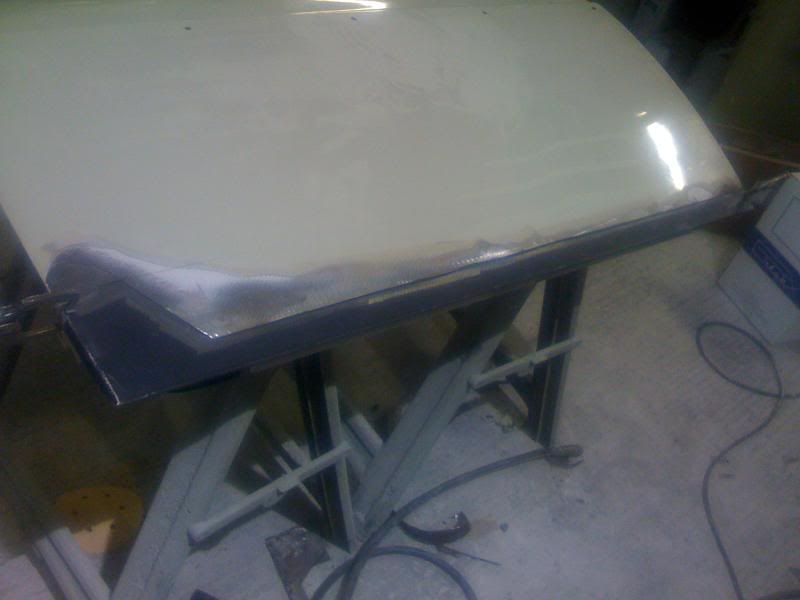
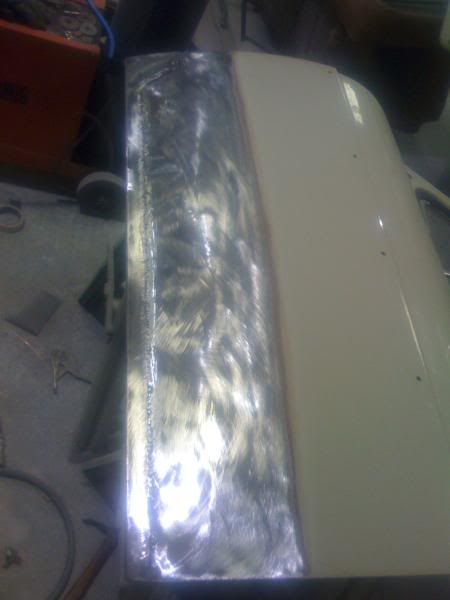
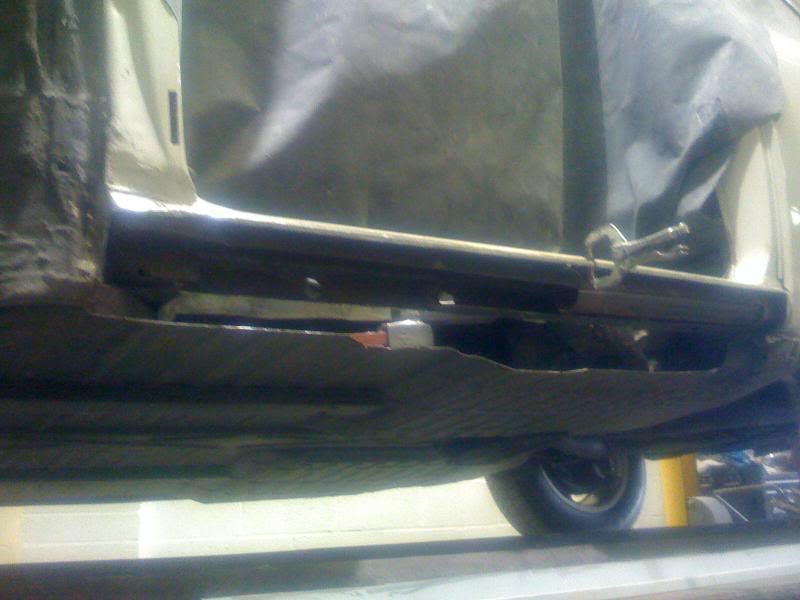
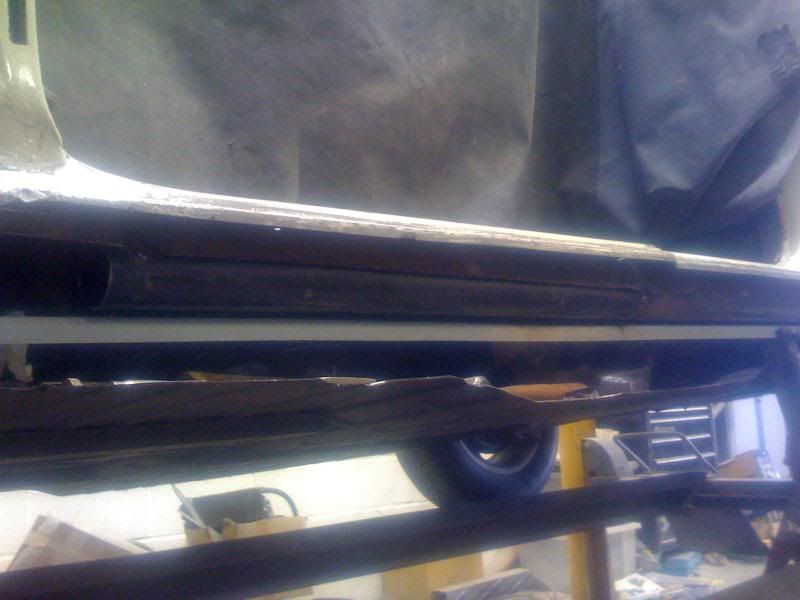
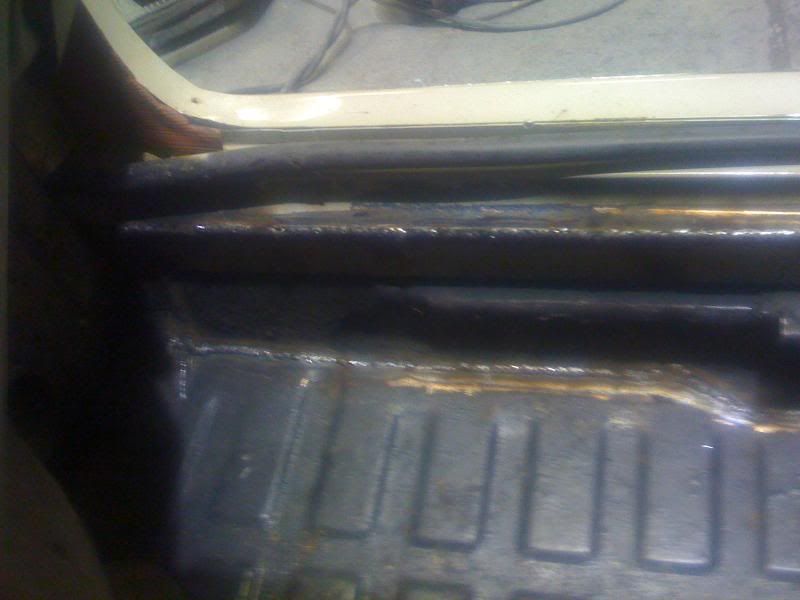
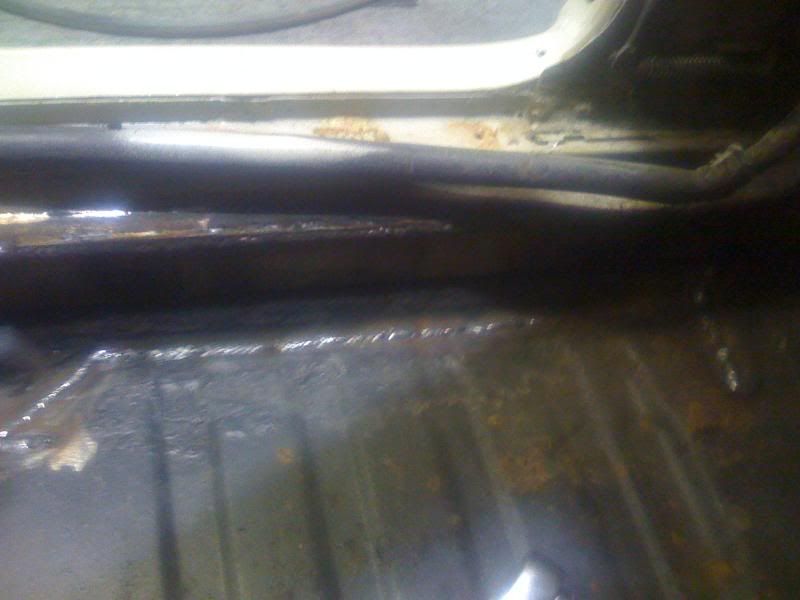
It could have been worse, this just needs a sheet panel making up and welding in.
Image

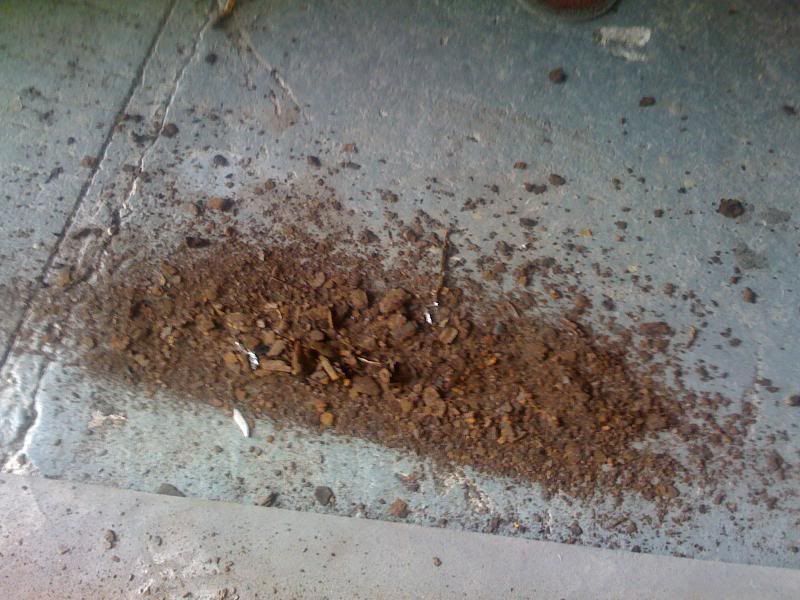
Quick, sweep it up before anyone comes!!! :lol!:
Image

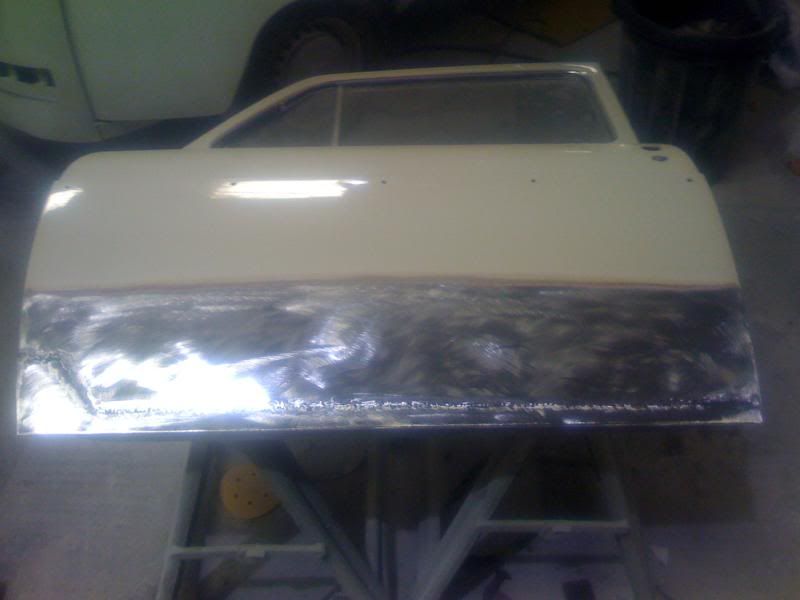
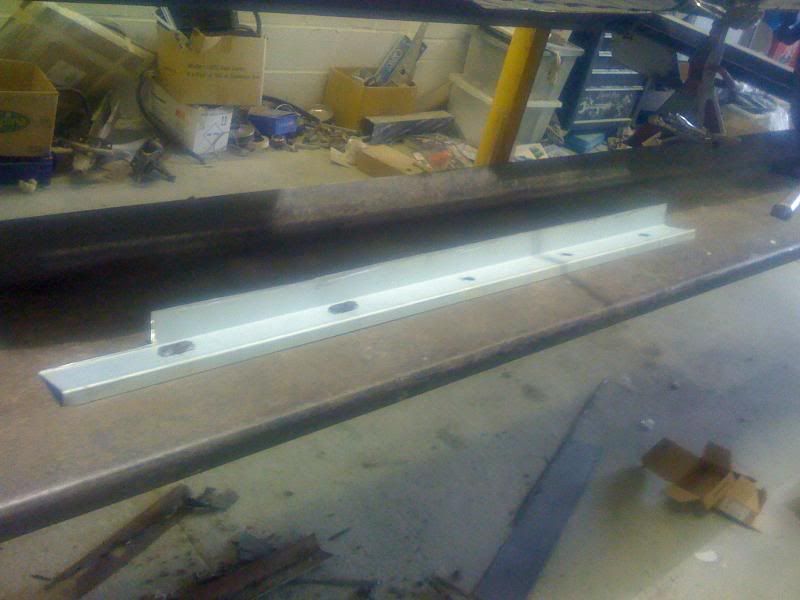
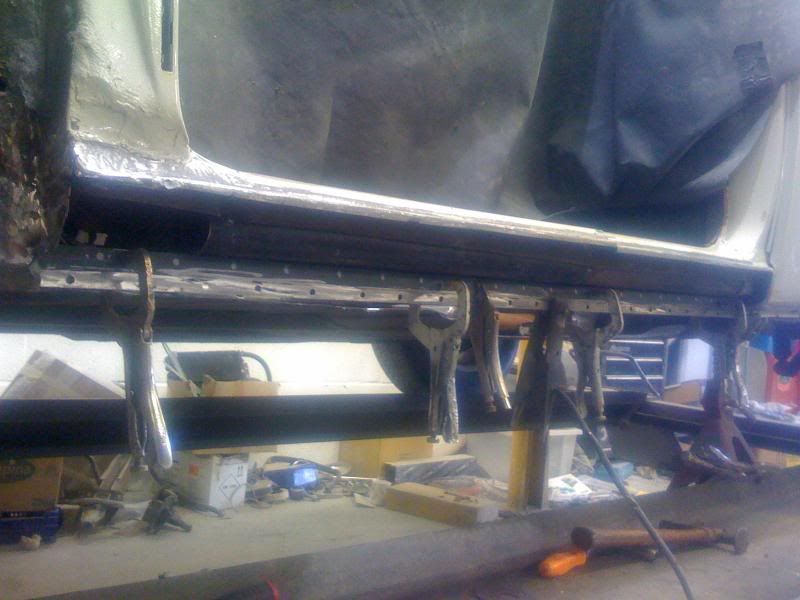
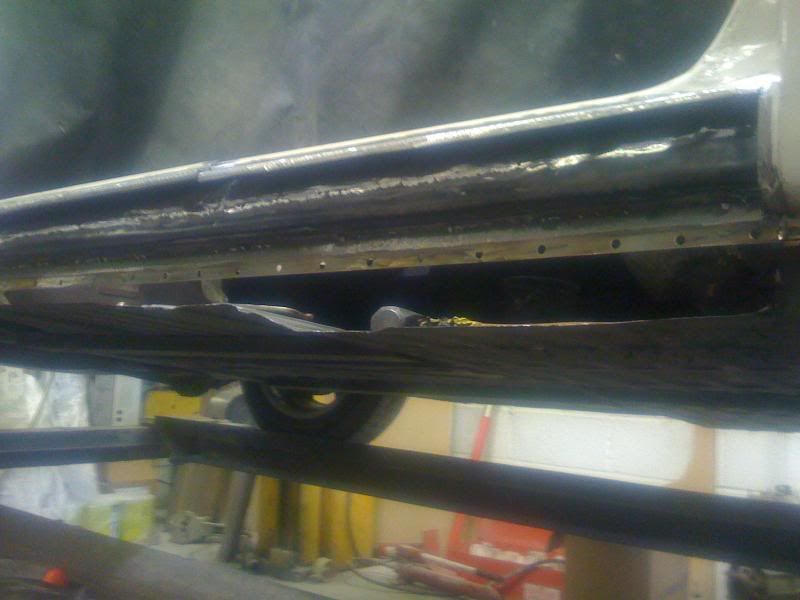
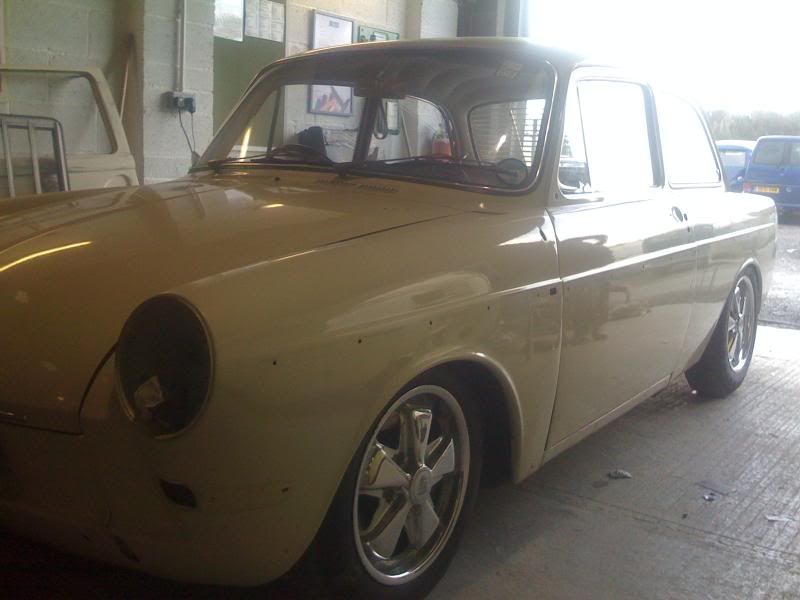
Looking better, should be good for a few more years.
Image

Image

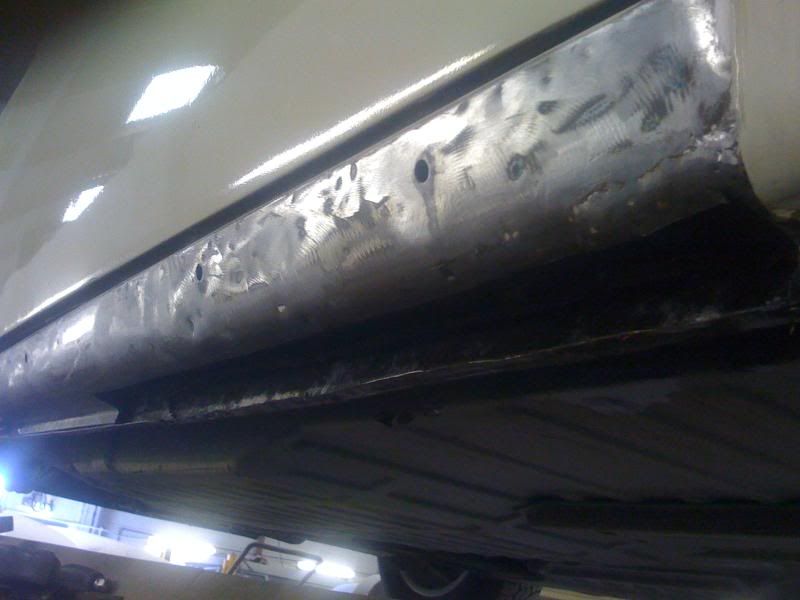
Especially pumped full of Waxoil when it's done......
Image


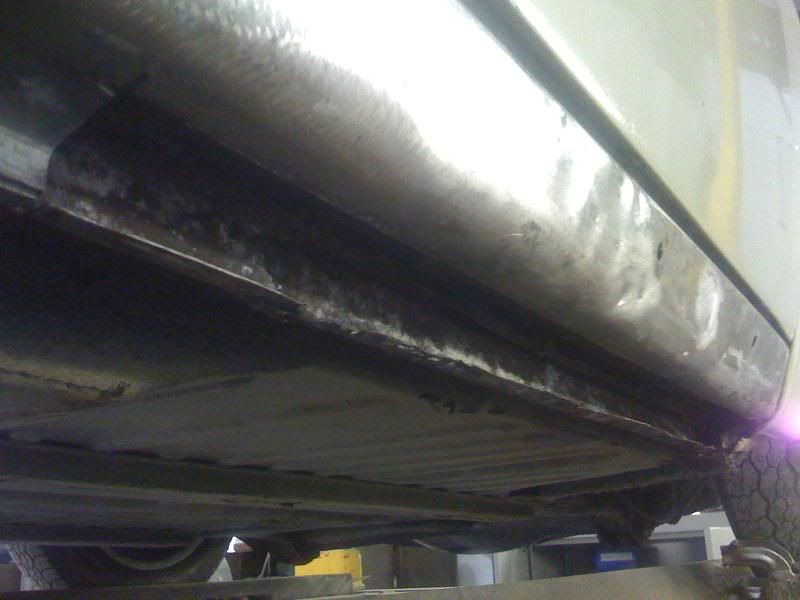
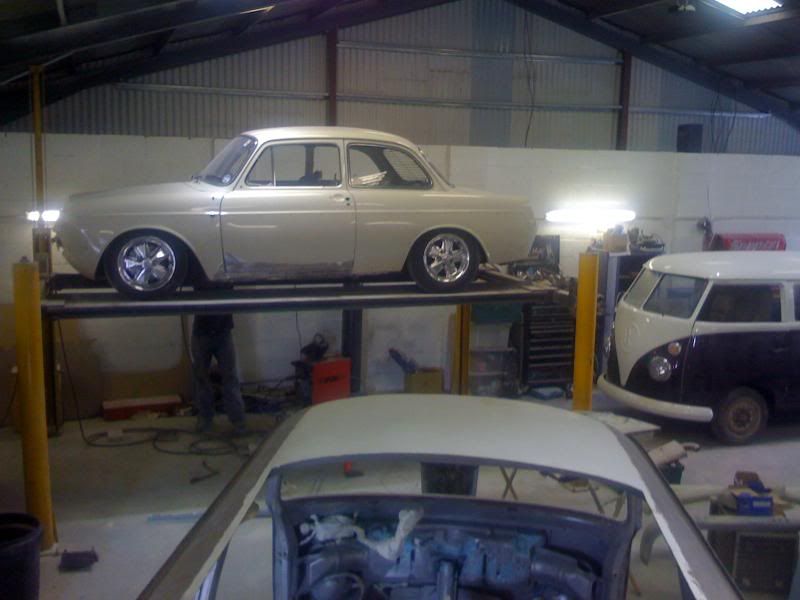
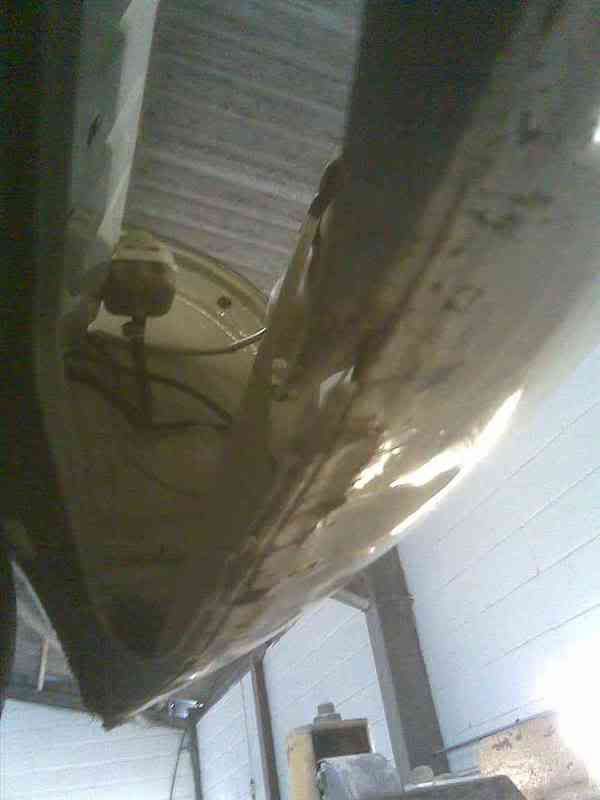
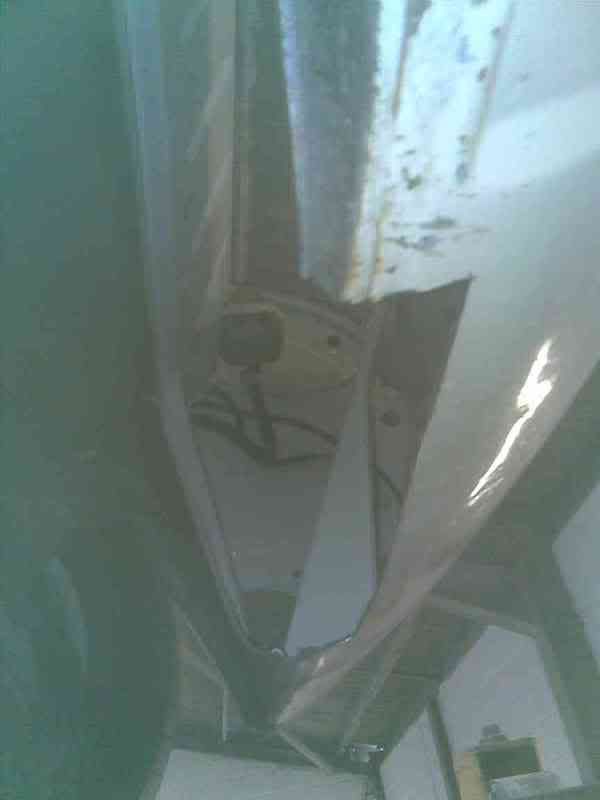
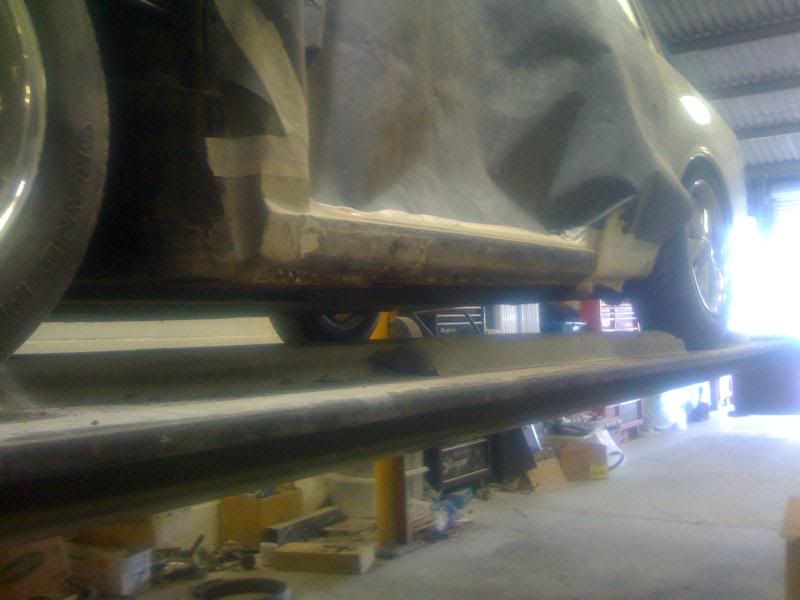
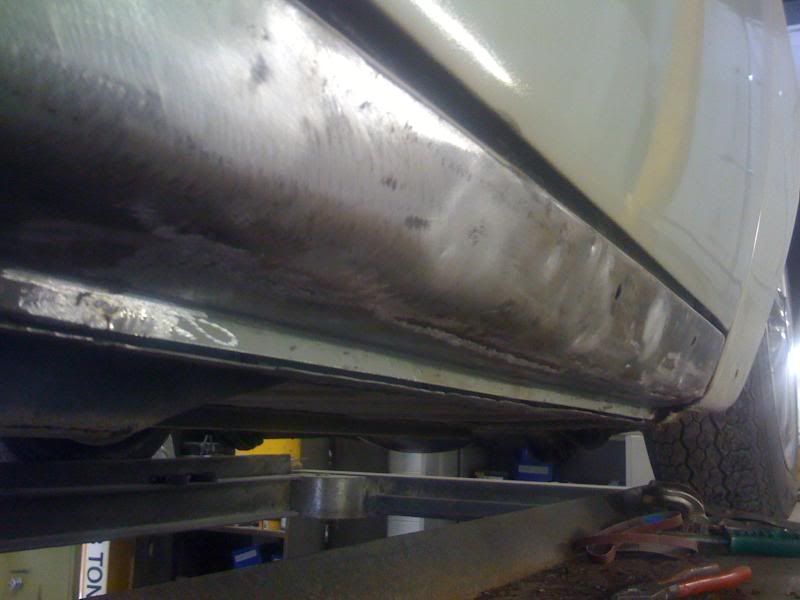
Up in the air it is solid. No rot at all in the floor etc.
Image
I've finally seen the light. Well, 2 lights, 2 6v lights on the front of a 64 Notch!!!!

User avatar
easy
Posts: 408
Joined: 17th October 2007 - 11:00am
Location: Bristol

Post by easy » 5th August 2008 - 8:52am

Nice work scoops, the joy of paint removal ;) gonna look sick when finished 8)
Chrome doesnt get you home...

User avatar
mr scoops
Posts: 226
Joined: 3rd April 2008 - 9:41am
Location: Weston-Super-Duper-Mare
Contact:

Post by mr scoops » 5th August 2008 - 9:22am

Cheers fella.
The other area that needs doing is the front clip side of the spare wheel well. It has been raised now as it was lower and I think that area ground out a lot hence it has blown through at the bottom. Not got any pics of that yet but hope to have some for the next update.
When the paint is done the engine is coming out to sort the oil leak. First job will be to tighten the adjustable push rod tubes and then check the crankshaft oil seal.
I am going to stick with the 009 and go 6v pertronix in that, so that will sort the timing, and then put the 5x130 discs on the back to lose the adaptors.
135 tyres to replace the 145 on the front will give a tad more tuckage and I have had the arches rolled to maximise clearance.
Just on the hunt now for a 6v oil temp gauge.
I've finally seen the light. Well, 2 lights, 2 6v lights on the front of a 64 Notch!!!!

User avatar
mr scoops
Posts: 226
Joined: 3rd April 2008 - 9:41am
Location: Weston-Super-Duper-Mare
Contact:

Post by mr scoops » 21st August 2008 - 8:51am

One sill sorted with fresh metal and a skim of filler. Looking much better I think.


Image

Image

Image

And some paint going on, this paint actually matches!!

Image


Image

Image

The other dodgy area was the front valance. Previously I think the car had been lower and this point had regularly ground out. Hence it had blown through with a bit of local rust.

Image


Out you come......

Image

Shaun made a replacement panel up.....

Image

....and slotted it into place.

Image

And covered up with some paint.

Image

Image


The passenger side is next to get some paint on and then it's a few mechanical bits and bobs.
Ie rear discs, oil leak and a couple of other little things.
Should be back with me soon.
I've finally seen the light. Well, 2 lights, 2 6v lights on the front of a 64 Notch!!!!

User avatar
easy
Posts: 408
Joined: 17th October 2007 - 11:00am
Location: Bristol

Post by easy » 21st August 2008 - 1:47pm

Nice repairs from the looks of things. Not long now! 8)
Chrome doesnt get you home...

User avatar
mr scoops
Posts: 226
Joined: 3rd April 2008 - 9:41am
Location: Weston-Super-Duper-Mare
Contact:

Post by mr scoops » 21st August 2008 - 2:29pm

I can't rate these guys highly enough..they said they are aiming for the end of next week.
I've finally seen the light. Well, 2 lights, 2 6v lights on the front of a 64 Notch!!!!

User avatar
mr scoops
Posts: 226
Joined: 3rd April 2008 - 9:41am
Location: Weston-Super-Duper-Mare
Contact:

Post by mr scoops » 1st September 2008 - 9:20am

Another update on this then.
Went to have a proper chat with Ady yesterday.....

The engine was dropping oil whenever it was warmed up, not a huge amout but it was annoying. So whilst the car is there it is getting sorted.
So, whip the 1776 out.......from here.......
Image

to here
Image

It would seem the suspicions were correct, crankshaft oil seal had gone.
Image

Image

Happily, despite there being plenty of oil in the bell-housing the clutch etc was okay.

Image

Unfortunately we have discovered a hairline crack in the gearbox casing. I am awaiting news to see if a local chap will go out to Ady's and Tig the casing for me.

It's booked into the booth for Thursday, then it is just a case of getting the 6v Pertronix in and sorted, quick tune up and then get the rear discs on.
Bit gutted it won't be back with me for a local show on the 7th but I am hoping to have it sorted for Vanfest. Might need a couple of late nights then to get the couple of accesories etc I have for it on there!!
I've finally seen the light. Well, 2 lights, 2 6v lights on the front of a 64 Notch!!!!

User avatar
Editor
Posts: 5515
Joined: 10th October 2004 - 8:52pm
Location: Pensford, Bristol
Contact:

Post by Editor » 2nd September 2008 - 12:11am

Take care welding the gearbox - it's magnesium alloy, and if it catches fire, you will have a job putting it out. You won't do it with water, as that just breaks down into flammable hydrogen gas!

I believe there are ways to weld it in an inert atmosphere, but probably not the sort of thing an average welder would be able to get access to - I don't think the gas flow from the TIG would be enough.
Dave.

User avatar
mr scoops
Posts: 226
Joined: 3rd April 2008 - 9:41am
Location: Weston-Super-Duper-Mare
Contact:

Post by mr scoops » 2nd September 2008 - 7:45am

:shock: I didn't know that!!! I will give them a call later to find out. If not it looks like I am looking for a new gearbox.
Bugger! :cry:
I've finally seen the light. Well, 2 lights, 2 6v lights on the front of a 64 Notch!!!!

User avatar
mr scoops
Posts: 226
Joined: 3rd April 2008 - 9:41am
Location: Weston-Super-Duper-Mare
Contact:

Post by mr scoops » 2nd September 2008 - 8:32am

I am guessing the 1500s box is Type 3 specific.......would a GT Beetle box go in there?? It is swing axle at the moment.
I've finally seen the light. Well, 2 lights, 2 6v lights on the front of a 64 Notch!!!!

User avatar
Editor
Posts: 5515
Joined: 10th October 2004 - 8:52pm
Location: Pensford, Bristol
Contact:

Post by Editor » 2nd September 2008 - 5:56pm

I wonder if a crack in the gearbox can be mended with some sort of sealant - gearbox oil is very thick, and doesn't get out very easily. Is it somewhere where strength is critical?
Dave.

User avatar
mr scoops
Posts: 226
Joined: 3rd April 2008 - 9:41am
Location: Weston-Super-Duper-Mare
Contact:

Post by mr scoops » 2nd September 2008 - 9:24pm

Well, we have found someone willing to weld the casing. There was engine oil in the gearbox not gear oil.....It is a tiny hairline crack that the oil was simply seeping out of.
I've finally seen the light. Well, 2 lights, 2 6v lights on the front of a 64 Notch!!!!

User avatar
purplepeter
Posts: 2342
Joined: 8th August 2006 - 4:41pm
Location: Bath, Avon

Post by purplepeter » 2nd September 2008 - 9:43pm

Mr scoops,On the side where theyve replaced the whole outer sill-any chance of a pic or two of how theyve dealt with the bottom of the A & B posts?..and how did they do it without taking the wings off?..i'm about to do mine (having promised myself all summer that the first week of sunshine,i'd get on with it...!

User avatar
mr scoops
Posts: 226
Joined: 3rd April 2008 - 9:41am
Location: Weston-Super-Duper-Mare
Contact:

Post by mr scoops » 2nd September 2008 - 10:29pm

I was hoping for the pics to come through tonight but they haven't come through yet.
They did say the wings were coming off and they weren't entirely sure the body could stay on the pan!!! :shock:
I've finally seen the light. Well, 2 lights, 2 6v lights on the front of a 64 Notch!!!!

User avatar
mr scoops
Posts: 226
Joined: 3rd April 2008 - 9:41am
Location: Weston-Super-Duper-Mare
Contact:

Post by mr scoops » 9th September 2008 - 7:34am

The latest update. Apologies for the pics, they are straight off an iPhone.
The next problem was the bubbling coming through on the bottom of the passenger door, rather than try and source an NOS door or a solid replacement the rot was cut out and a new section of skin was fabricated and let in.
So it was out with this
Image

Image

Image

Image

Image

Image

Then this replacement steel was made up to go in to replace where the dreaded tinworm had settled.

Image

Image

Which got the door looking like this.
Image

Image

Image

Image

Image

Image

The corner then received a little bit of 'loving'
Image

Image

Image

And then it was all tidied up
Image

Image

Image

Image

Image

Image

Image
I've finally seen the light. Well, 2 lights, 2 6v lights on the front of a 64 Notch!!!!

User avatar
mr scoops
Posts: 226
Joined: 3rd April 2008 - 9:41am
Location: Weston-Super-Duper-Mare
Contact:

Post by mr scoops » 9th September 2008 - 12:19pm

The last bit of bodywork to be done was a quick look at the passenger side sill.
So it was off with a wing.
Image

And let's see what is going on.

Image

Image

Image

Off with the outer sill

Image

Image

Image

Image

Not looking too pretty is it???

So the whole inner sill had to come out as well!!
Image

Image

Image

A new peice of tubing for the heater channel piping was made up.
Image

And then new inner sills were made up
Image

Image

Image

Image

Image

Image

Image

And then the floor section was let in.
Image

Image

Image

Image

Looking better.
Image

Image

Image

Image

And on to the T3D outer sill now....probably the only bought replacement panel used. A testament to the skills of Shaun etc out at Classy Campers.
Image

Image

Image

Image

Image

Image

Image

Oooooooh, sexy!!
Image

Image

Image

Image

Just a bit of grinding down to do
Image

Image
I've finally seen the light. Well, 2 lights, 2 6v lights on the front of a 64 Notch!!!!

User avatar
easy
Posts: 408
Joined: 17th October 2007 - 11:00am
Location: Bristol

Post by easy » 9th September 2008 - 12:47pm

Sweet!! gonna look rude doood! 8)
Chrome doesnt get you home...

User avatar
mr scoops
Posts: 226
Joined: 3rd April 2008 - 9:41am
Location: Weston-Super-Duper-Mare
Contact:

Post by mr scoops » 9th September 2008 - 12:54pm

Really looking forward to getting it back. If it is this week I plan to put it in the show n shine at Vanfest, if not, there is a Classic Car Show on Weston Sea Front the following Sunday.
I've finally seen the light. Well, 2 lights, 2 6v lights on the front of a 64 Notch!!!!

User avatar
nitro_warrior
Posts: 217
Joined: 3rd April 2007 - 1:41pm
Location: Edinburgh

Post by nitro_warrior » 13th September 2008 - 8:26pm

Great stuff! Some really good work there!
VW Type 3 Fastback
2x Fiat Panda 4x4

User avatar
mr scoops
Posts: 226
Joined: 3rd April 2008 - 9:41am
Location: Weston-Super-Duper-Mare
Contact:

Post by mr scoops » 16th September 2008 - 7:32am

The latest installment.

Engine out (again) to get the gearbox out for welding and to change the clutch which we decided may as well be done whilst we are there.

Image


Bish Bosh

Image


And then out with the drivetrain.

Image


Oooh, look at me horns!!!

Image


A localised clean up was required to be able to weld the hairline crack.

Image


Initial attempts to weld the gearbox casing were not very succesful. A pook of material was just forming on the surface of the casing. Take 2, using some material cut from a scrap gearbox, and VOILA!

Image


Image


And it is now all sealed up. Woo Hoo, no more leak!

Image


Whilst the drive train was out the rear drums were whipped off and changed over to discs. (The rear drums are for sale as complete units by the way). I don't have any pics of the conversion at the moment. Needless to say they look great. The master cylinder has also been swapped over to a Porsche unit to increase fluid displacement and therefore give me much improved brakes.


The old girl was then loaded onto a trailer and went off to the spray booth.

Image


It is to be sprayed this morning so things are looking good for later this week.

Image


The engine has also been given a tune and the carbs re-balanced as well as the timing all sorted.


The next pics should be shiny ones!!!
I've finally seen the light. Well, 2 lights, 2 6v lights on the front of a 64 Notch!!!!

User avatar
easy
Posts: 408
Joined: 17th October 2007 - 11:00am
Location: Bristol

Post by easy » 16th September 2008 - 8:27am

Some good work there chap, nearly ready for the winter! ;)
Chrome doesnt get you home...

User avatar
mr scoops
Posts: 226
Joined: 3rd April 2008 - 9:41am
Location: Weston-Super-Duper-Mare
Contact:

Post by mr scoops » 16th September 2008 - 8:41am

:roll: I know. It will be safely tucked up in the garage under a soft cloth cover for the winter away from all that salt!!
I've finally seen the light. Well, 2 lights, 2 6v lights on the front of a 64 Notch!!!!

User avatar
easy
Posts: 408
Joined: 17th October 2007 - 11:00am
Location: Bristol

Post by easy » 16th September 2008 - 4:40pm

Finishing mine off now :D only got the engine & exhaust to build and then its off and rockin! I am not to worried about the bodywork as its solid as, just needs a few sand downs and preserves and its ago go! 8)
Chrome doesnt get you home...

User avatar
mr scoops
Posts: 226
Joined: 3rd April 2008 - 9:41am
Location: Weston-Super-Duper-Mare
Contact:

Post by mr scoops » 16th September 2008 - 9:39pm

Sounds good.......when you thinking of being back on the road??
I've finally seen the light. Well, 2 lights, 2 6v lights on the front of a 64 Notch!!!!

User avatar
easy
Posts: 408
Joined: 17th October 2007 - 11:00am
Location: Bristol

Post by easy » 17th September 2008 - 10:59am

I must have it ready by the end of October, thats the target date 8) I have just got a set of orig wheels all blasted and painted for free! so will add them at some point.

Just painting the last engine bits, clamps etc and a bit more porting and polishing of the heads etc and then its build up.

The exhaust is a one off custom which tucks away to alow for the lowness, although it will be higher than before due to the deep sump 8)

Gonna be some ace notches around the south west soon! Will come and have a nose at yours at Oktoberfest ;) 8)
Chrome doesnt get you home...

Post Reply