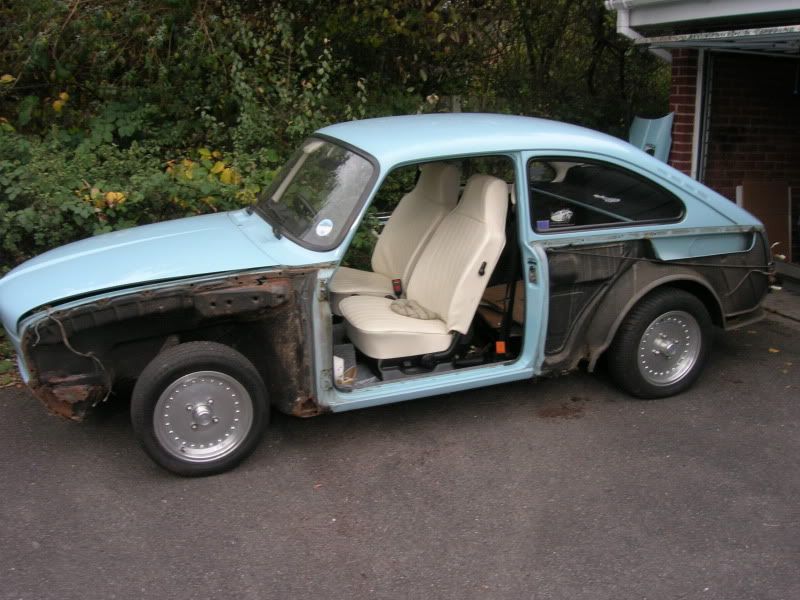
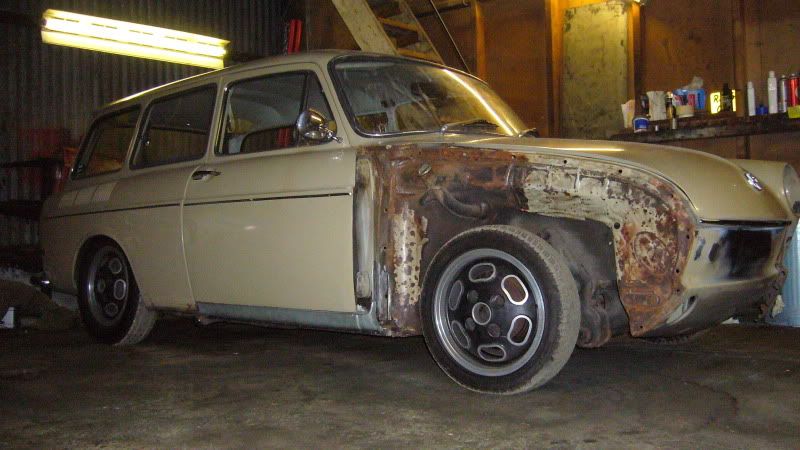
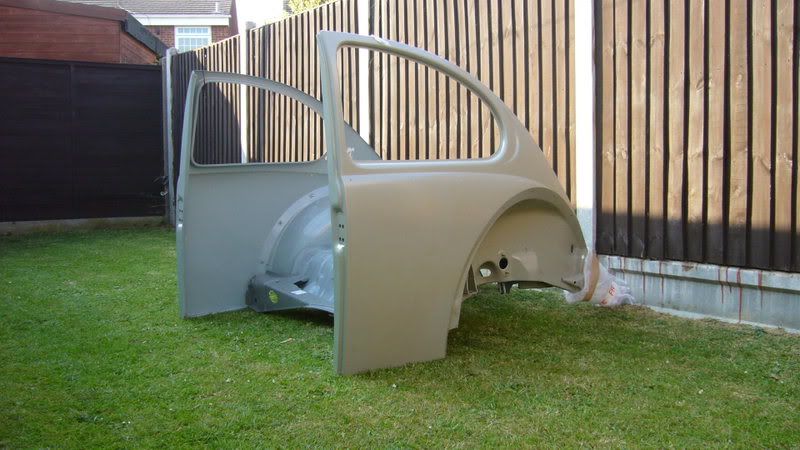
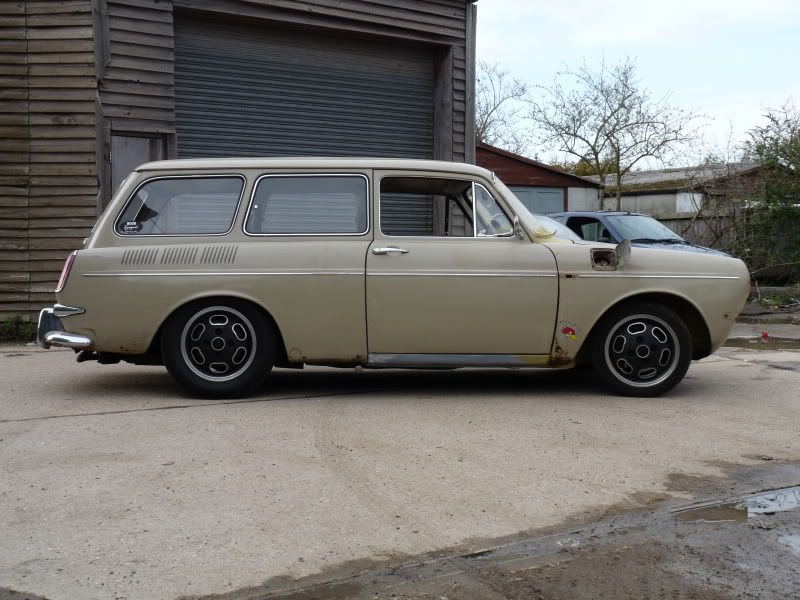
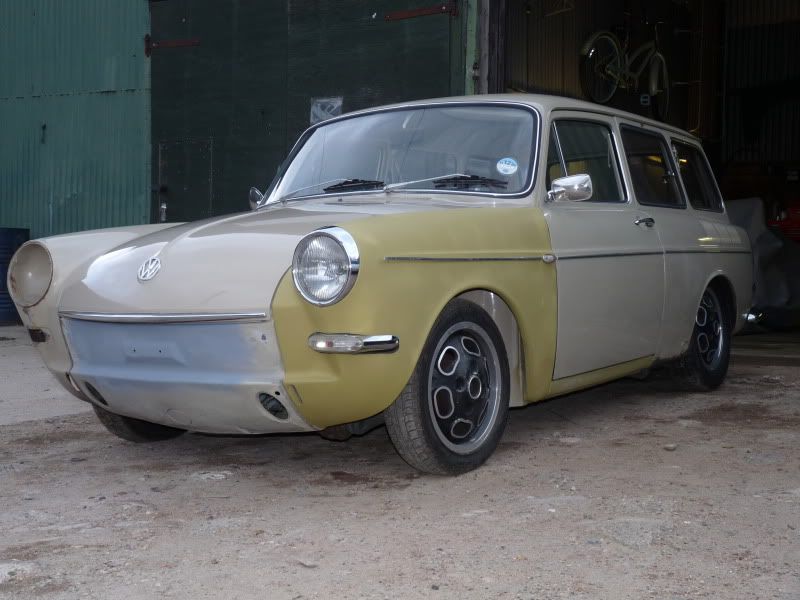
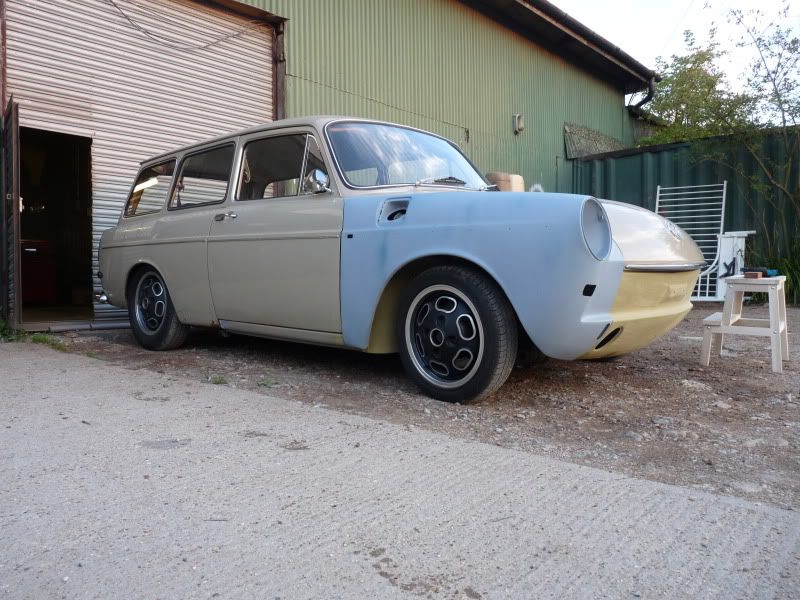
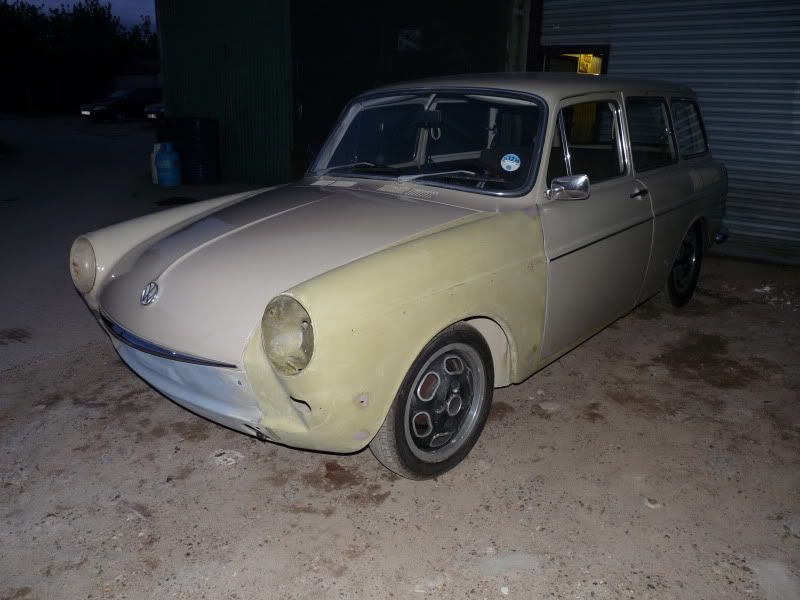
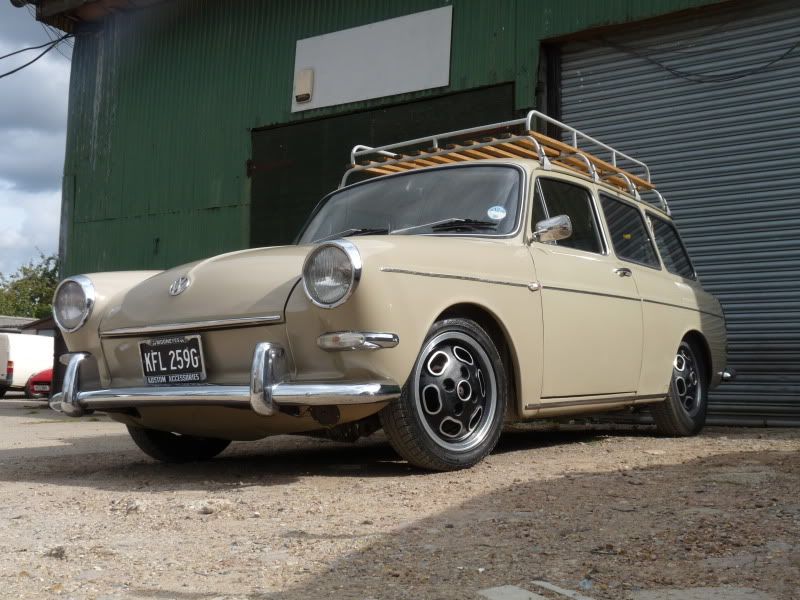
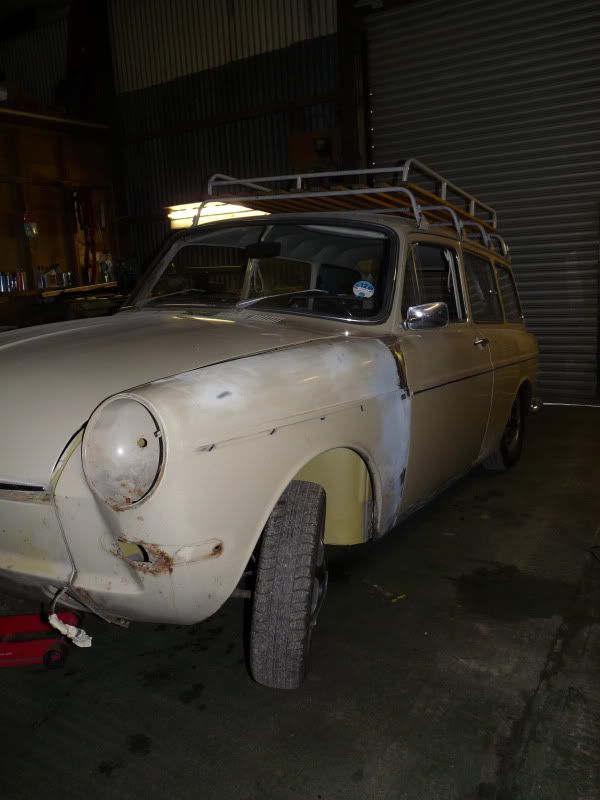
Bought my first Type 3 about 3 months ago and have just started to repair the Heater channels and inner wings. thought the pictures could help others.
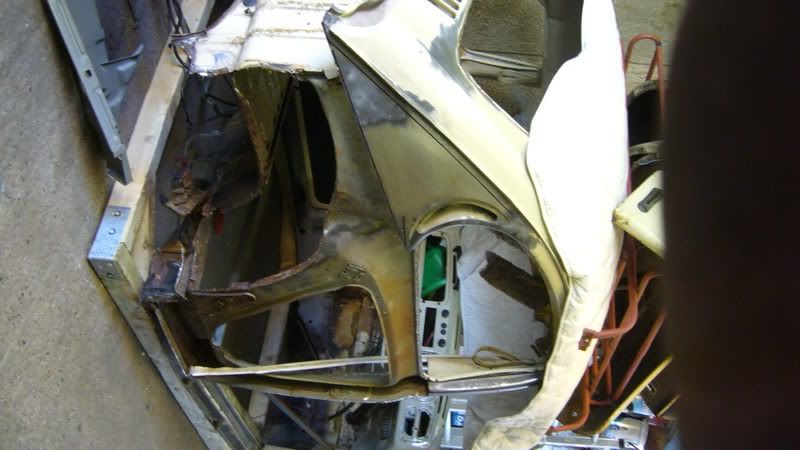
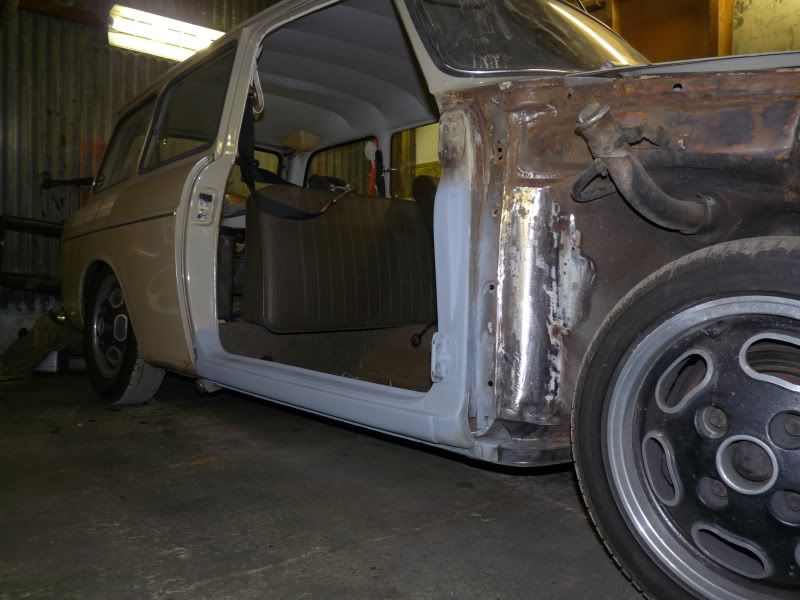
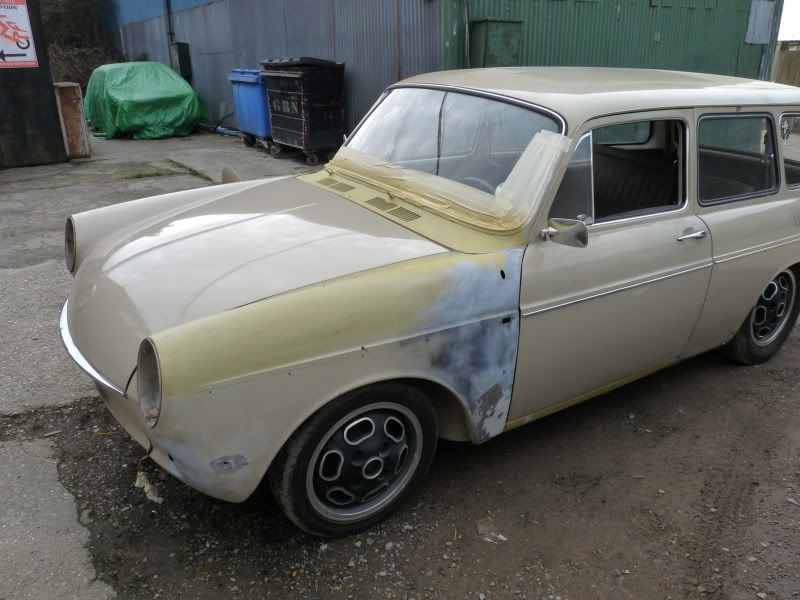
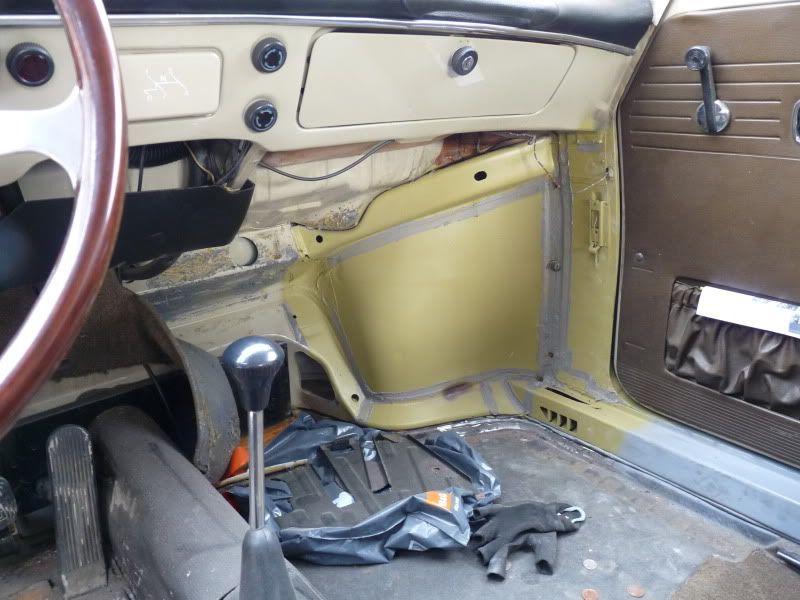
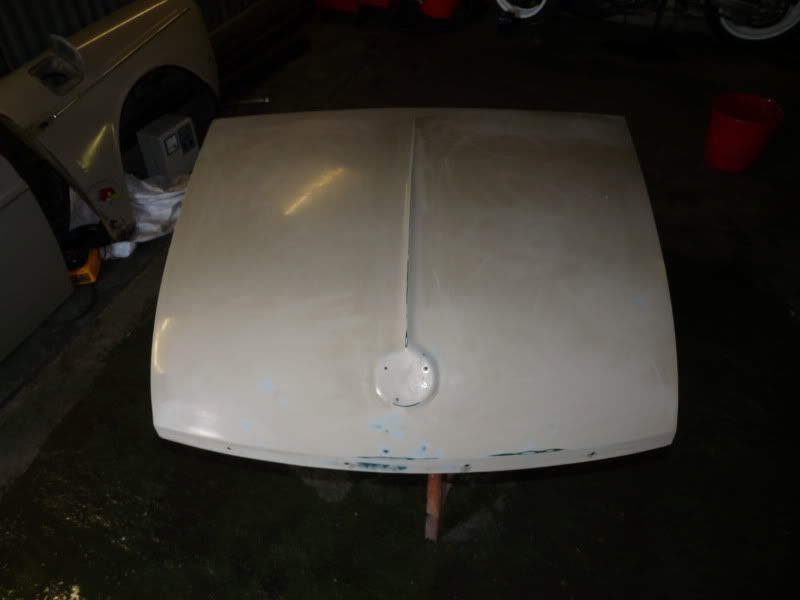
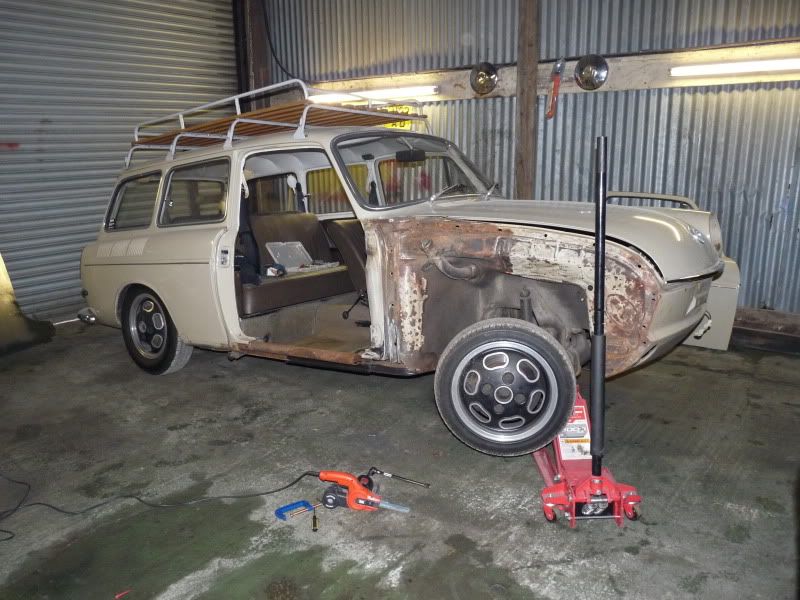
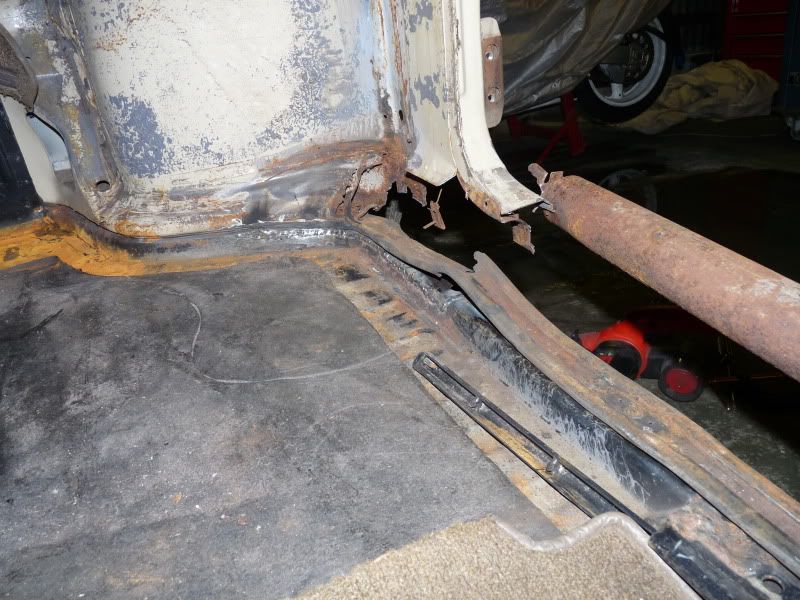
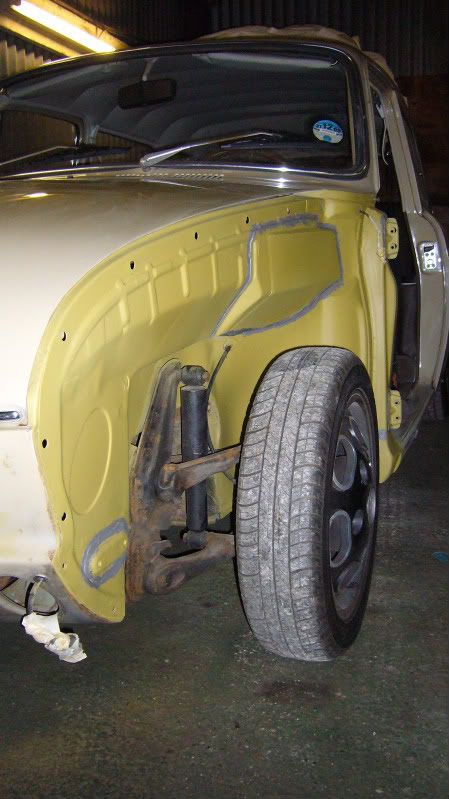
Heres the car, have removed the wing, door, inner channel, outer sill and web. The only bit of metal i found was the heater tube itself.
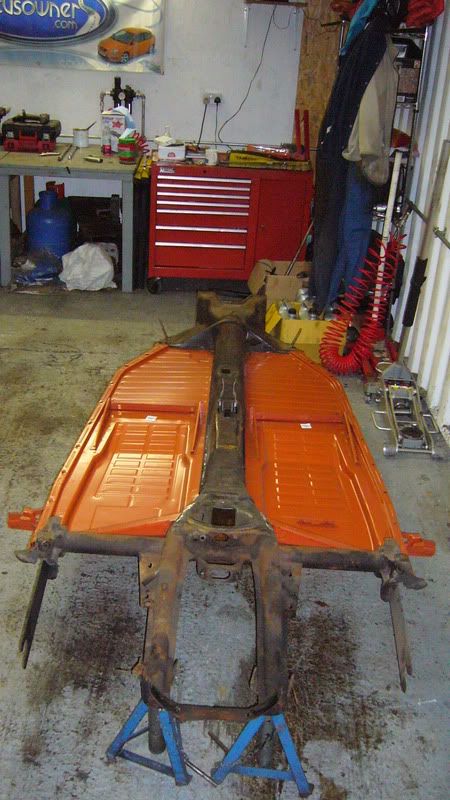
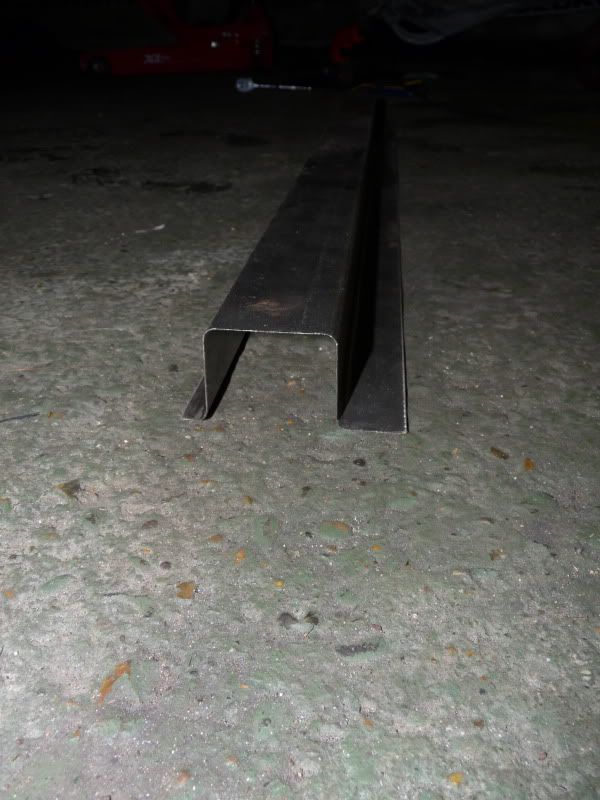
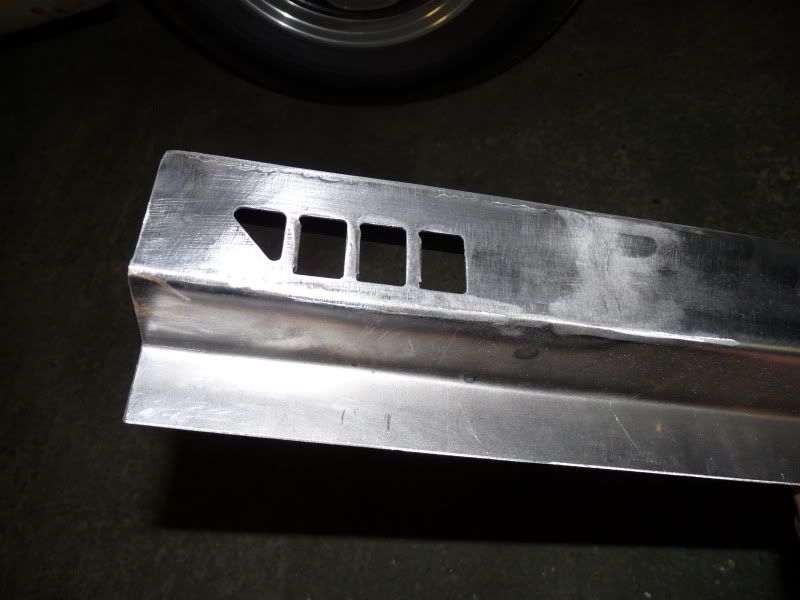
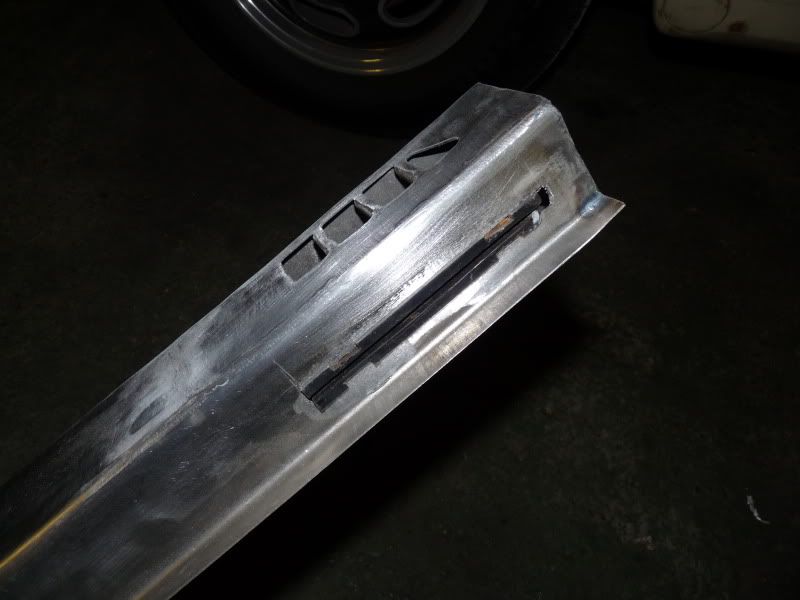
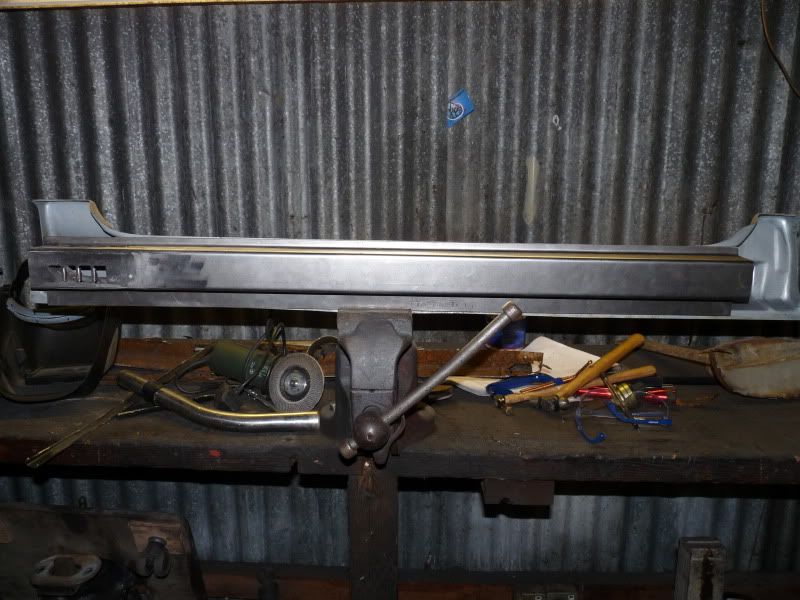
I visited my local fabricator with some measurments and a sample and had two lengths of inner heater channels made up.
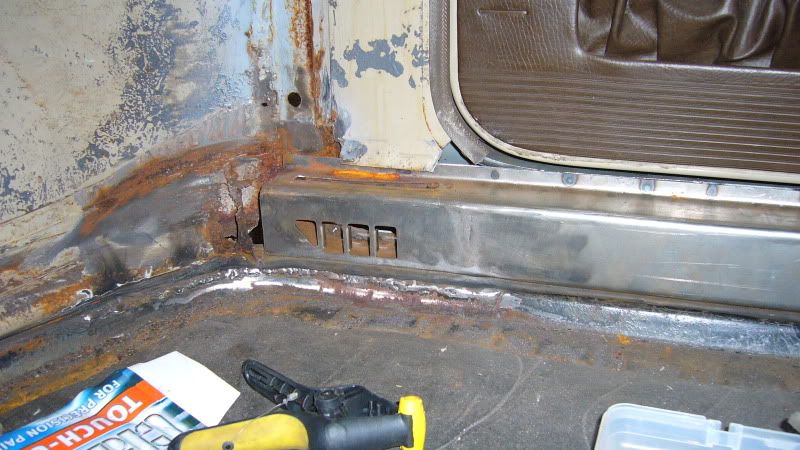
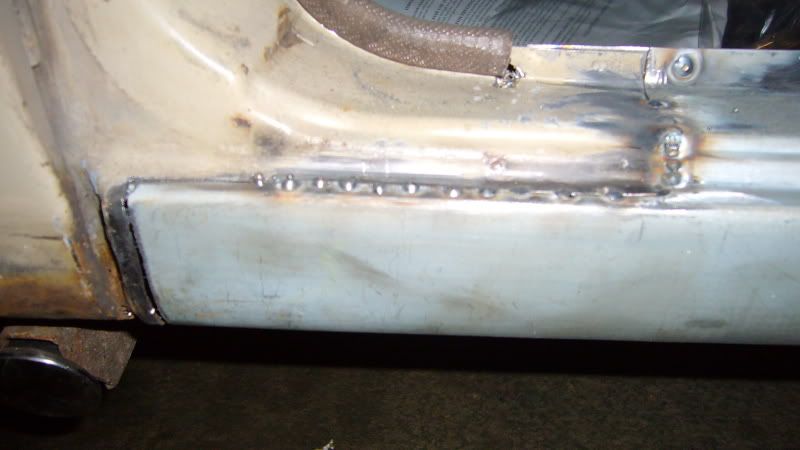
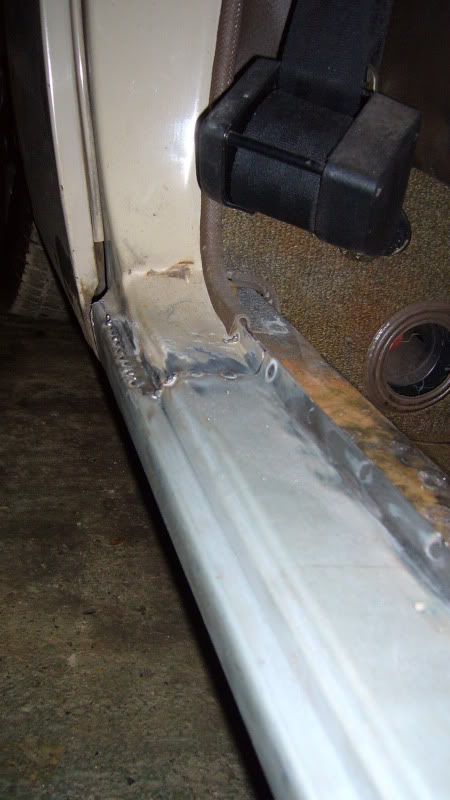
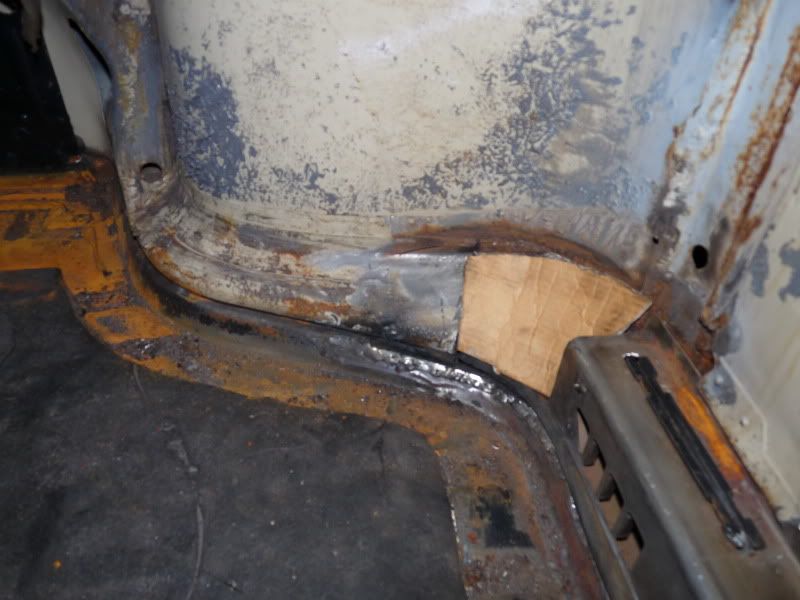
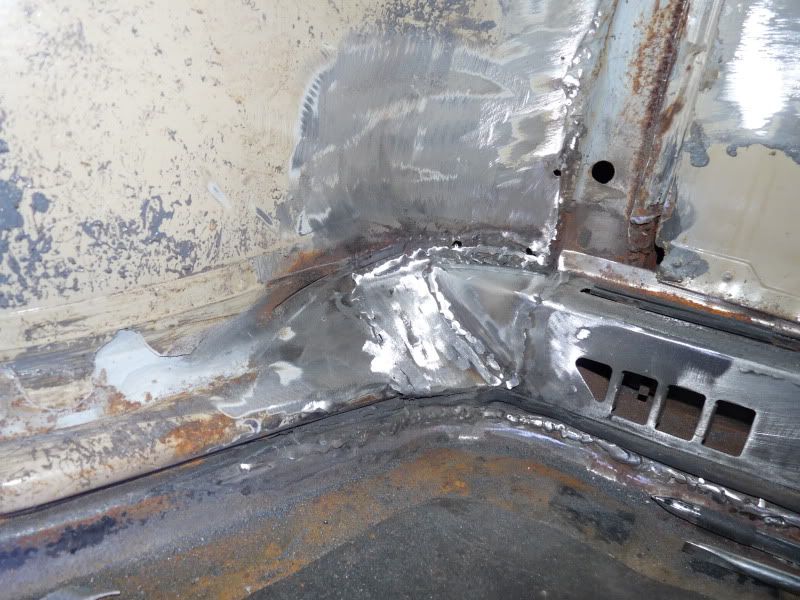
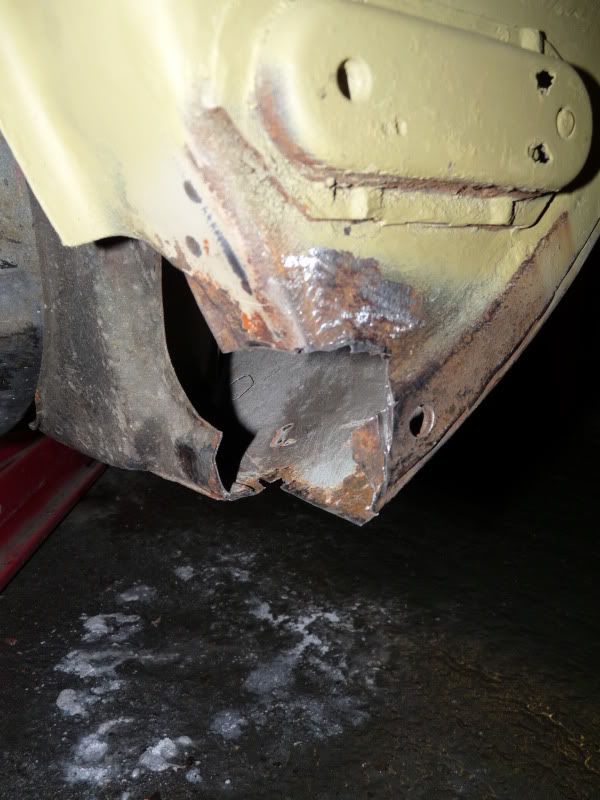
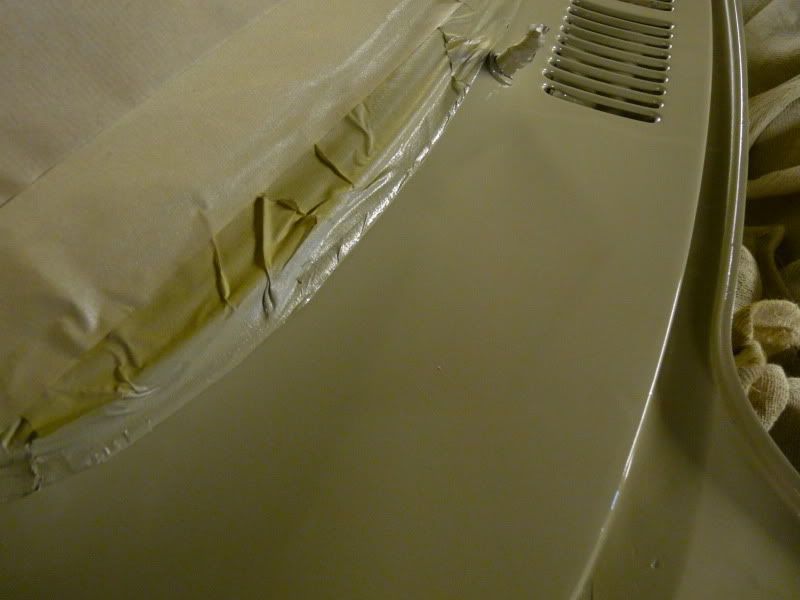
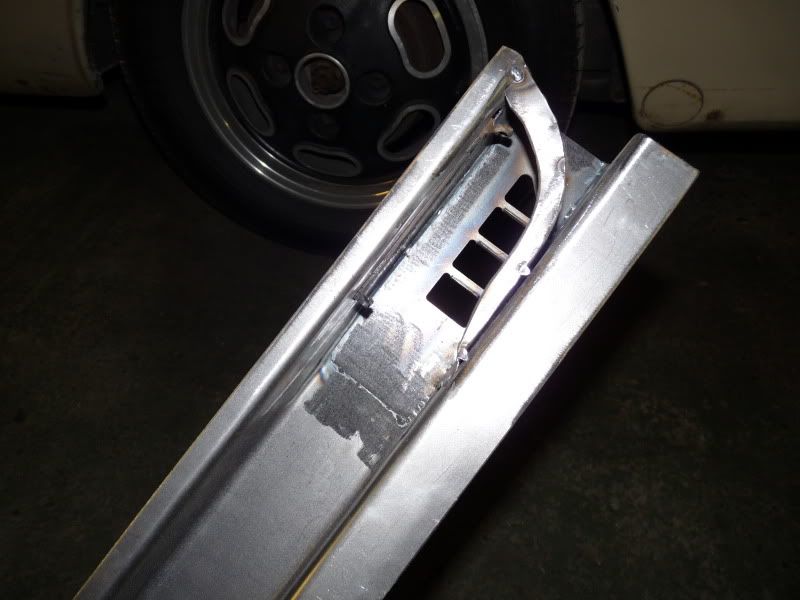
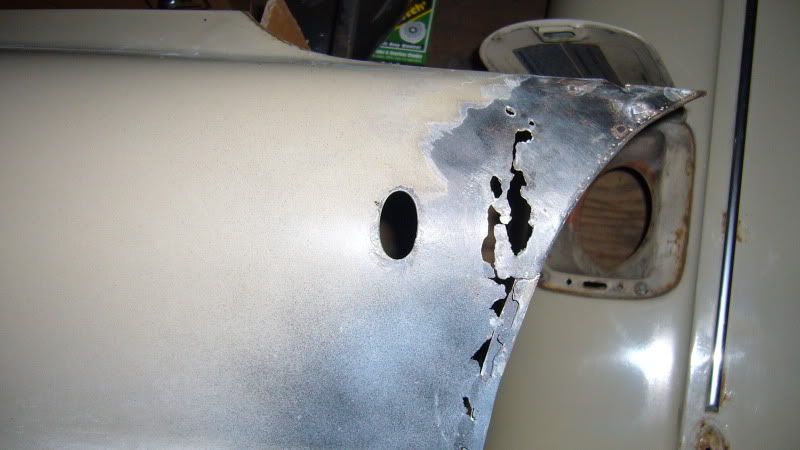
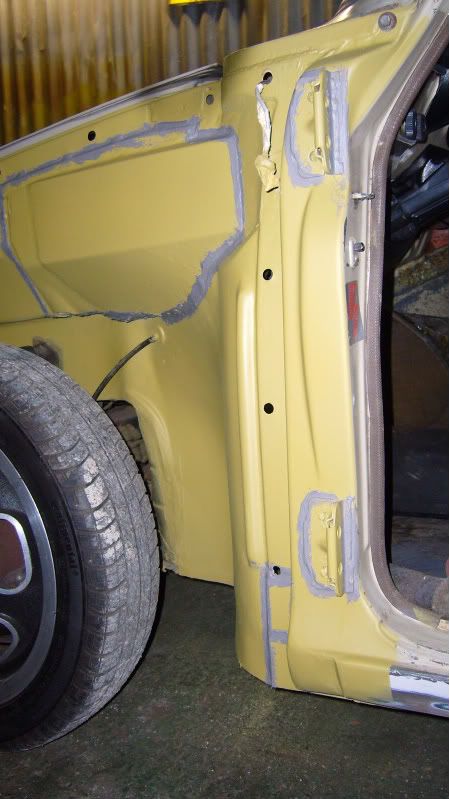
And here i've welded in the heater vent repair panel, sourced from Type 3 Detectives.
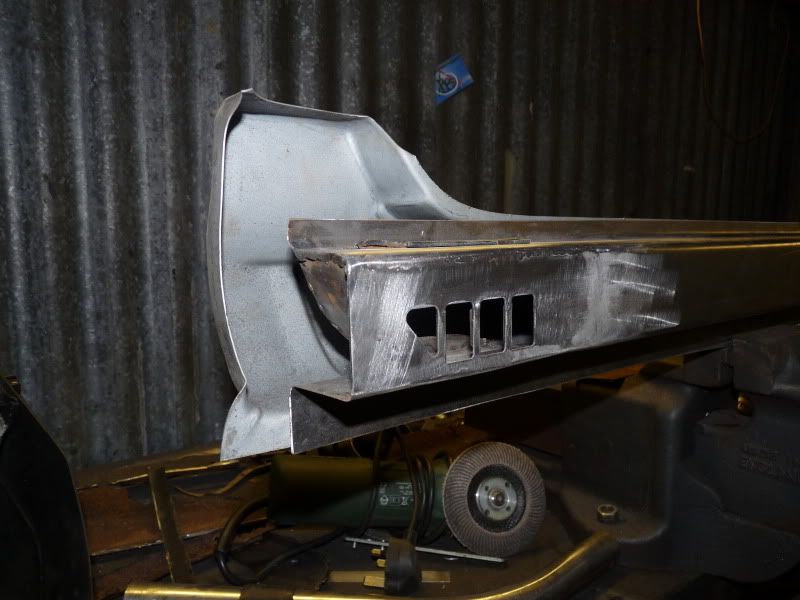
Added the heater flap hinge and a heater deflector
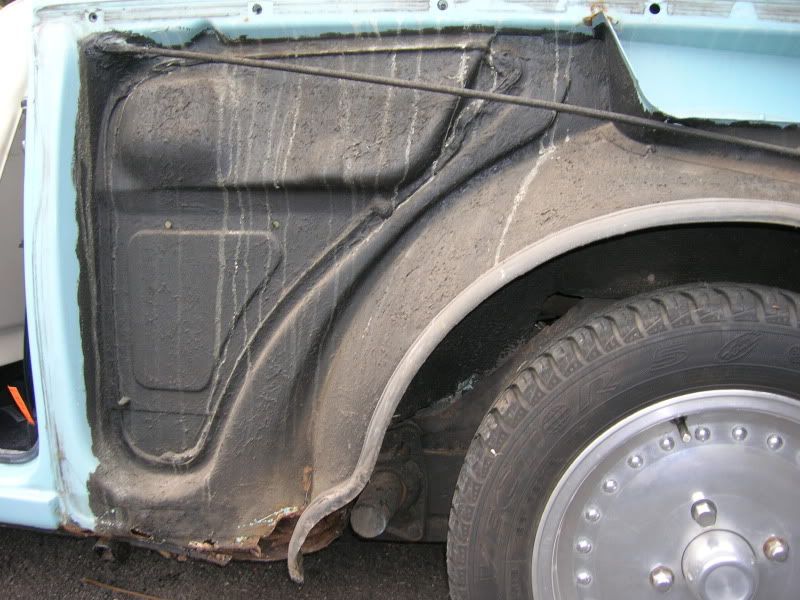
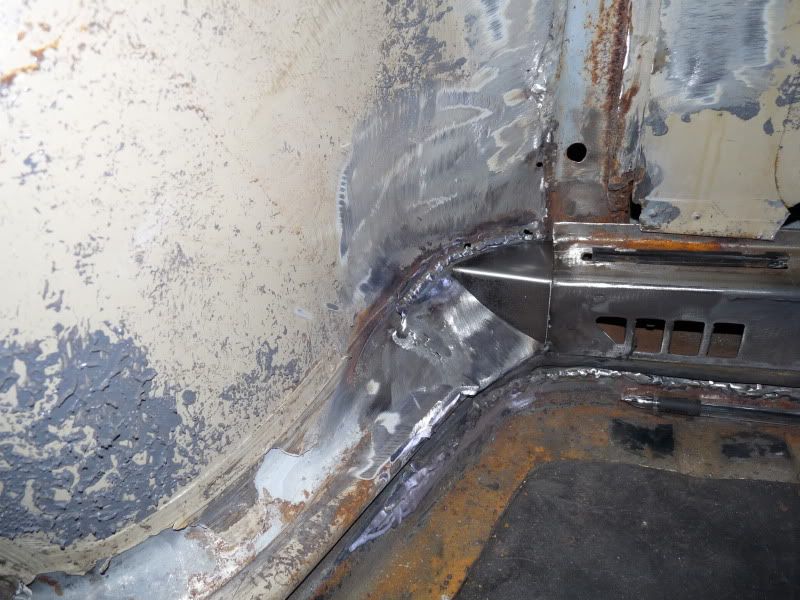
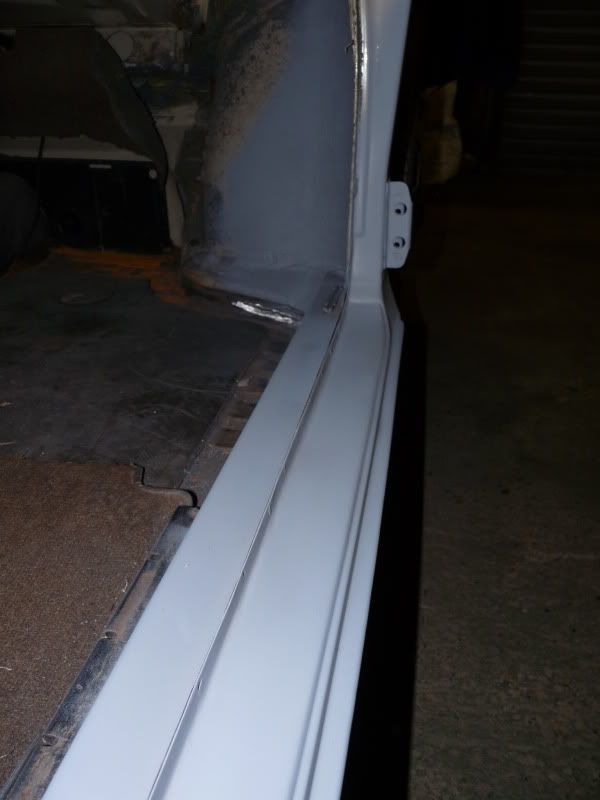
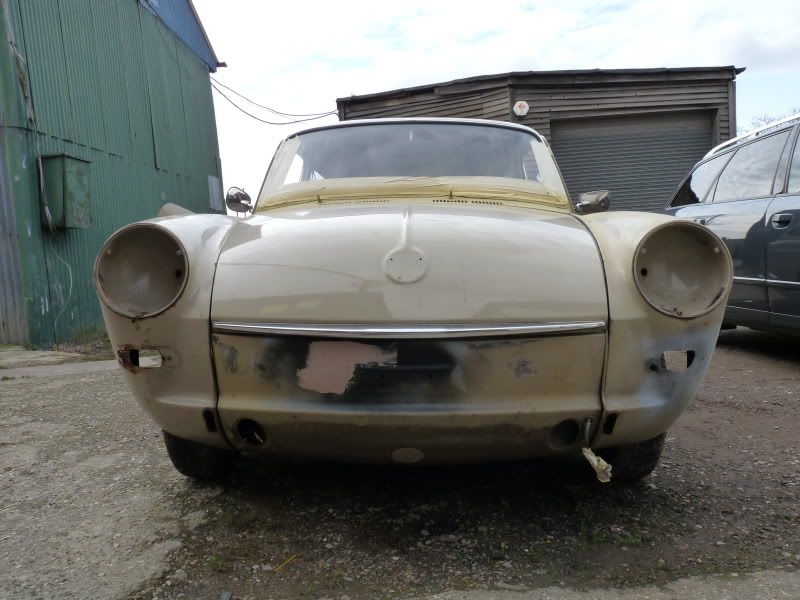
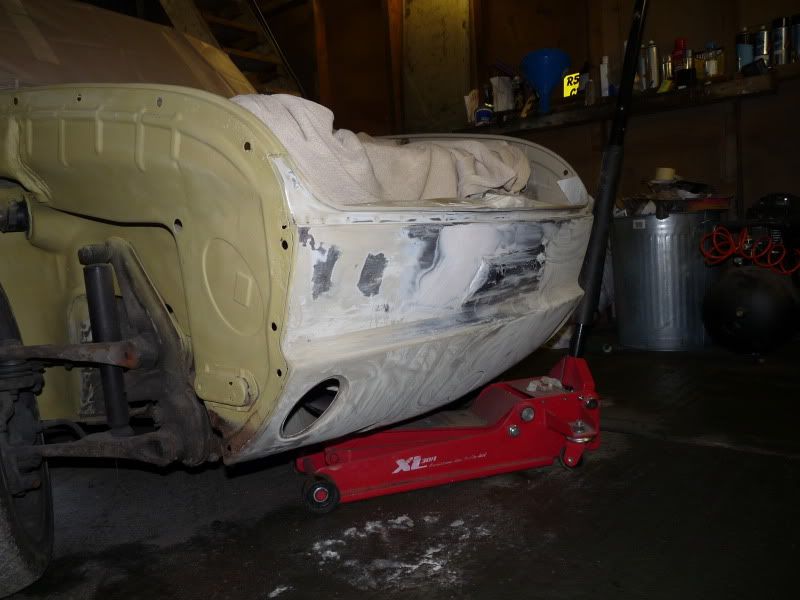
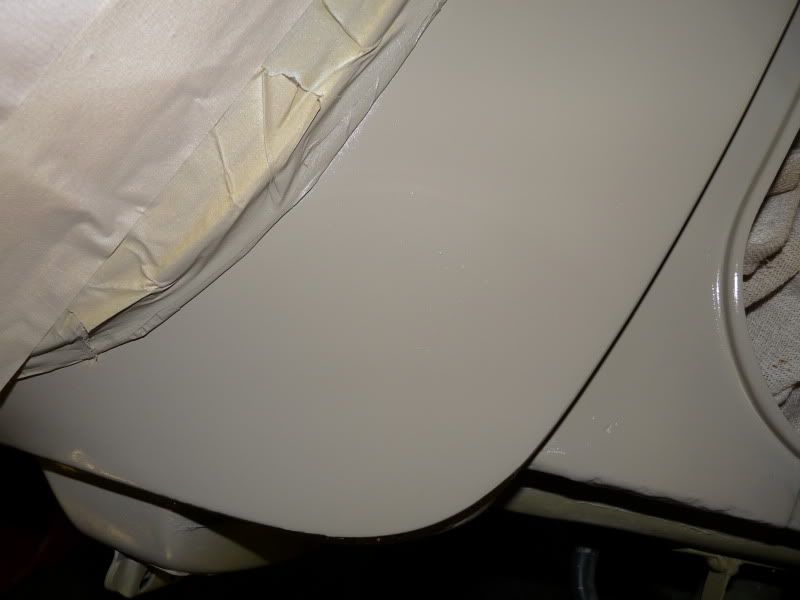
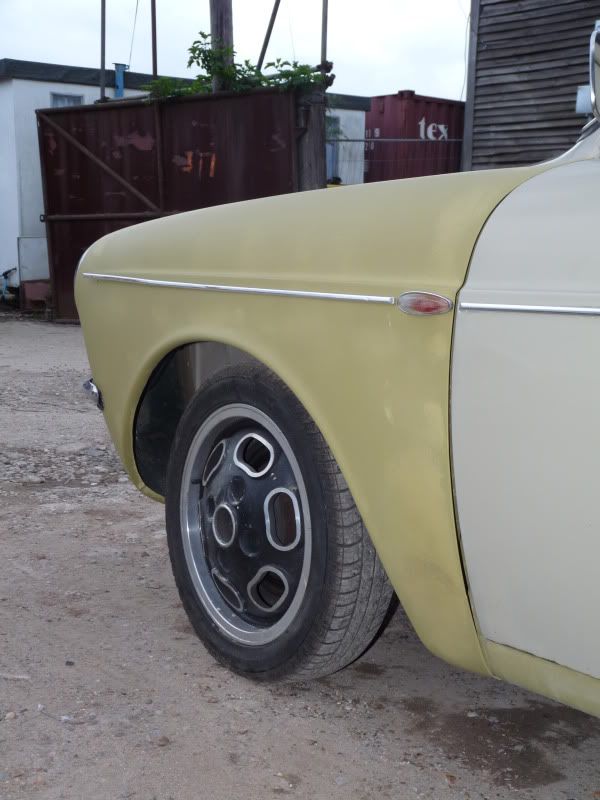
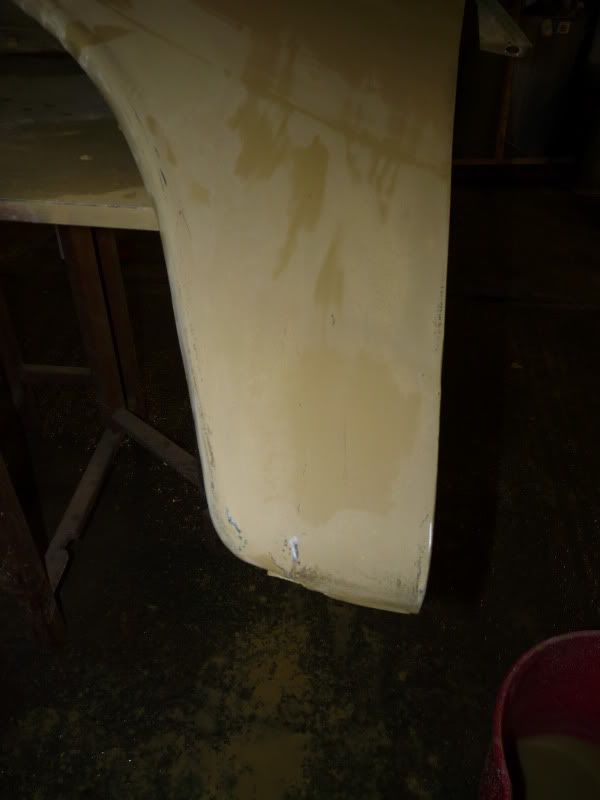
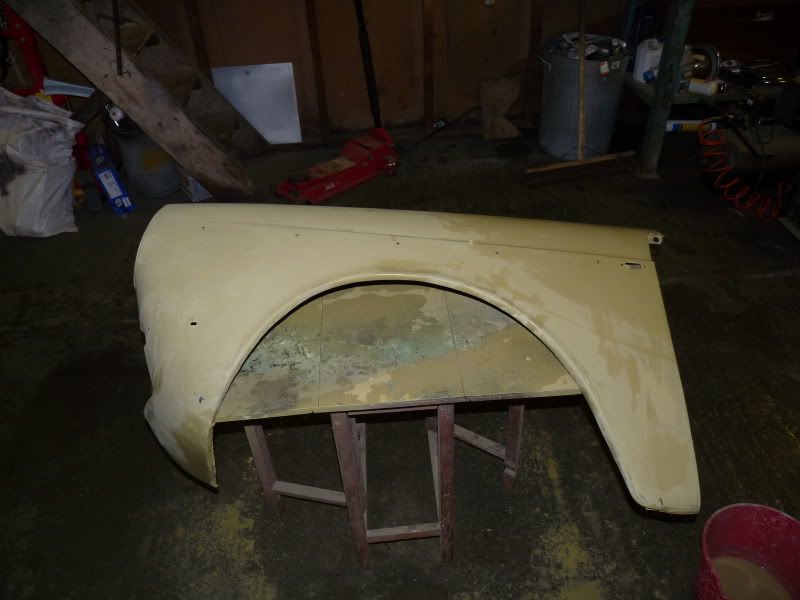
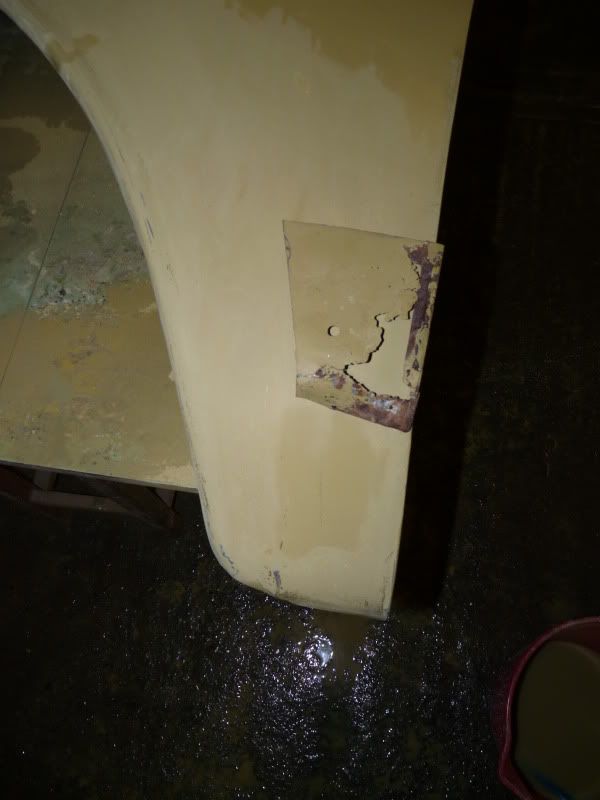
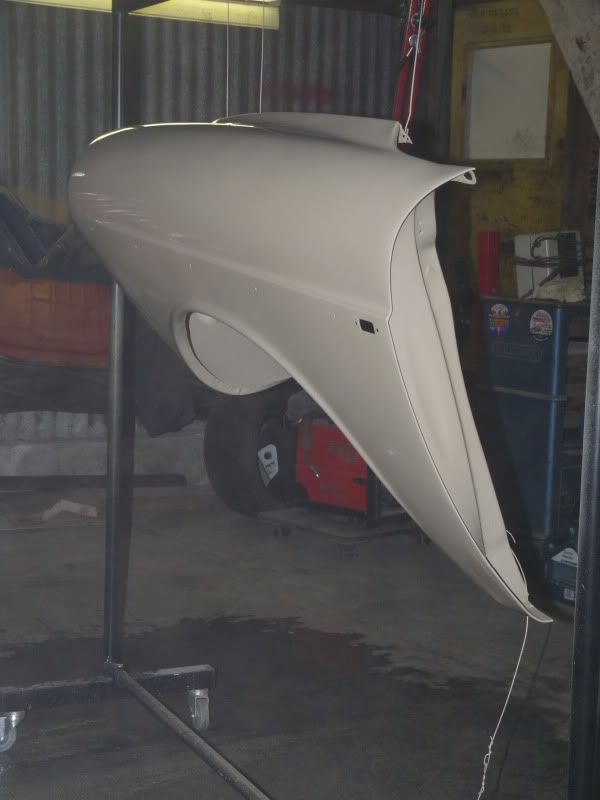
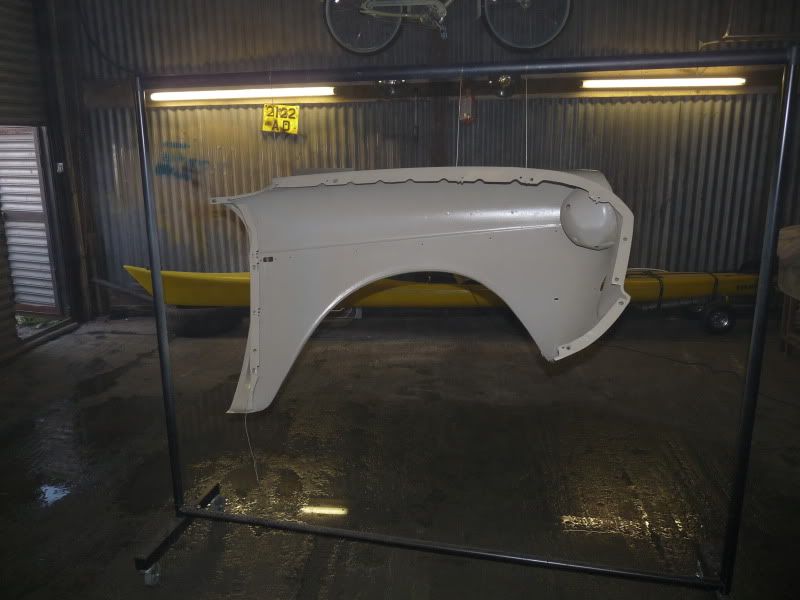
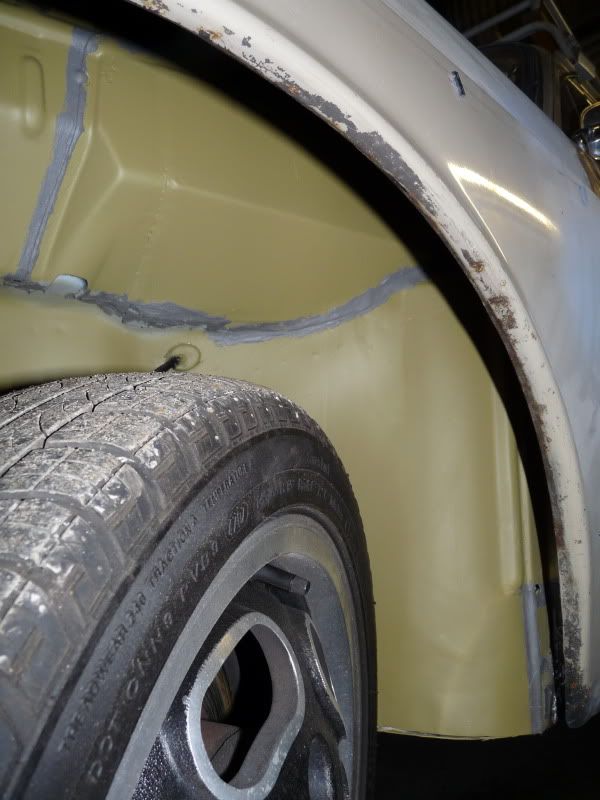
Also the top and bottoms of the wings on each side were considerably corroded
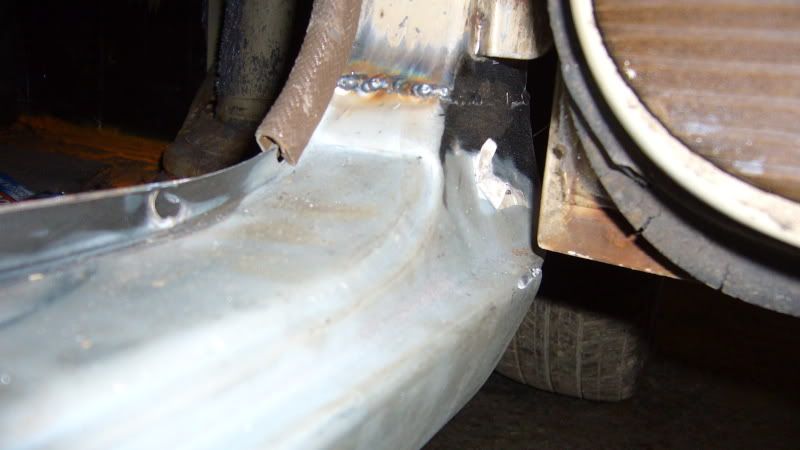
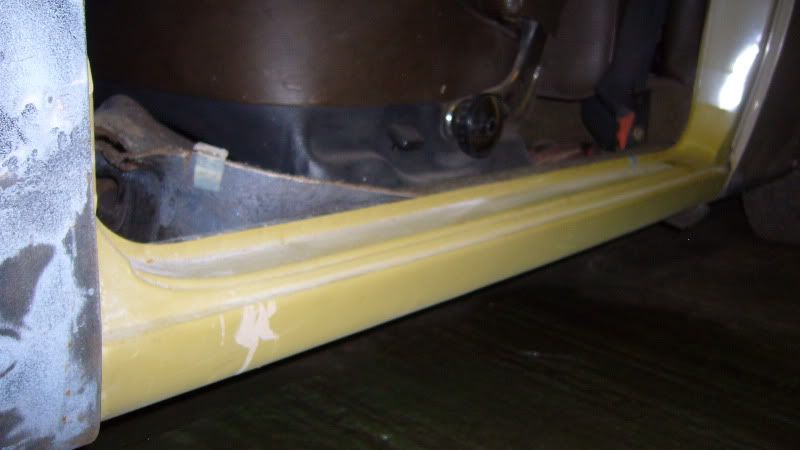
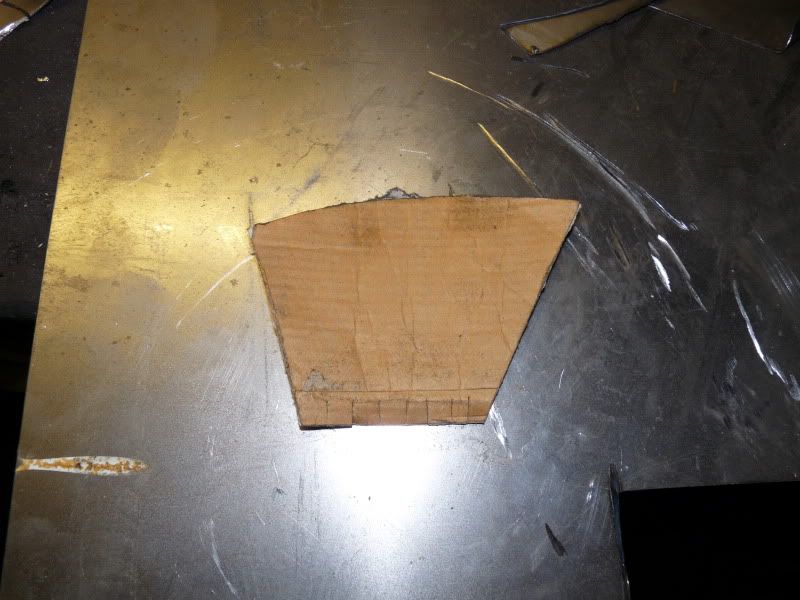
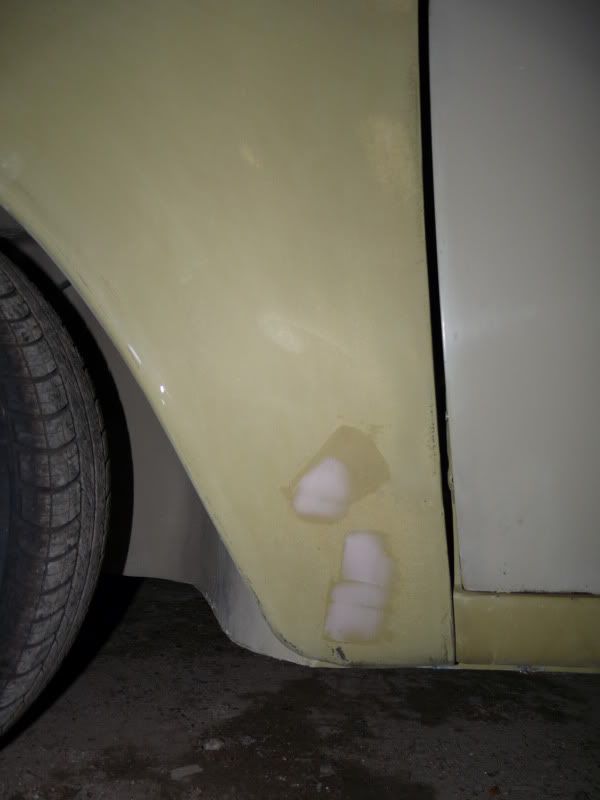
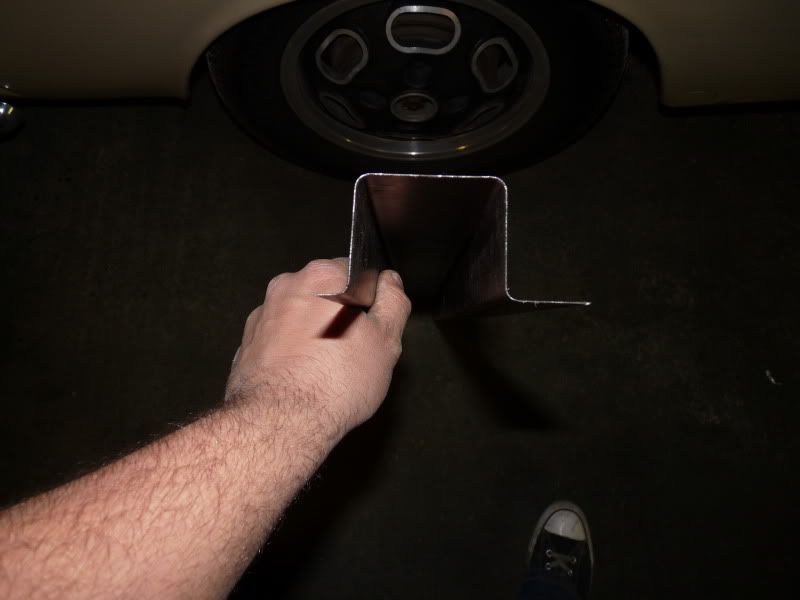
I made some repair sections for the near-side which fitted pretty well.
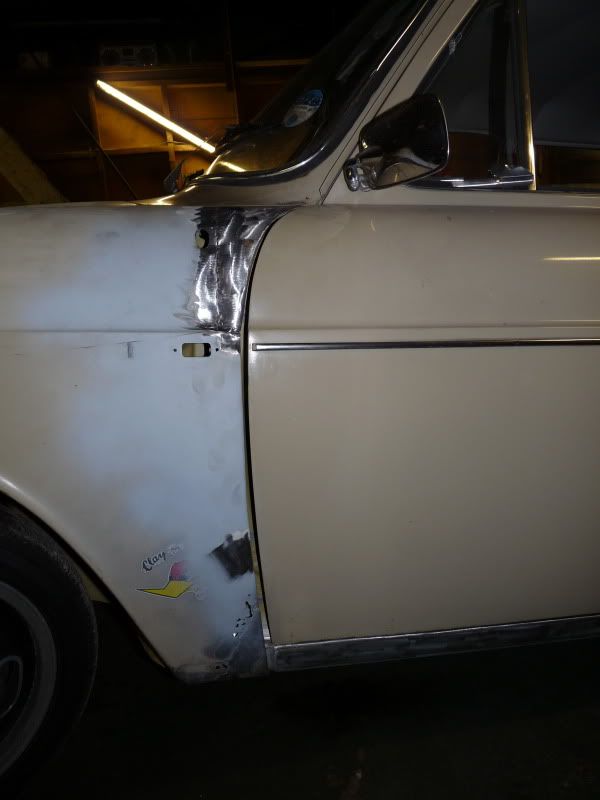
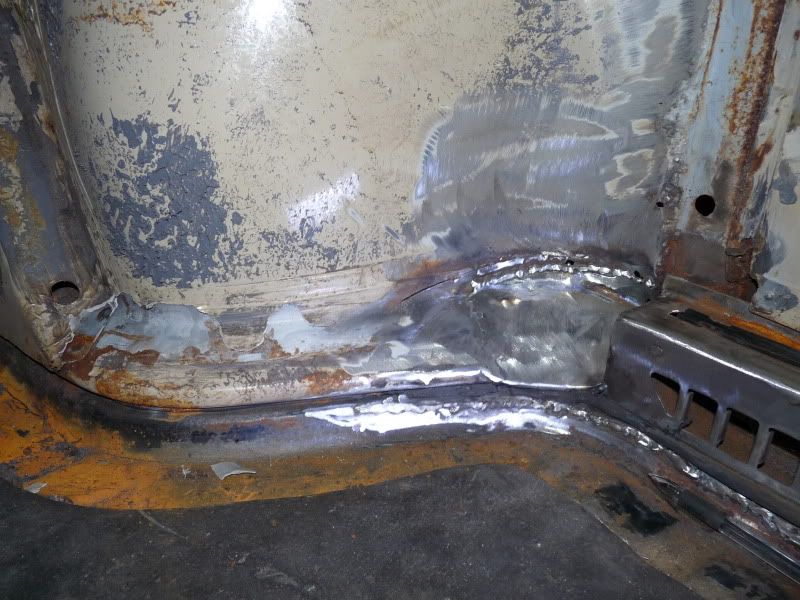
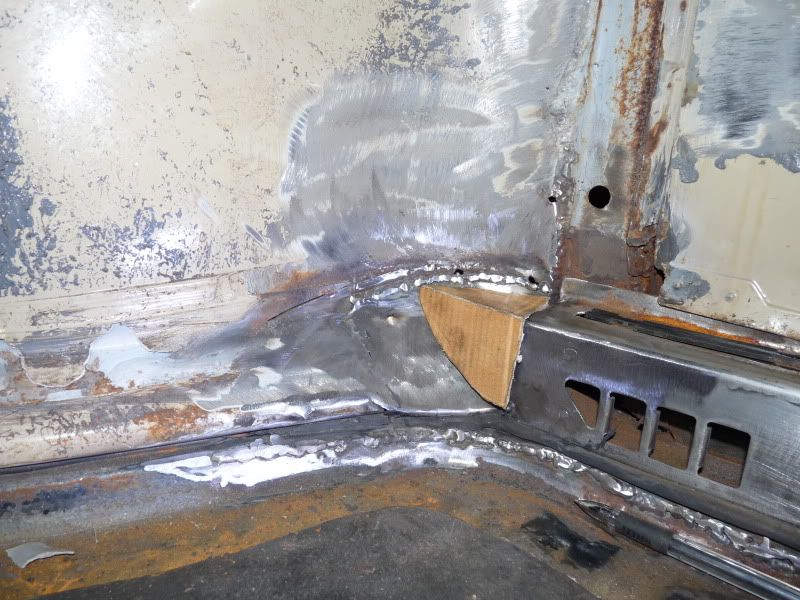
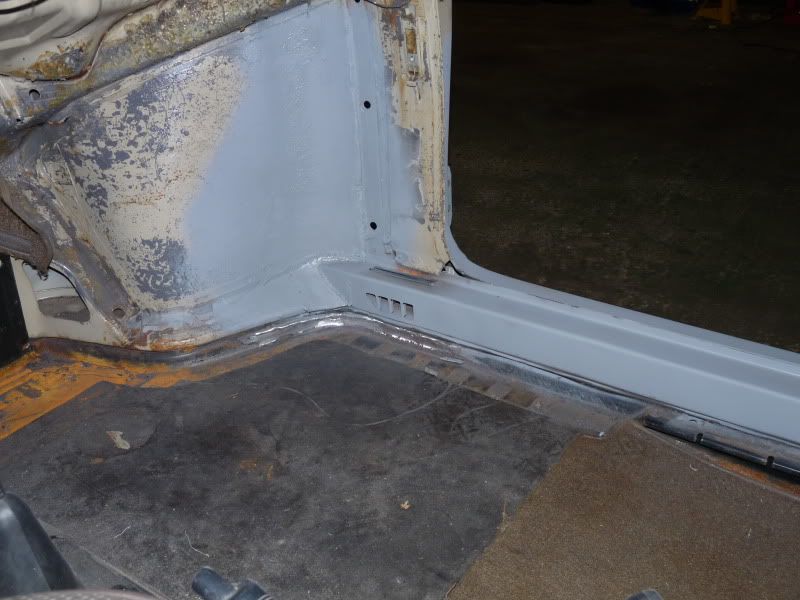
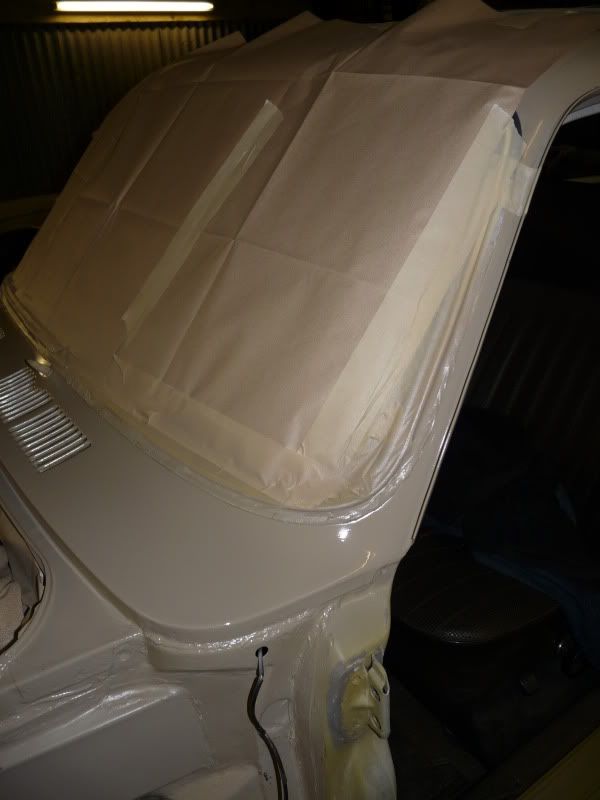
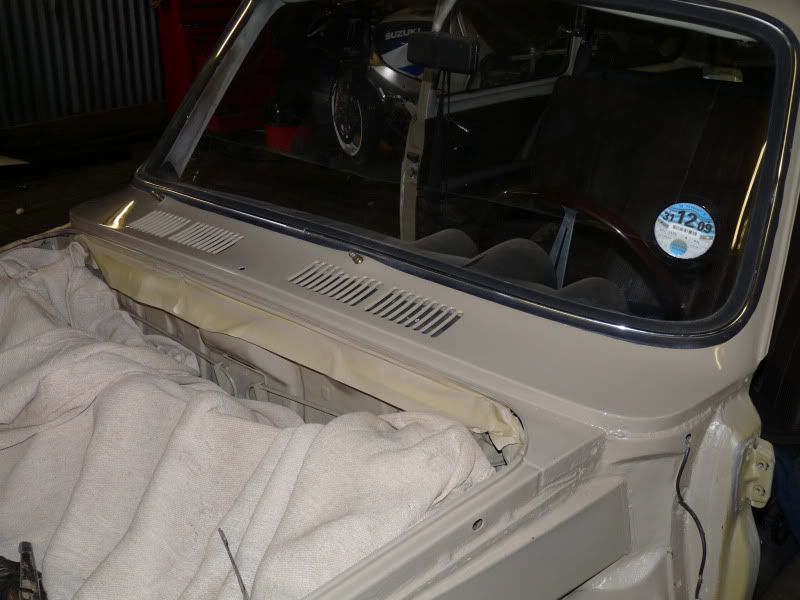
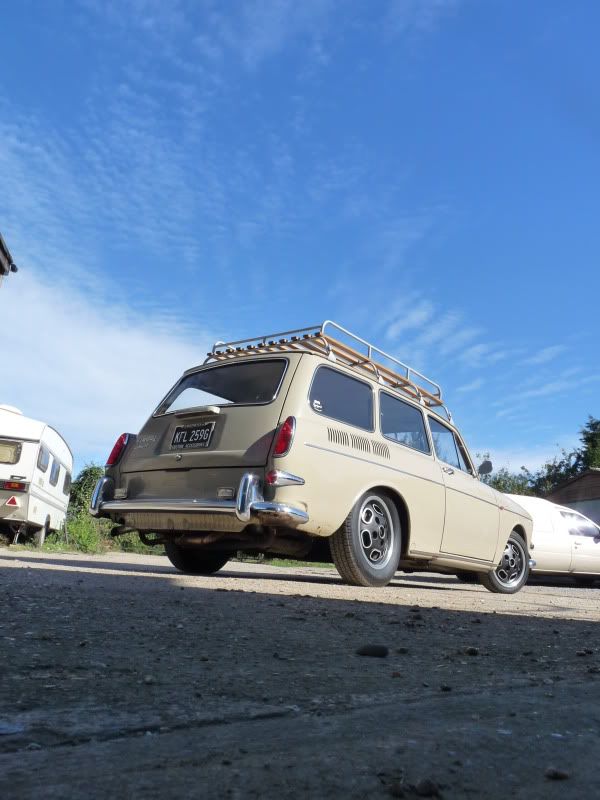
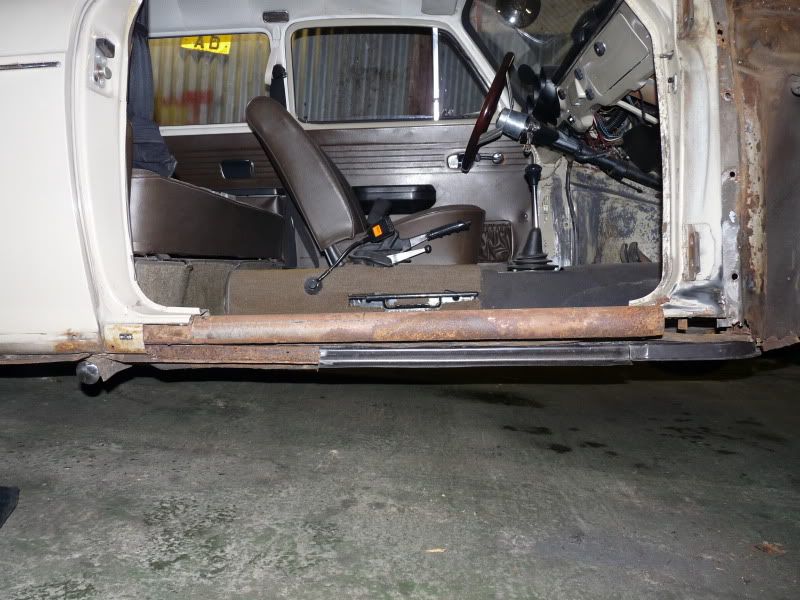
I started on the near-side heater channel and inner wing a few weeks ago but was to enthusiastic to take any pictures of the during. So heres the after.
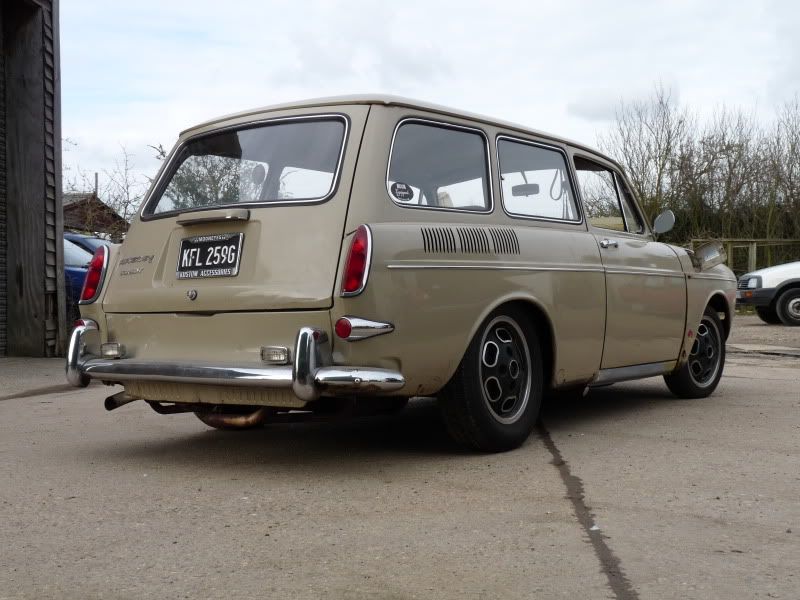
Hopefully with have it back on the road by christmas.
Cheers for looking,
Andy