having sought and got advice from a few people on here about removing the body off a type 3, i thought others might benefit from a type up of the notes i took to remind myself when i get around to putting the car back together; hopefully in a few months, but possibly in a year or two

It’s just a few bolts and the body lifts straight off...and Porsche engines fit straight into VW’s

Starting at the front end and working towards the back end:
- 1. Remove the front bumper
2. Remove the headlights and indicators
3. Remove the front wings – not necessary but makes lifting much easier
4. Remove the fuel tank
5. Remove the speedo cable at front wheel and feed through into the car
6. Disconnect the steering column at the damper and unclip at the top
7. Disconnect and remove the brake fluid reservoir and pipes
8. Remove the master brake cylinder, disconnect it from the brake pedal and draw it out
9. Remove the steering wheel and steering column
10. Remove the front seats
11. Remove the seat belts and belt hook over the handbrake
12. Remove the back seats
13. Remove the carpets
14. Disconnect the wiring from the regulator
15. Remove the rear bumper
16. Remove the rear lights
17. Remove the rear wings - not necessary but makes lifting much easier
18. Remove the engine
19. Remove the drive shafts (clean out all 24 bolts, 6 at each end of the two drive shafts, thoroughly and dowse them in WD-40 before removing if you’re using a 6mm Allen key)
20. Remove the gearbox
21. Remove the rear shocks – not necessary but may as well
22. Remove the handbrake cables at the rear drums
N.B. you can remove driveshafts first, then engine and gearbox together. Haynes recommends doing it this way, but getting to all the driveshaft bolts with the engine in is a pain, and two people can easily lift the engine and one person the gear box seperated, but togther you would have to be on steroids or much bigger than me and my brother-in-law
Now for the bolts, starting at the front end again:
Before you start, go all around the car and clean all the crud off the bolts and give them a good dowse in WD-40 – I suggest you use hexagonal sockets rather than round/starred ones
- 23. Remove the 2 x 15mm bolts that go through the body to the front beam – inc. rubber bush, metal sleeve and 2 washers large/small each side (topside)
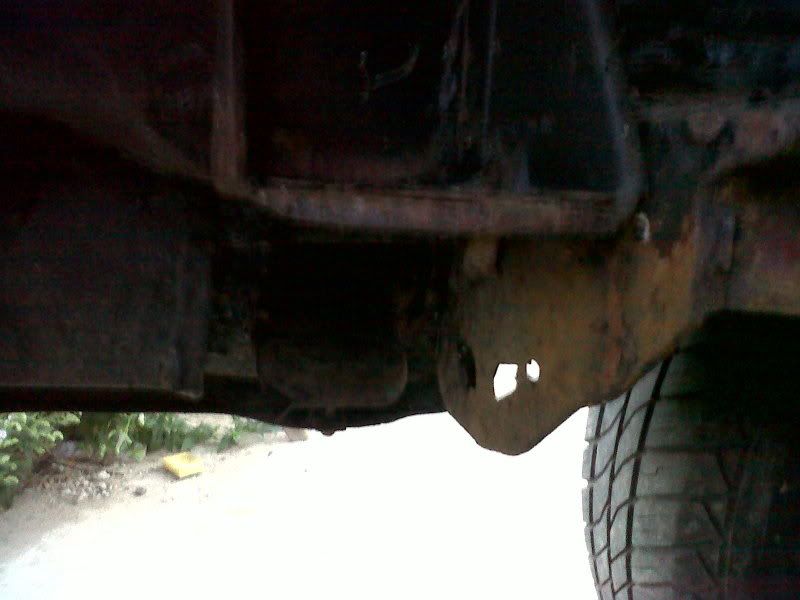
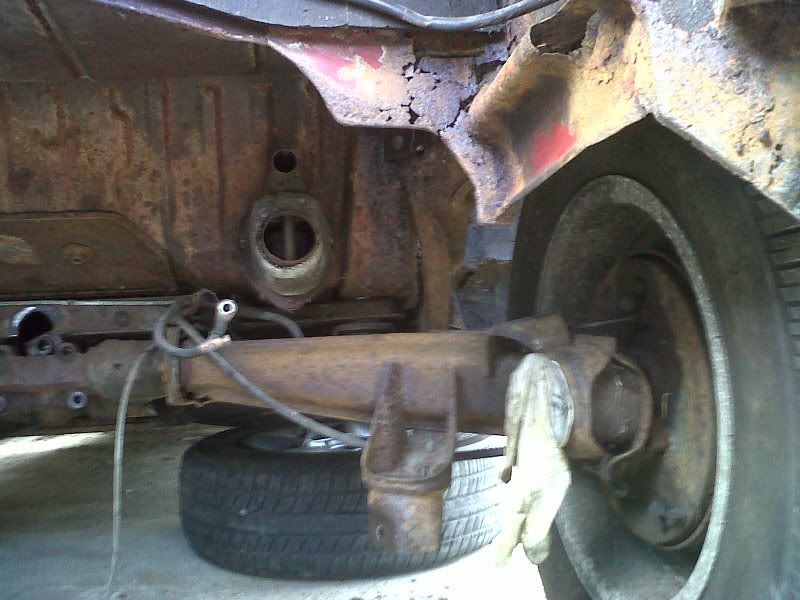
24. Remove the 4 x 17mm bolts at the end of the swan necks on the floor pan – two each side; off-set diagonally (underside)
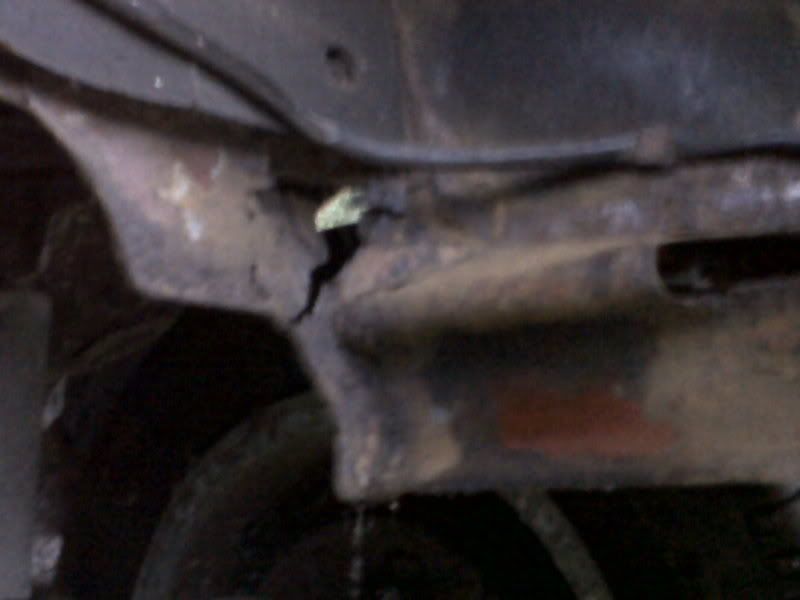
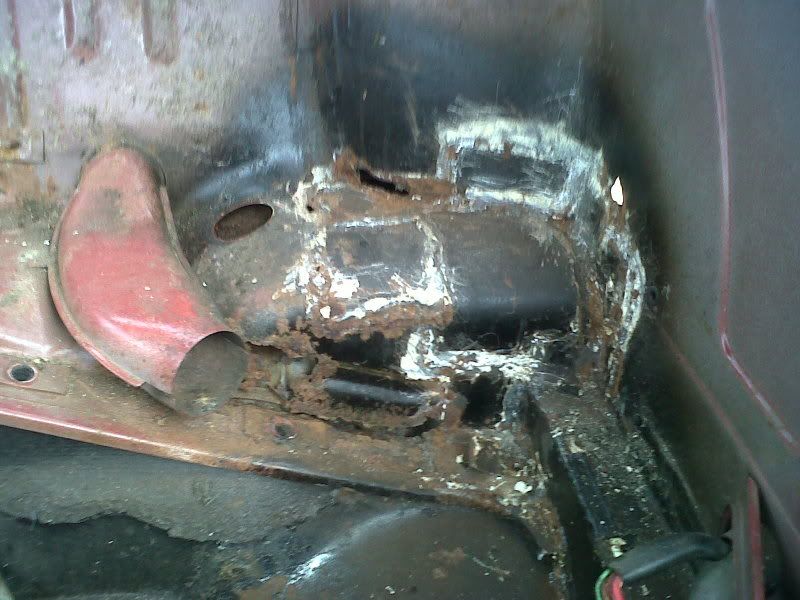
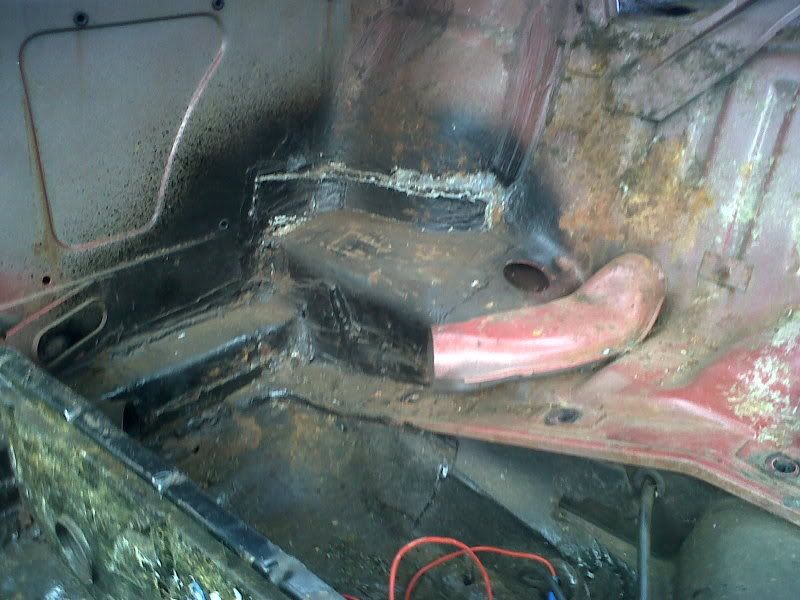
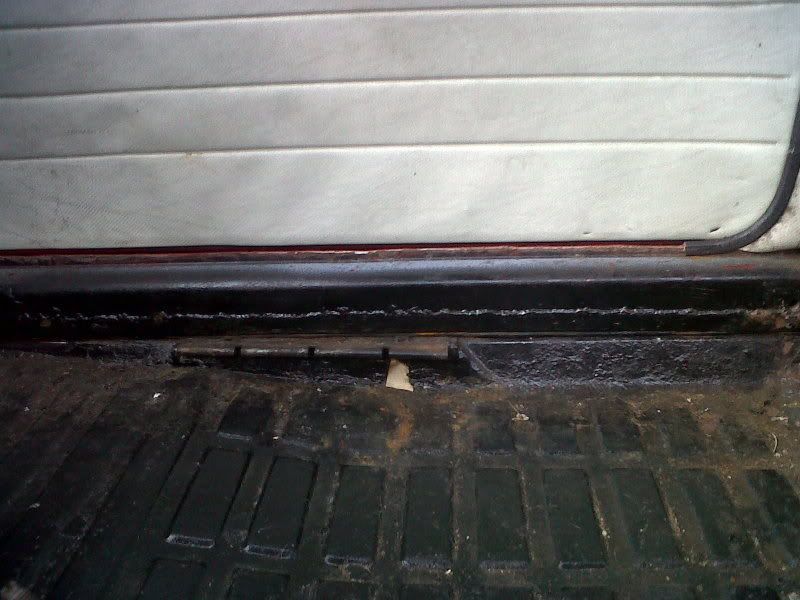
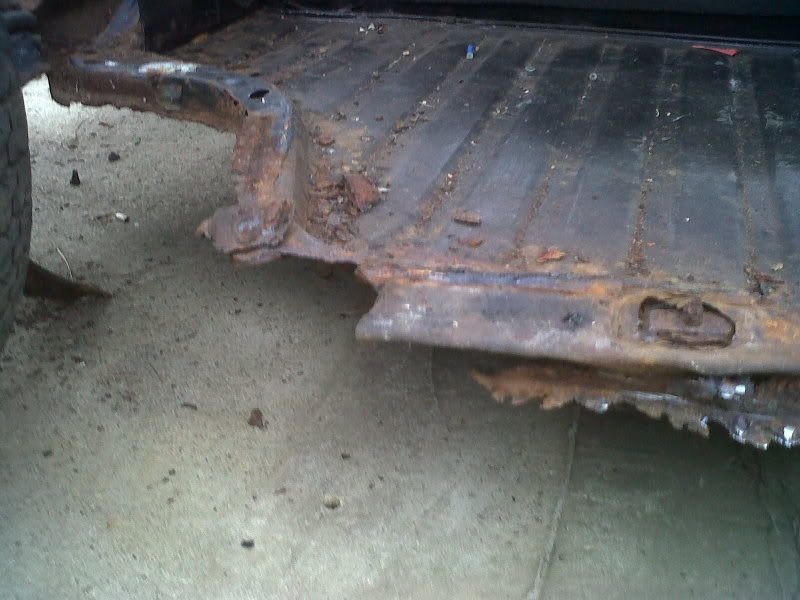
25. Remove the 16 x 13mm bolts running around the sides the floor-pan halves - 8 each side - if you get them all out, congratulations you probably have a solid floor-pan and inner sills! If they round-off, spin or don’t budge, grind the heads off and make a note of the location of the problem bolts
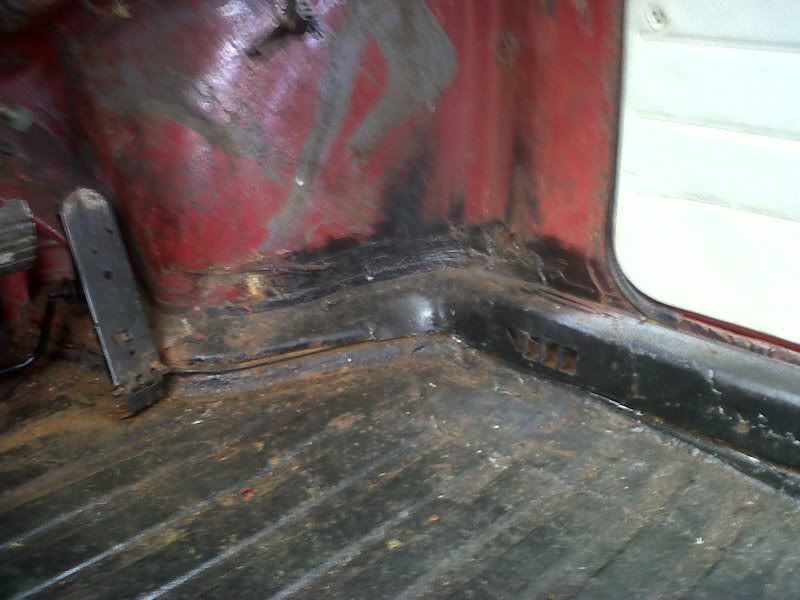
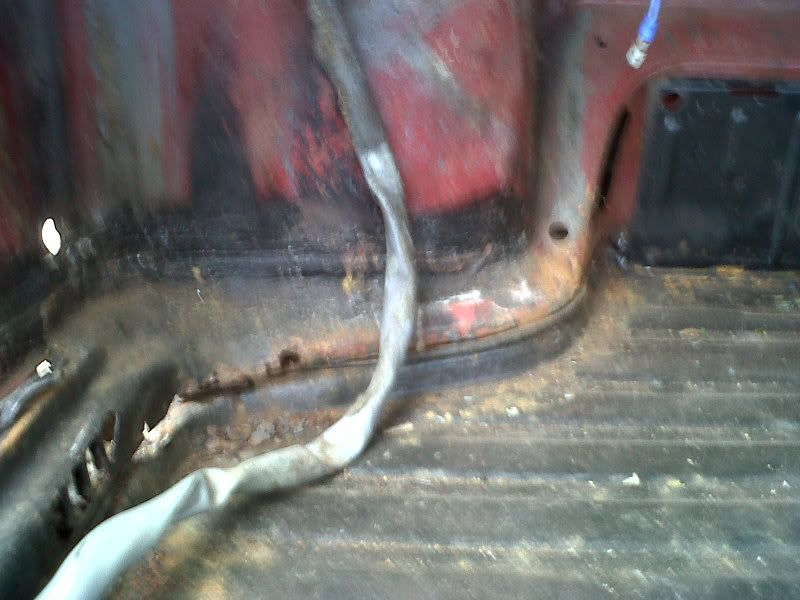
26. Remove the 6 x 13mm bolts running across the body/rear sub-frame under the rear seat (topside)
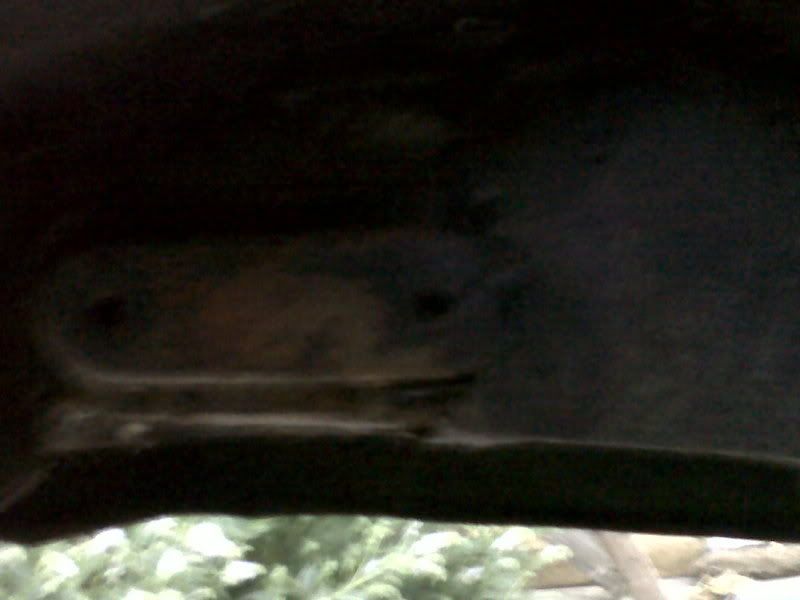
27. Remove the 2 x 17mm bolts that are behind the two rubber bungs – also under rear seat (top side)
28. Remove the 2 x 17mm bolts located under the vinyl/carpet in the rear luggage rack ; above the shock towers (topside)
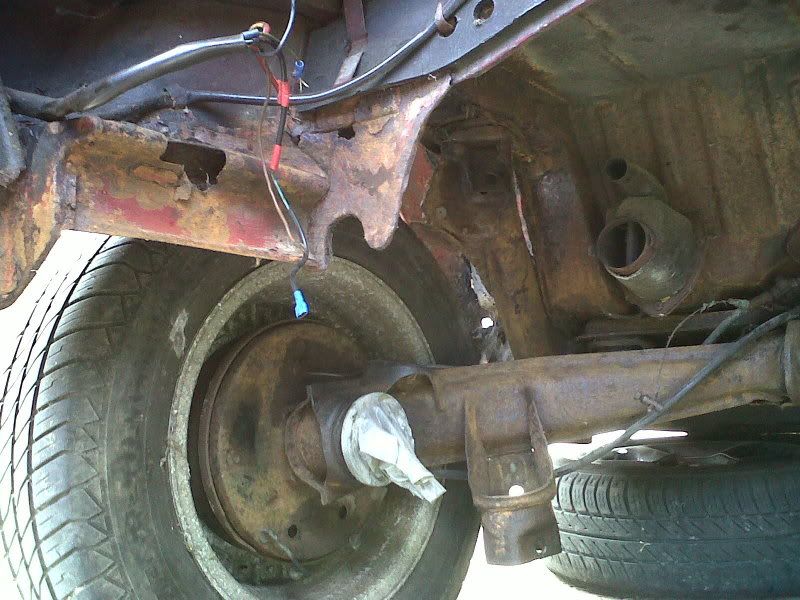
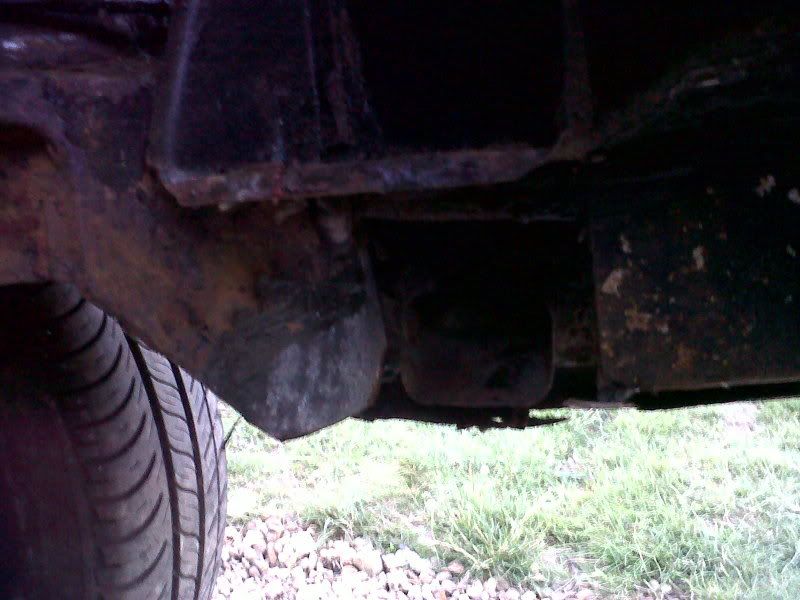
29. Remove the 2 x17mm bolts under rear sub-frame; almost opposite the two shock tower bolts (underside)
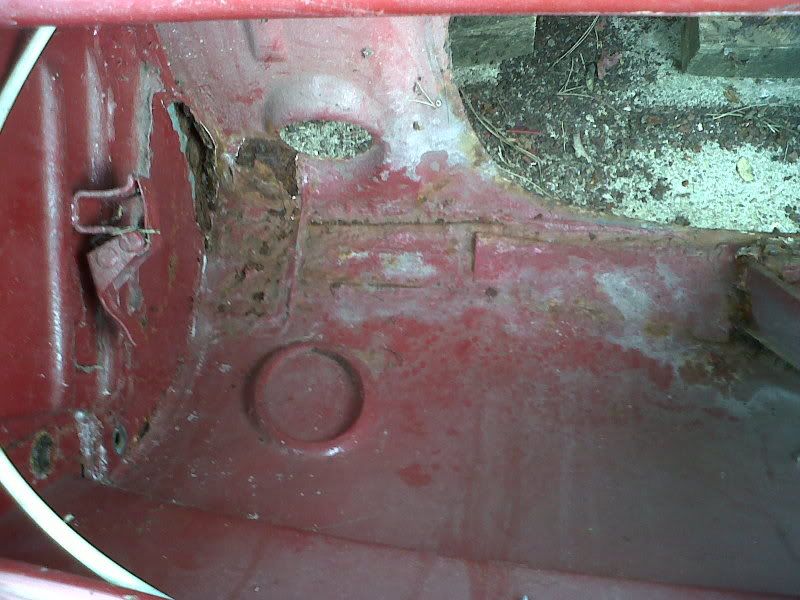
30. Now go around the inside edge of the floor pan with a chisel and hammer, or air chisel if you have one. Tap in between the rubber and the pan rather than rubber and body. Start with the areas that are most likely to stick – the 4 corners – at the swan necks up front and under the rear seat at the back near the battery and regulator. If your car is like mine with lots of plate where people have patched these areas over the years, you might need to get the angle grinder and Dremmel out. You should be able to go around the whole car and, with your chisel pushed in a couple of inches and lift the body up a little. You can’t get under the Napoleon’s hat at the front end, but if you can get everything else lifting this will come up when you start to hoist. If you don’t do this first and you haven’t removed your glass...doing this will also ensure you don’t distort the inner wings or engine bay when you lift the body.
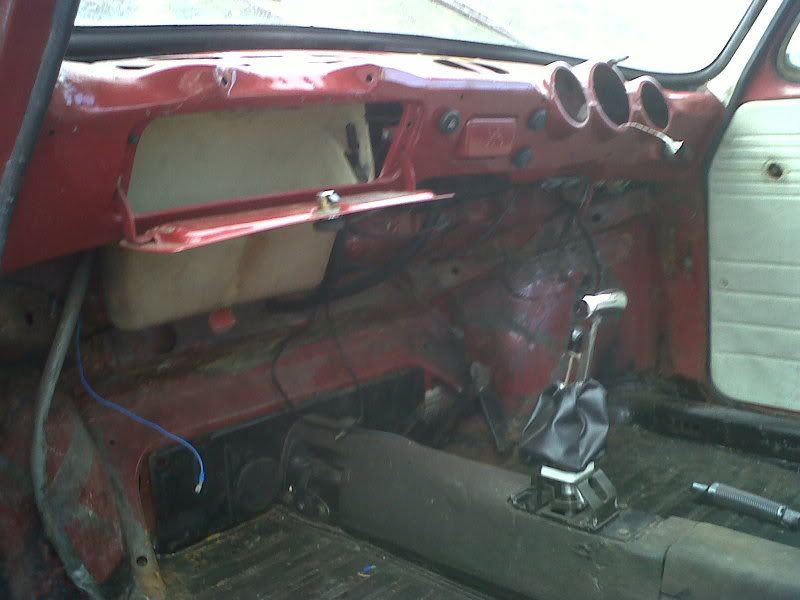
Optional – remove the front and rear wiring looms to prevent damage – I’ve taken the whole loom out as I’m going for a full re-spray – you can leave most things wired up to the gauges and knobs so it’s not as scary a prospect as it sounds. Just label the front and rear looms as you unplug each wire, take photos on your phone and make a few sketches. Getting the dials out of the dash was the trickiest part
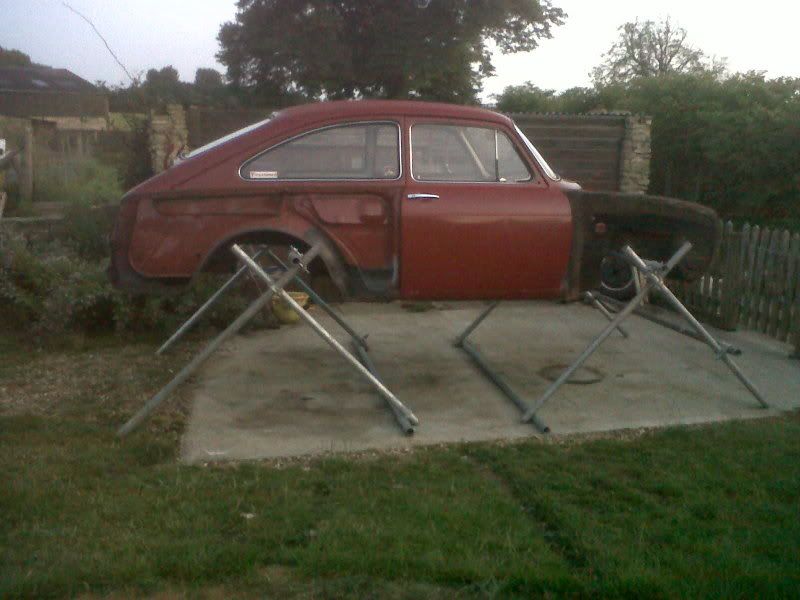
Now for the lift:
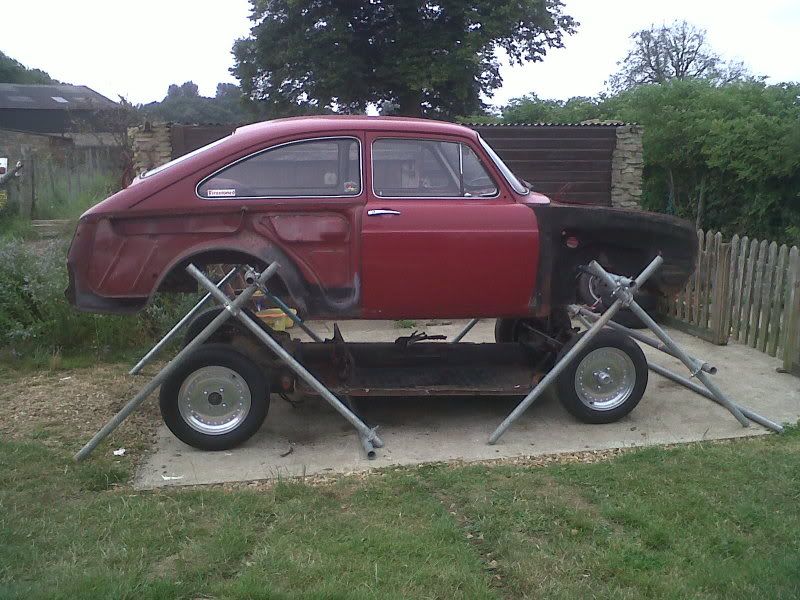
I used an engine hoist – Clarke strong arm, a good quality tow rope, a 3' length of chain, a piece of 3”x3” cut to 40” and some scaffolding to make up two a-frames to stand the body on- 6 x8’ and 8 x 5’ lengths and enough double collars and pigs ears to clamp it all together- 8 of each.
- 31. Remove your bonnet and boot (engine) lid – shedding the extra weight helps a little, but it’s more about being able to see what’s happening as you lift and improving accessibility for the hoist arm.
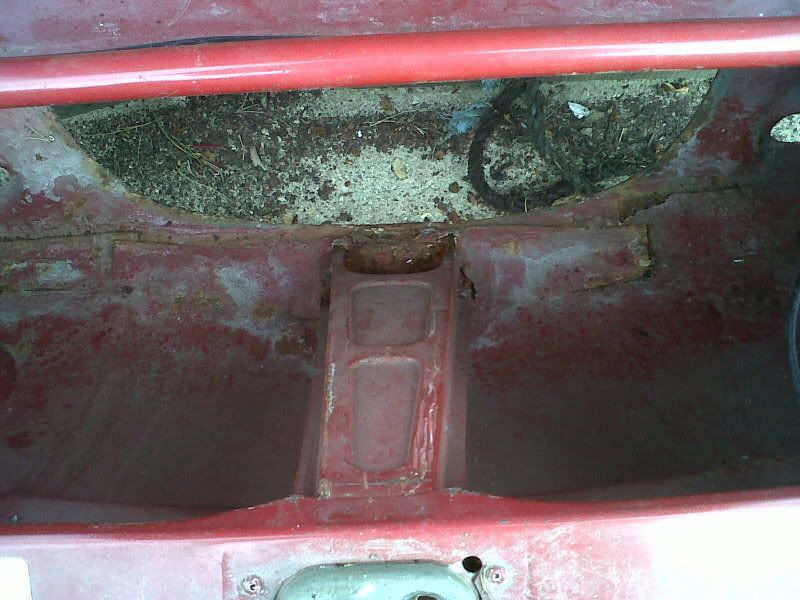
32. Front end first – position the hoist so the arm is above the centre of the hole for the petrol tank. Feed the tow rope around the inner wings, under the box section to the tank, and secure it to the hoist. Closer to the bulkhead is better, but remember to leave enough room to feed your scaffolding bar in!
33. Start to lift slowly and watch what’s happening – two people is a must here, one to pump and one to watch. If your front beam starts to lift stop and see what’s still attached. Also watch the floor-pan to see if it starts lifting. If it does, stop and check what’s attached. If you needed to grind of any of your floor-pan bolts off, check with a screwdriver that the thread has pushed though and is clear of the hole. You should see the front bulkhead/Napoleon’s hat start to lift – the bottom edge of the body at the back of the front end where you took the brake cylinder off
34. If you’re free and lifting, you can jack all the way up until the body is above the front wheels. Personally, I went half way up and then fed an 8’ scaffold pole through under the box section and up against the bulkhead, then clamped it up to two a-frames and went to the back end
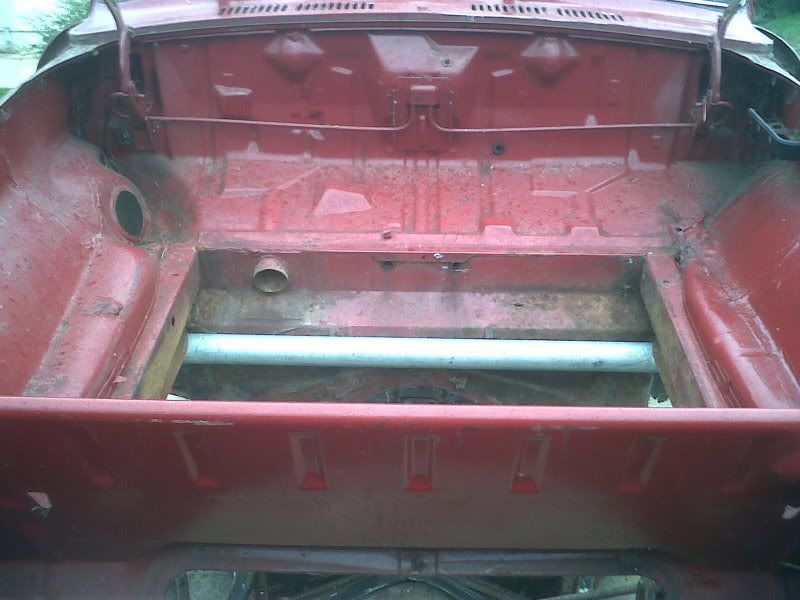
35. Back end – take your 3”x3” and position it in the engine bay under the box section forward of the engine mounts. Wrap the chain around the wood and attach it to the hoist – as short as possible so the hoist arm doesn’t foul on the top of the luggage bay when you lift. Again, jack up slowly, watch and listen for anything sticking. Once free and lifting, jack all the way up until the body clears the rear wheels. Feed another 8’ pole in at the front of the inner rear arches and clamp it up to your other two a-frames
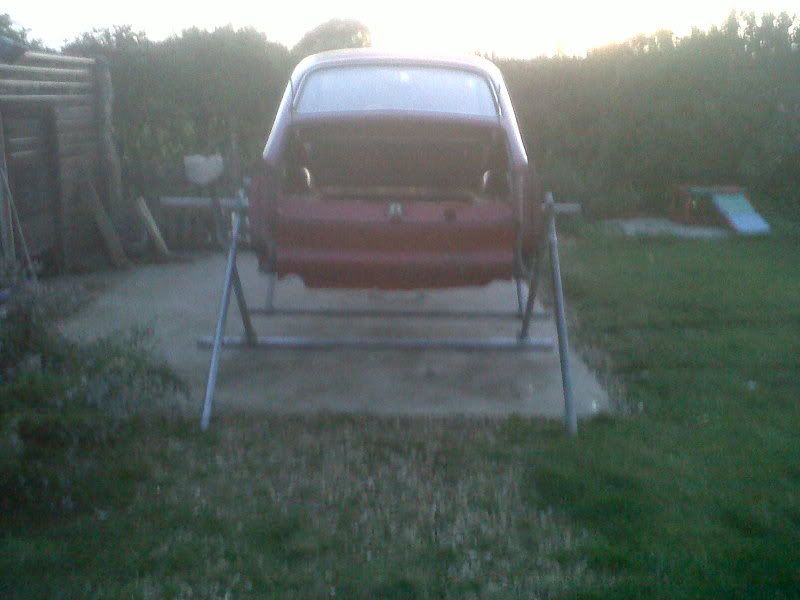
36. Go back to the front end and lift until the body is clear of the front wheels then move the supporting bar on your a-frame up
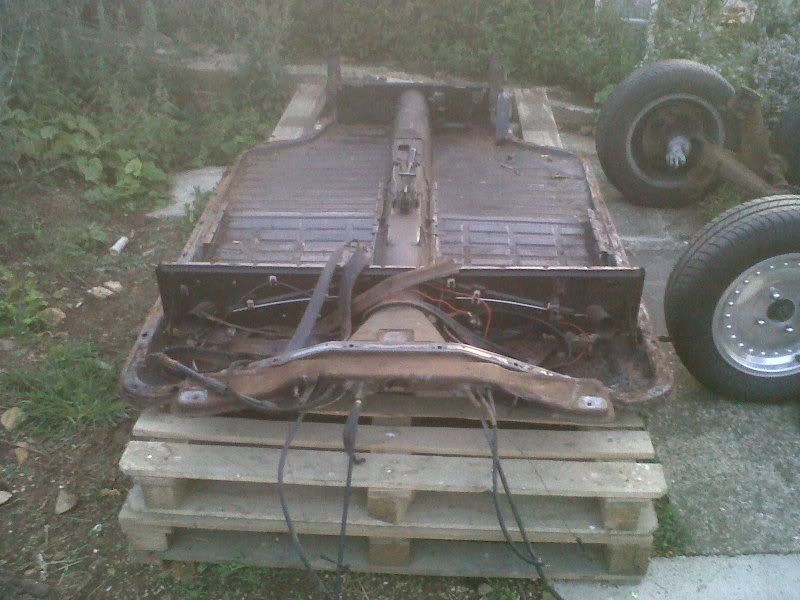
You can leave the front and rear beams attached to leave a rolling body, but if you are stripping the floor pan, as I am, the only things you need to do to get the beam and sub-frame off are:
- 1. Remove the remaining brake pipes at the drums & disks
2. Front beam - 6 x 15mm bolts, 3 each side, on the vertical bars of the beam - top and bottom face back and have triangle washer/bracket, middle faces forward and has a square washer/bracket
3. Rear beam - 4 x 13mm bolts to cover plate and 1x 17mm bolt in the eye
If anyone reading this knows i've missed something out, please let me know as it's got to go back together

cheers, billy