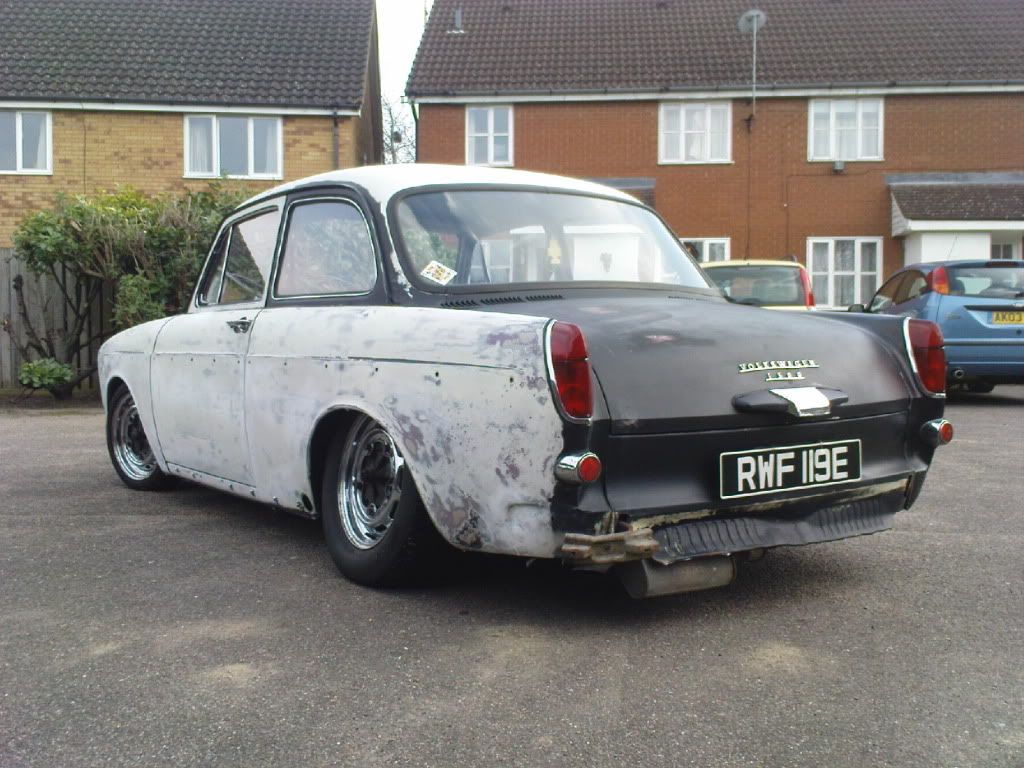
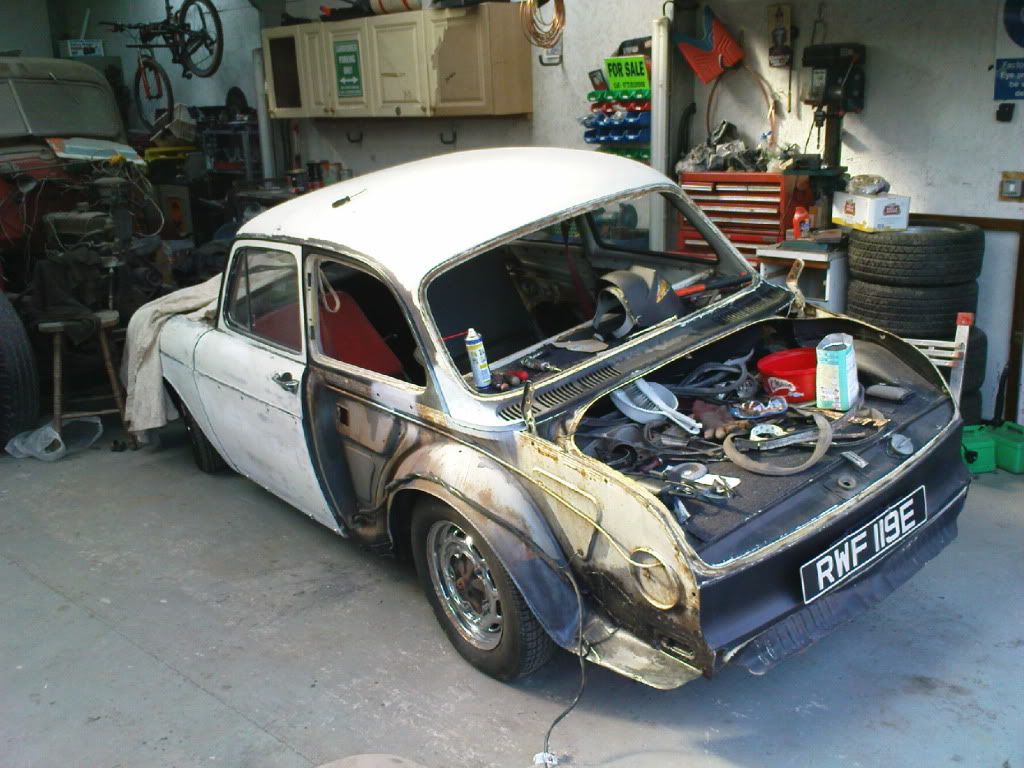
Well its been a busy couple of months and the Notch is starting to take shape at last

I'm afraid i've been posting a little of my progress on Vzi
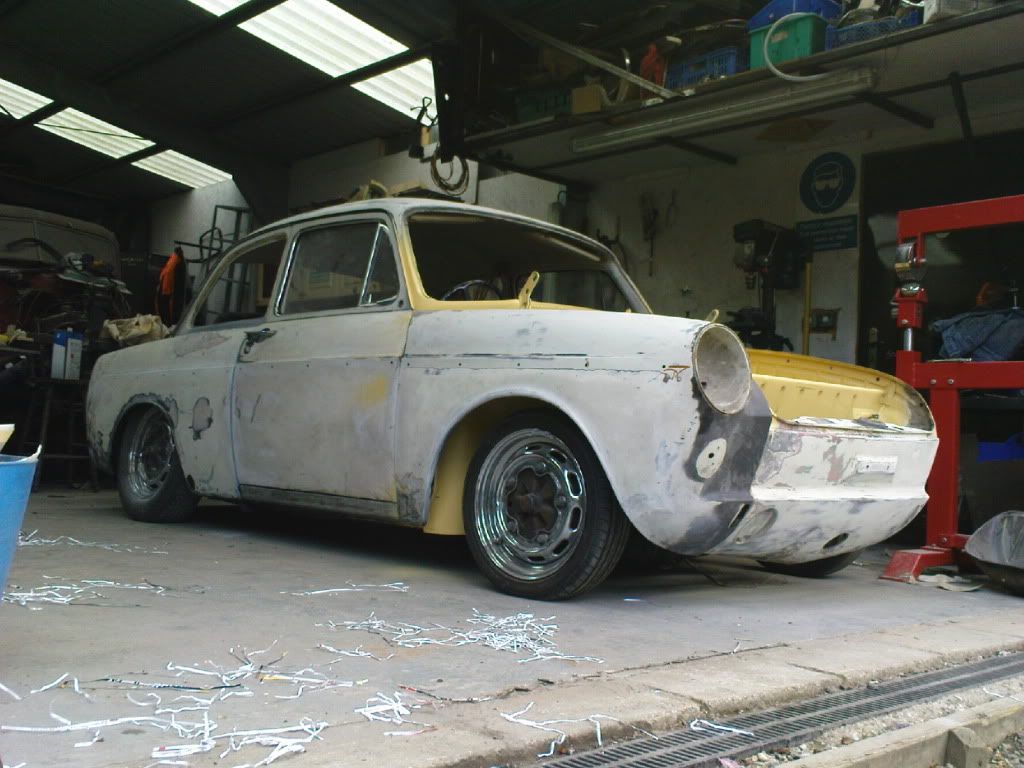
But heres a few pics of the story so far
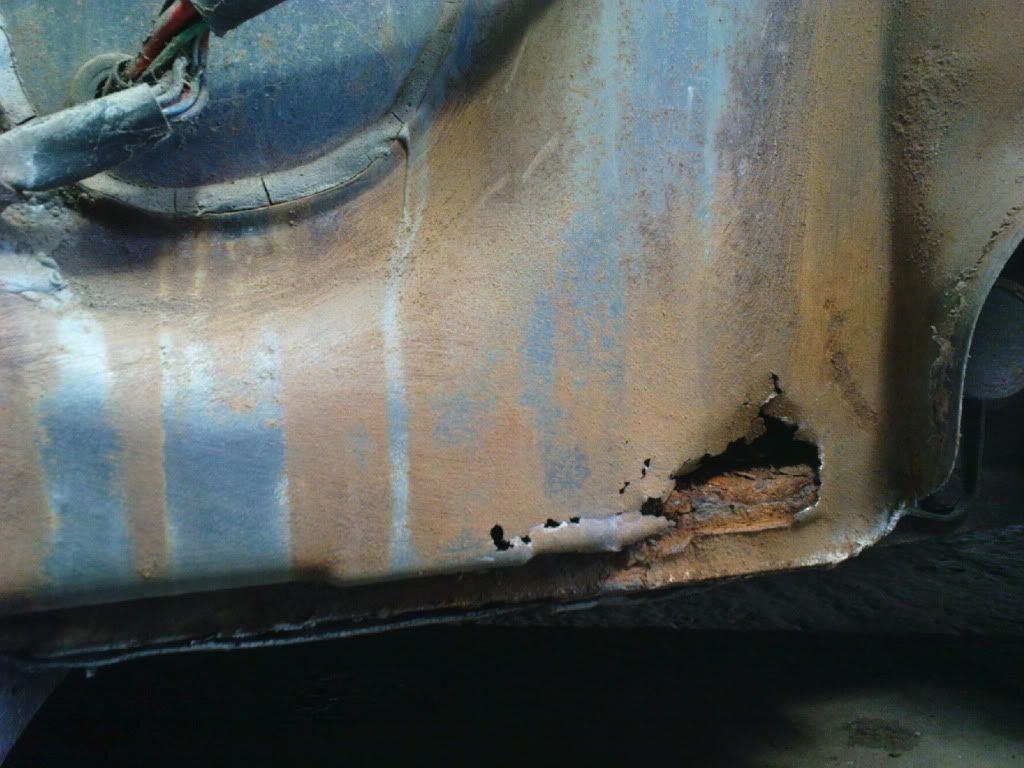
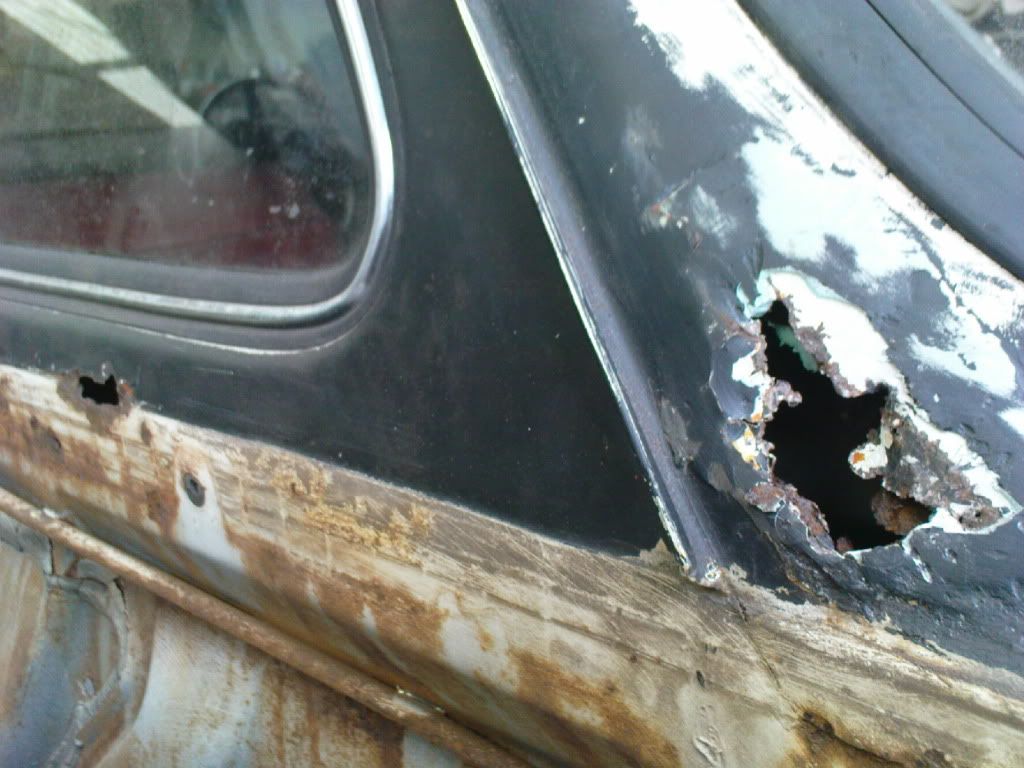
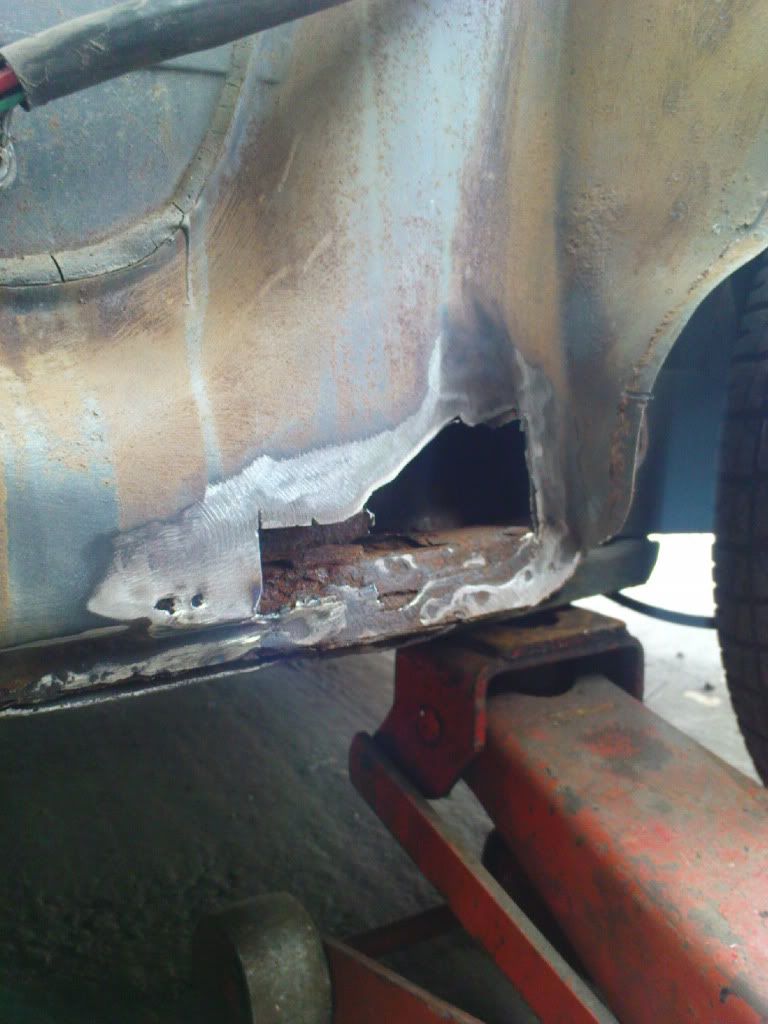
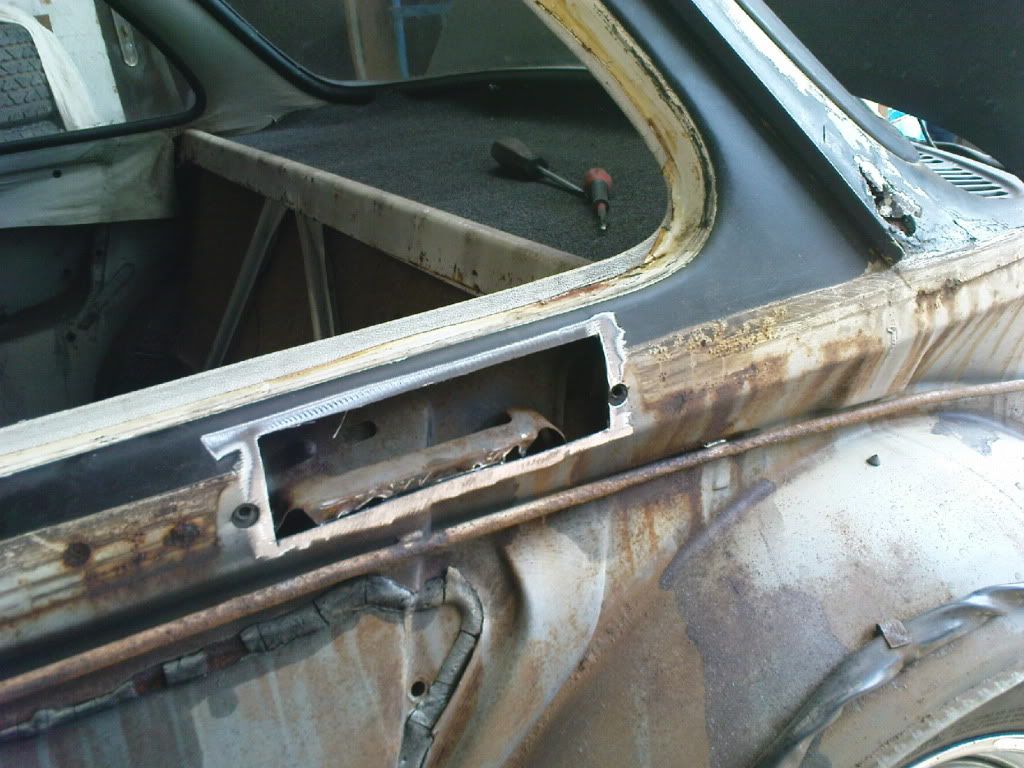
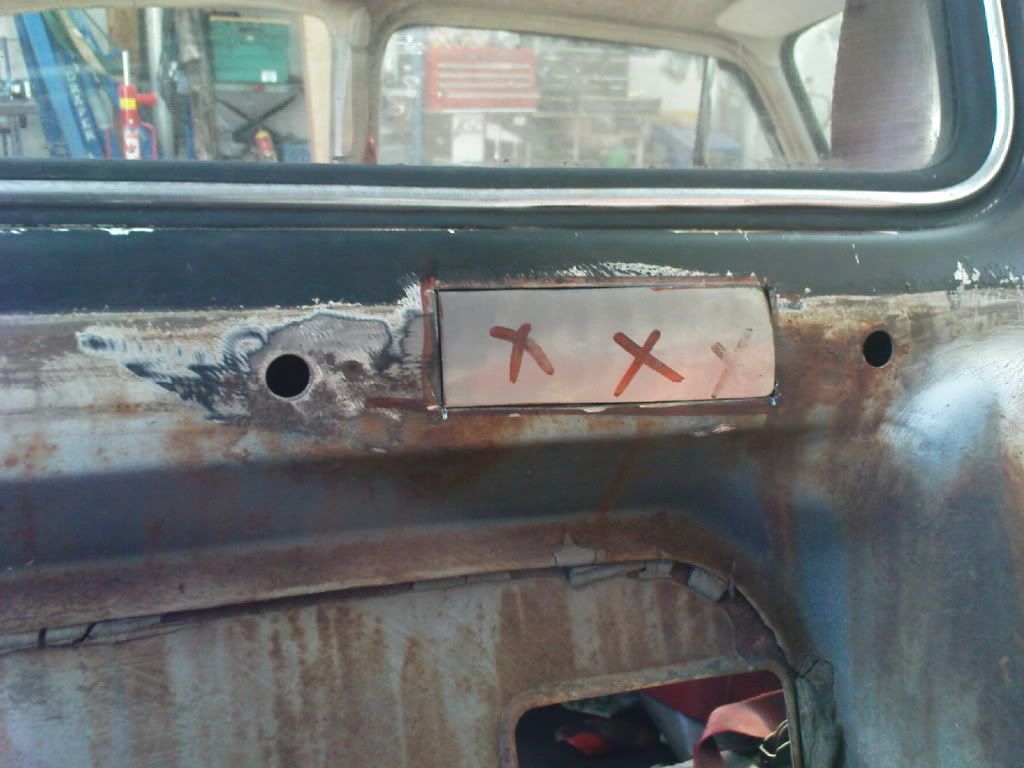
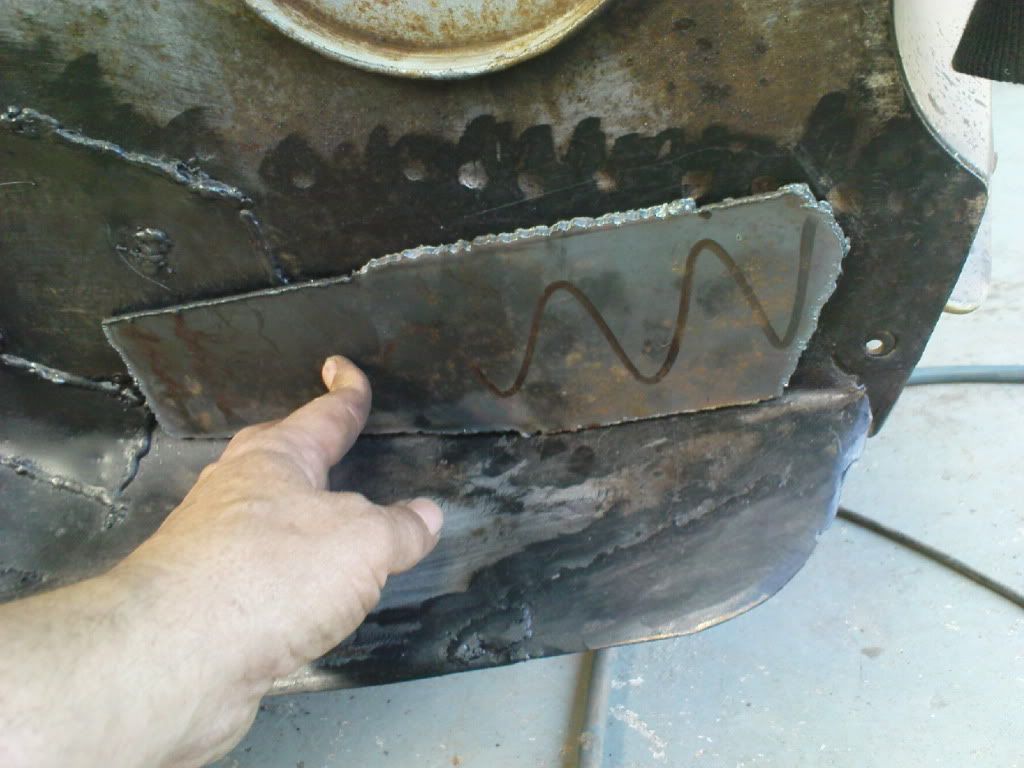
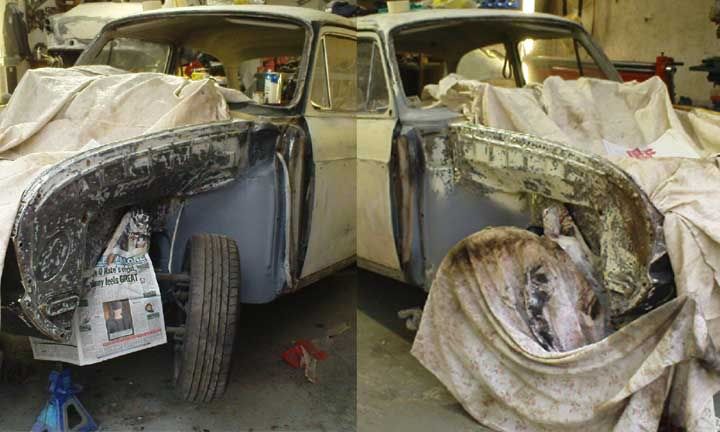
Removed ALL the rust out of the body panels and replaced with steel
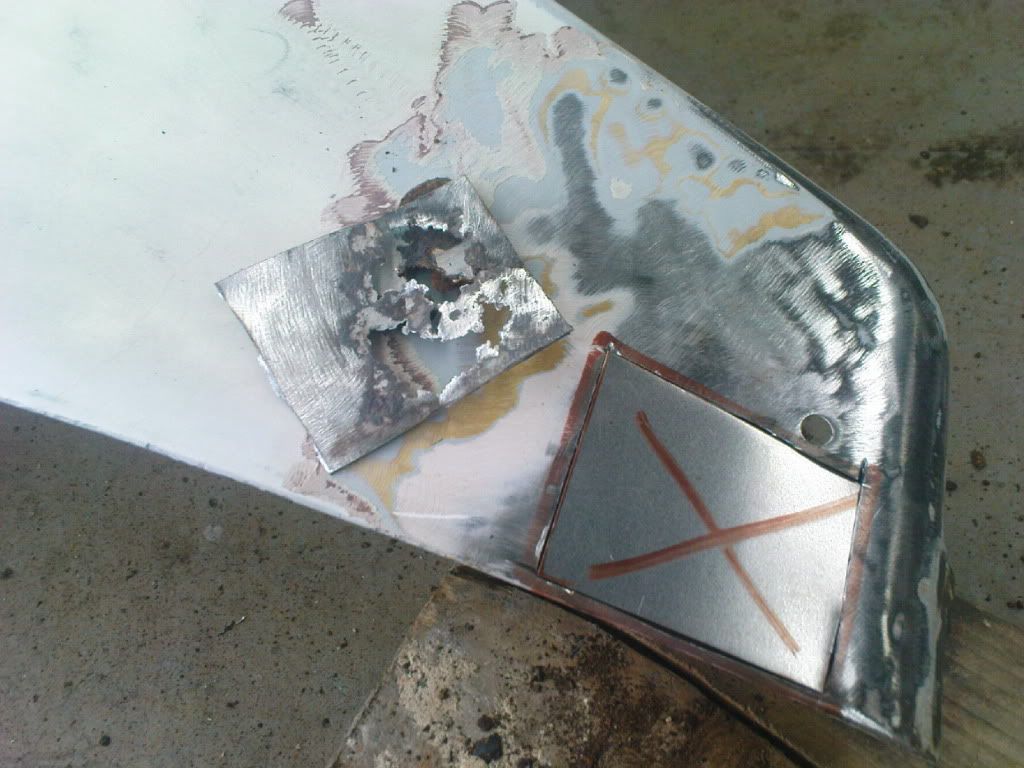
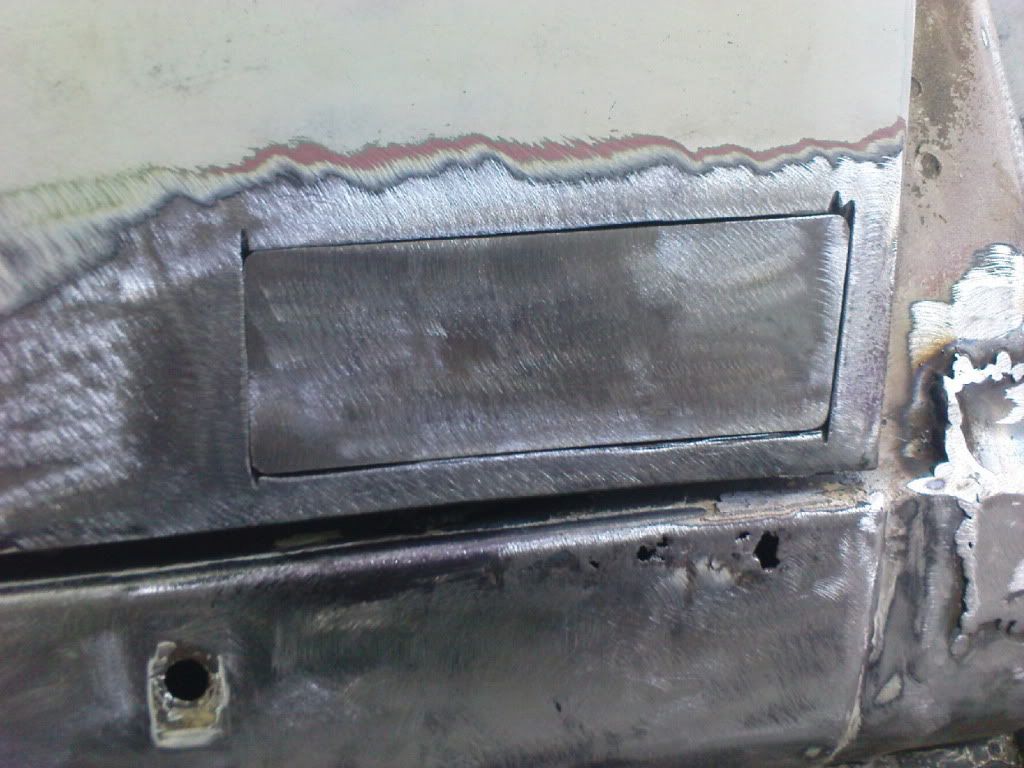
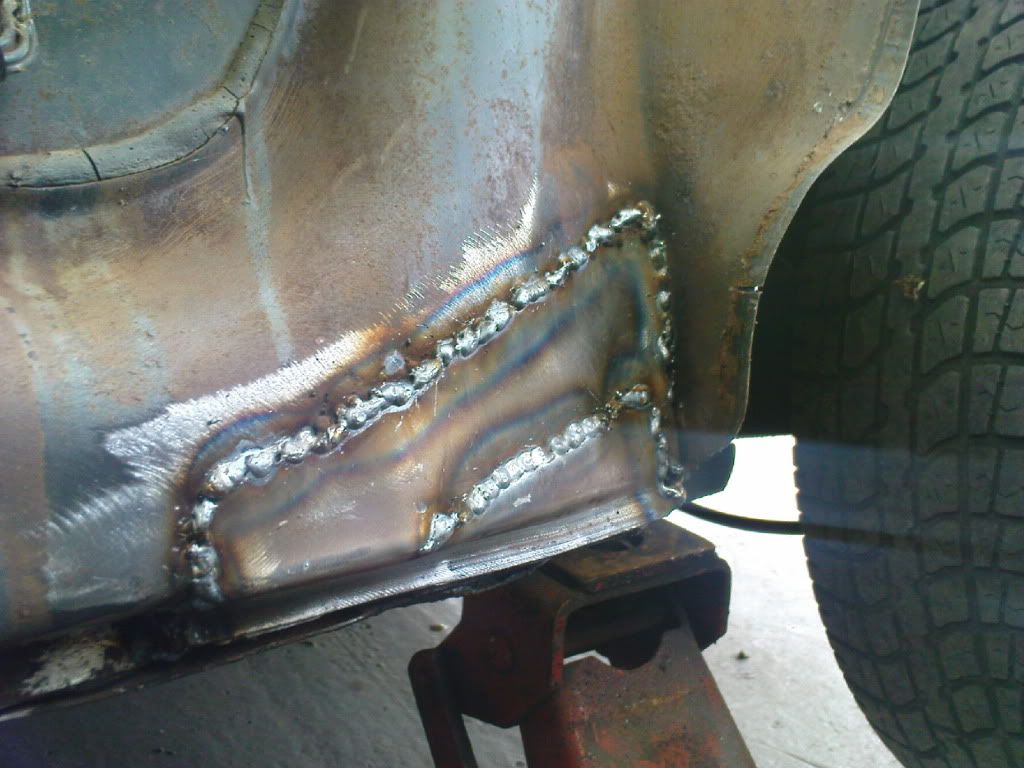
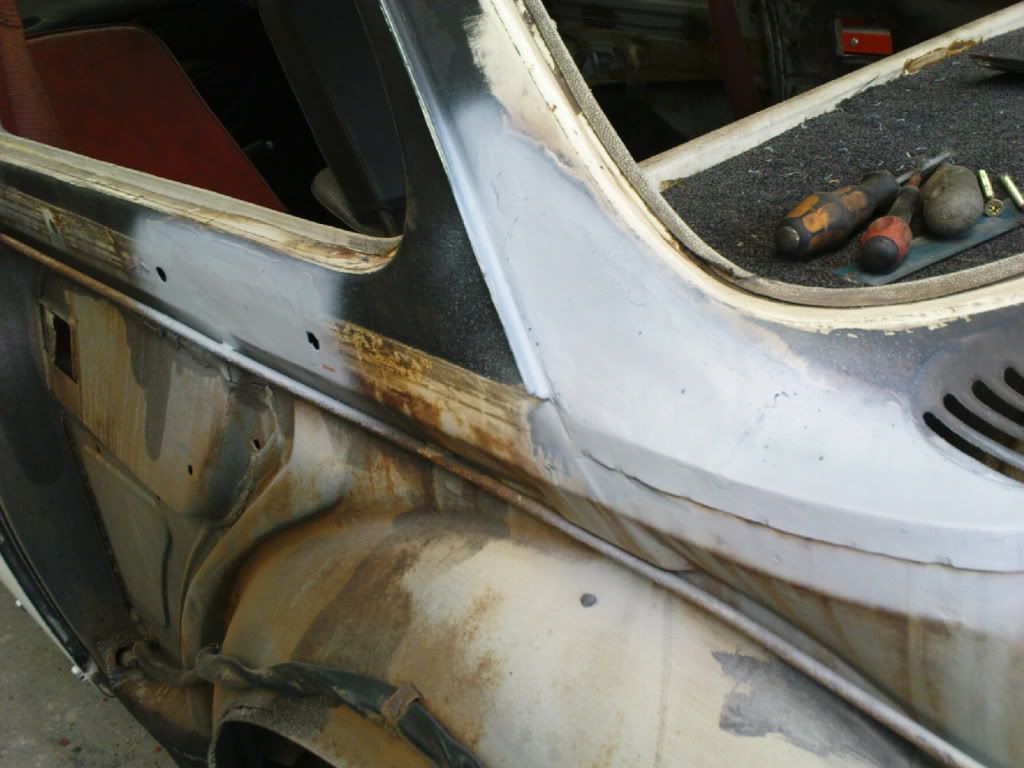
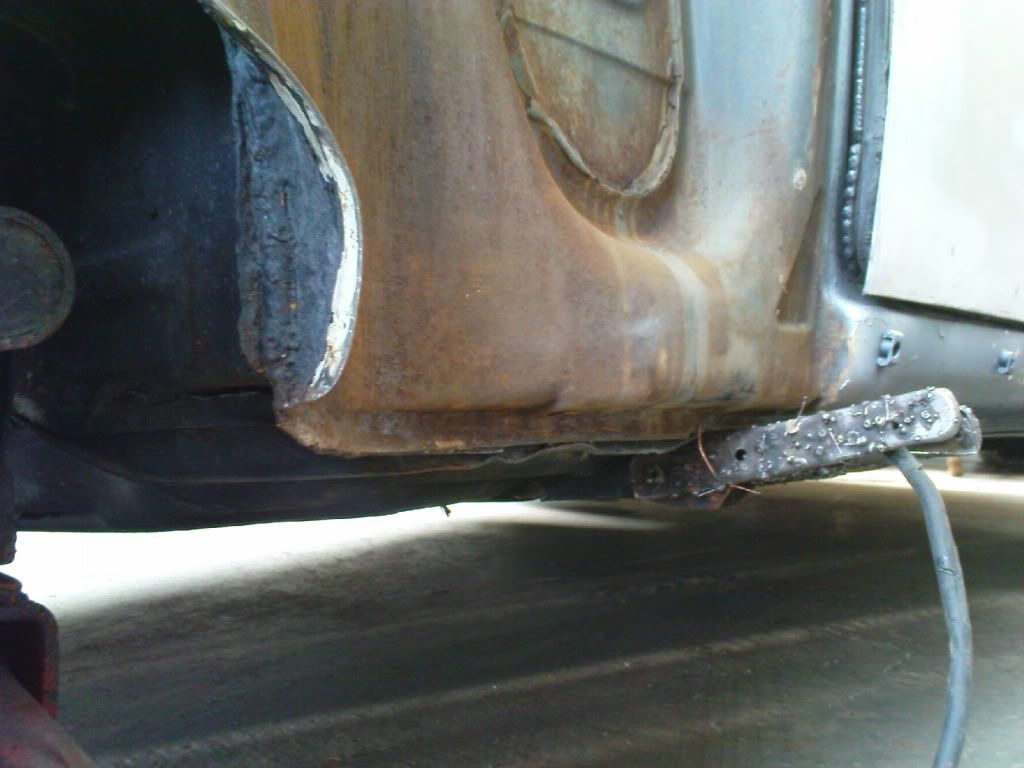
We patched the sills as they where generally in great shape apart from where the chrome trim had been so a strip was cut out lashings and lashings of rust treatment applied inside and a strip relaced.
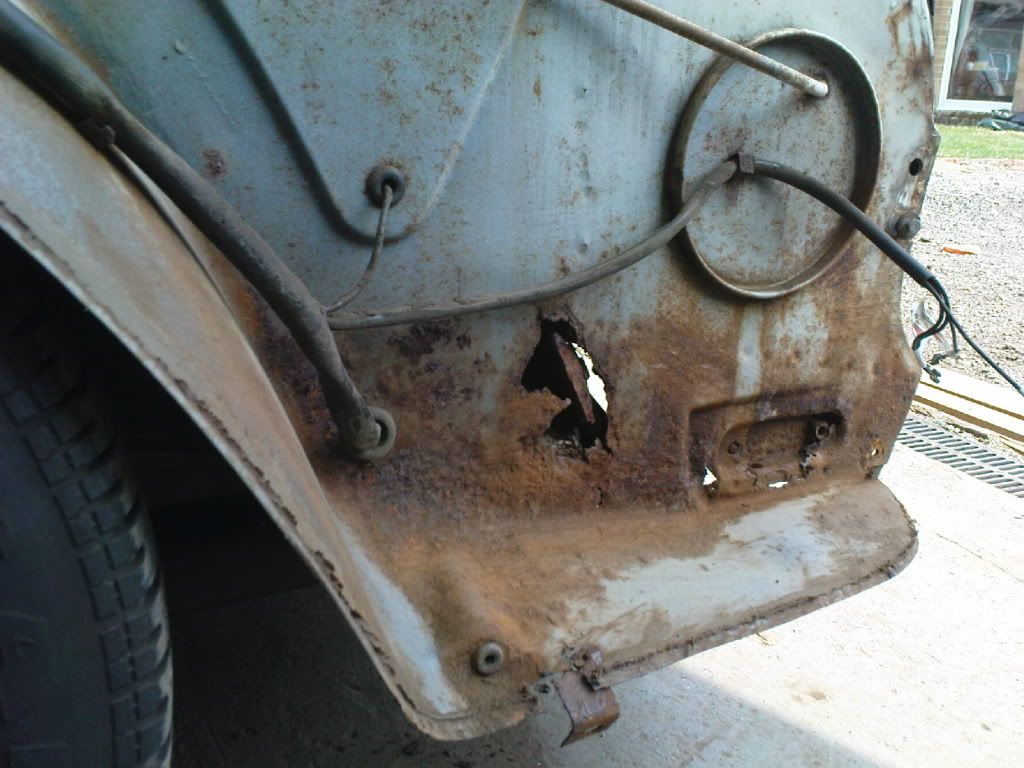
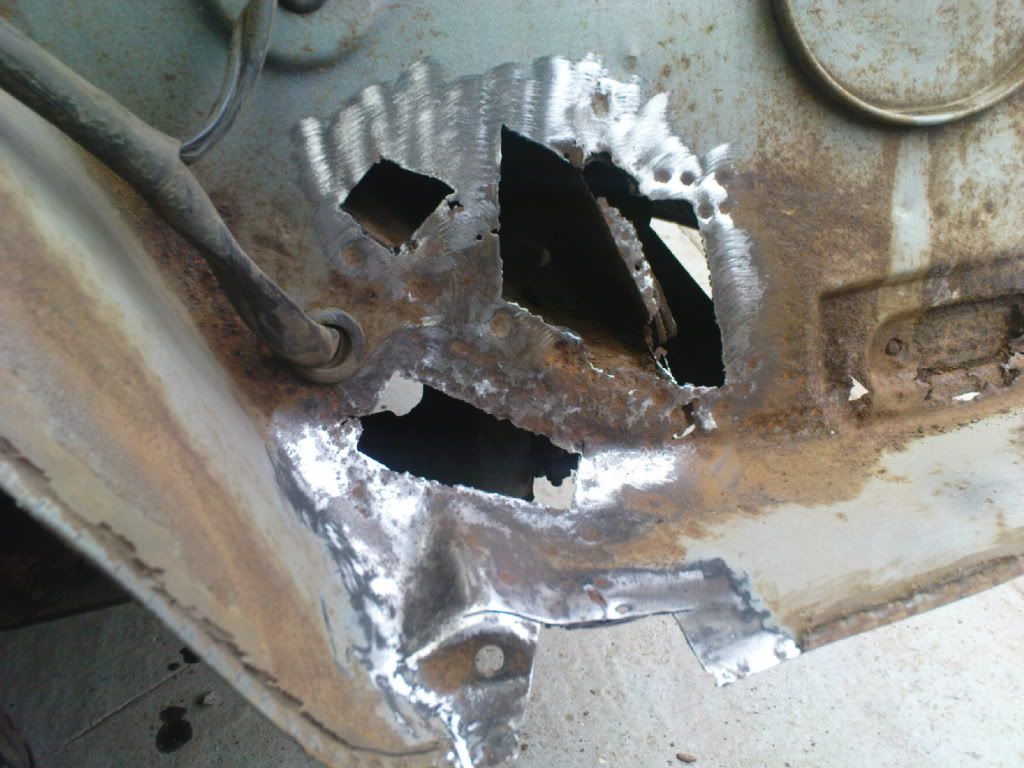
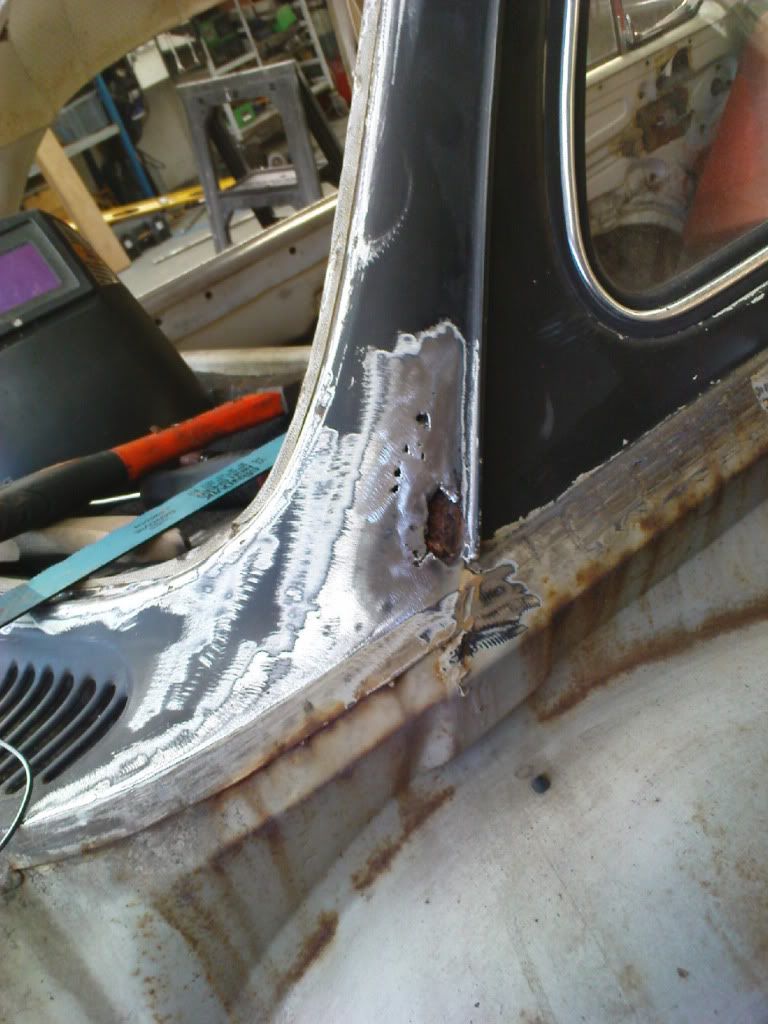
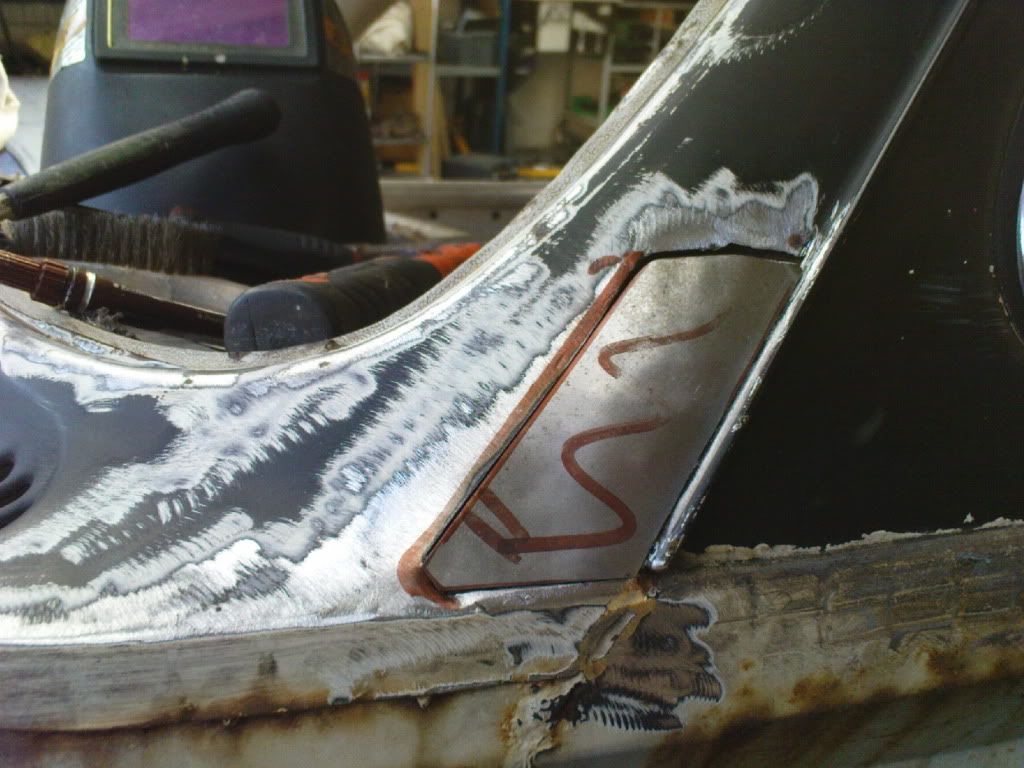
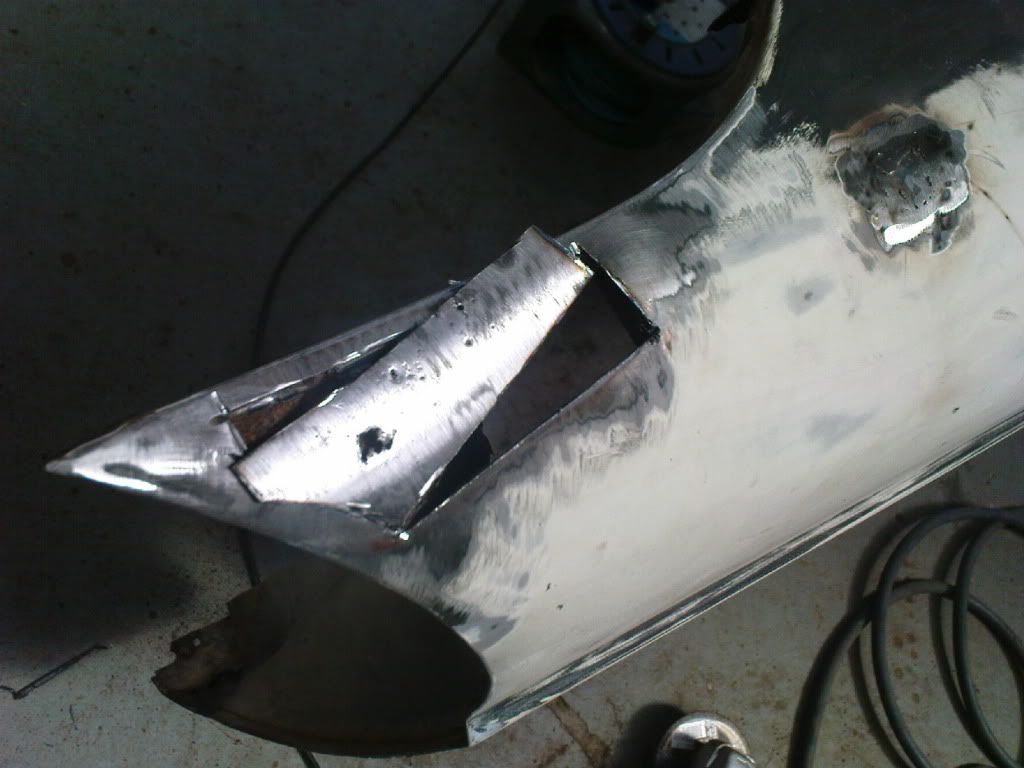
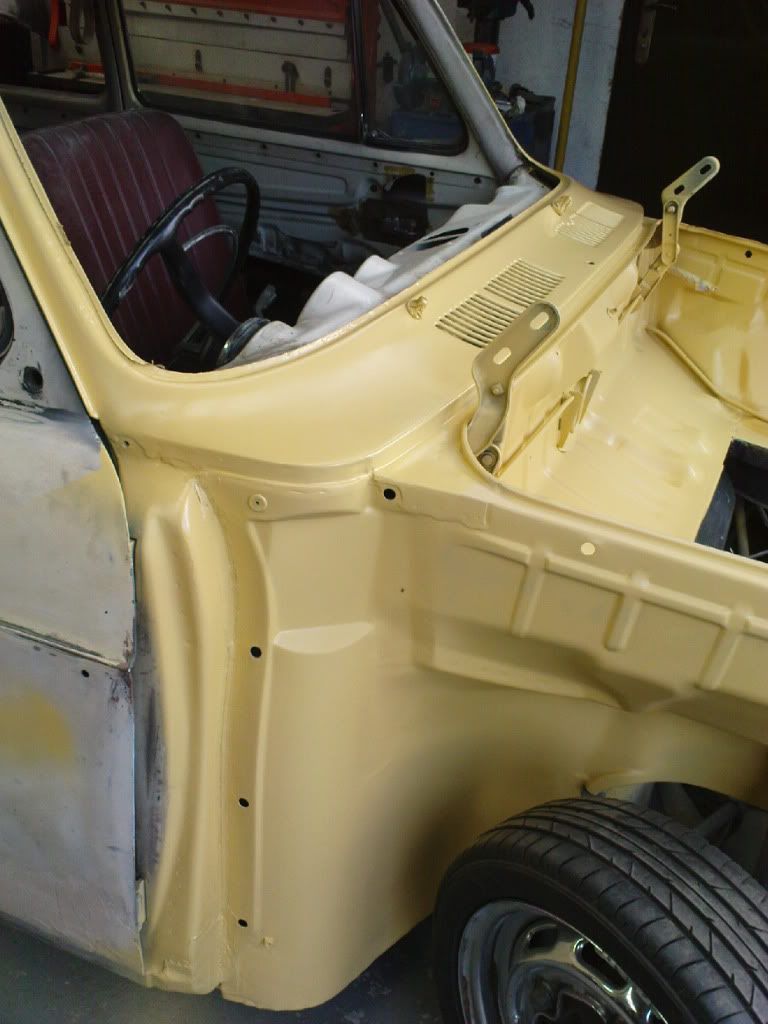
Found there was a little accident damage to the tip of the drivers side front inner wing so beat that into submission with a hammer and dolly. it's not perfect but it's close enough and luckily theres no sign of the dreaded rot either so its been treated and had a whole lotta high build thrown at it

(pre High Build)
Took the tank out to have a nosey under there and all good so stripped the under bonnet area, removed all the nasty dried out seam sealer (like charcoal) sanded out and flatted back all the scratches its collected over the years, thats all it needed
so a squirt with the high build later and
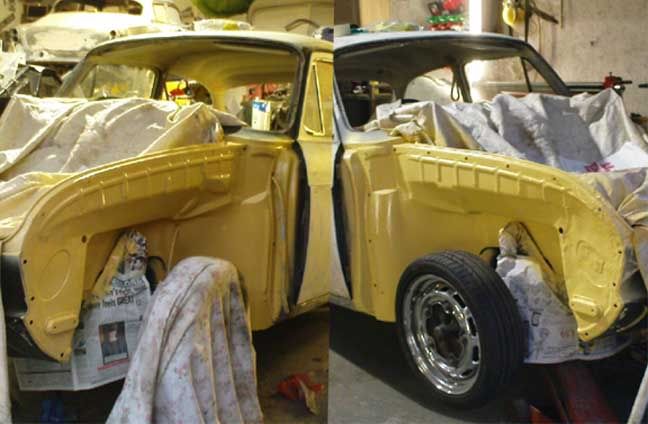
As the front inners are totaly sorted after the very small repairs i took em both back to pretty much bare metal.
Before a liberal coating of high build.
I really want the inner wings (the bits you can see on the finished re-fitted car) to look as nice as the top coat on the body work so were going to experiment with heating up the stone chip to see if we can get a smooth finish, if not i'll only stone chip the out of sight parts of the inners and have to keep an eye on the exposed bits to see how much damage they get

if need be i can always re-do those with stone chip.
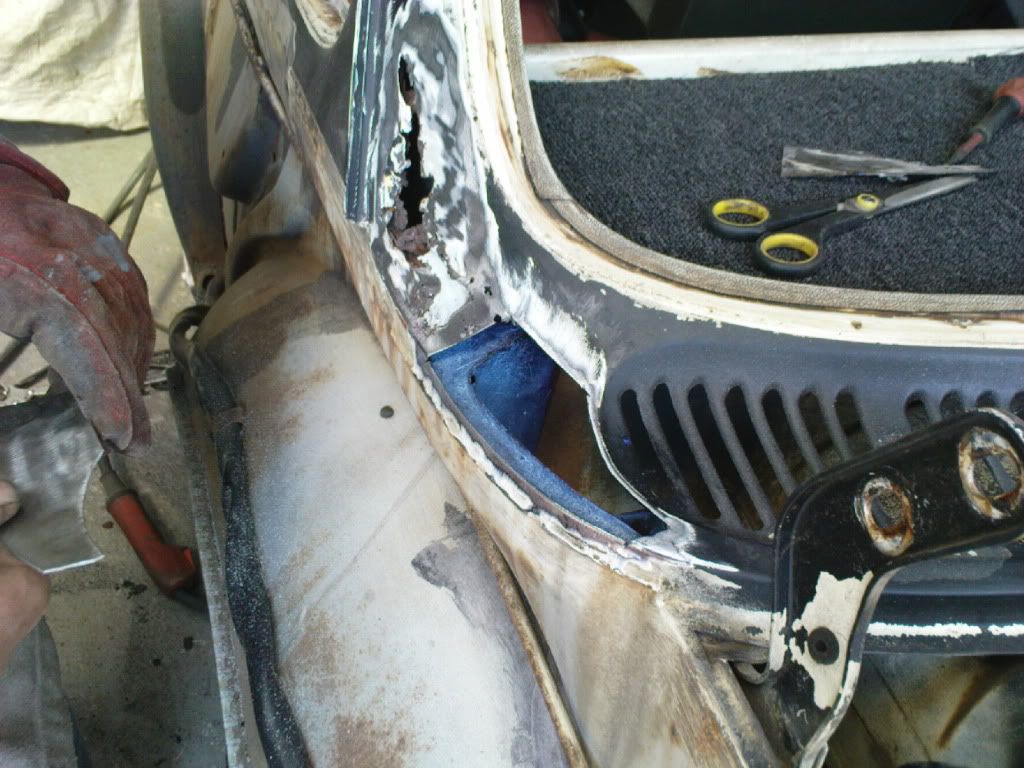
Seam sealed all the repairs and strengthening inside the rear inners (and removed the dried up charcoal kinda sealer in the side panels, Ready for the stone chip.
spent an eternity sanding in between the vents and flatting back and got that in primer too
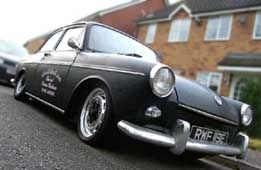
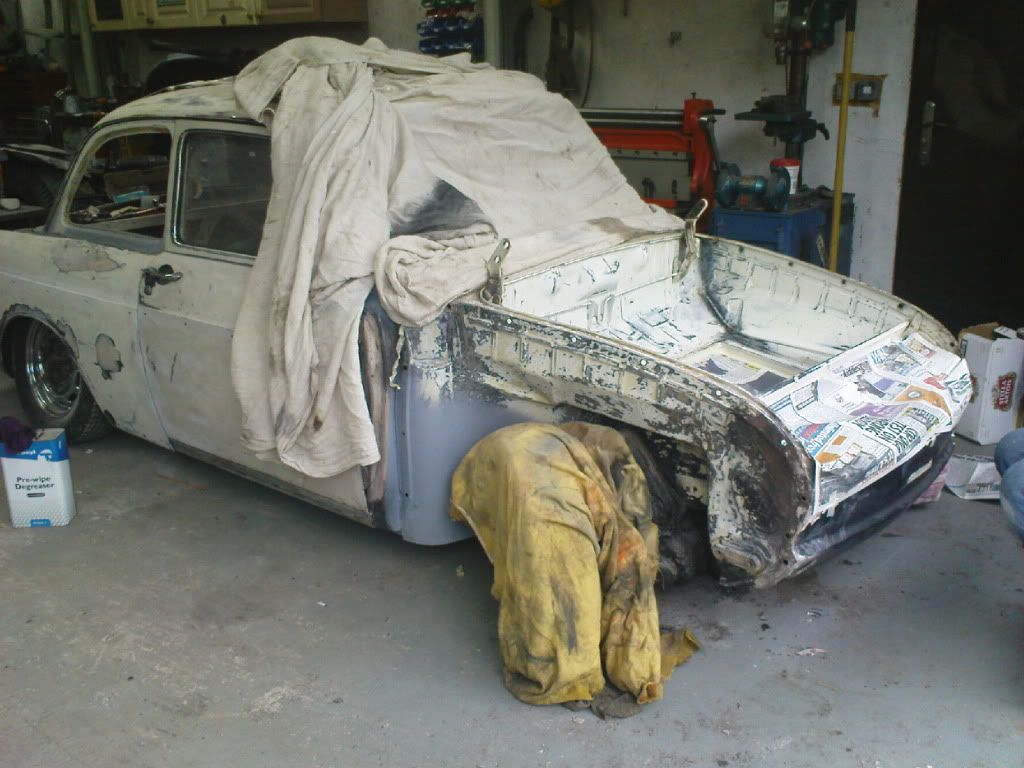
sooo here she is (the old owner told me it was a guy but what does he know

he called it Logan (Wolverine) but hmmmmm .................. In the Rat Black that mighta worked but in the new colour scheme ...... Notsomuch)
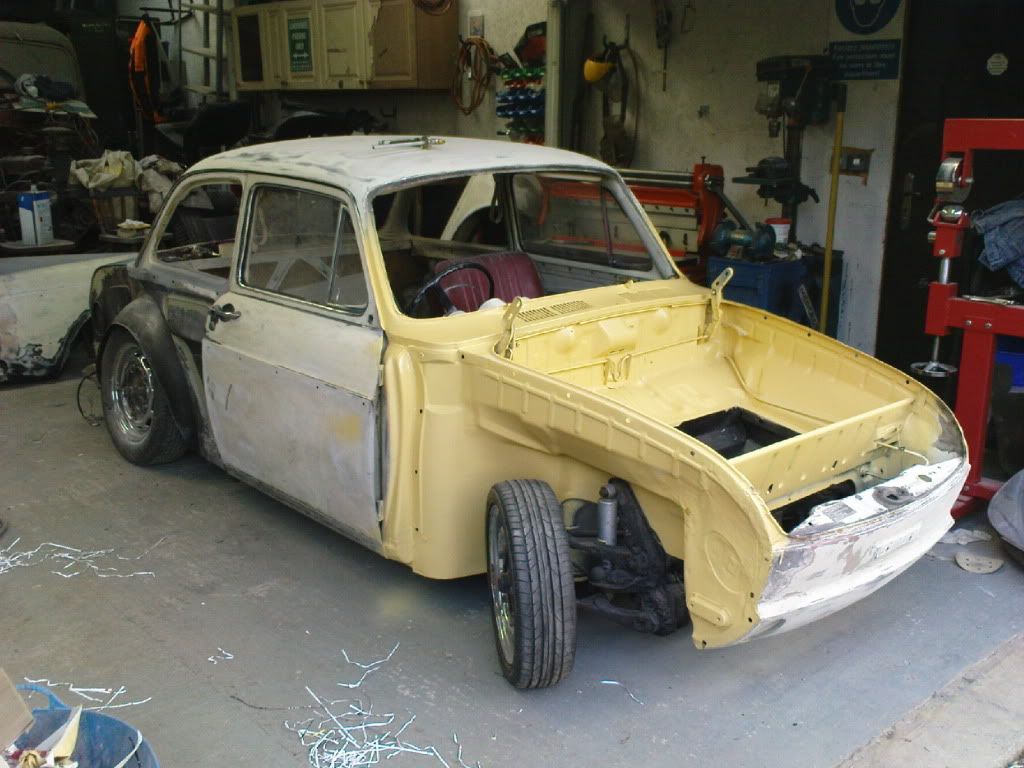
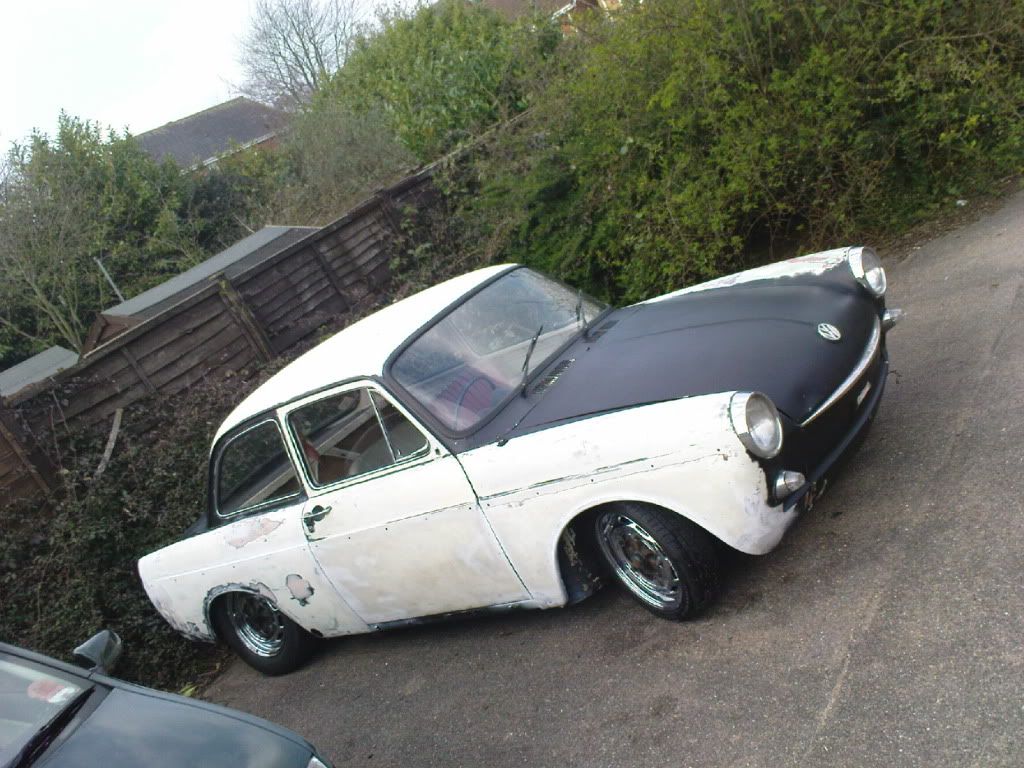
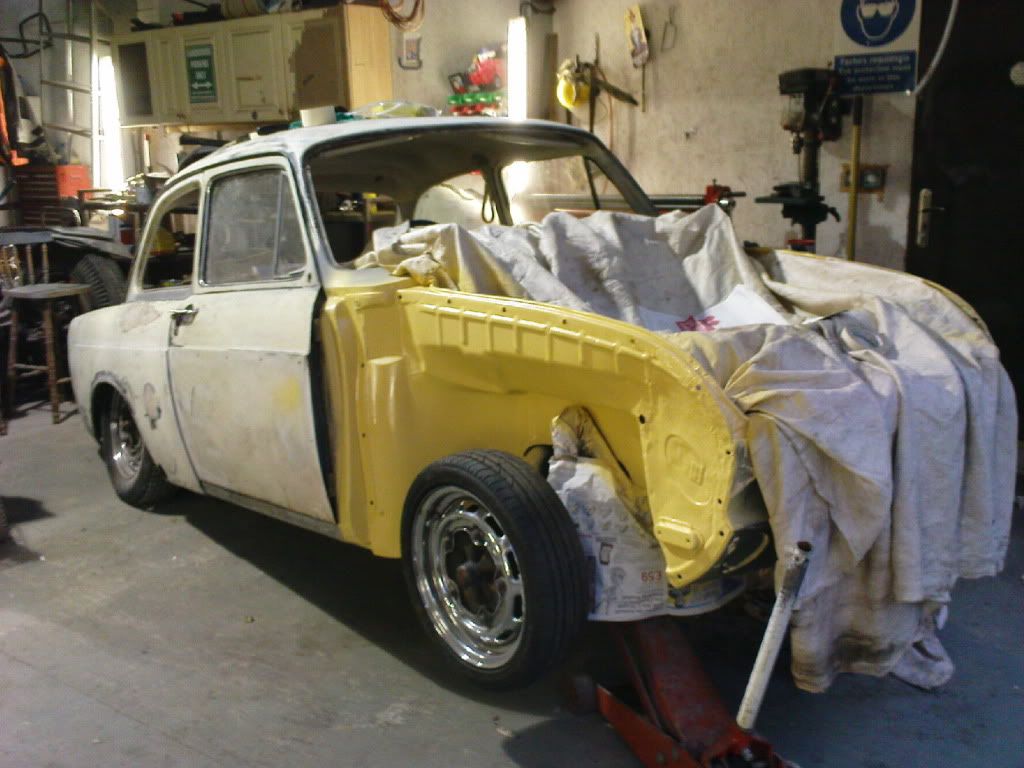
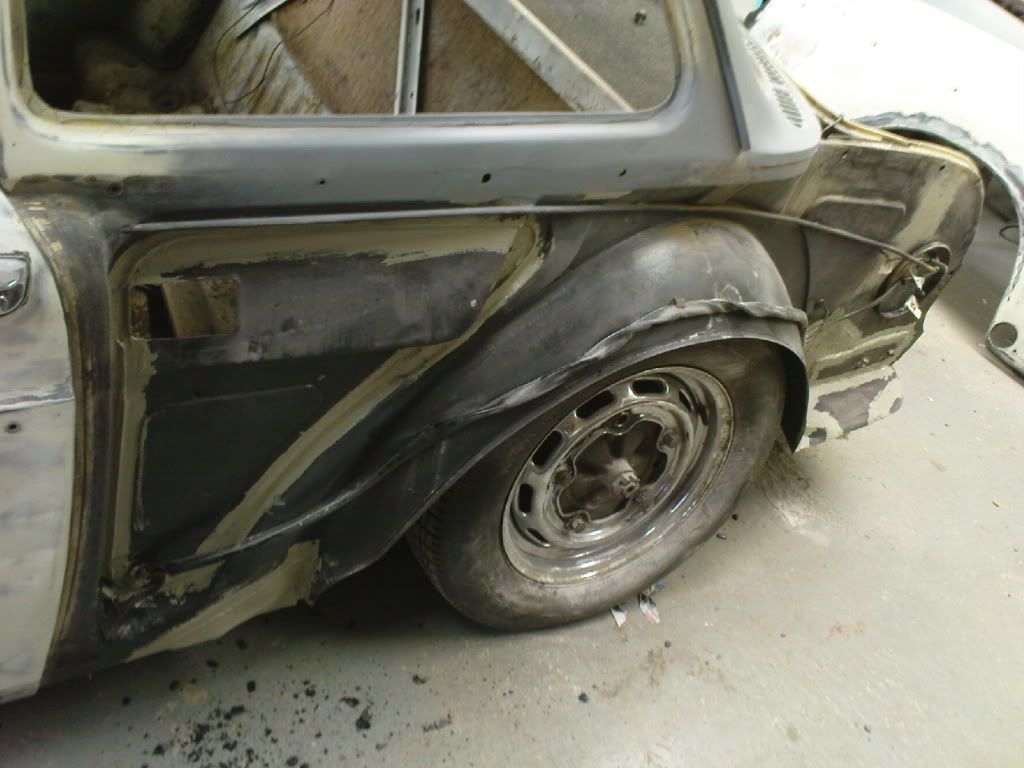
Front pretty much in primer , just gotta bolt up the front wings and fill the front panel as i dug a bundle of filler out where it had been repaired but now its alot straighter it shouldn't need much
Couldnt help meself i just had to roughly bolt it together (1 bolt on each wing
) just to see what it was starting to look like in its new clean solid state.
Damn how much has it lifted with nothing in/on it

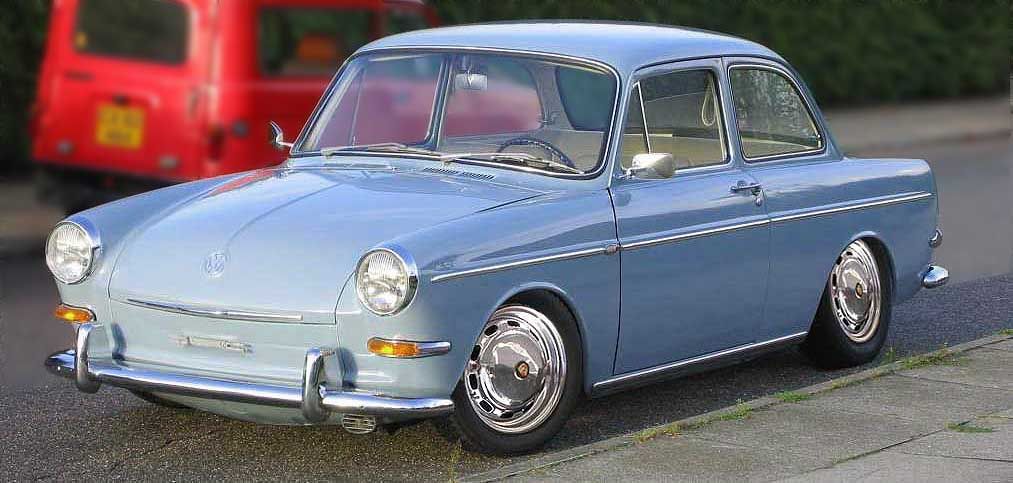
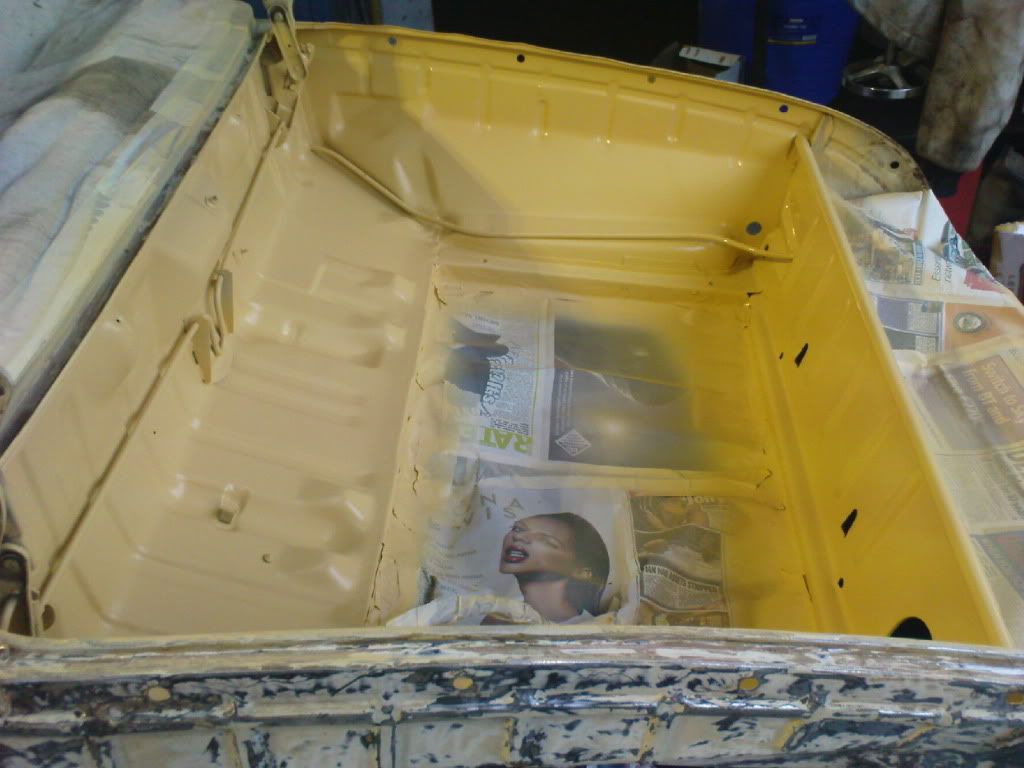
OH! and with so many people asking what colour i'm doing it i decided to mix a little and squirt at the roughly prepped boot lid so here you are

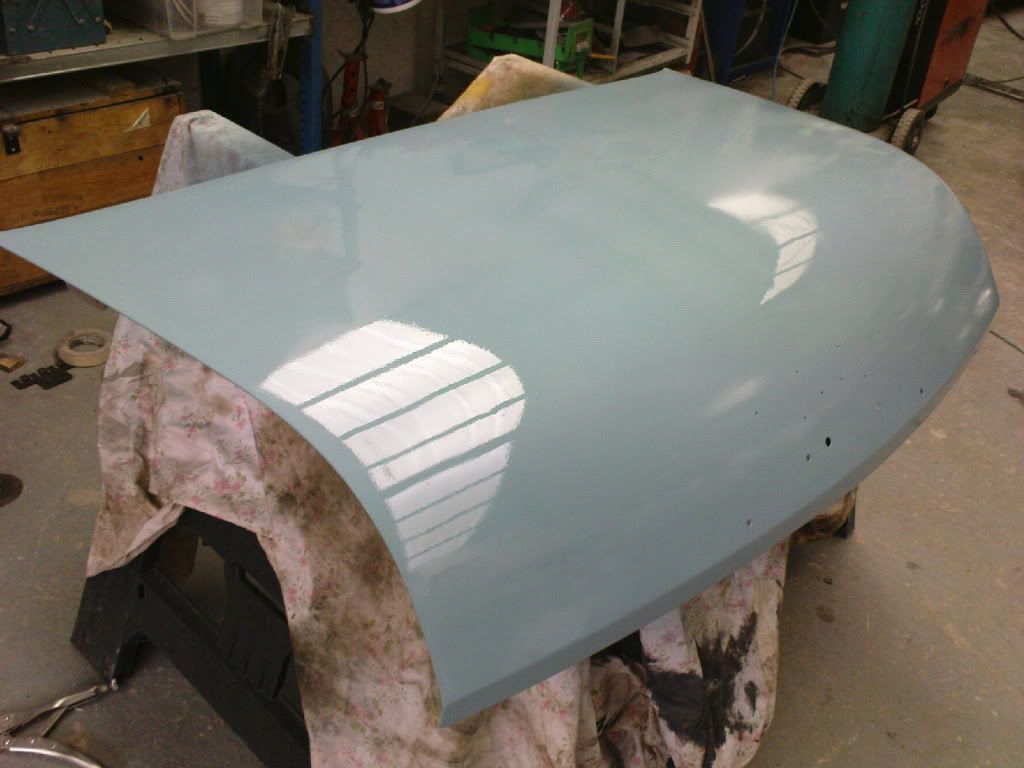
When i got the paint mixed (some years ago now) the paint chip that came back with it showed a piss poor match on Baltic Blue ... more of a battle ship grey / blue so to see it is actually a kinda baltic blue and NOT battleship grey well
woohooo.
Should look luuurvly with all the shiney stuff (and a little dark blue / white Pinstriping , especailly with a few red accents
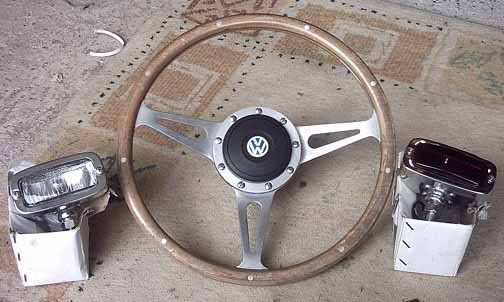
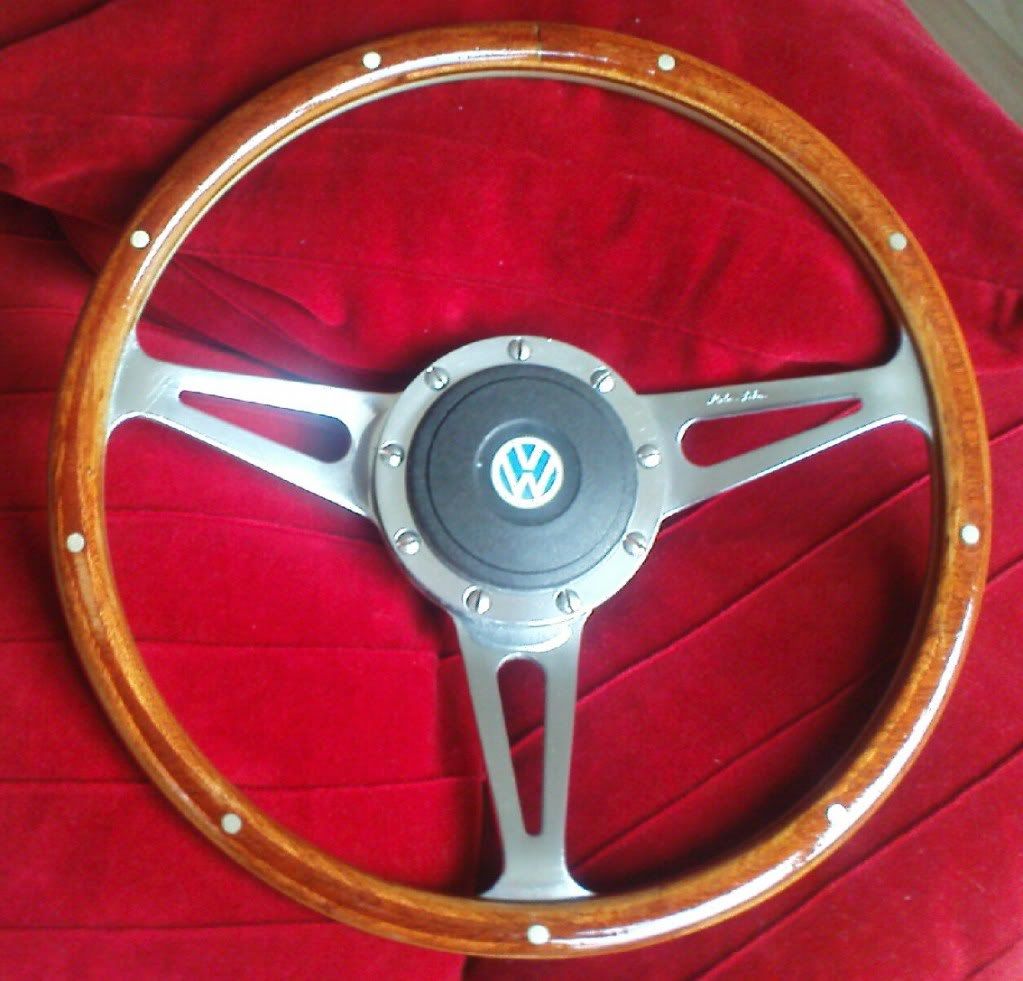
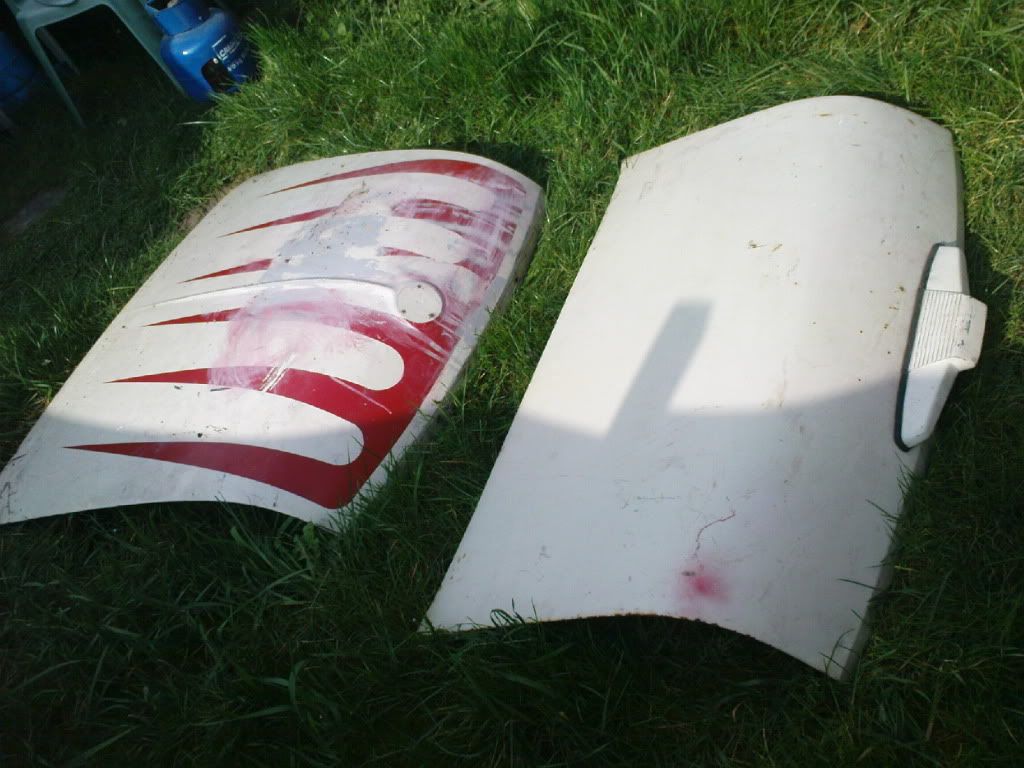
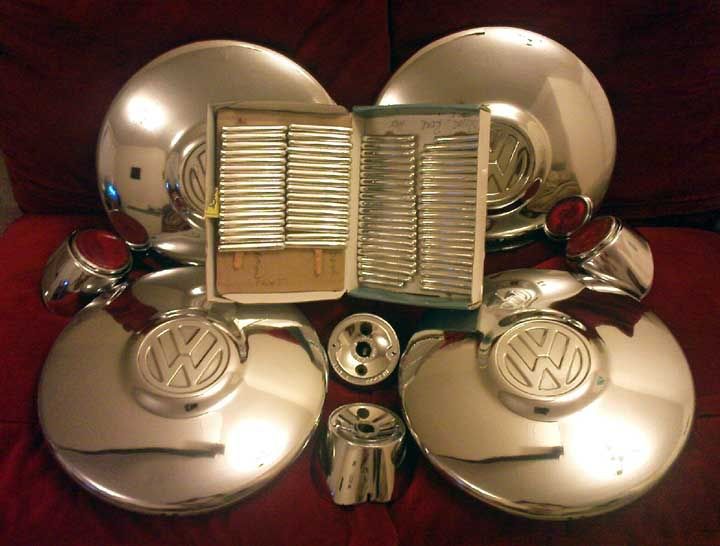
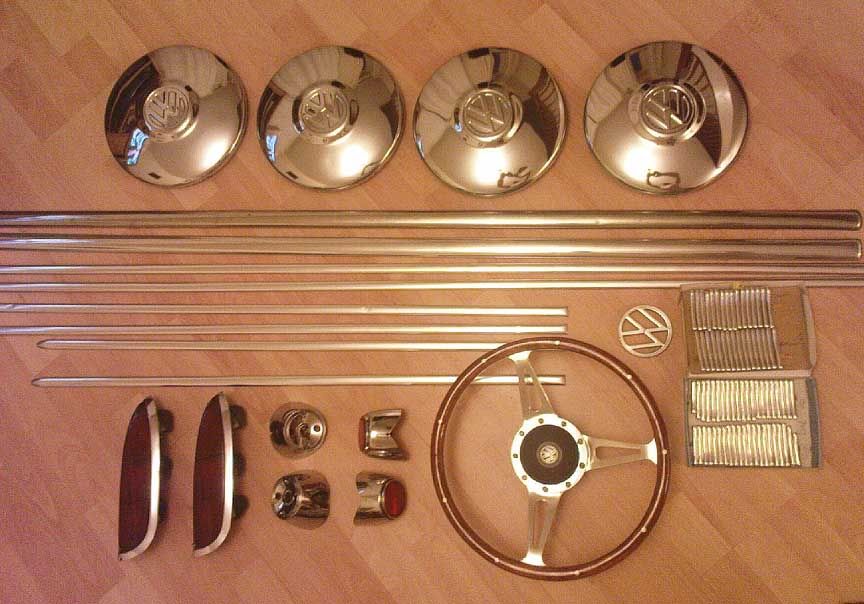
And talkin of shiney stuff
Found myself at a loose end at home a few evenings back so dug out all of my shiny stuff and gave it all a good clean and polish.
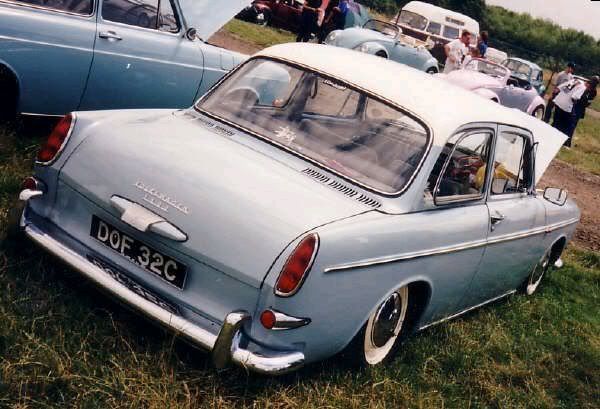
foxy wrote:Are these repro?...
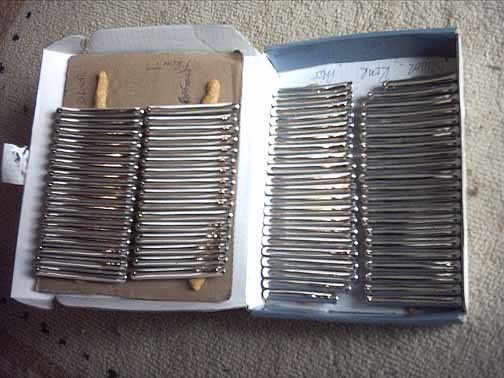
If they are the 'bent' type ( which is hard to tell from that pic ) they won't fit your notch. The bent ones are pre 65 only.
If they are the bent type and original I've got some original straight ones that I'll swap with you.
Hey Foxy

did you sort out what kind of deal you was looking at on the straight chrome trims against my bent ones?