orange fastback
Re: orange fastback
There are various hoods fitted, but I can't imaging they stop much of the wet. When mine is sitting, I leave a couple of clear plastic panels with magnetic strip round the edges. In the winter, I still got a spot or two of water on the rubber mat, but think it must have been condensation, as it didn't seem to leak in heavy rain in Germany without them in place.
Dave.
Re: orange fastback
I have wondered about fitting suitable scoops to the intakes as I am sure that there would have been such things back in the seventies. These would stop the majority of the water running into the vents when standing, keep out leaves and other organic matter and help to force more air through when running. Have been looking but not found anything suitable yet.Editor wrote:There are various hoods fitted, but I can't imaging they stop much of the wet. When mine is sitting, I leave a couple of clear plastic panels with magnetic strip round the edges. In the winter, I still got a spot or two of water on the rubber mat, but think it must have been condensation, as it didn't seem to leak in heavy rain in Germany without them in place.
Colin
Re: orange fastback
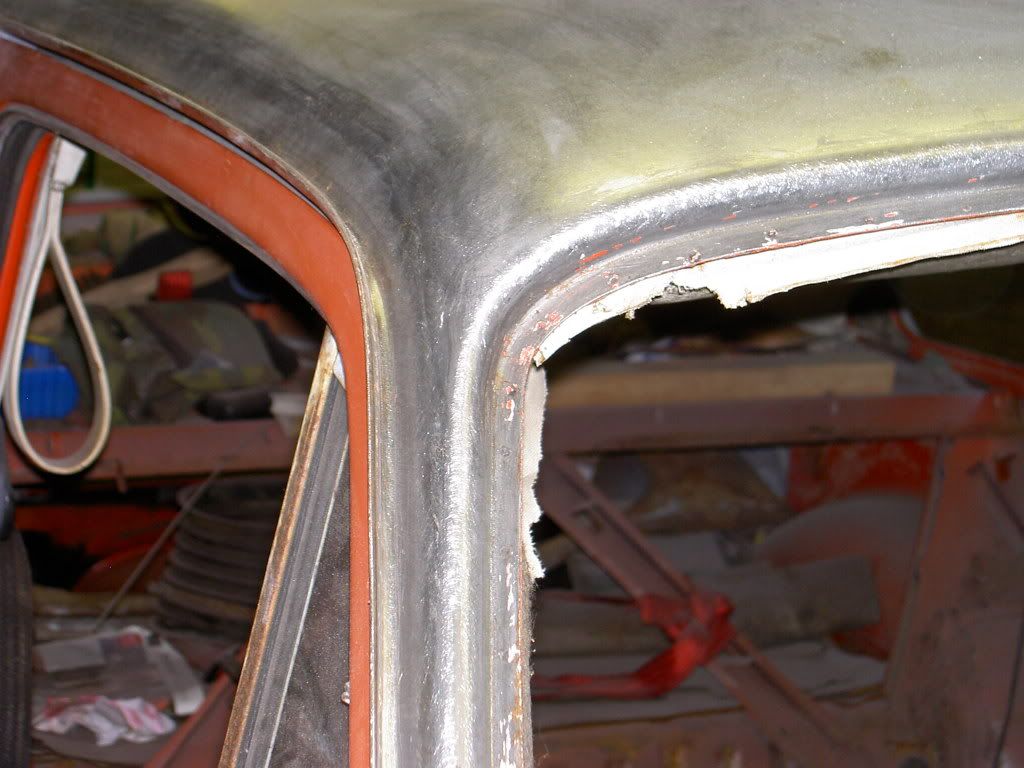
a little bit more done
took out the front window and the 2 lower corners had started to go plus got the vents all welded and finished

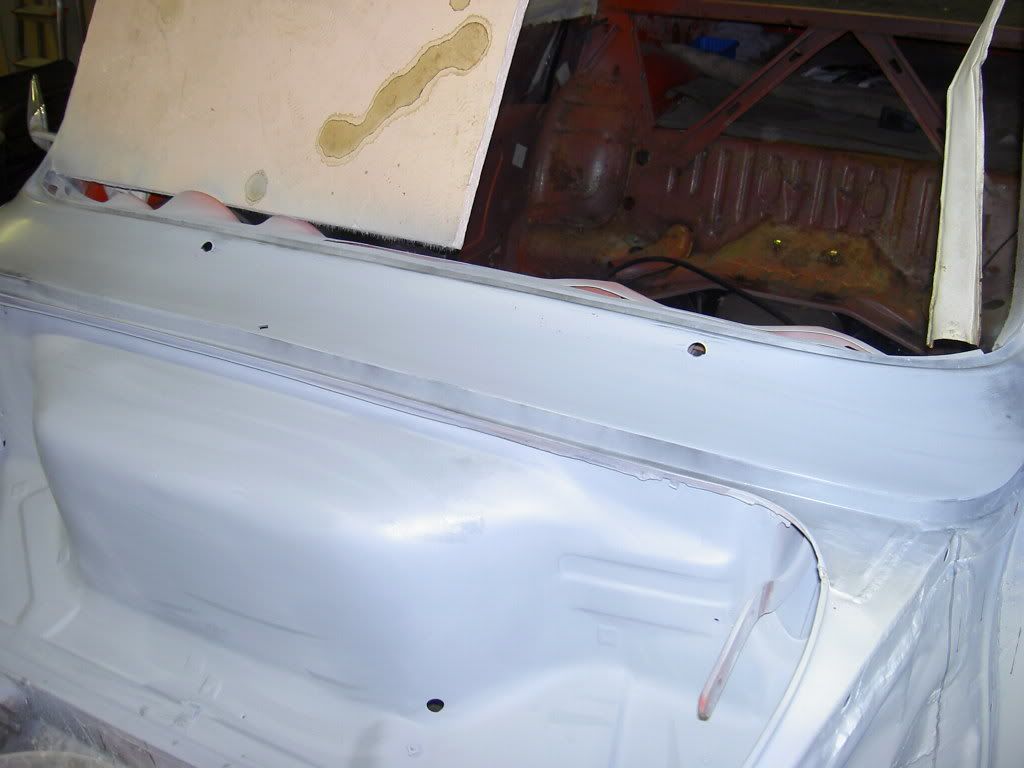
took out the front window and the 2 lower corners had started to go plus got the vents all welded and finished
You Love It.!!!
Re: orange fastback
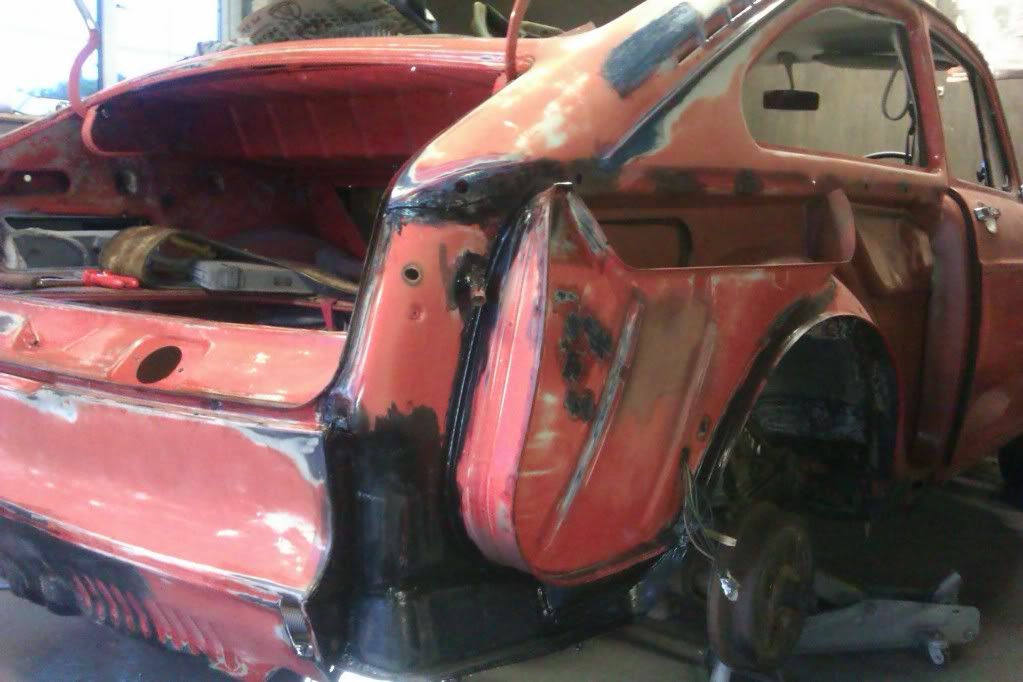
ok got a bit more done.
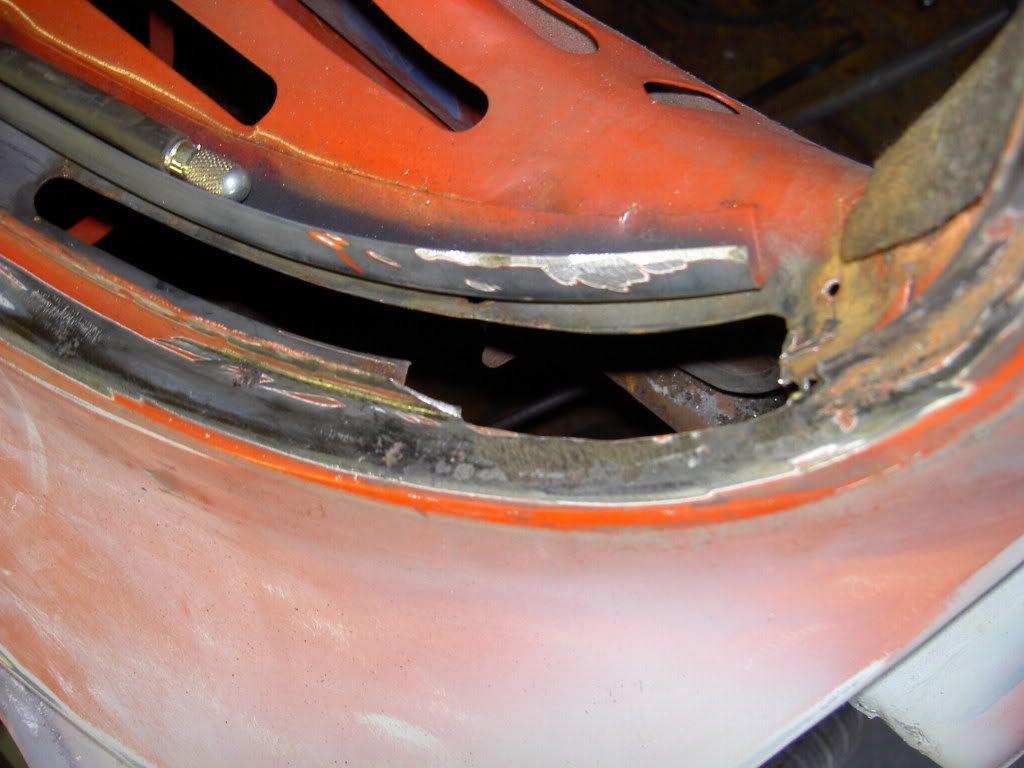
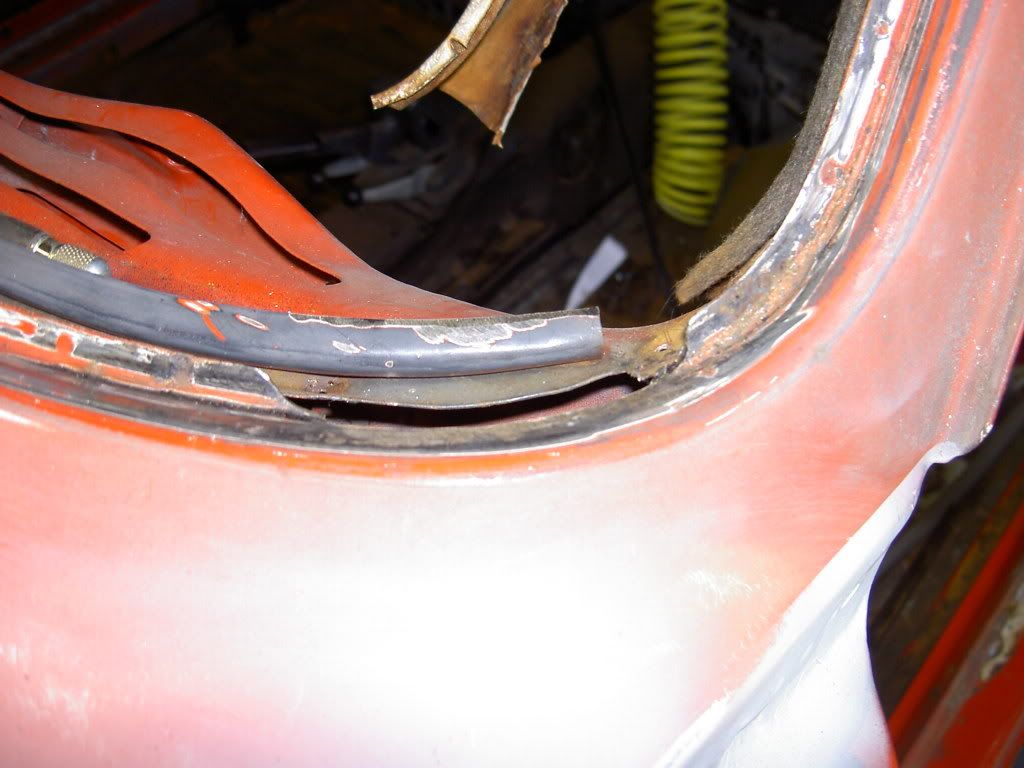
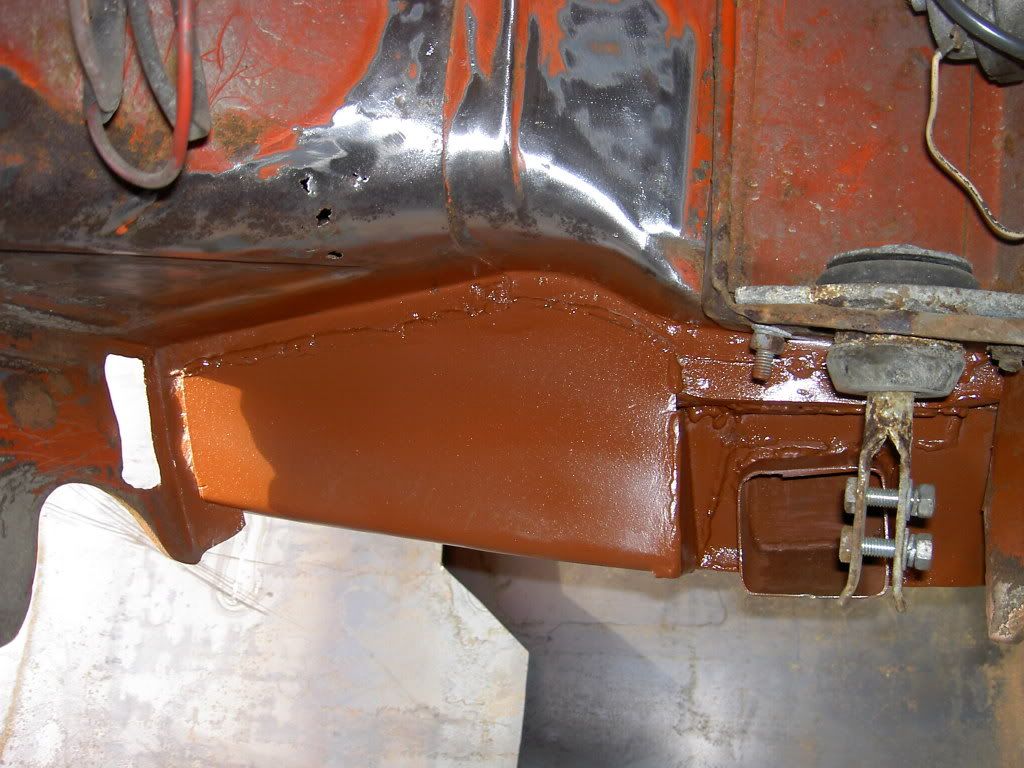
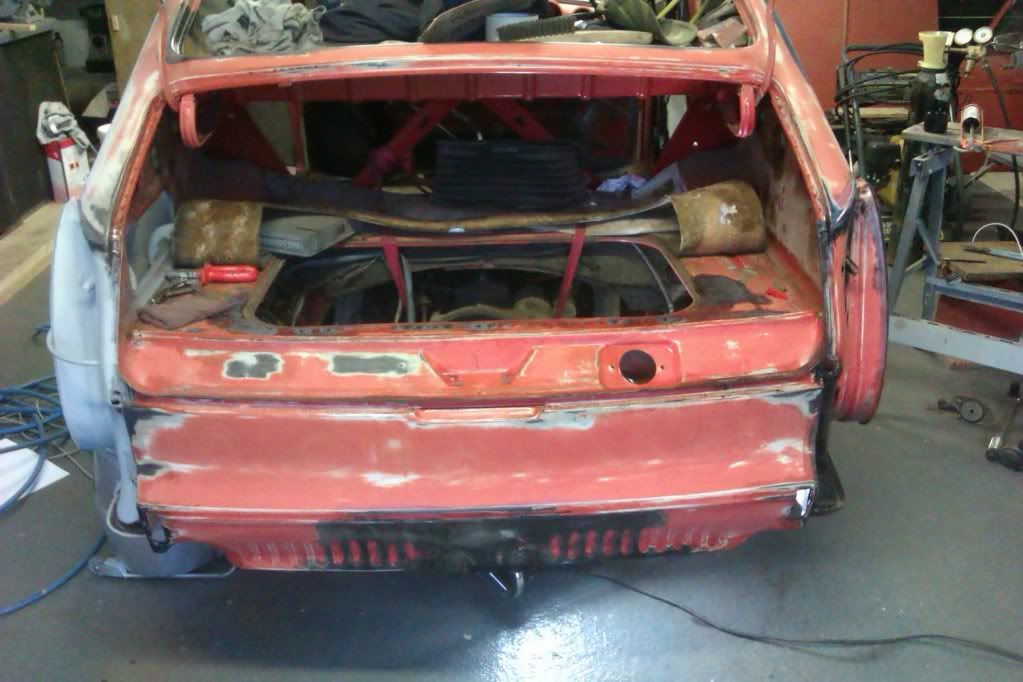
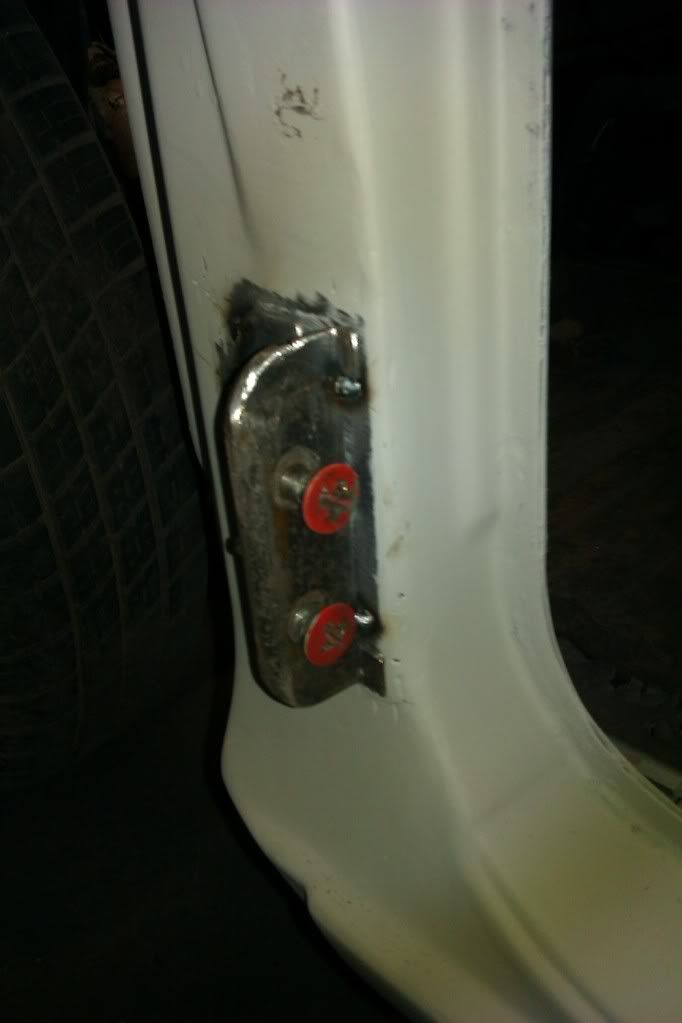
rebuilding the rear bumper mount was a pig but got there in the end..had to pull out the engine to get to the repair properly.
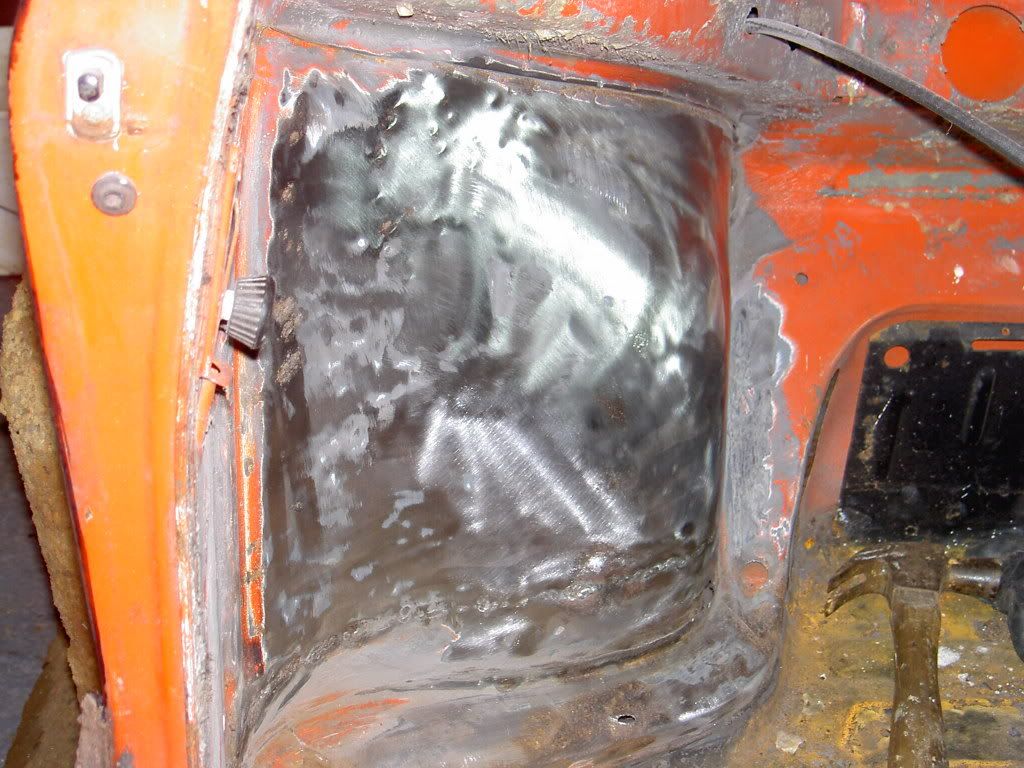
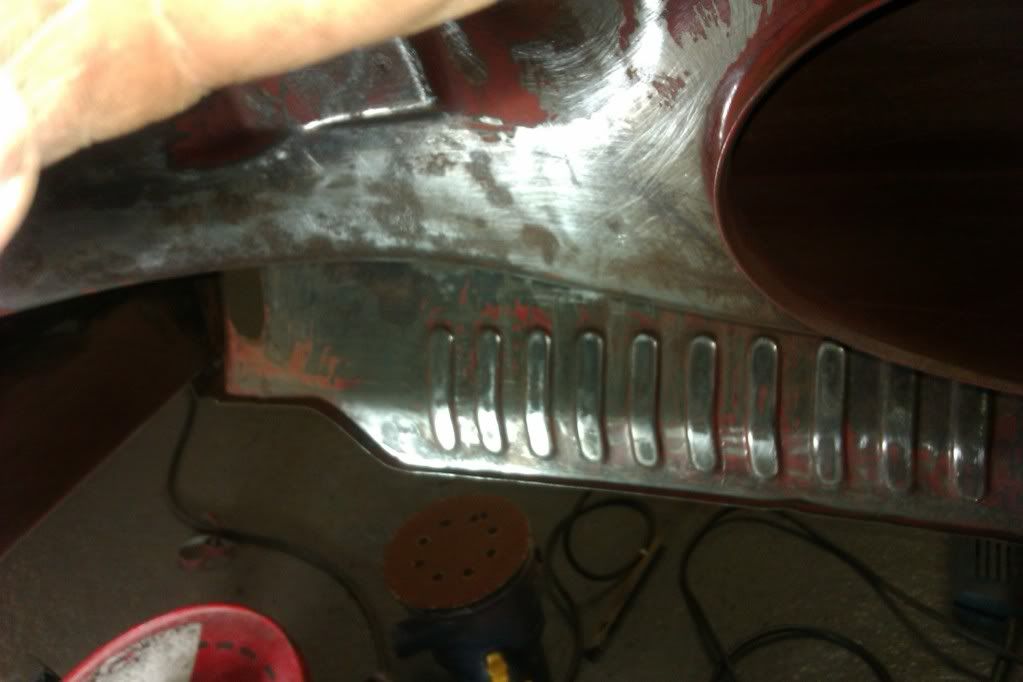
while i had the bottom of the airbox cut off i sanded down all the areas that i couldnt reach from the top, rust treated the complete box and then drowned it with redoxide. took about 2 hours to sand it down by hand, tricky to reach inside
ive still got to finish off the bottom corner of the airbox, re-new all sealant on panel joins and install a cat flap on the drain......oh and cut off and repeat the process on the other side...
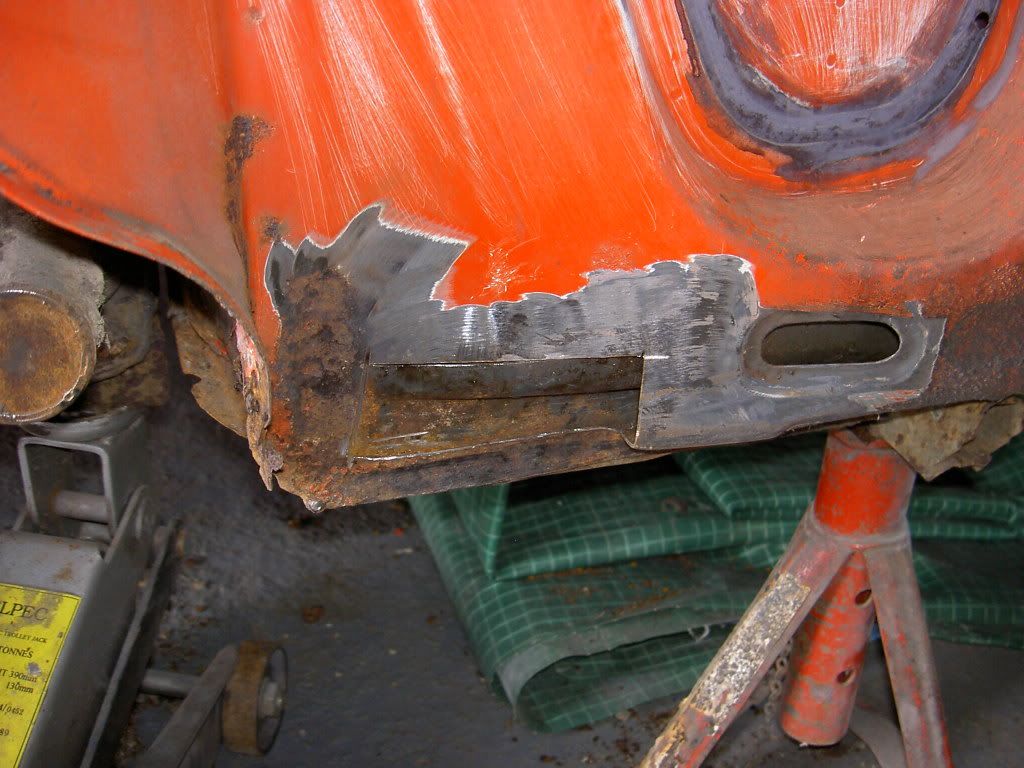

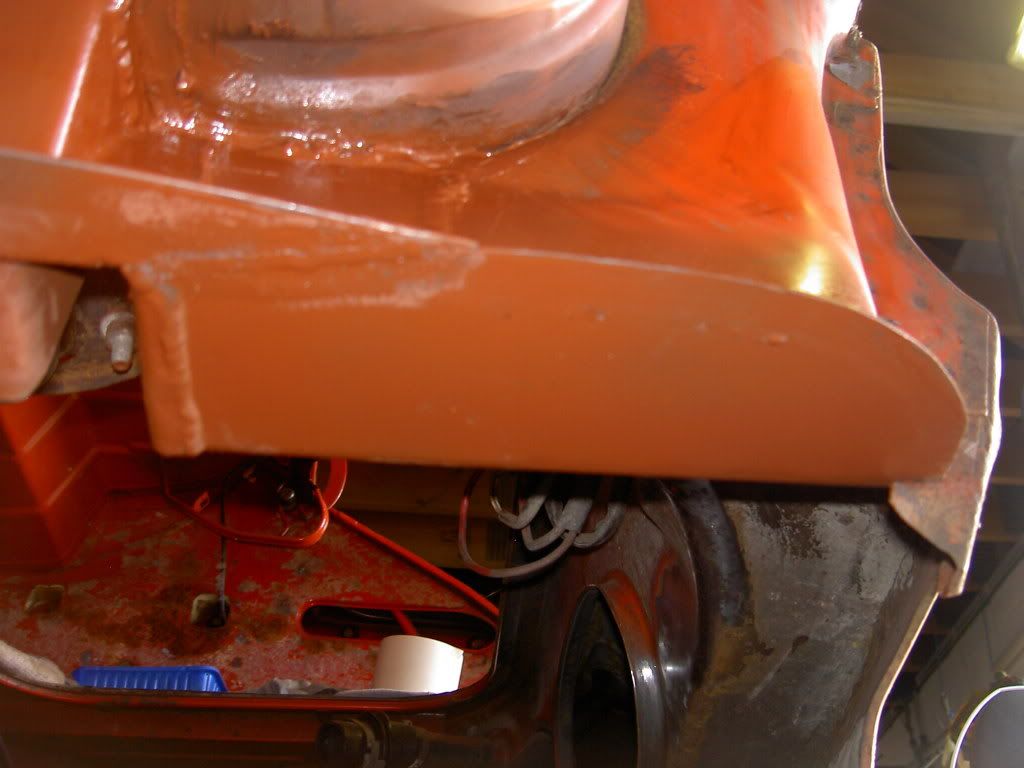
rebuilding the rear bumper mount was a pig but got there in the end..had to pull out the engine to get to the repair properly.
while i had the bottom of the airbox cut off i sanded down all the areas that i couldnt reach from the top, rust treated the complete box and then drowned it with redoxide. took about 2 hours to sand it down by hand, tricky to reach inside
ive still got to finish off the bottom corner of the airbox, re-new all sealant on panel joins and install a cat flap on the drain......oh and cut off and repeat the process on the other side...
You Love It.!!!
Re: orange fastback
Coming along nicely there, great stuff.
Lots of niggly bits but , you are getting through it fast..
Lots of niggly bits but , you are getting through it fast..
Re: orange fastback
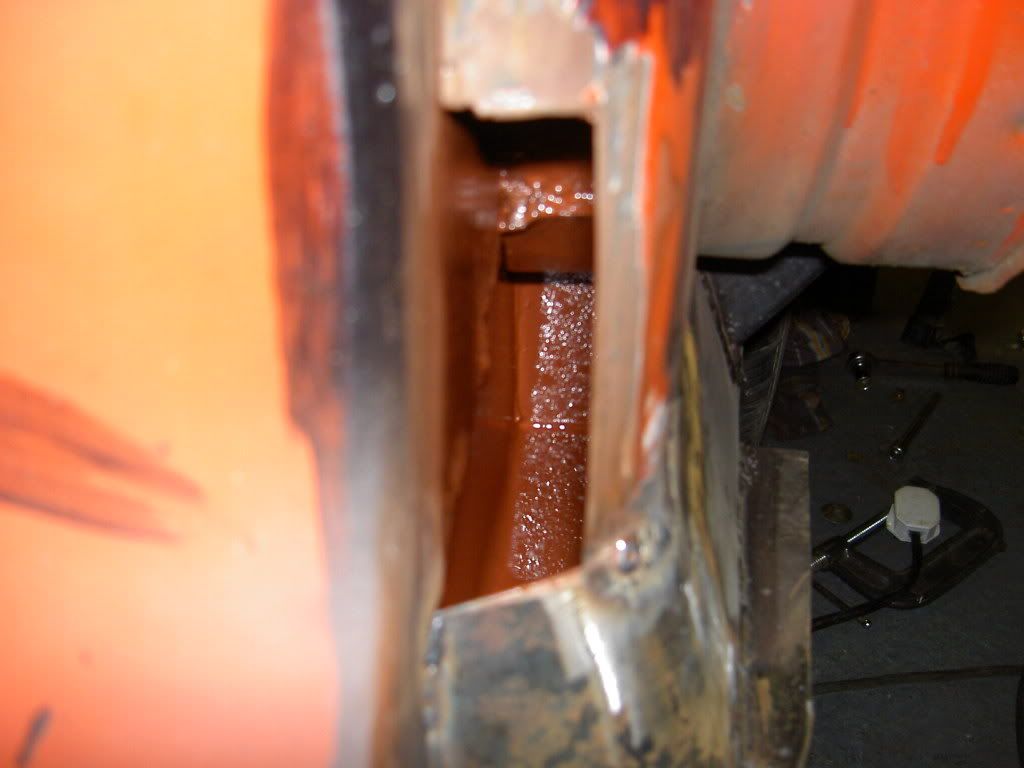
ok got a question for ya.
ive had a good poke about inside the ducting that leads from the to rear air boxes all the way round to the engine inlet
and i can feel some rust, my problem is that i dont want to leave any stone un-turned. so i want access to this area to sand and rust treat
the only way to do this is to remove the rear valance (not sure how much of a job that is yet) so i can clean all the way back to the air boxes.
i wouldnt think twice about cutting the valance off if it were rusty but the panel is perfect.
what do you think people..
You Love It.!!!
Re: orange fastback
Be a shame to cut such a good panel. How about spraying some metal treatment into the void - eastman sell a great product that comes with a large spray nozel - all dries off so would not cause issues. That way you know the rot will not spread (for a few years).
Think you can get it via FROST.
http://www.frost.co.uk/automotive-rust- ... rosol.html
you will need one of their extension nozzles...maybe an option....
Think you can get it via FROST.
http://www.frost.co.uk/automotive-rust- ... rosol.html
you will need one of their extension nozzles...maybe an option....
The variant Project
Re: orange fastback
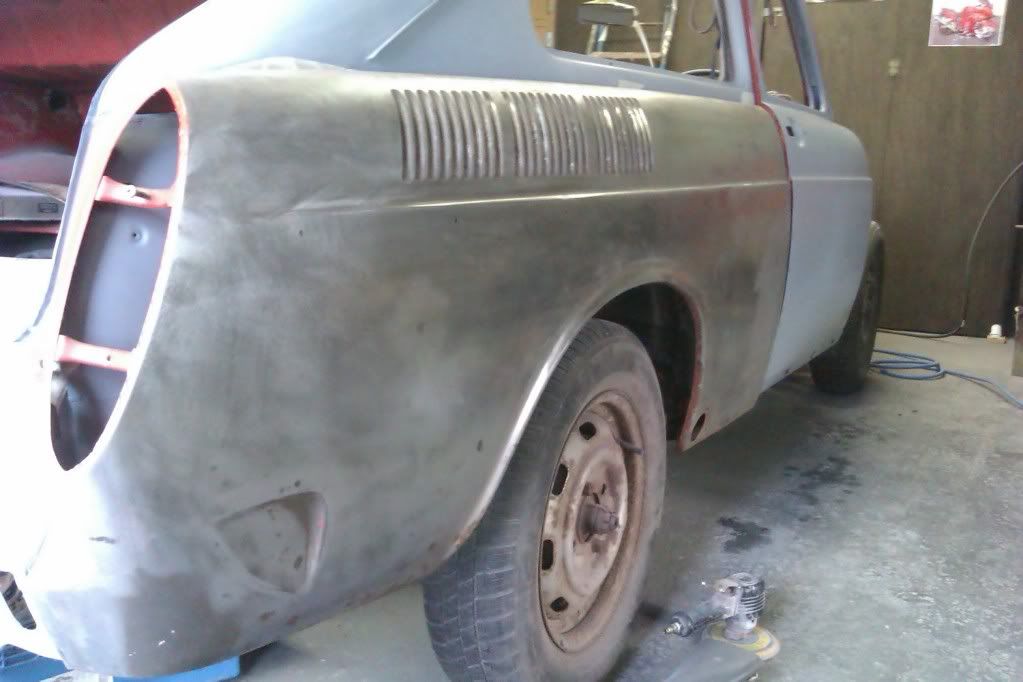
ok got some more done
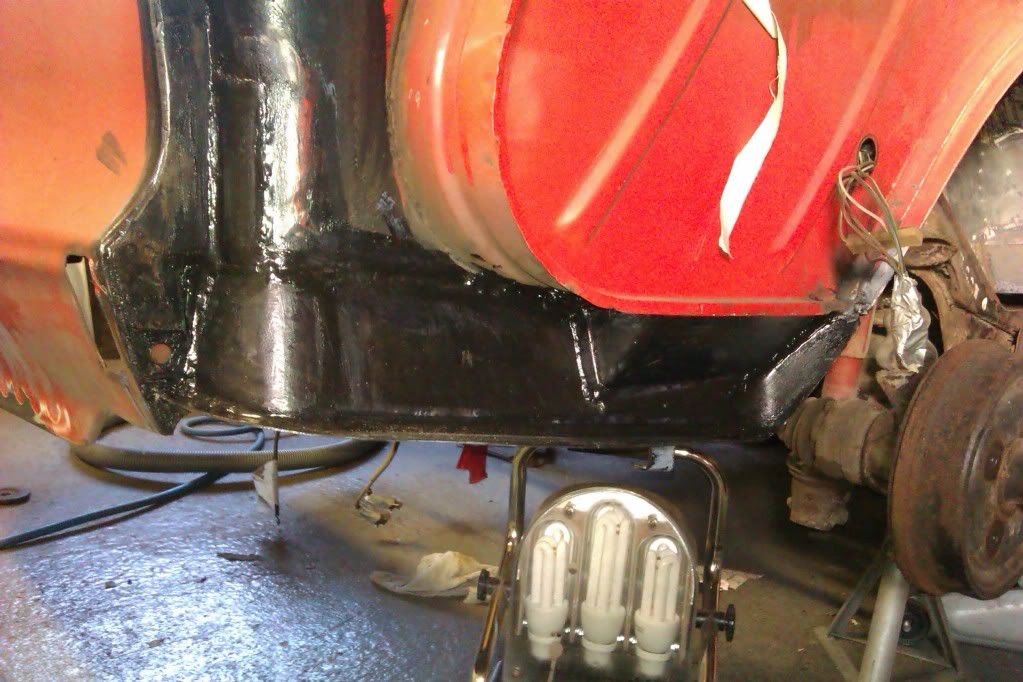
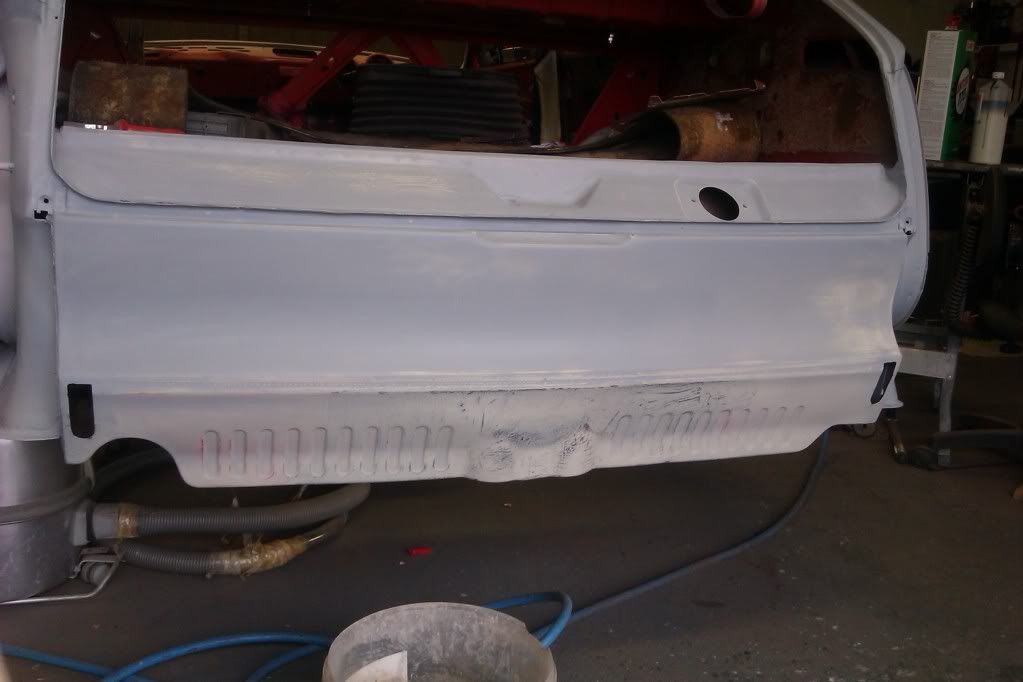
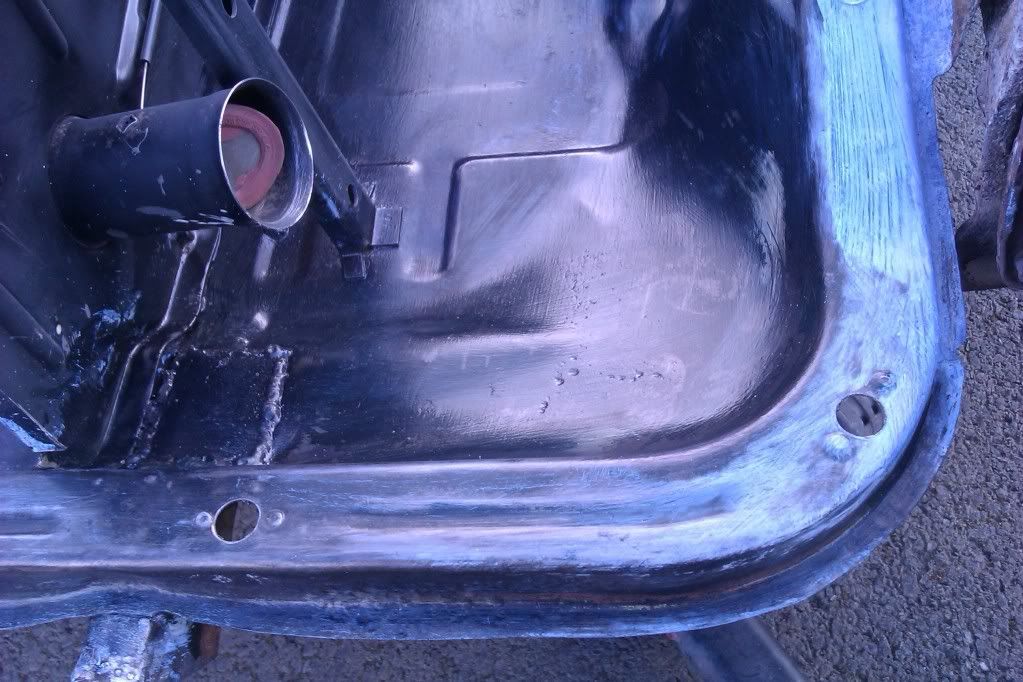
got offside rear air box complete, all sealant removed from rear quarter panel rust treated re-sealed and put into primer.
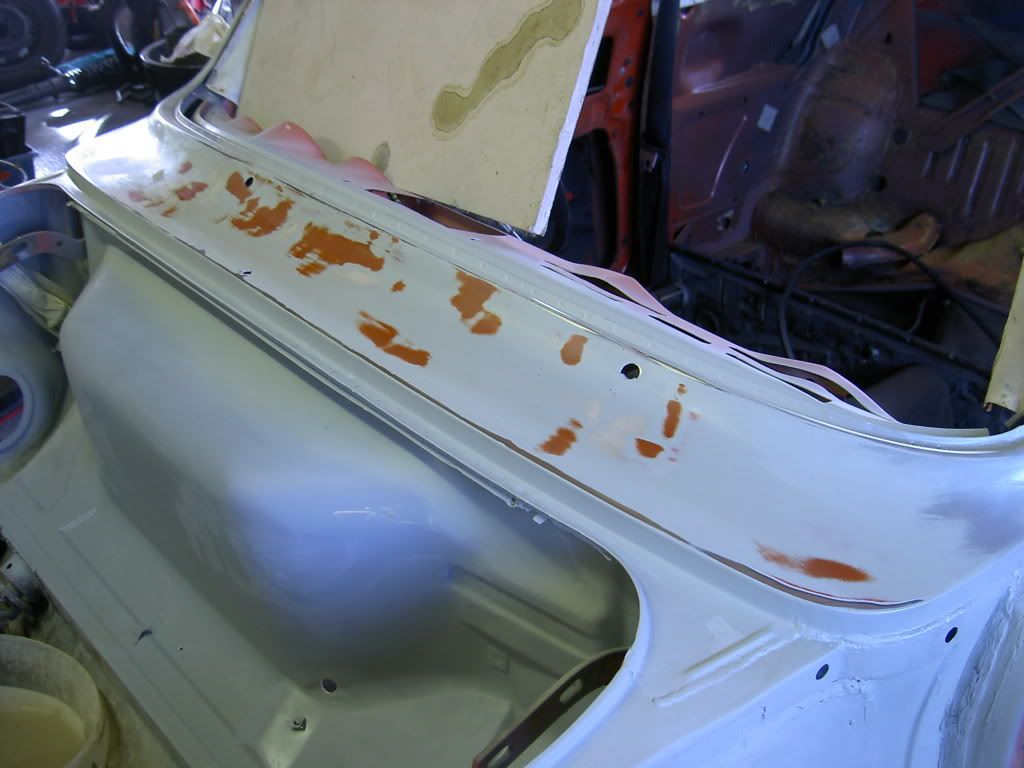
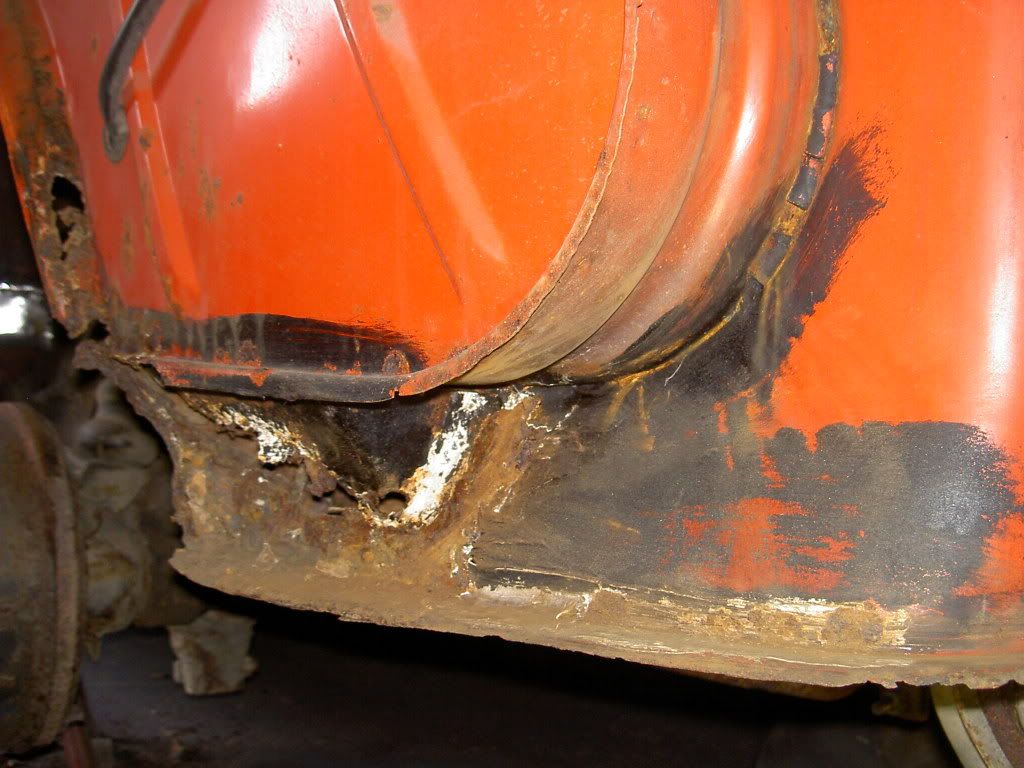
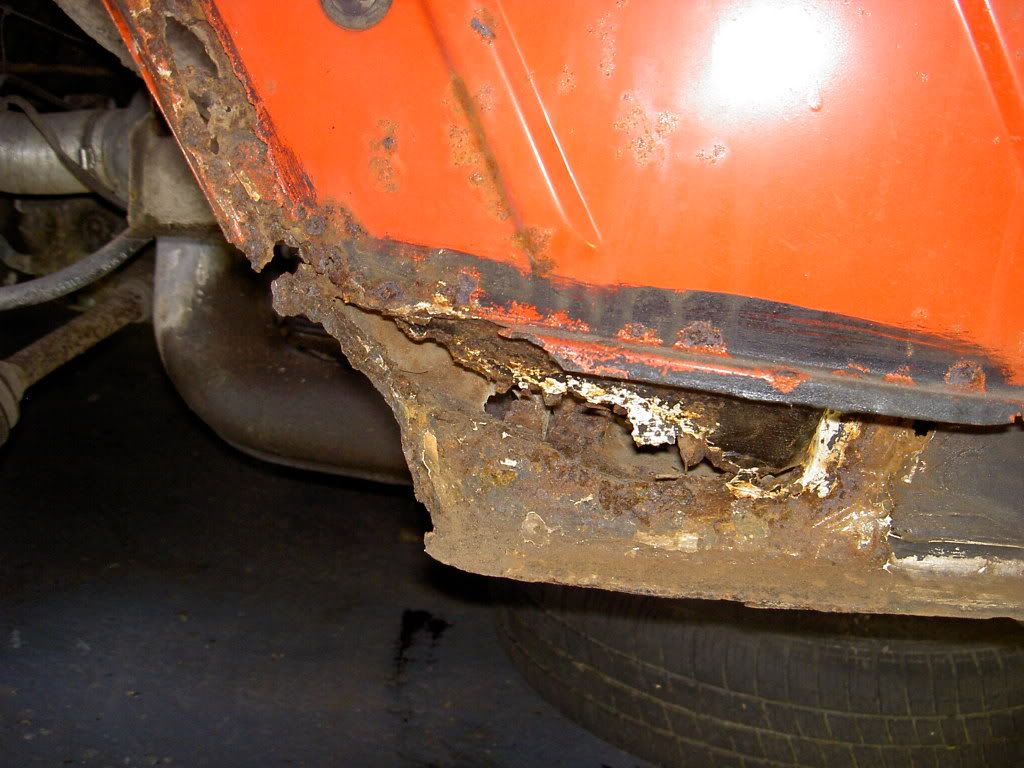
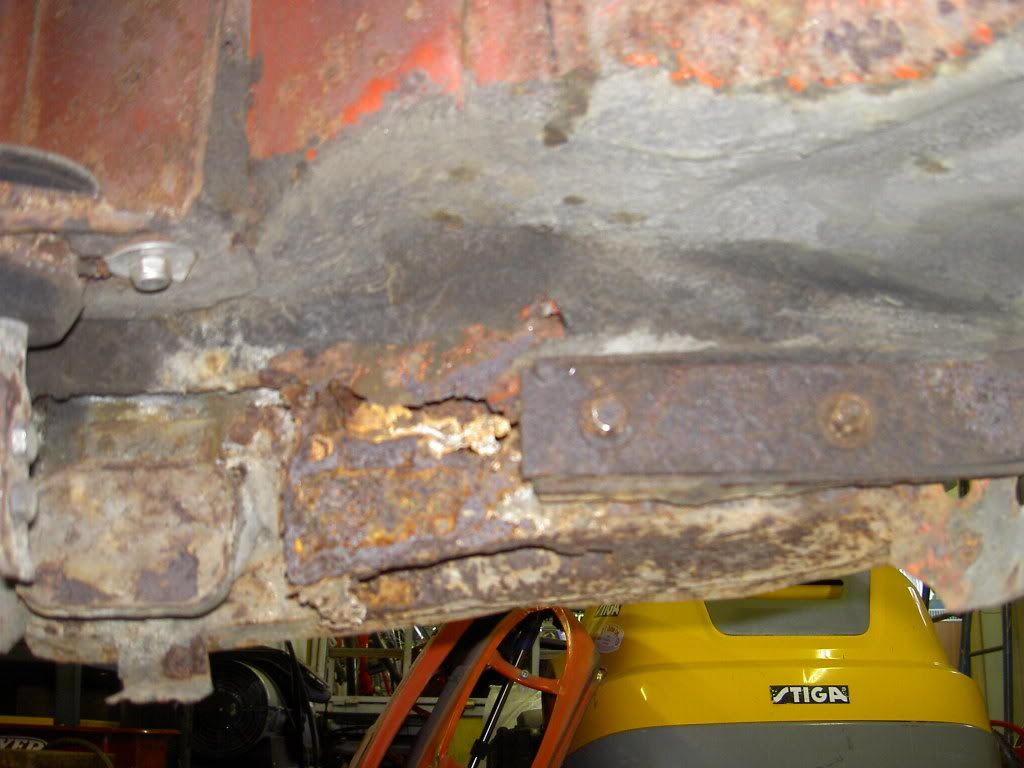
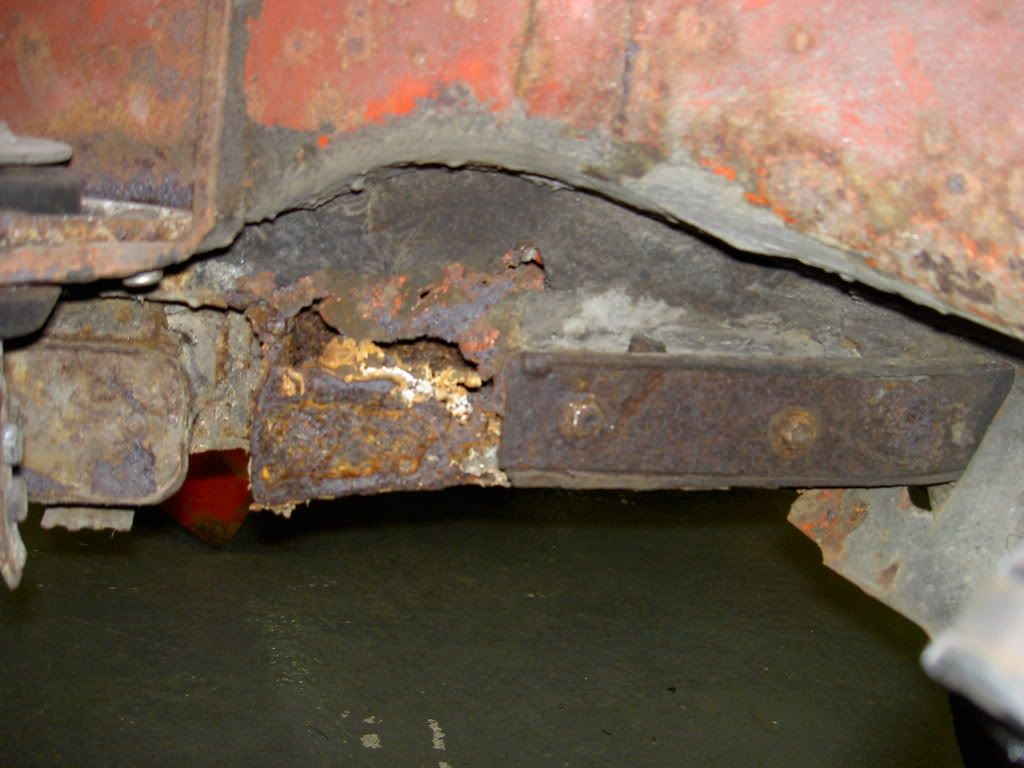
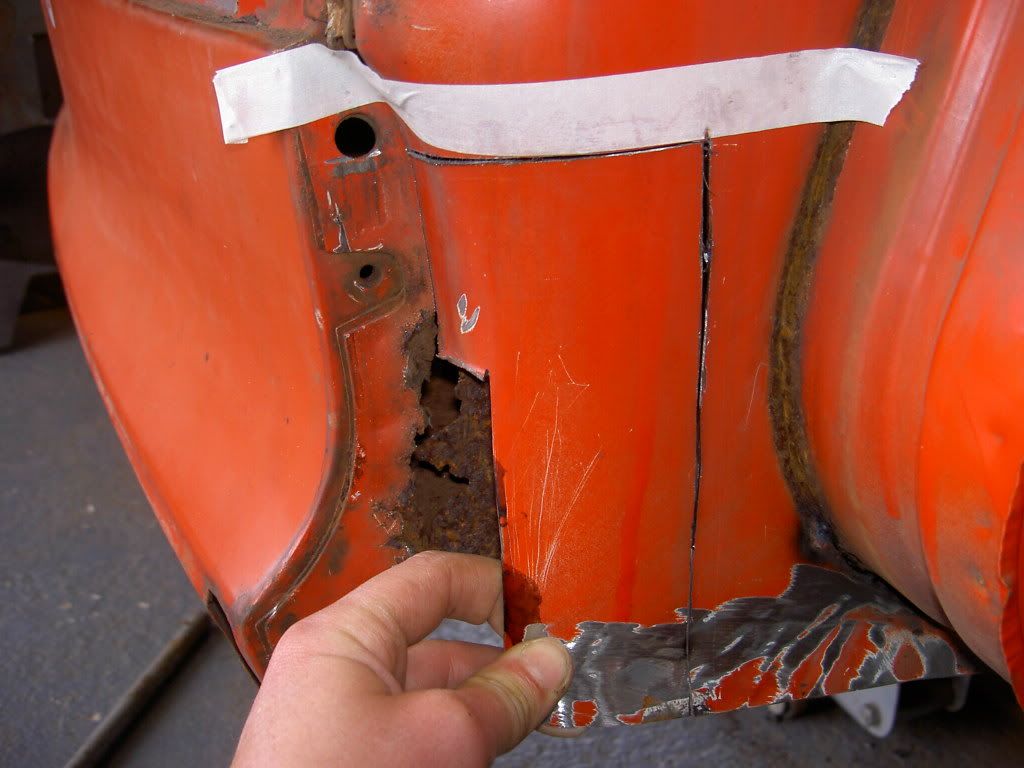
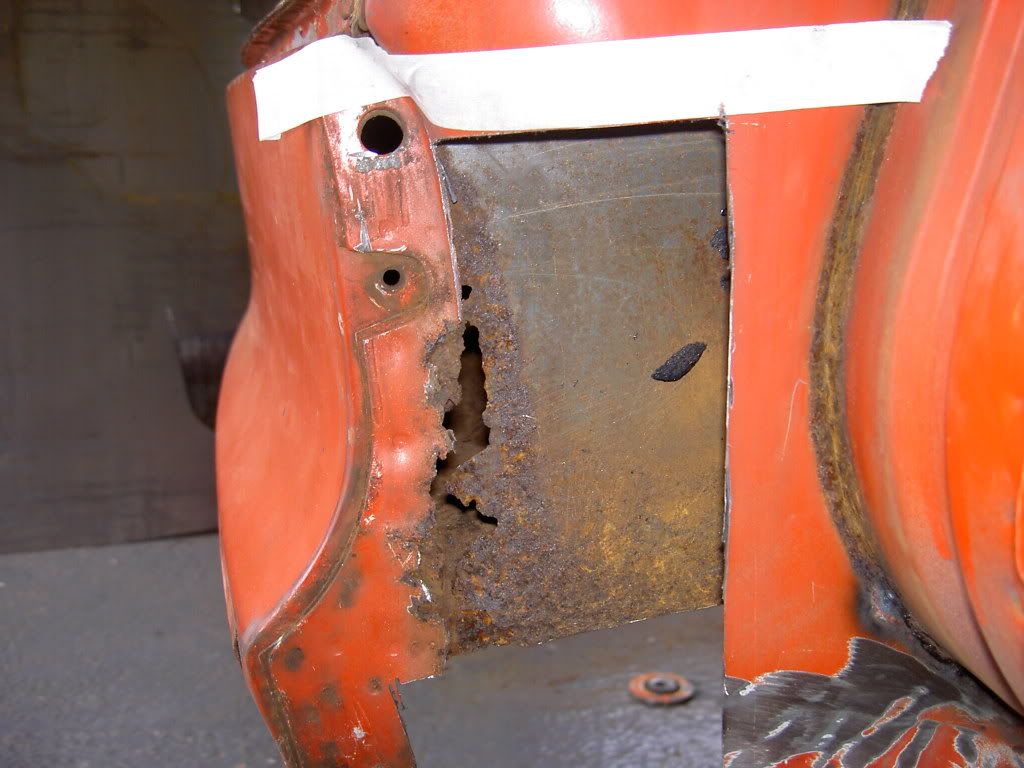
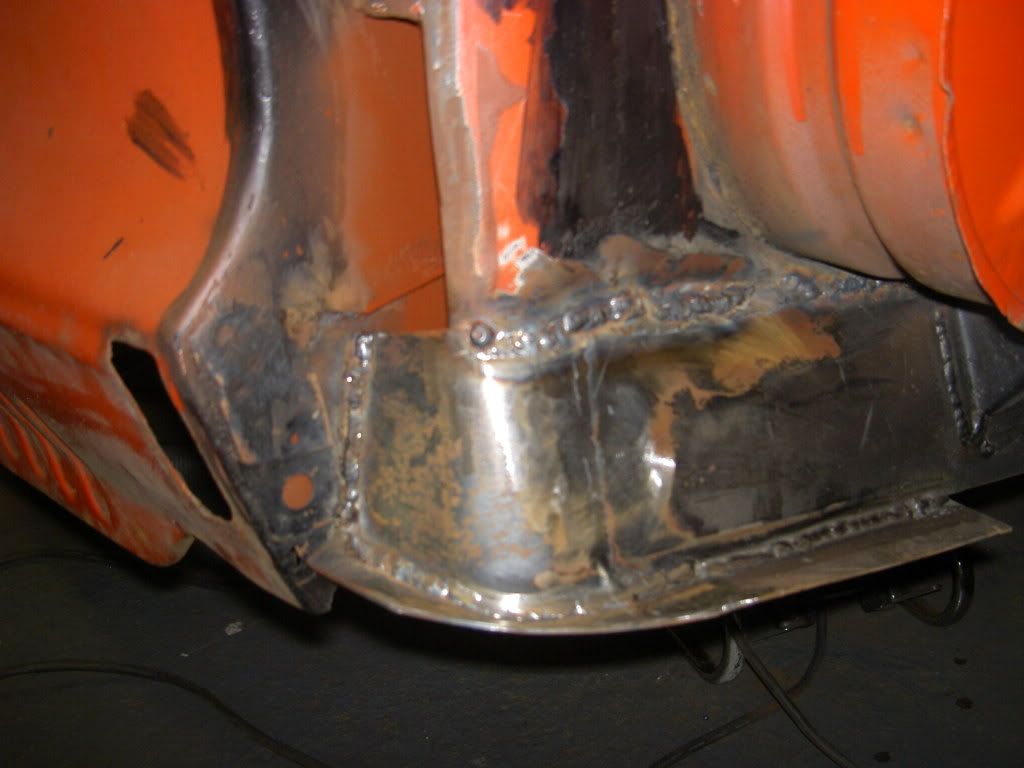
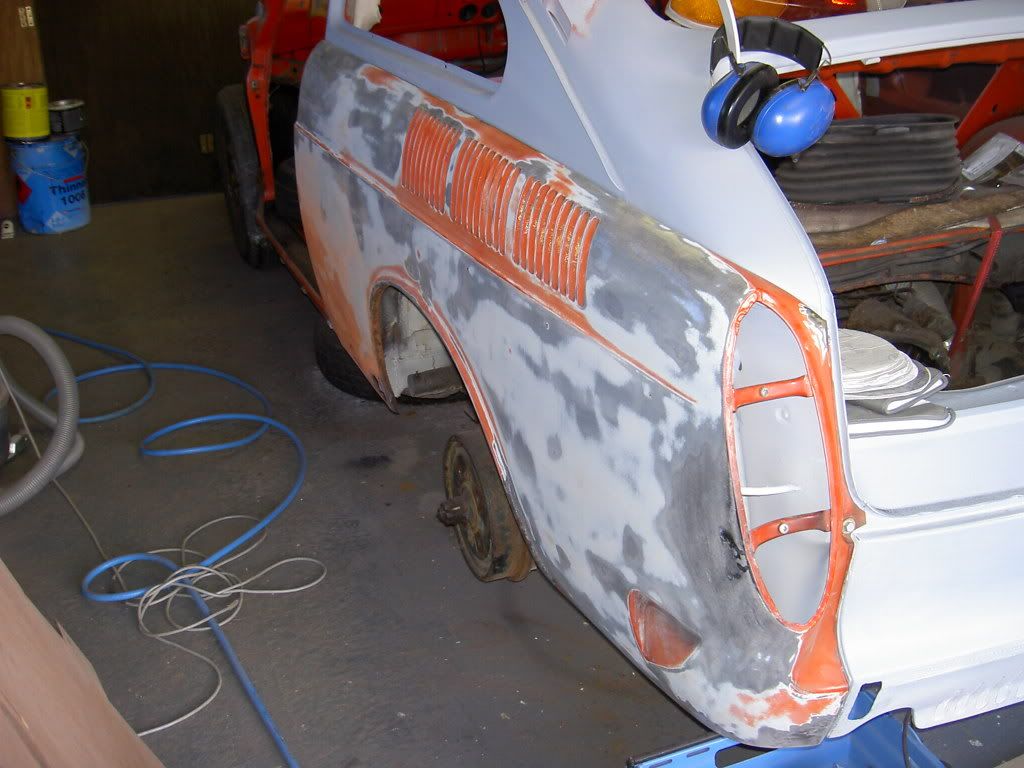
then moved over to drivers side rear air box which at first glance didnt seem as bad....hmmm wrong
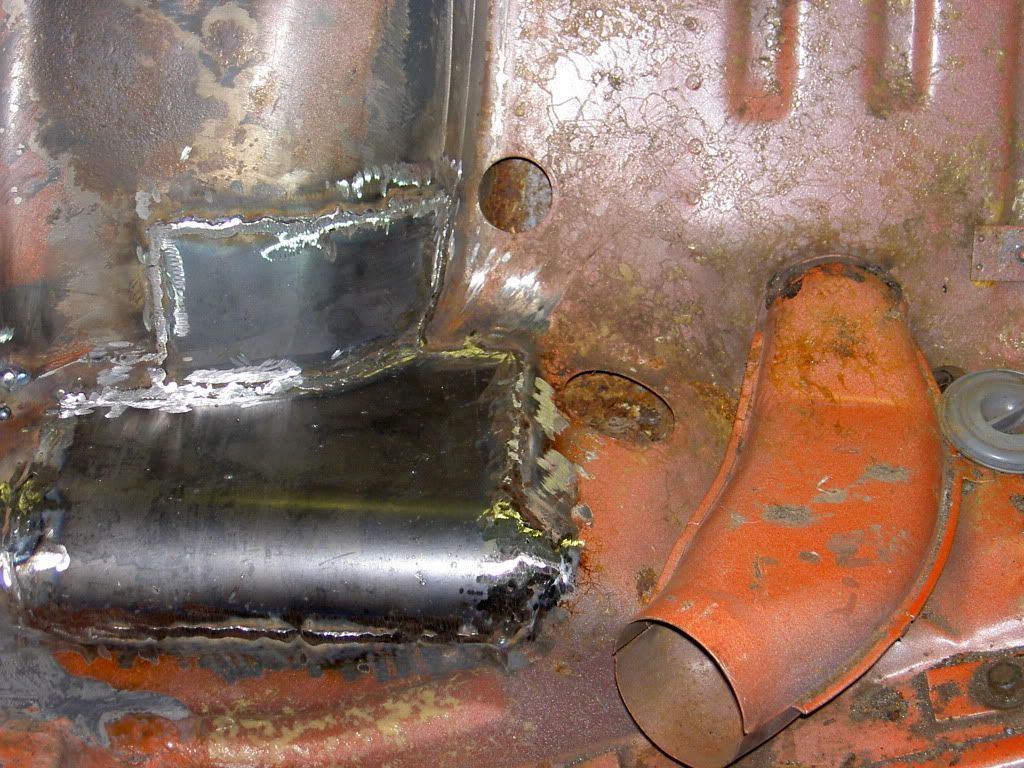
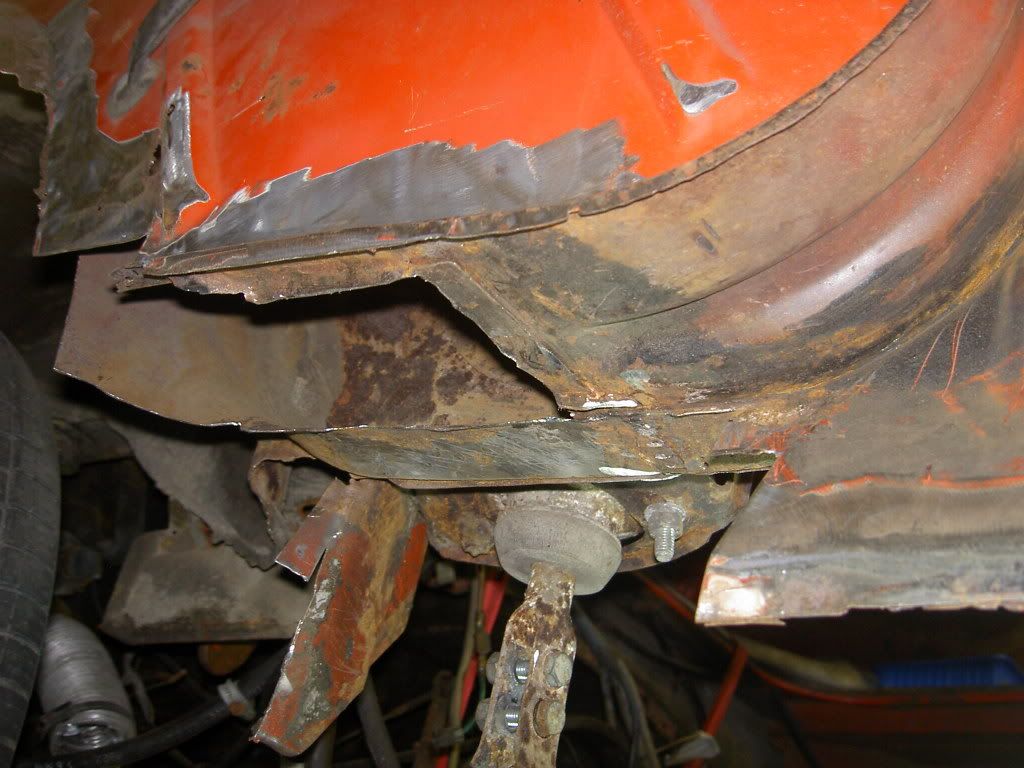
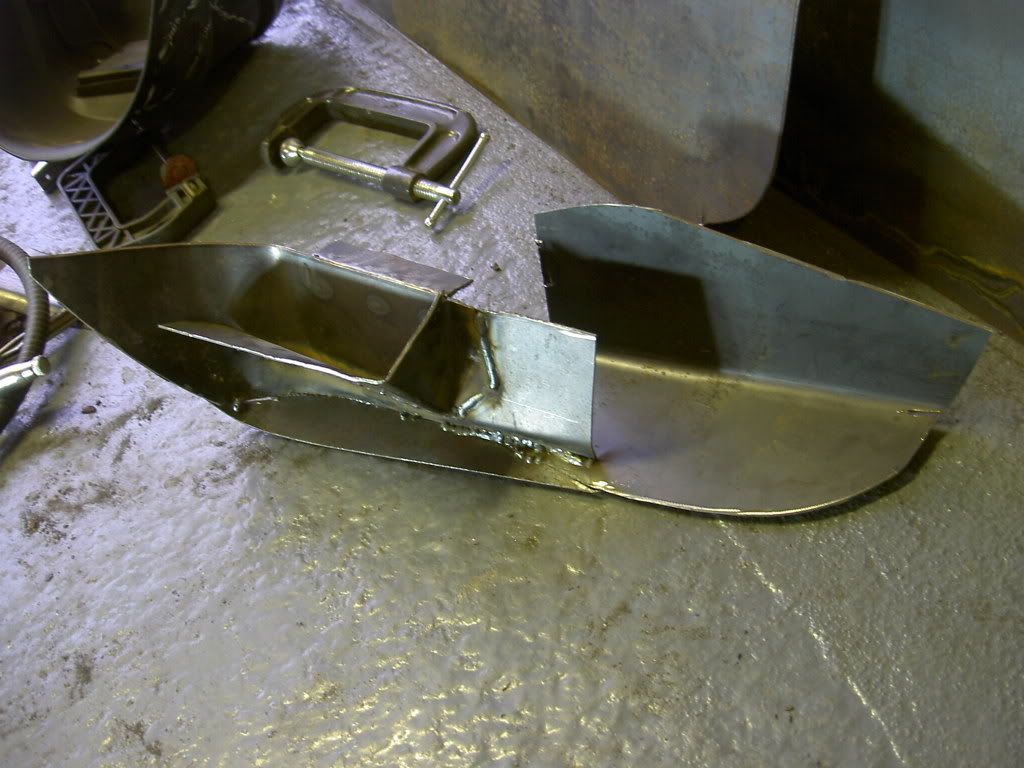
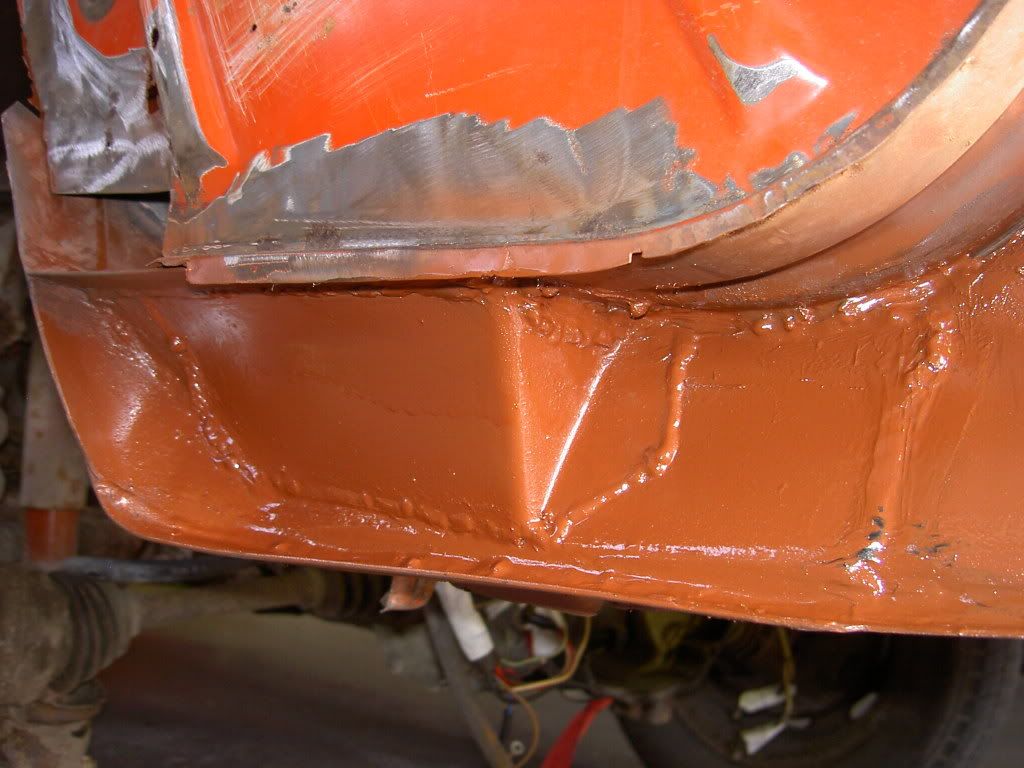
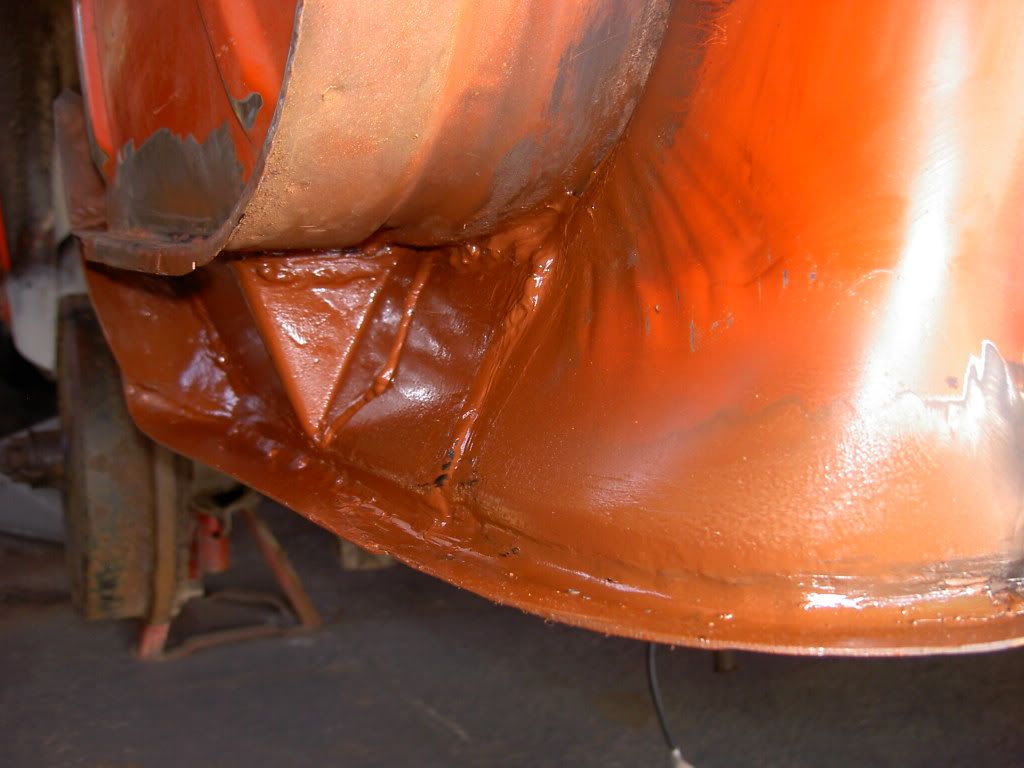
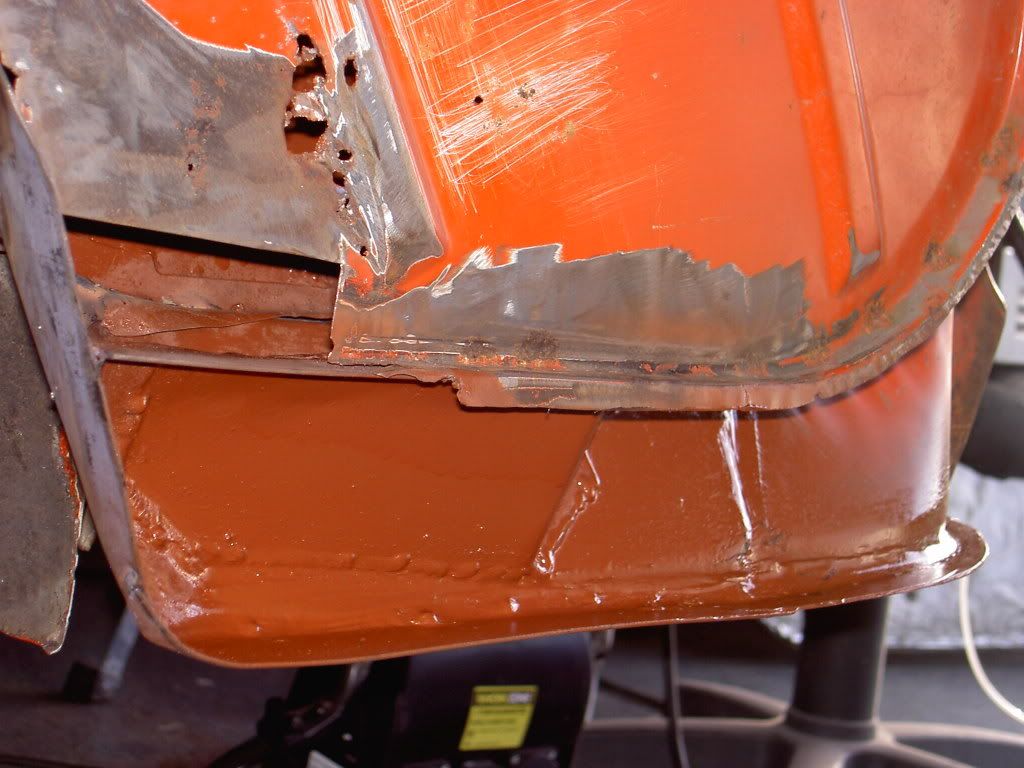
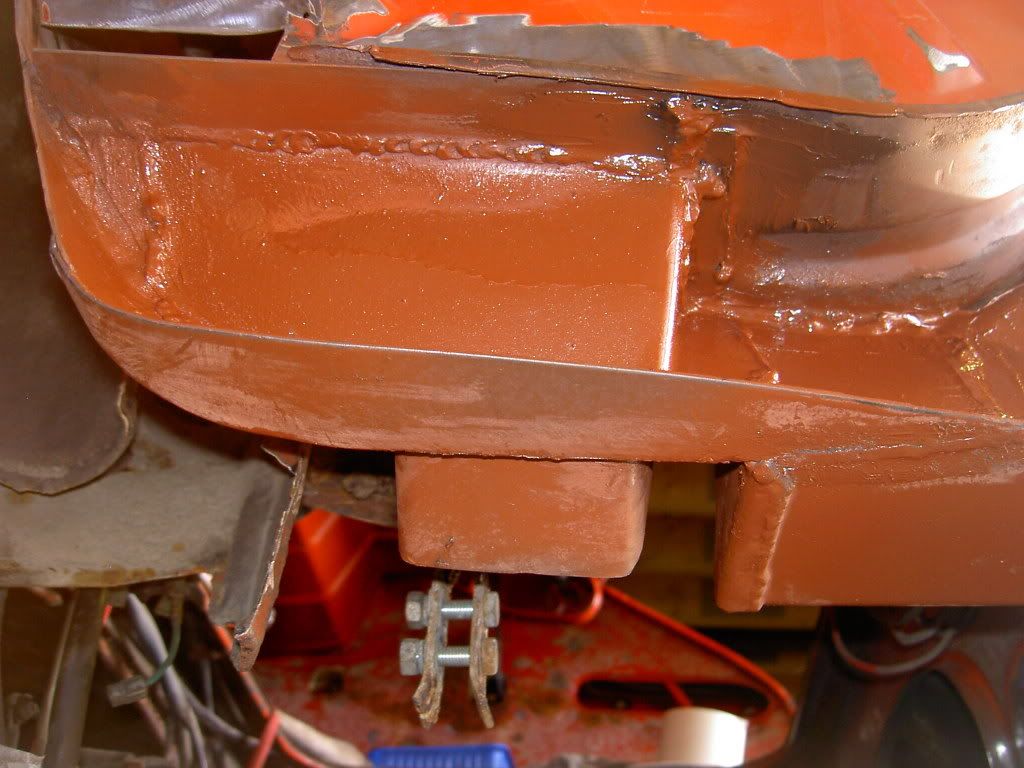
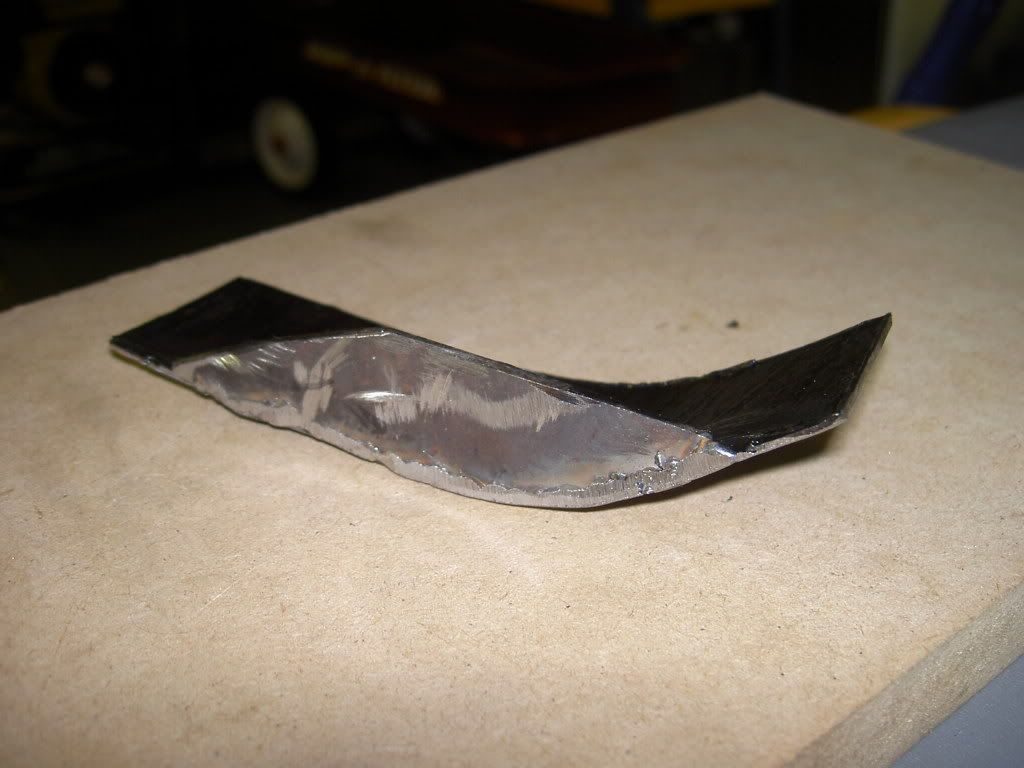
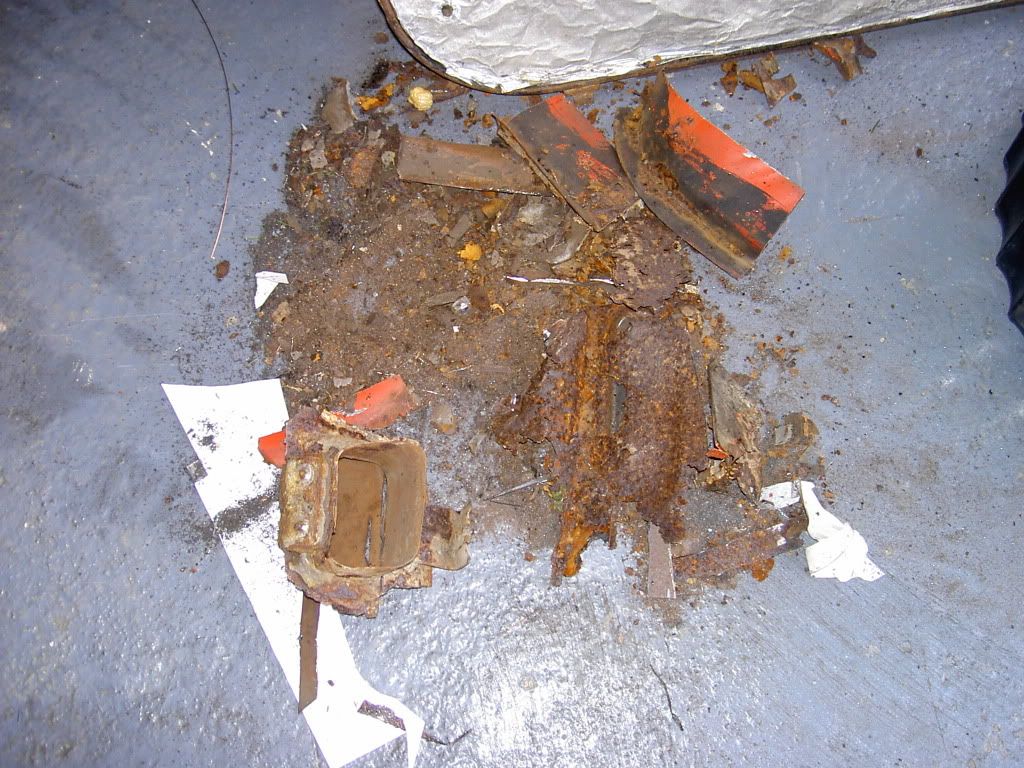
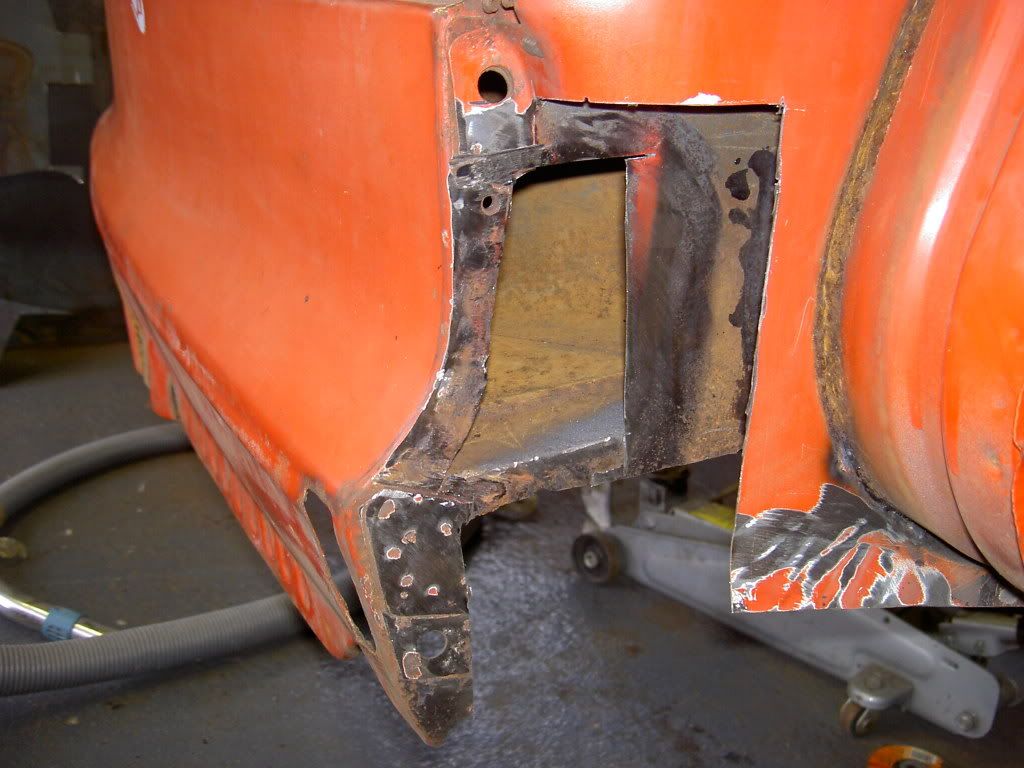
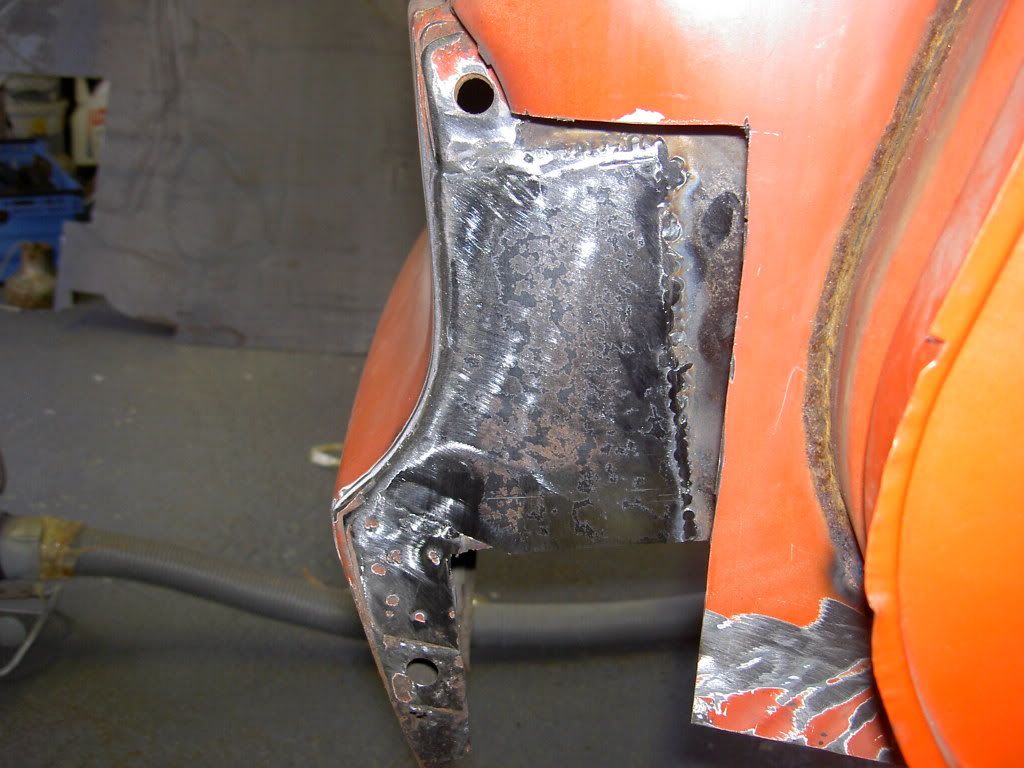
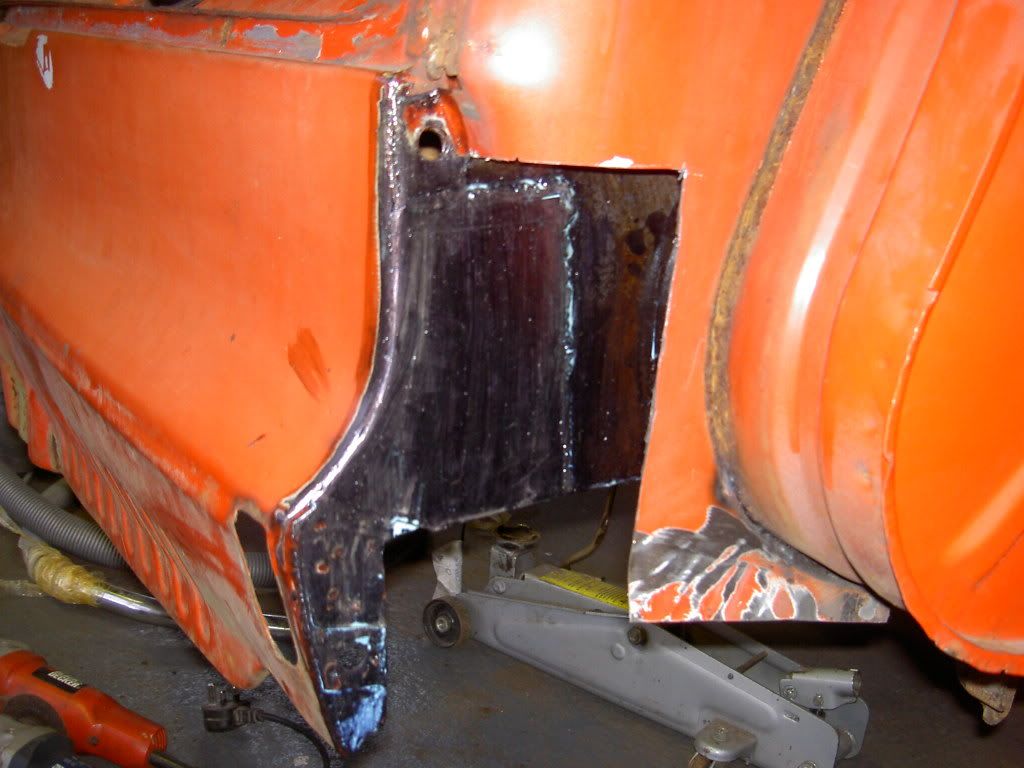
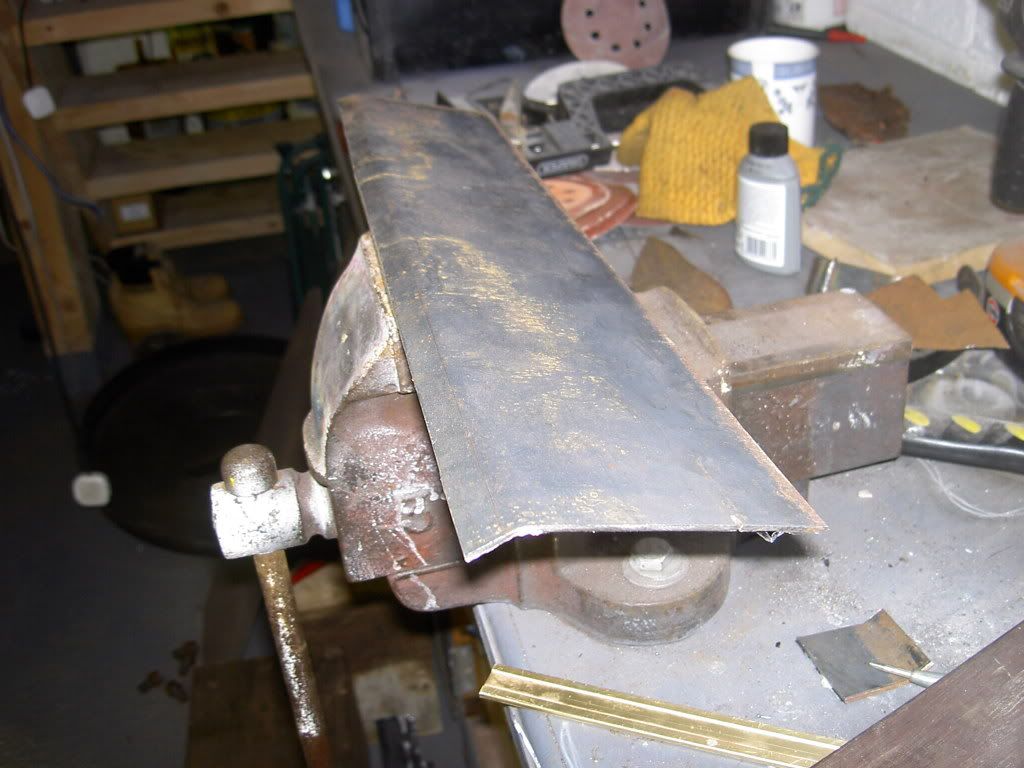
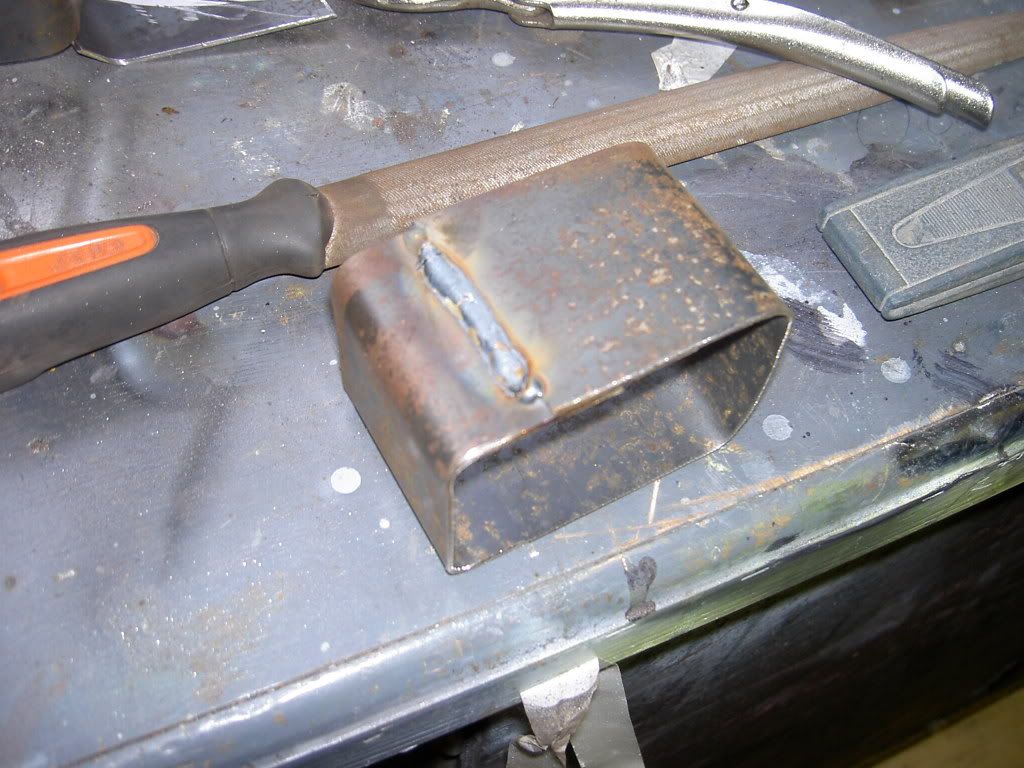
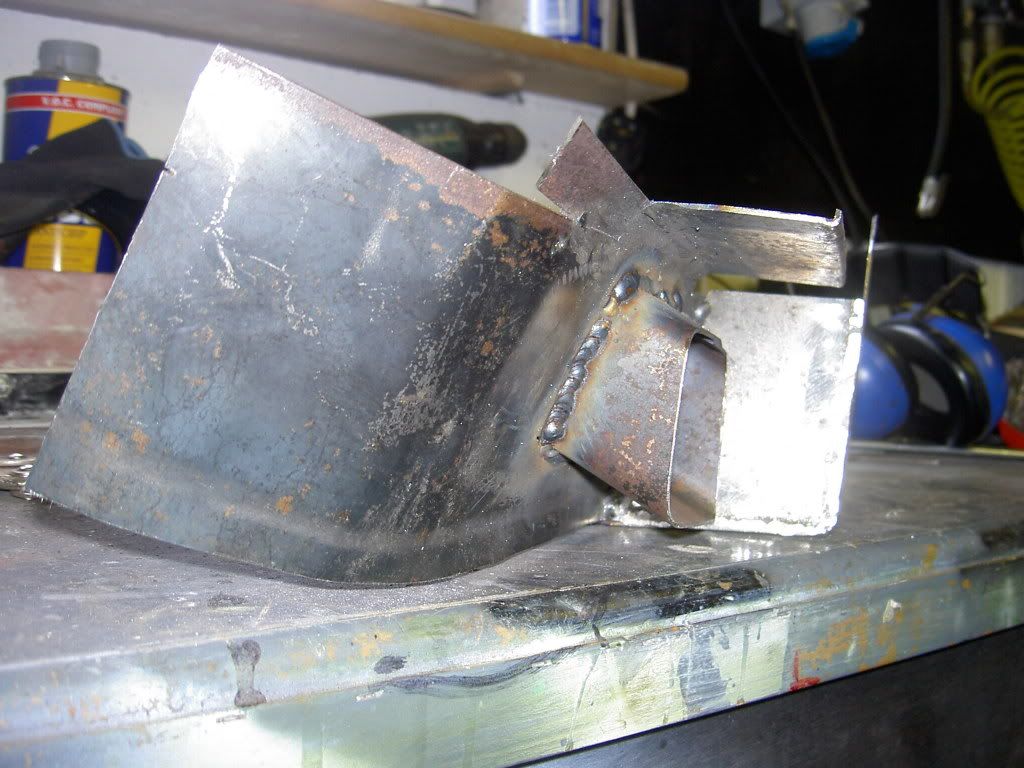
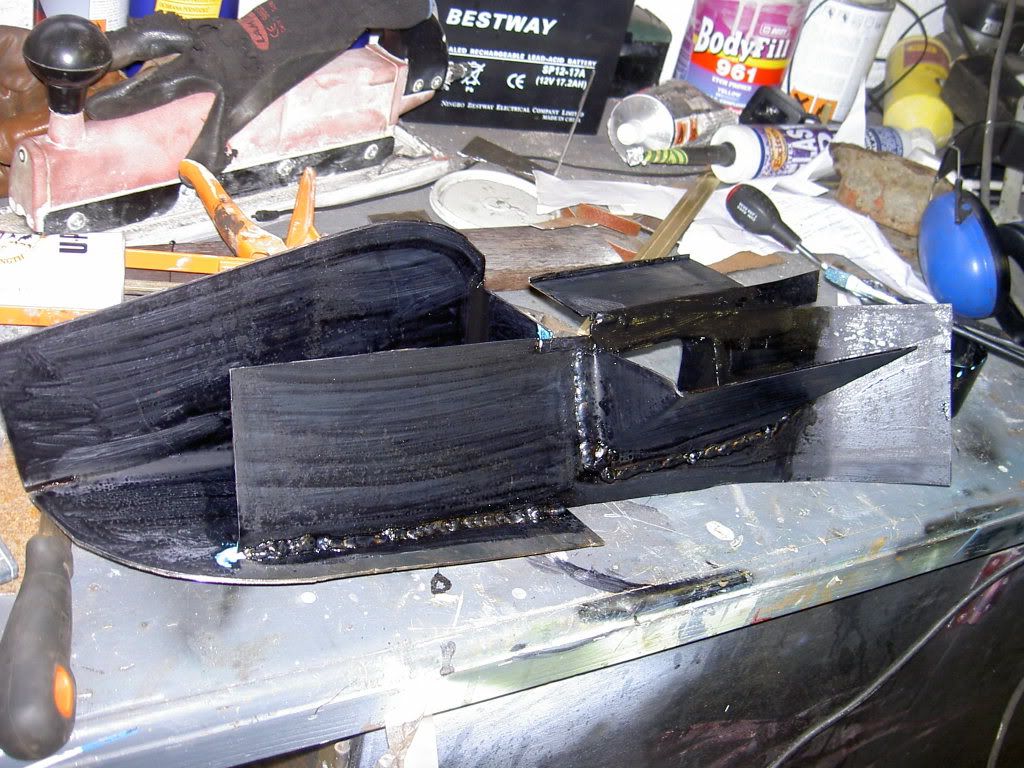
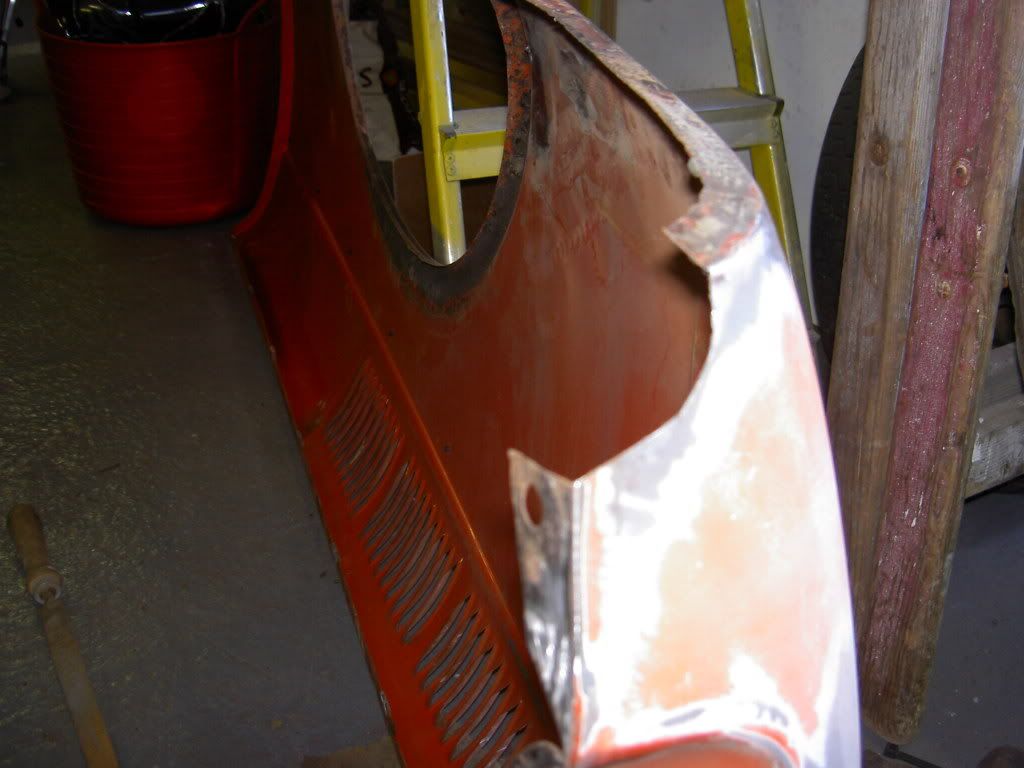
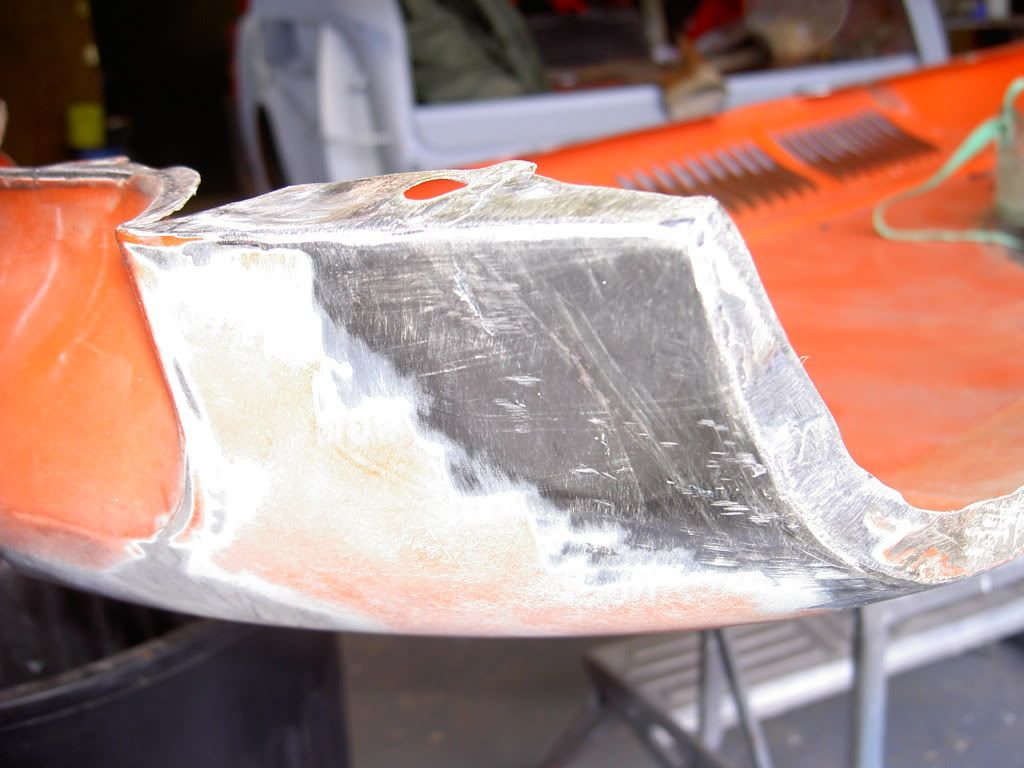
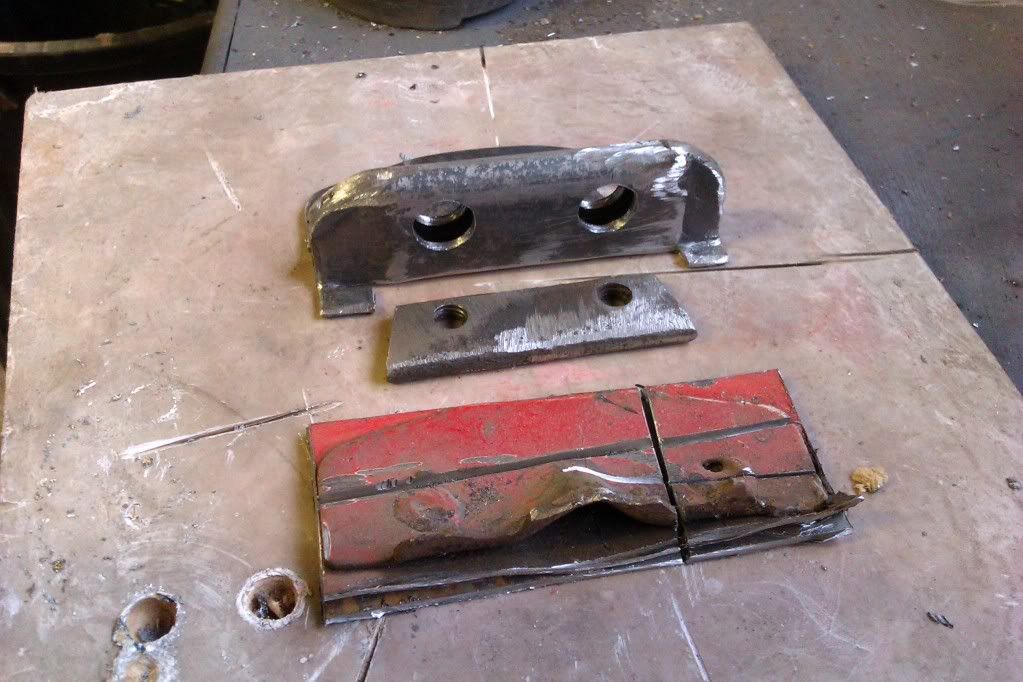
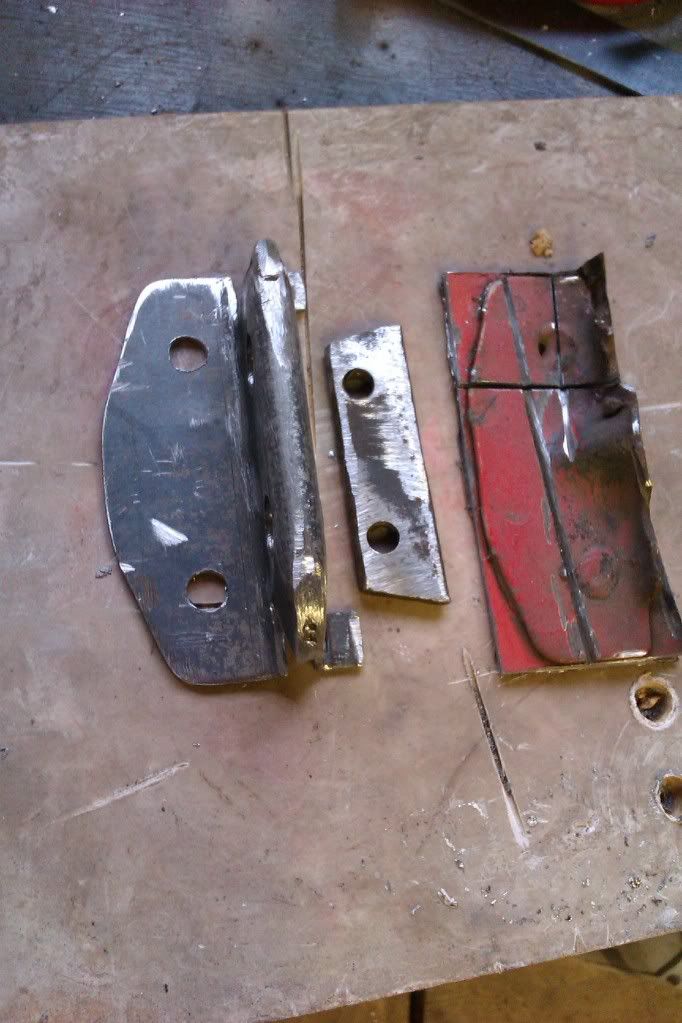
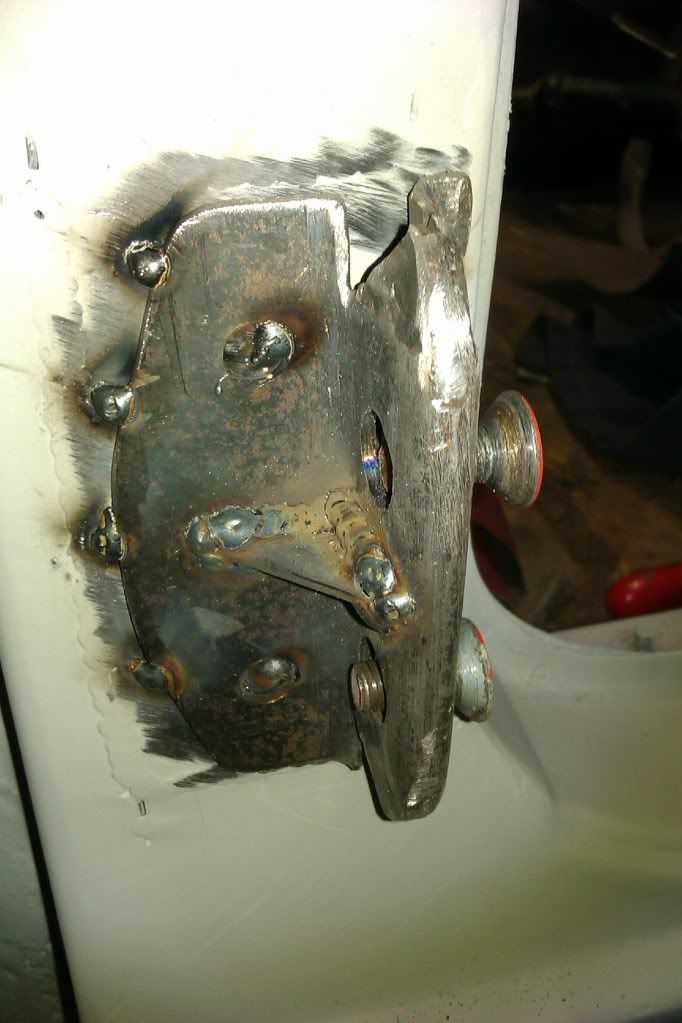
so i started to cut out the rot right back to some decent tin. made up new air box/bumper bracket.
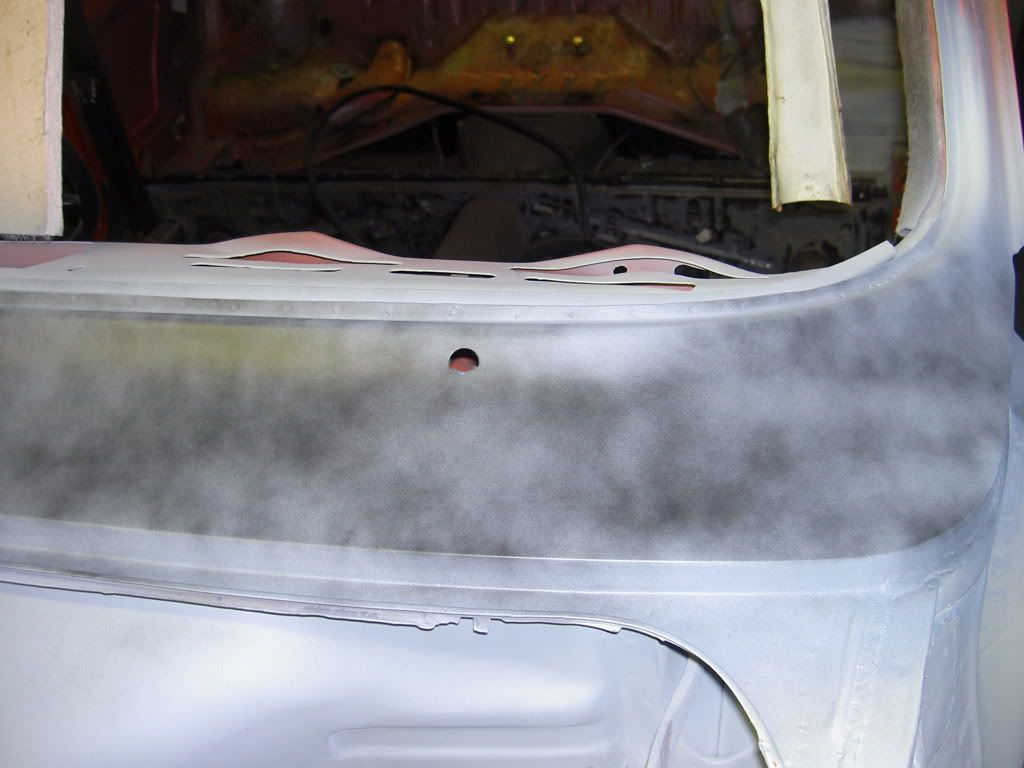
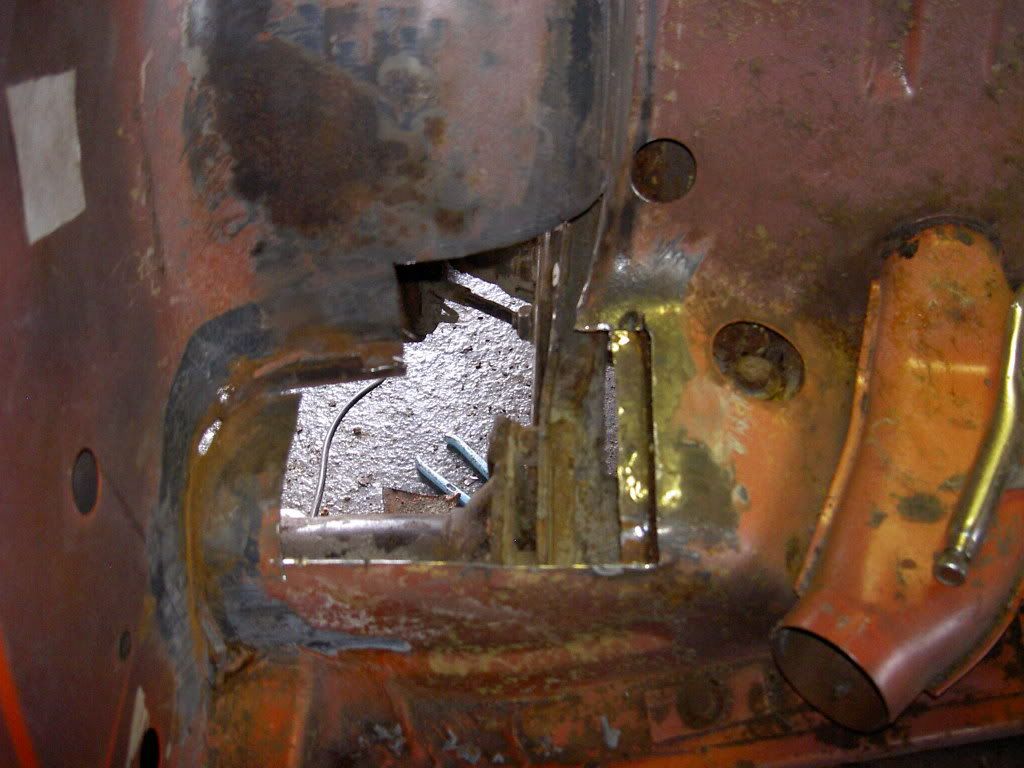
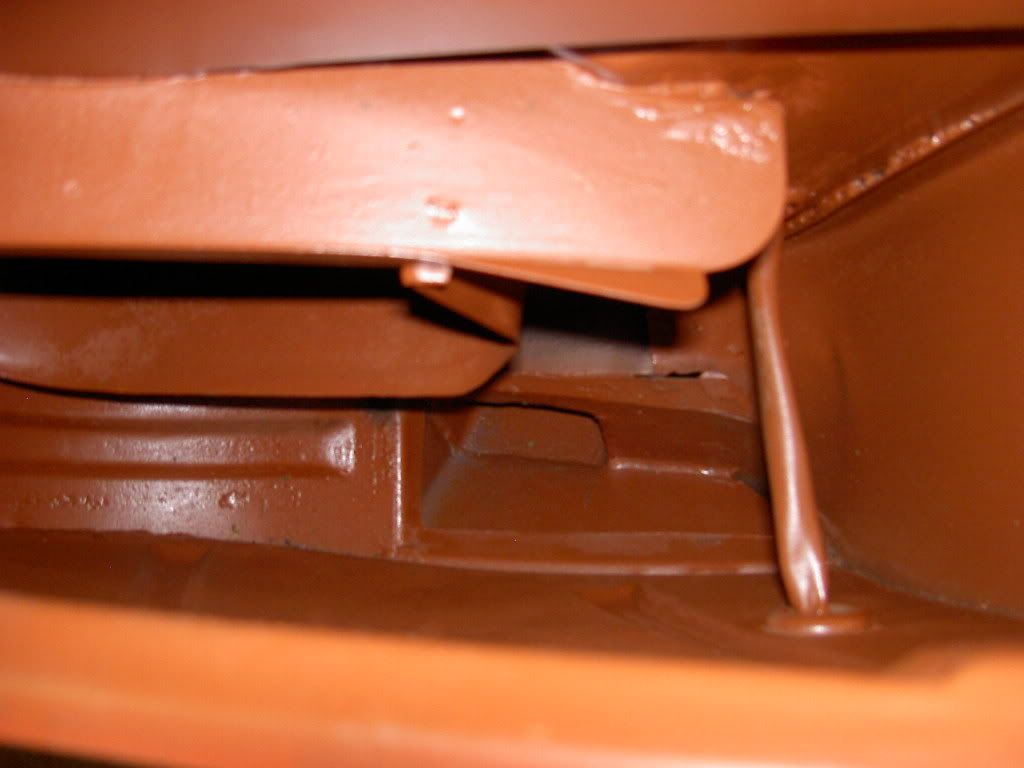
the rust i could feel in the air duct was accessible from the rear of the air box so instead of removing the rear valance i cut a hatch out carefully so i could replace the piece afterwards, with the hatch removed it was straight forward to weld in a patch.
anyway let the pictures tell the story..
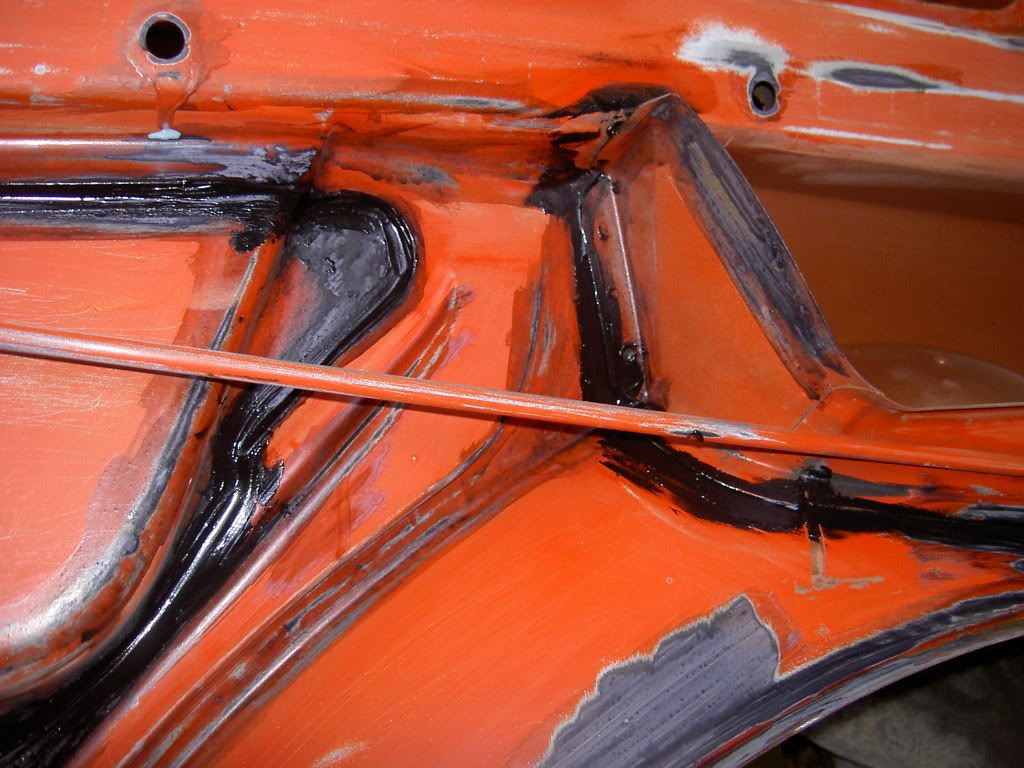
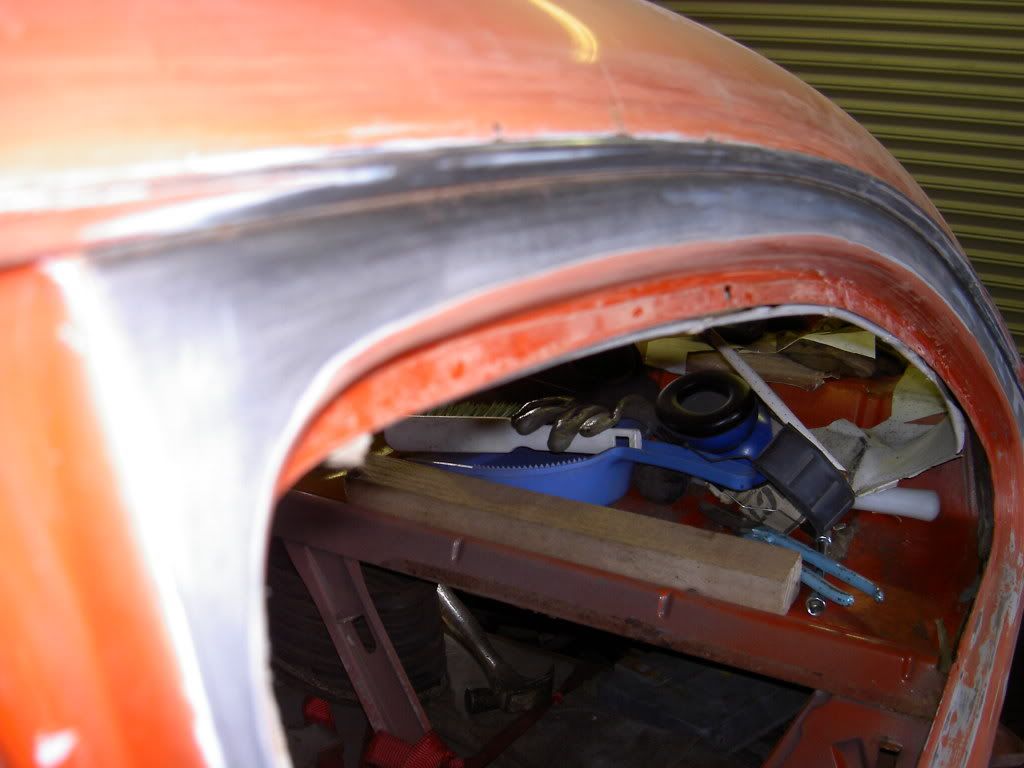

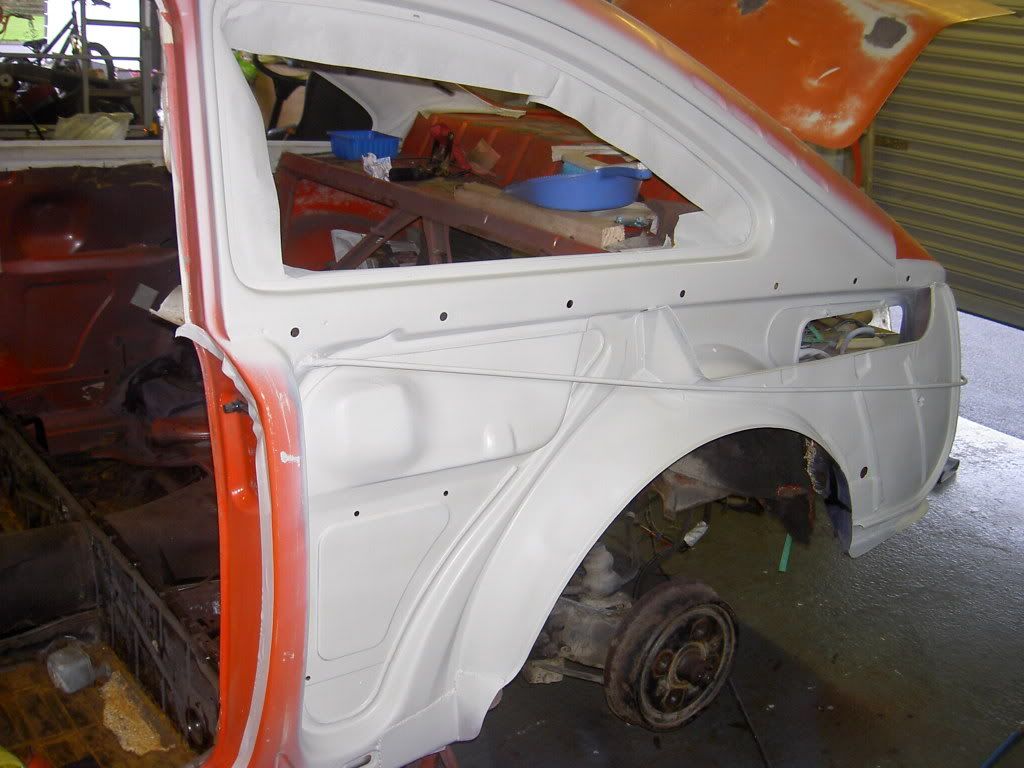


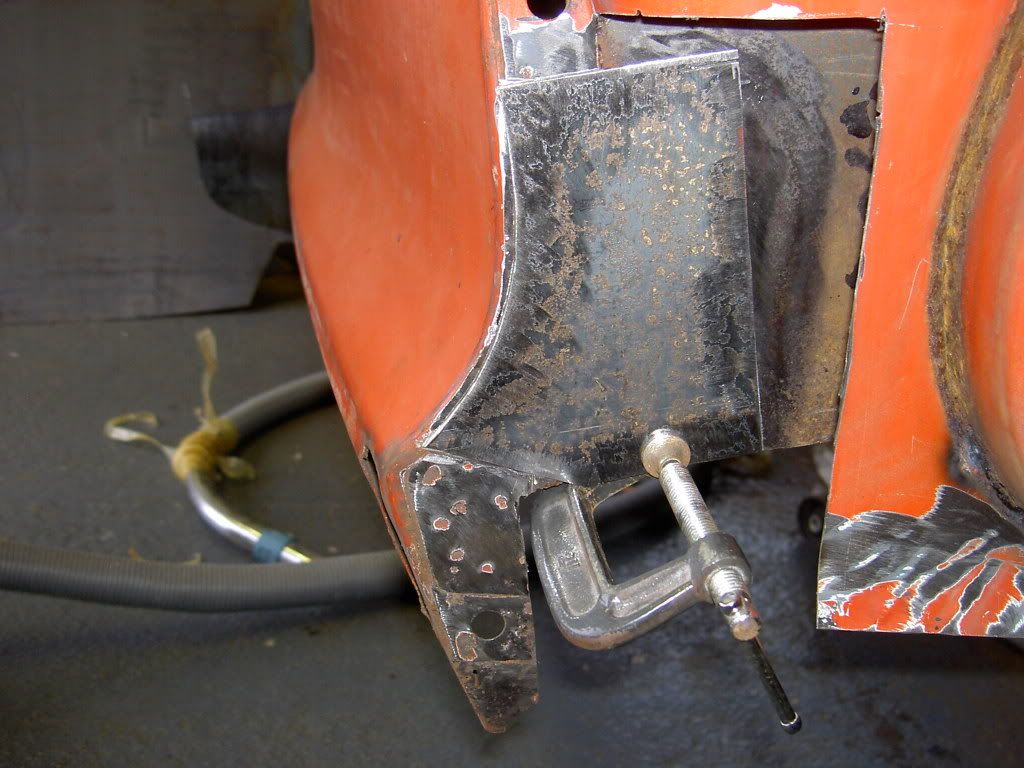
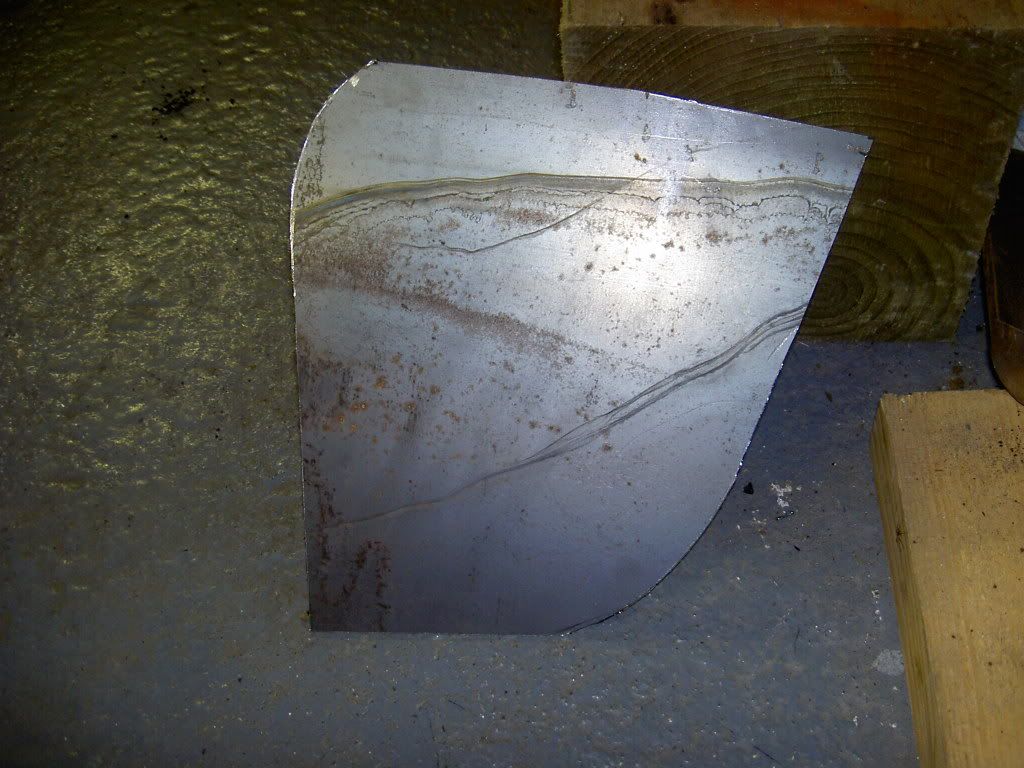
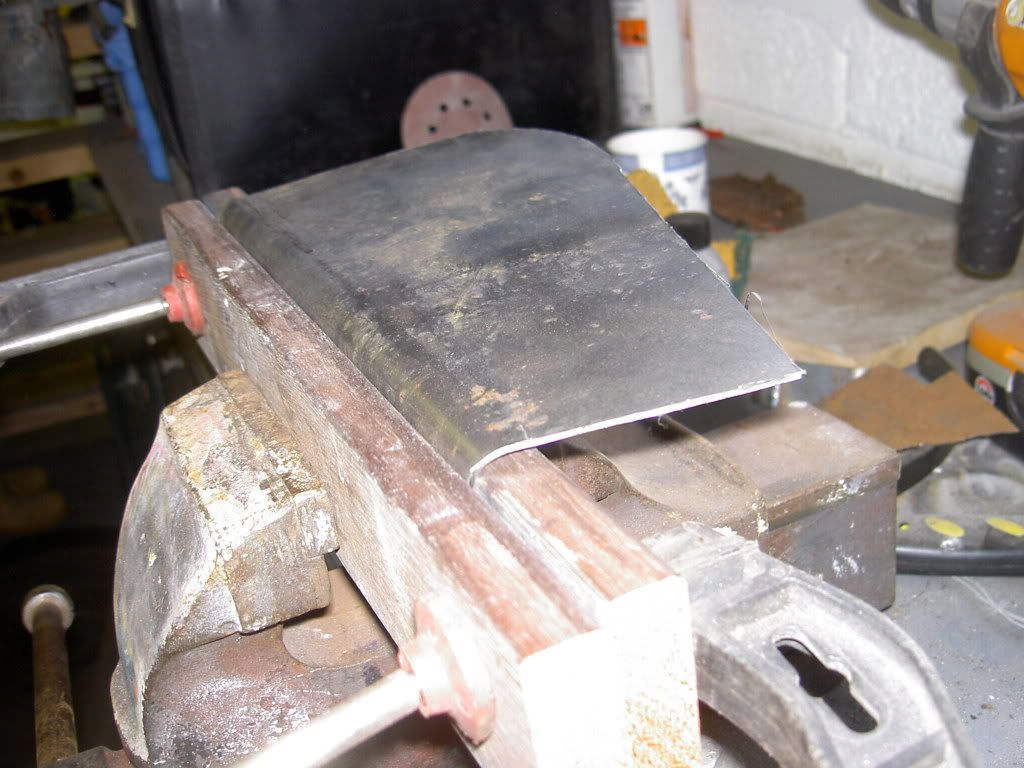
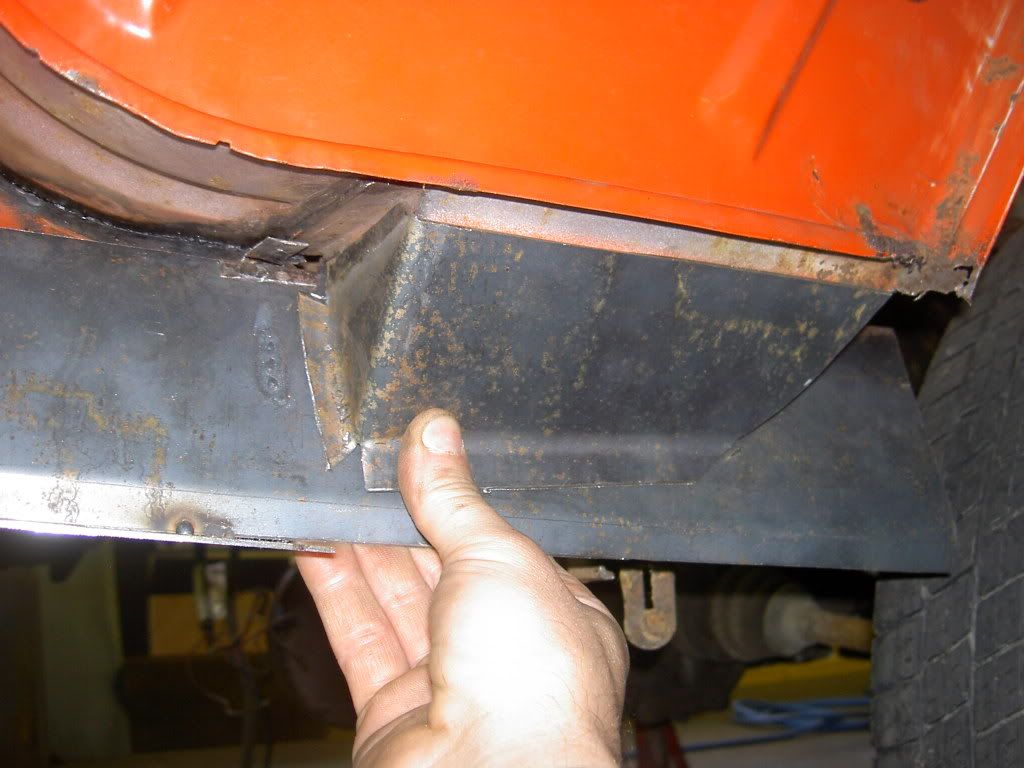

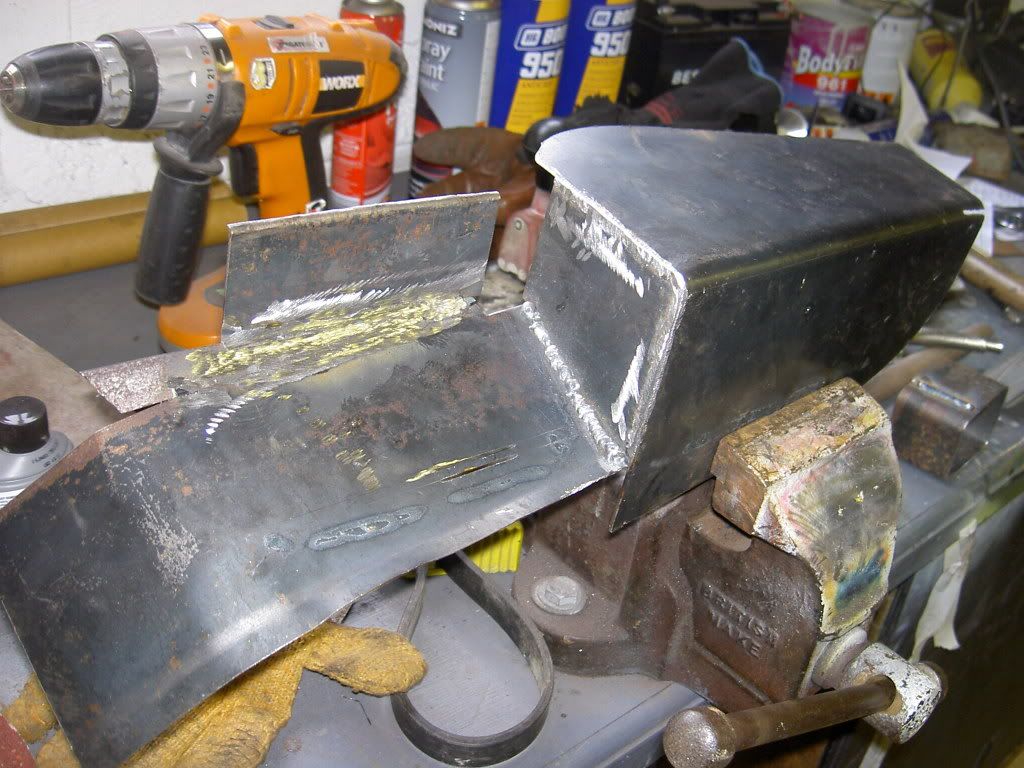
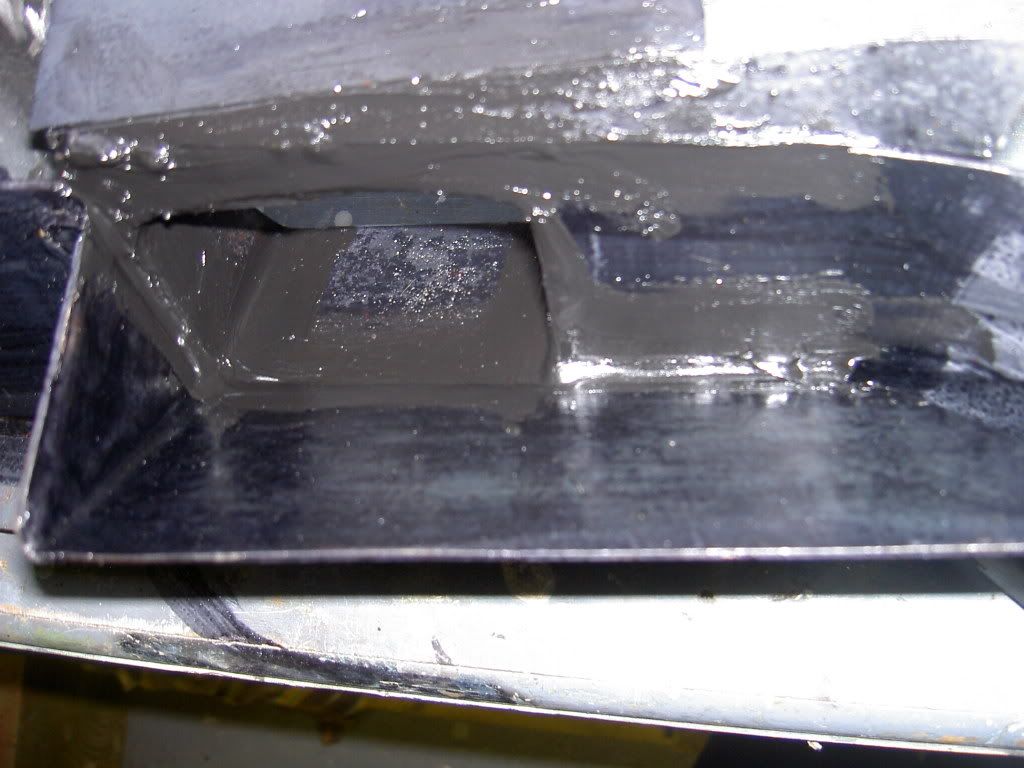
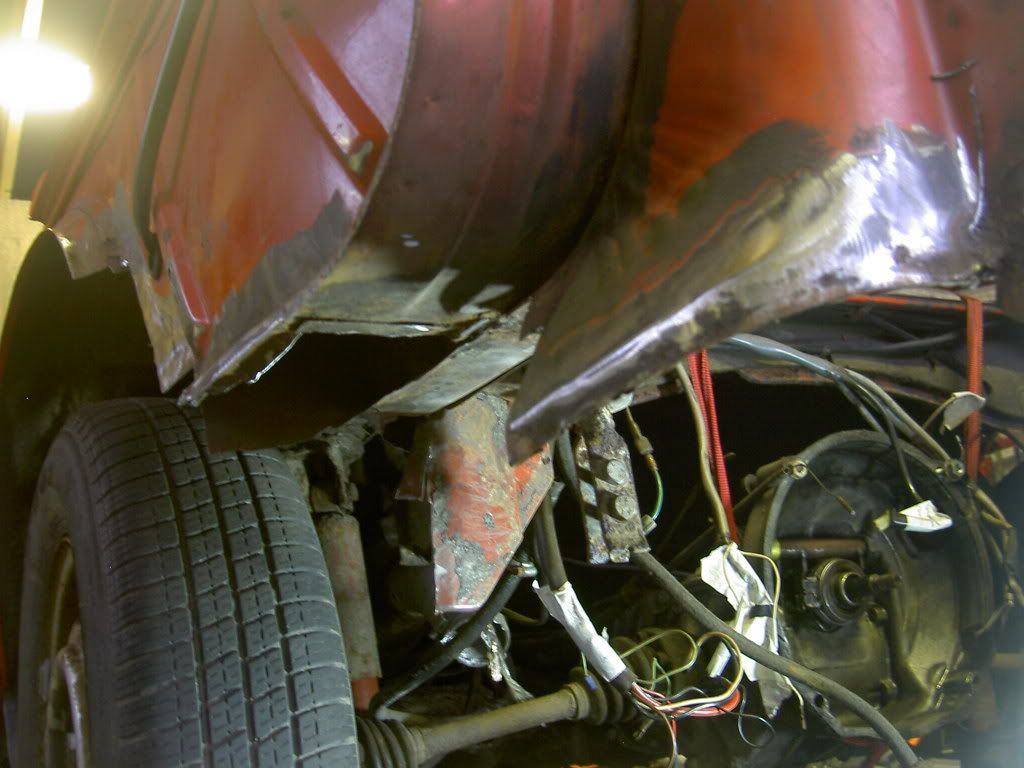
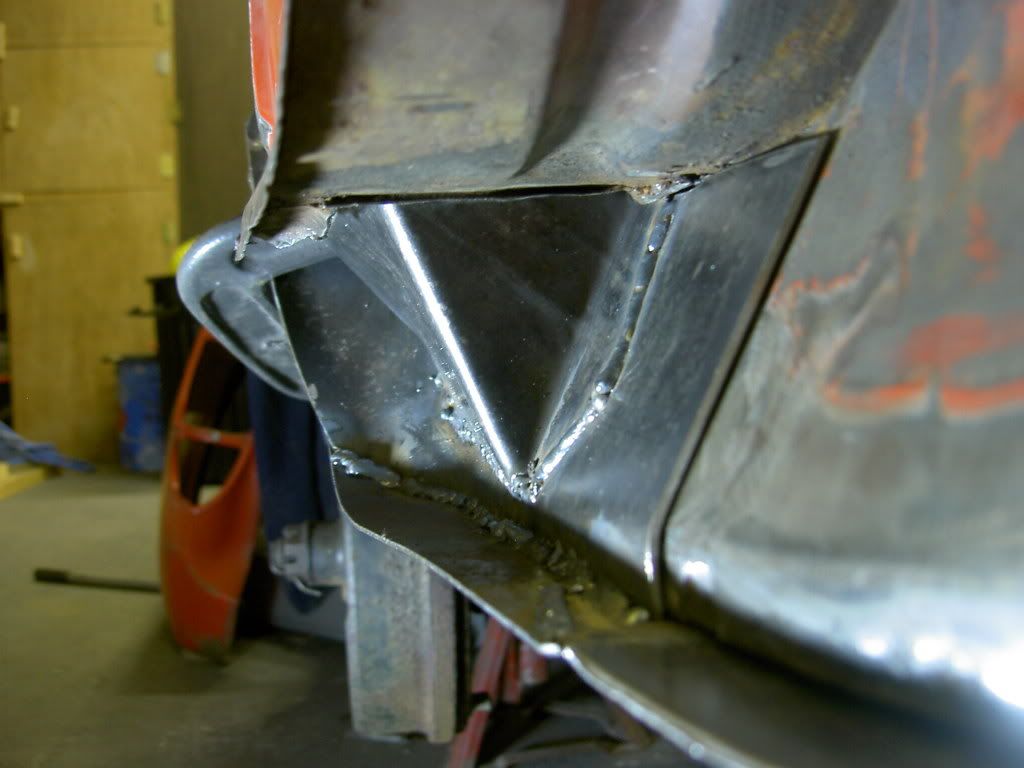
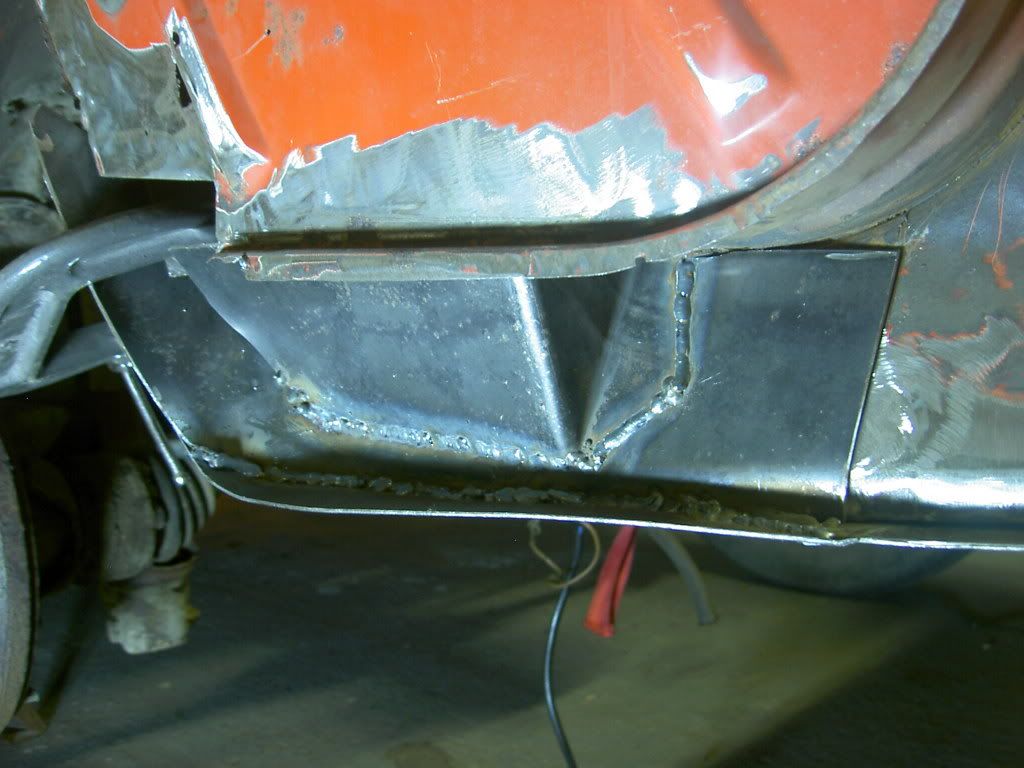
ok maybe to many pics.... got the panel welded on and made up the corner so nearly there with this side..
got offside rear air box complete, all sealant removed from rear quarter panel rust treated re-sealed and put into primer.
then moved over to drivers side rear air box which at first glance didnt seem as bad....hmmm wrong
so i started to cut out the rot right back to some decent tin. made up new air box/bumper bracket.
the rust i could feel in the air duct was accessible from the rear of the air box so instead of removing the rear valance i cut a hatch out carefully so i could replace the piece afterwards, with the hatch removed it was straight forward to weld in a patch.
anyway let the pictures tell the story..
ok maybe to many pics.... got the panel welded on and made up the corner so nearly there with this side..
You Love It.!!!
Re: orange fastback
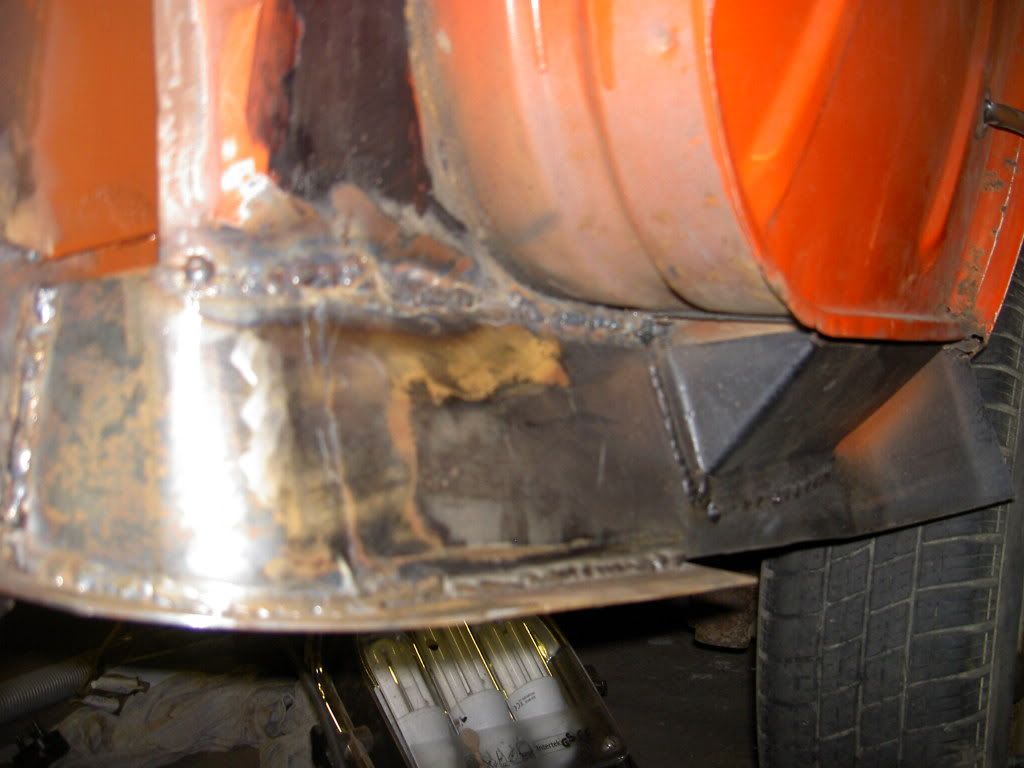
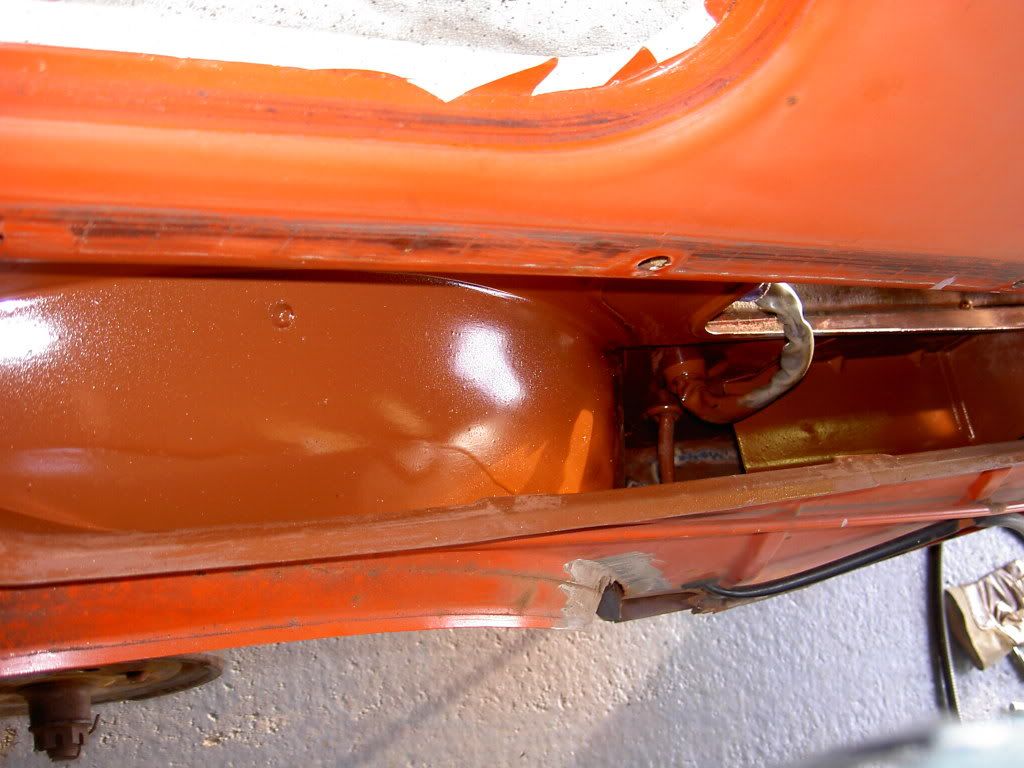
i also got a good coat of red oxide into the air tunnel leading to the engine inlet...
You Love It.!!!
Re: orange fastback
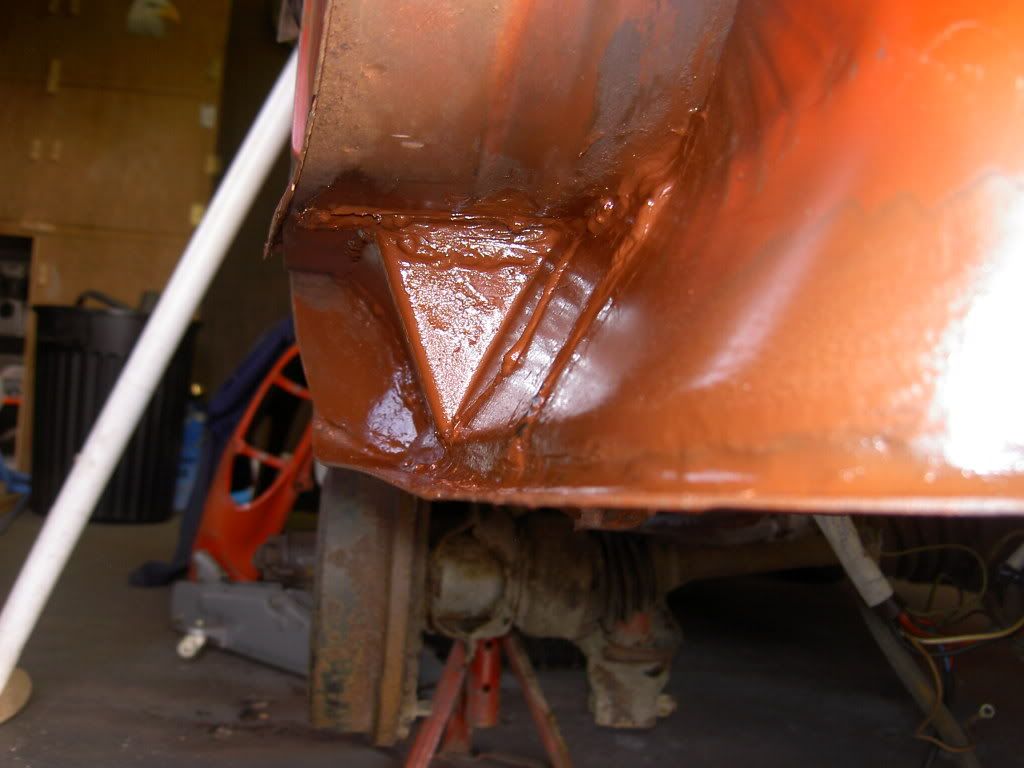
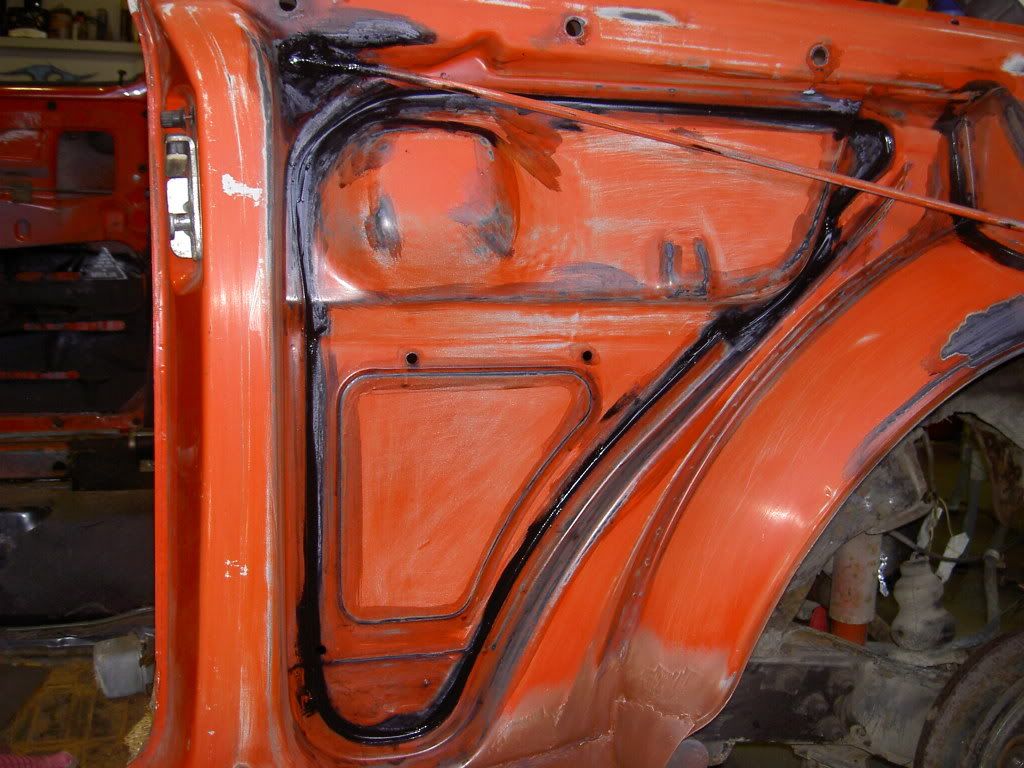
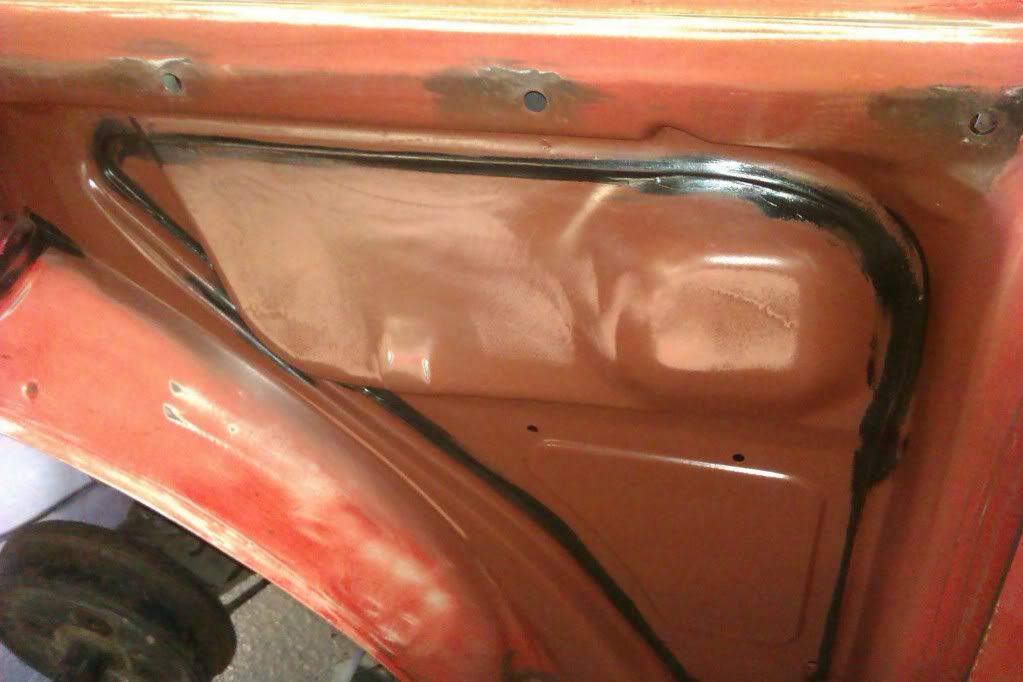
just an update. second corner finished rust treated, sealant chipped out and replaced and all primed up.
then spent 2 hours sitting in the engine well with a heat gun and various tools to remove the old underseal from the rear valance area.

then spent 2 hours sitting in the engine well with a heat gun and various tools to remove the old underseal from the rear valance area.
You Love It.!!!
Re: orange fastback
Superb work, keep at it and keep updating us! 
Re: orange fastback
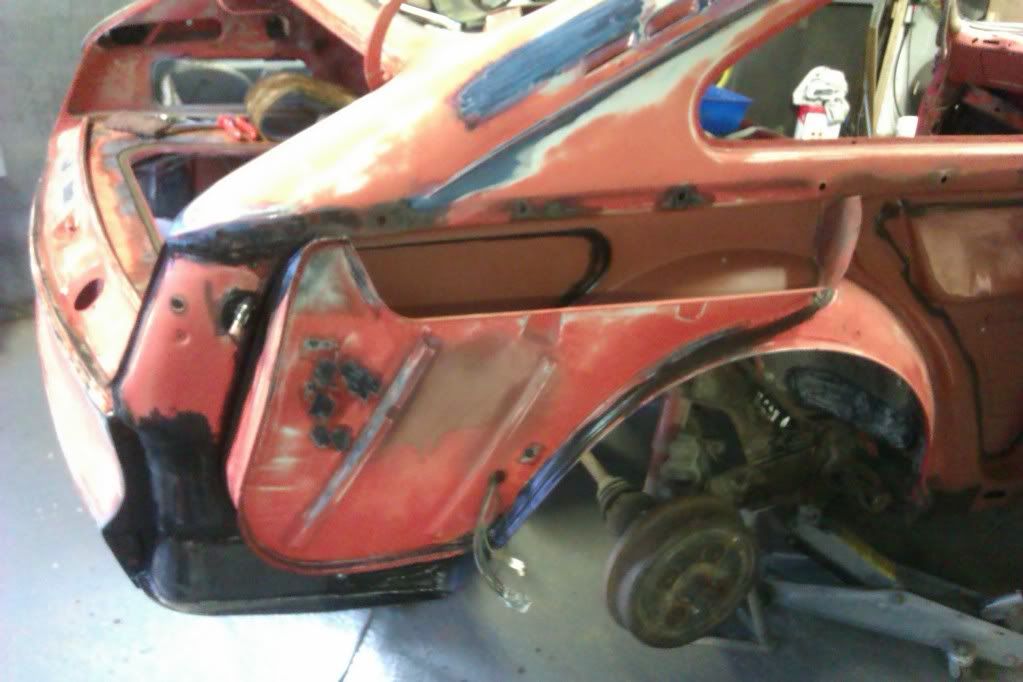
ok been busy in the run up to christmas with work. but have been doing a bit on the ol girl.
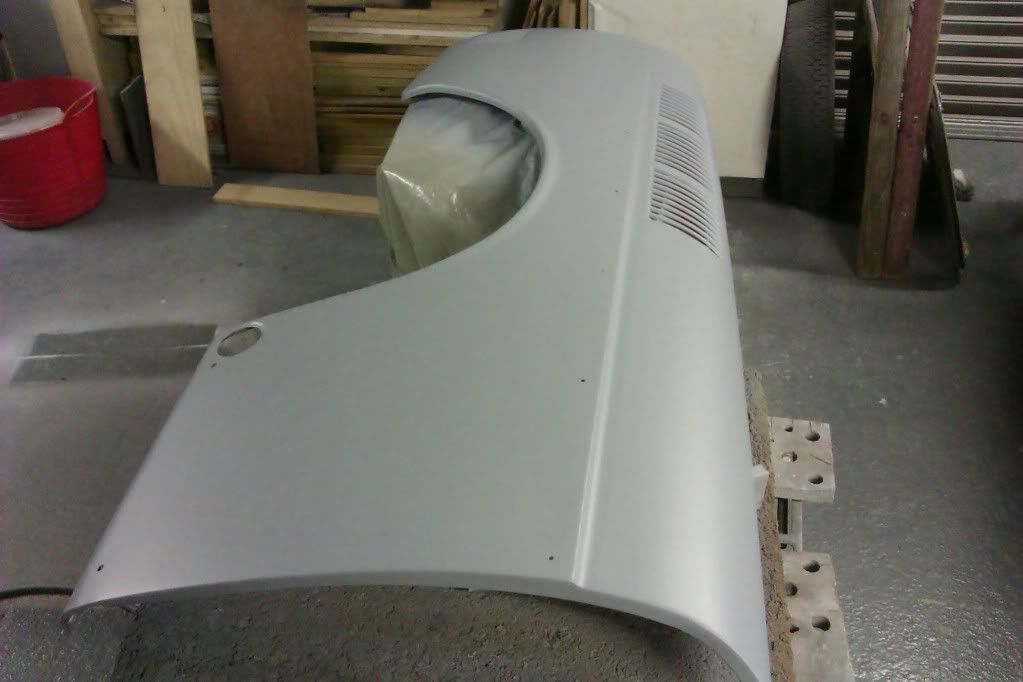
a fair bit of work to do on this wing

a bad corner......
thats better.....
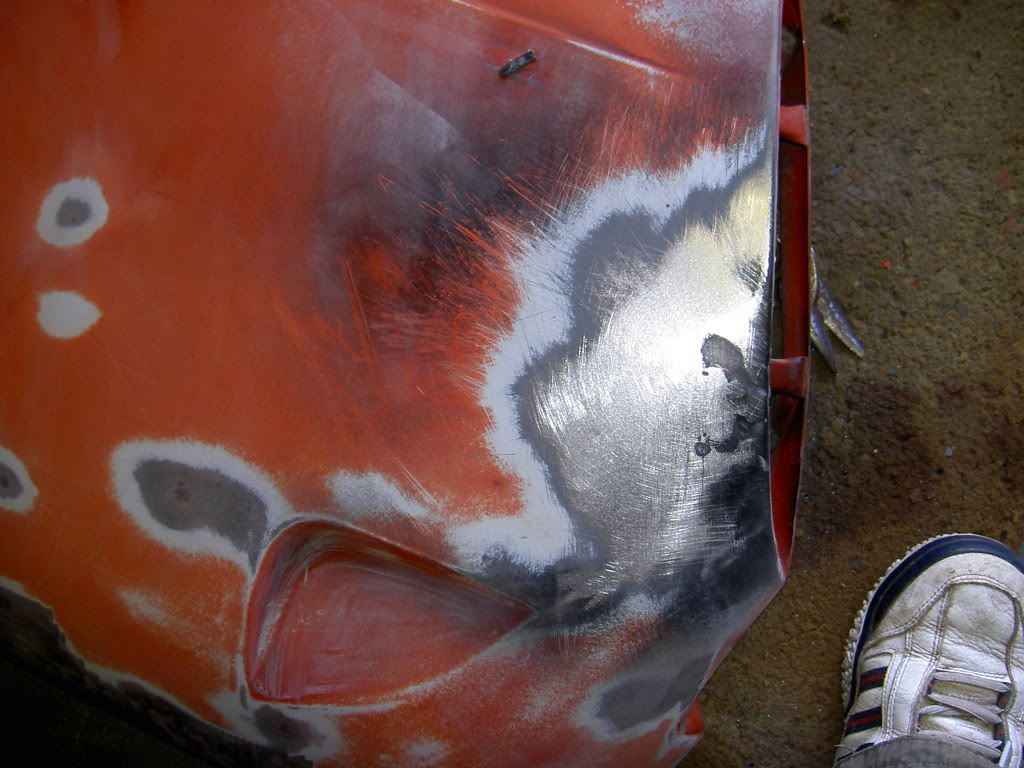
rear damage sorted and shrunk back to shape.
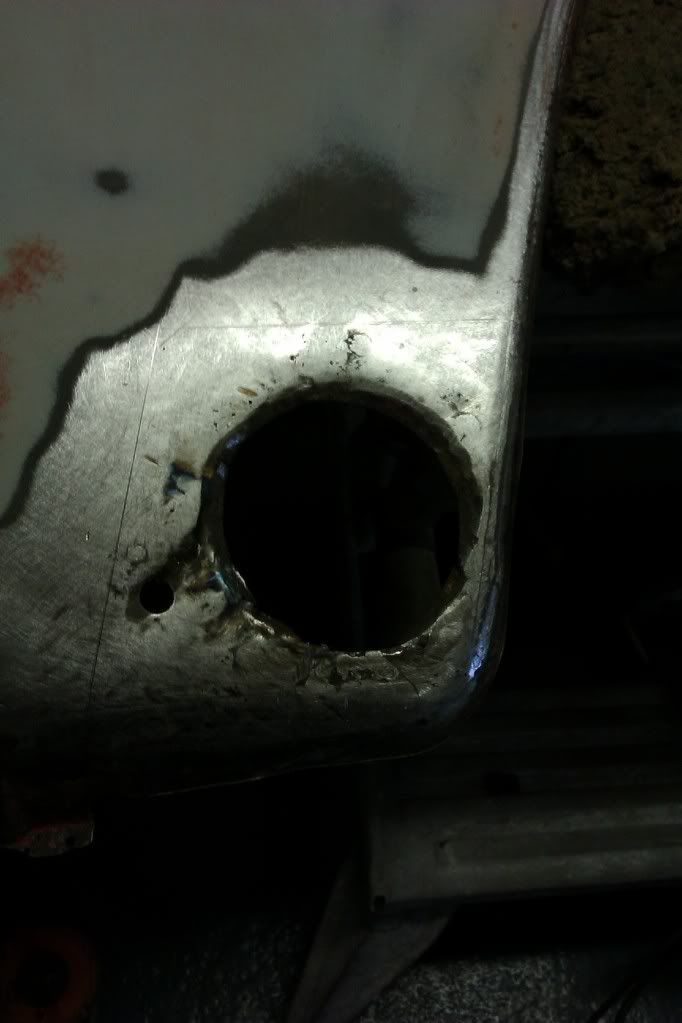
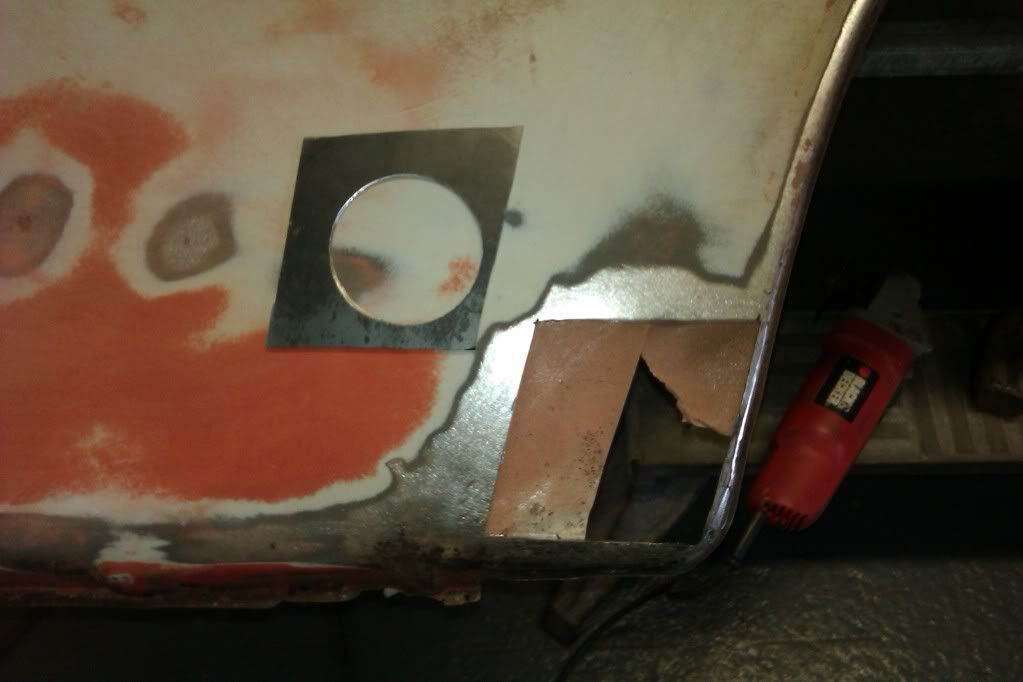
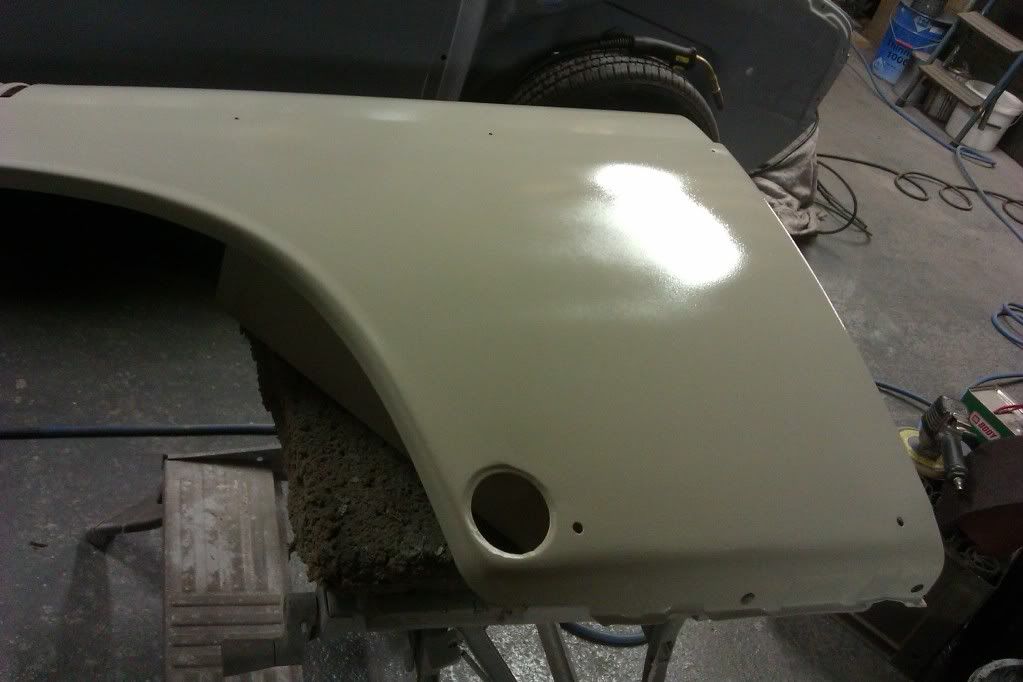
inspection hole not in great shape so cut out and mocked up a new piece.
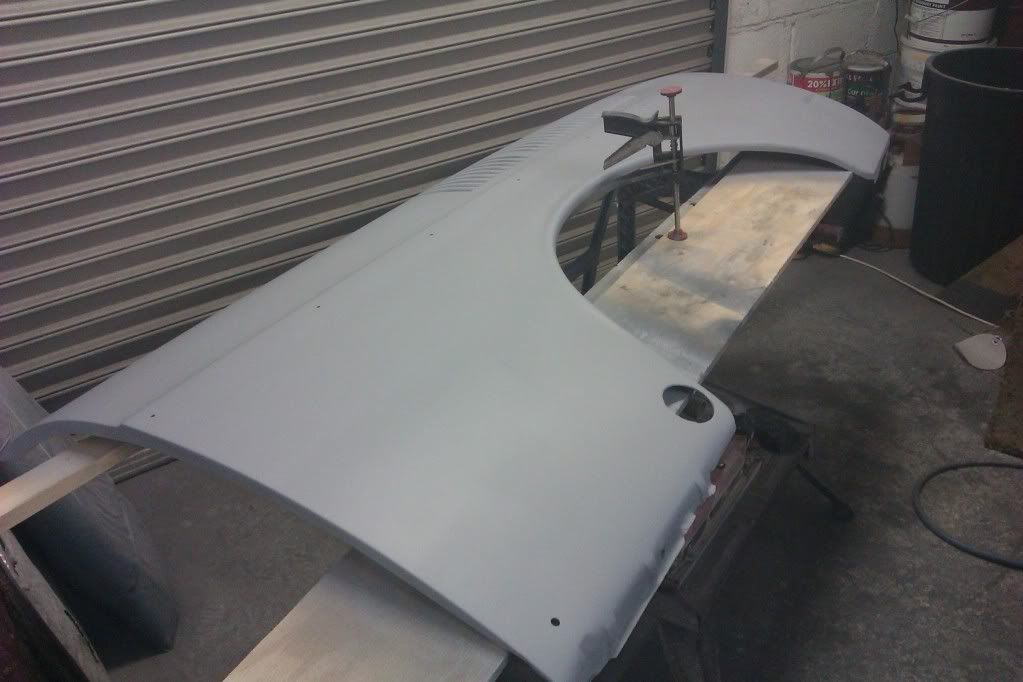
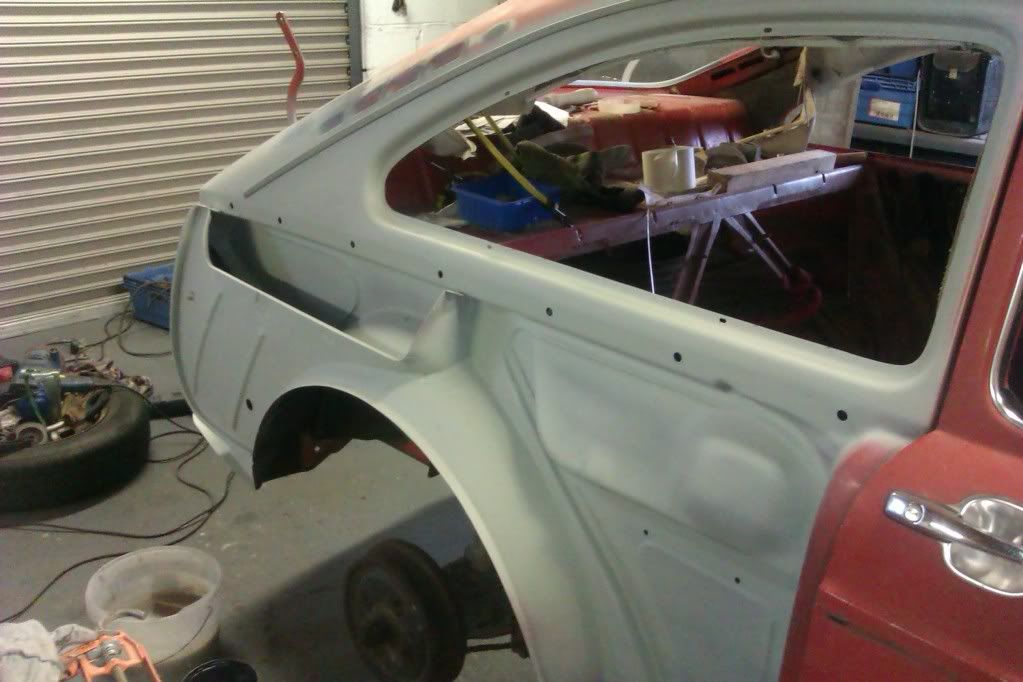
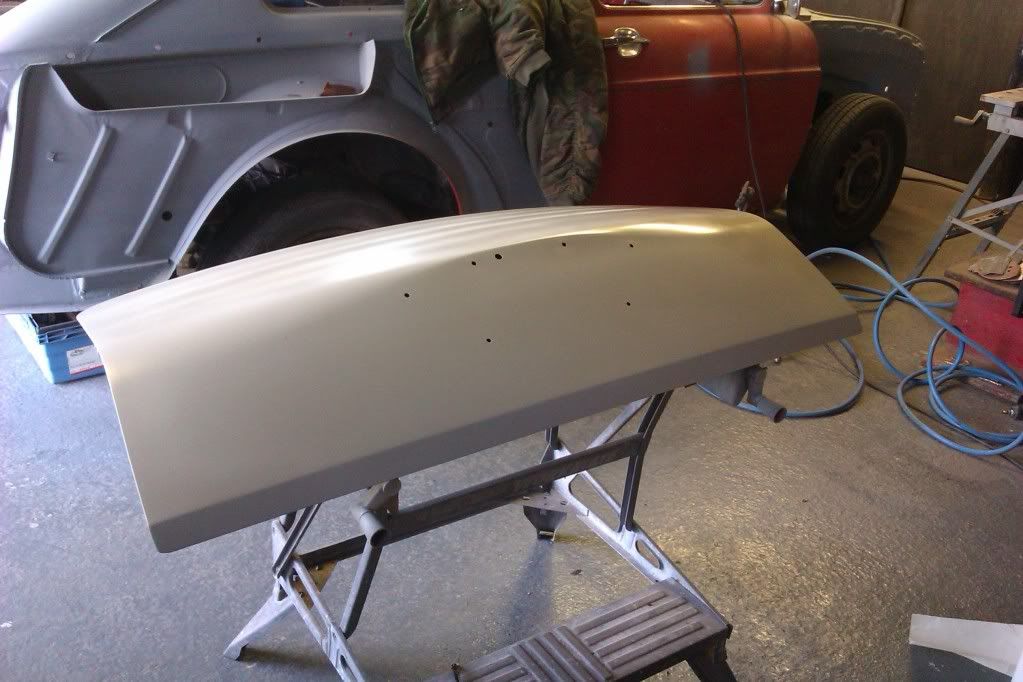
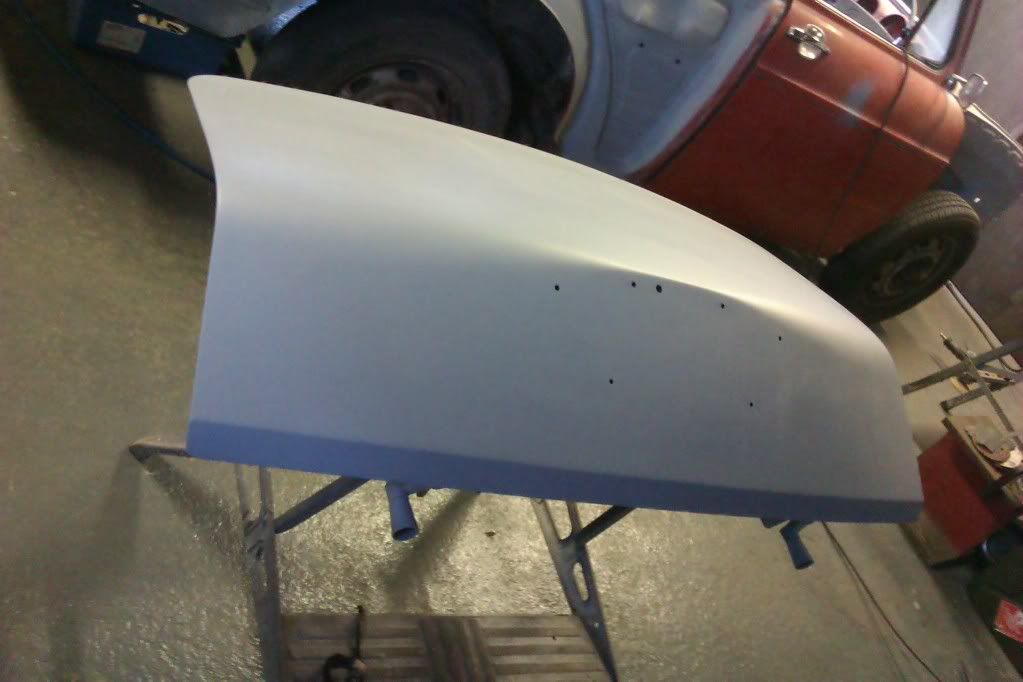
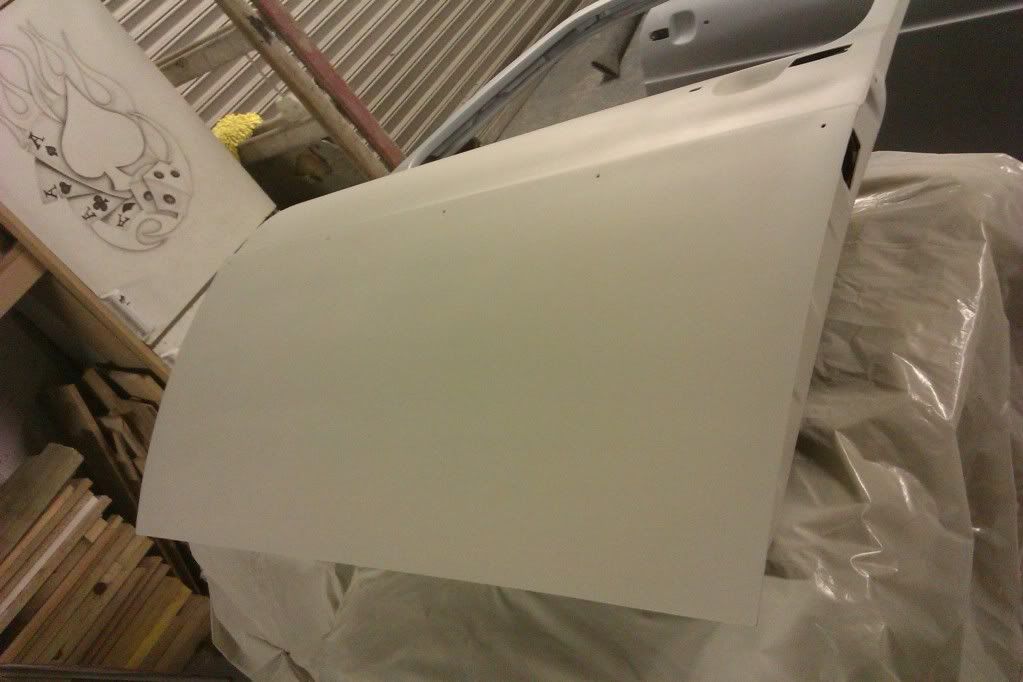
wing etched then primed
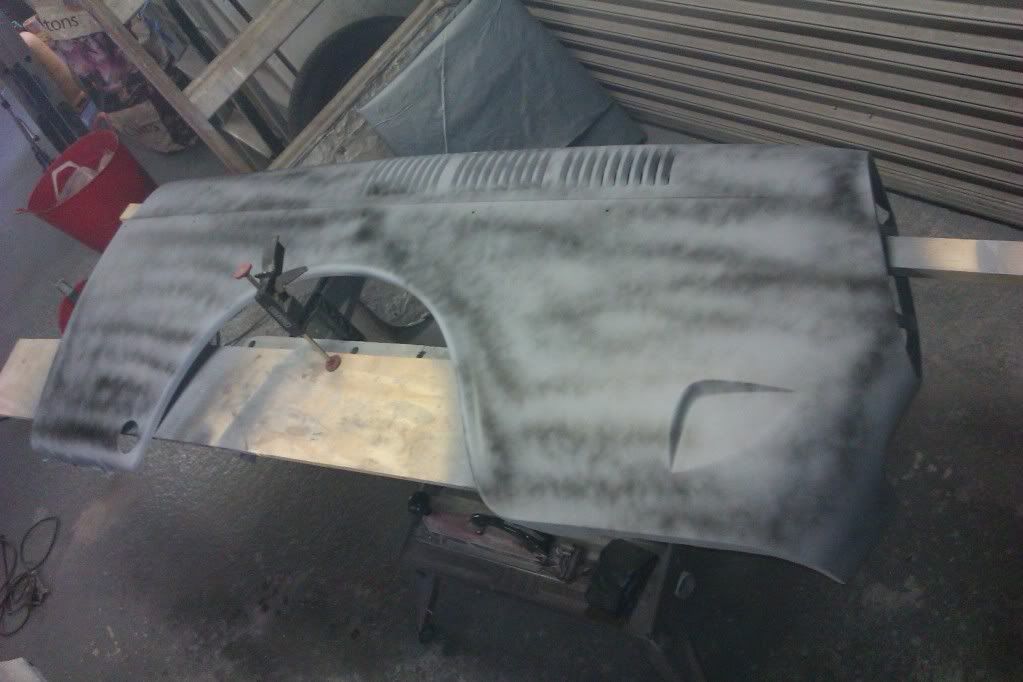
a guide coat shot and block sanded back to check for highs and lows.
its all in the prep the underside is also treated to the same amount of detail
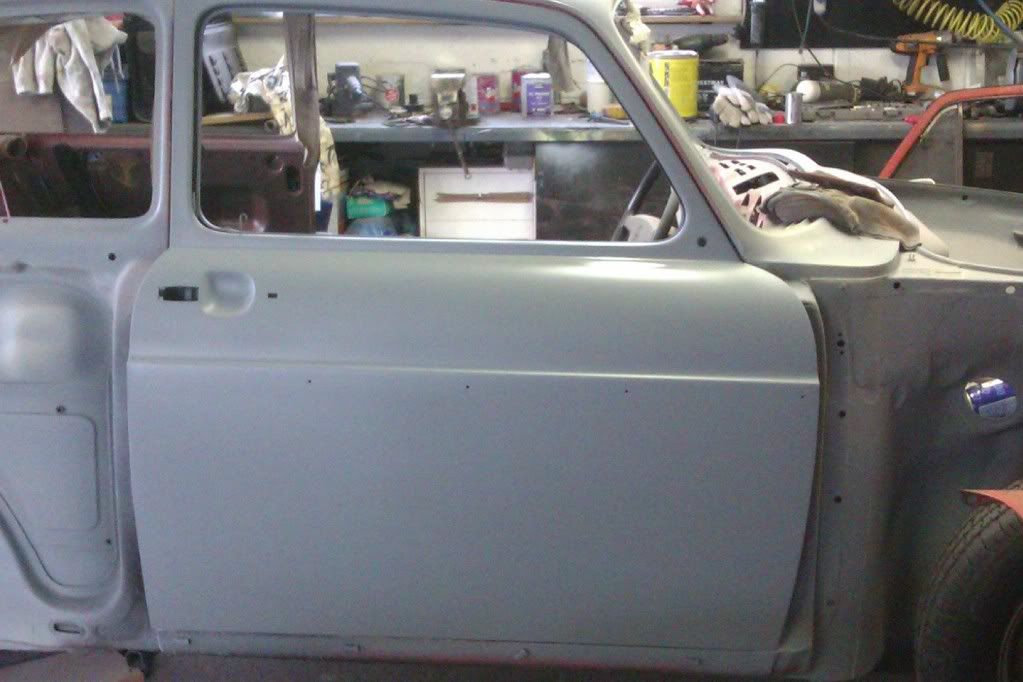
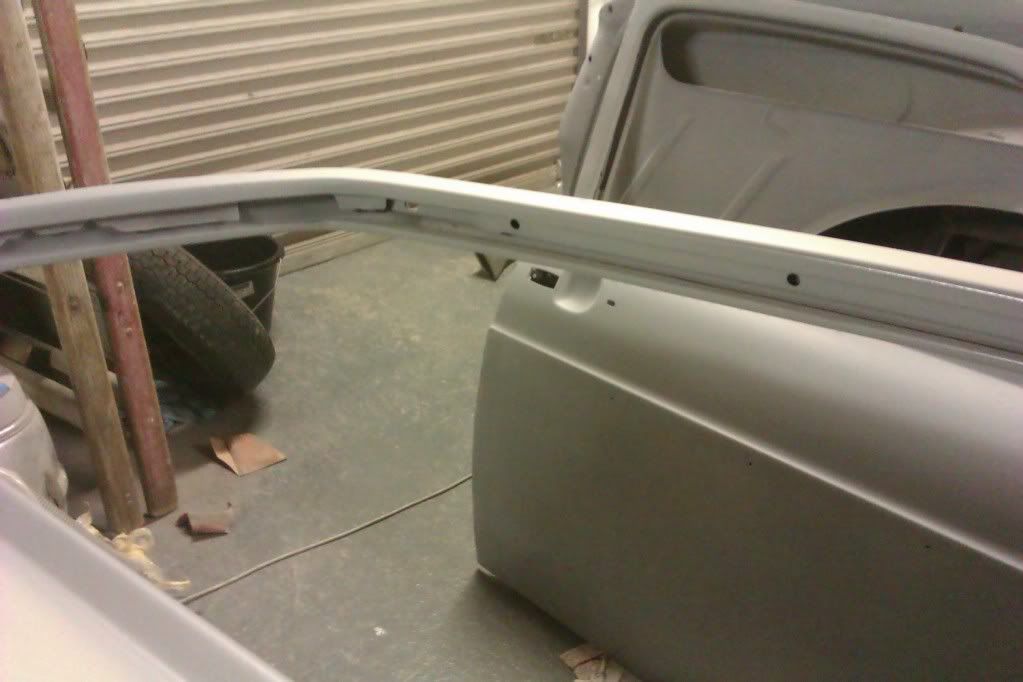
and put into primer..
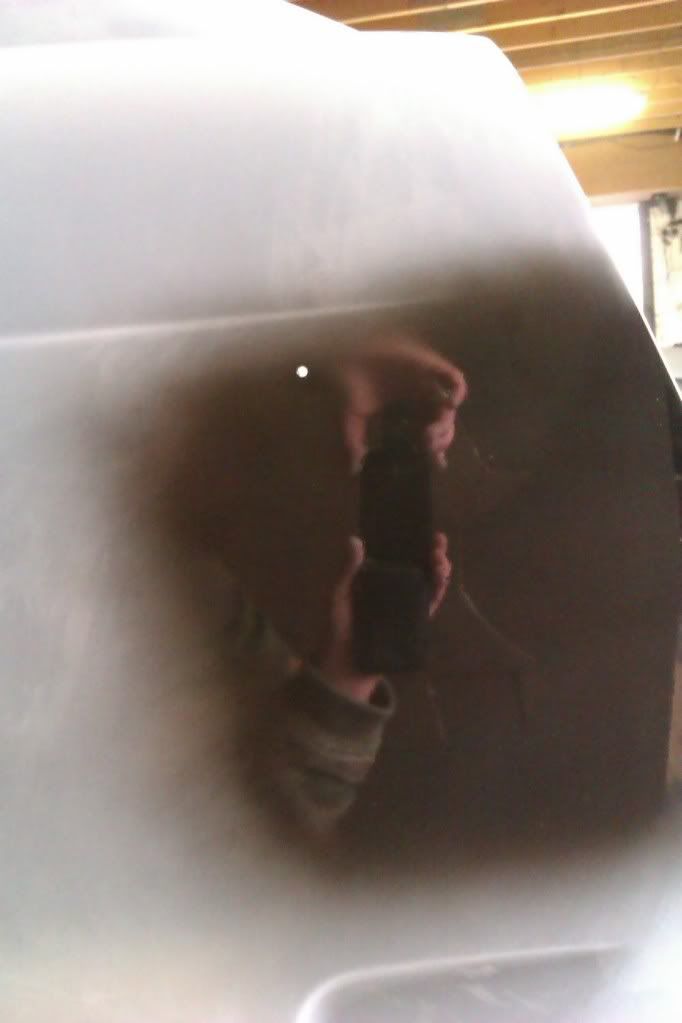
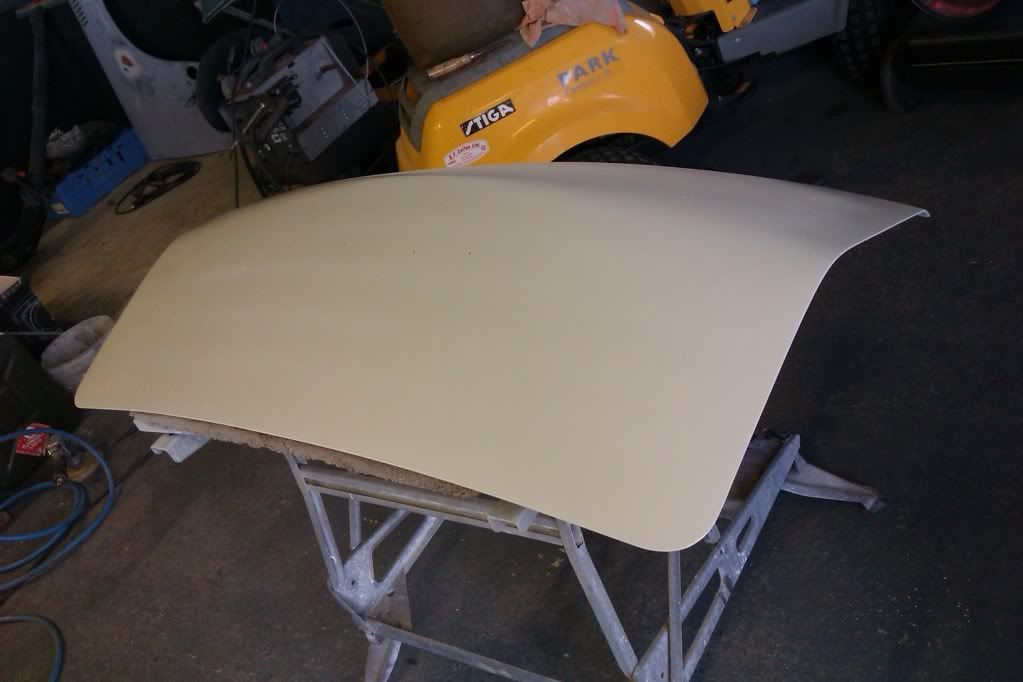
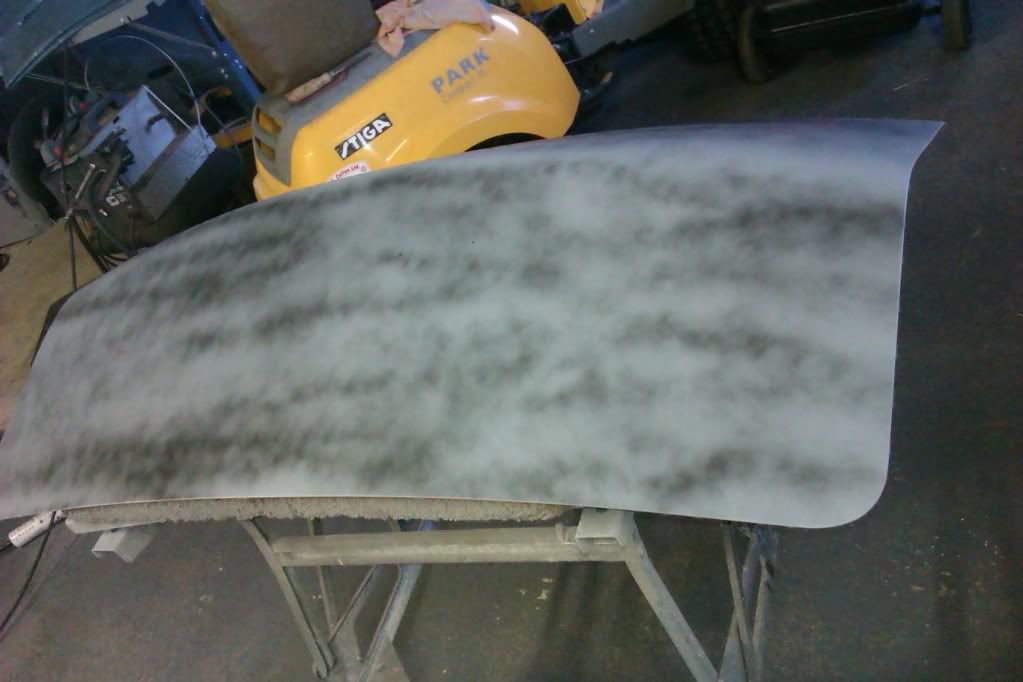
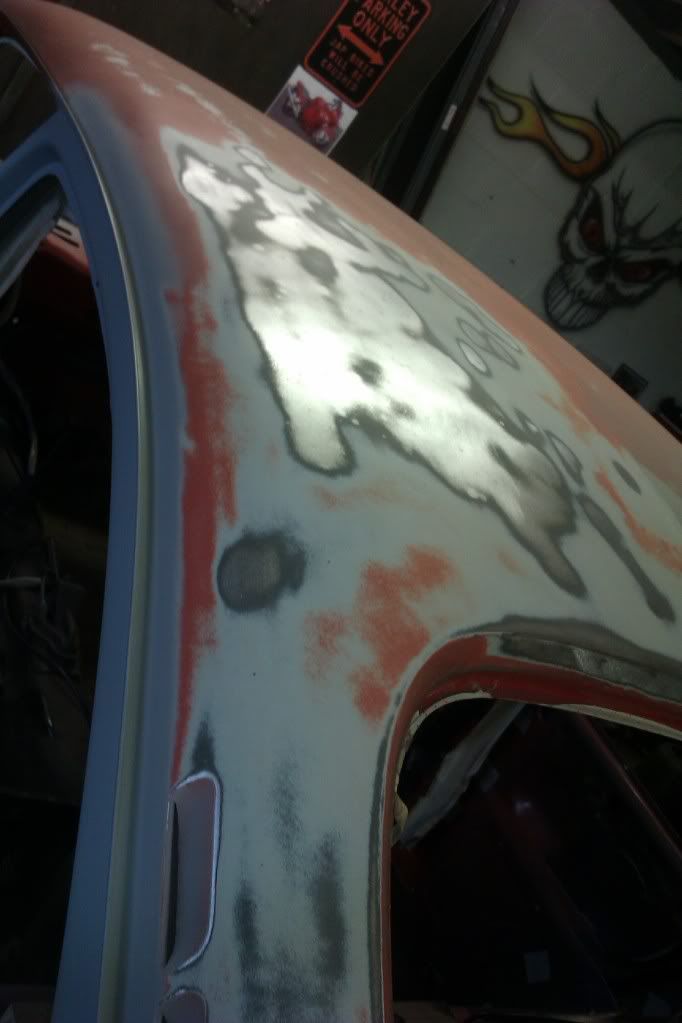
just to make 100% sure there were no ripples in any of the repairs
i shot some 2k black down then used a straight edge and checked the reflection
for straightness maybe and over kill after block sanding but id rather do this step
and find it now rather than when shes in her final colour.
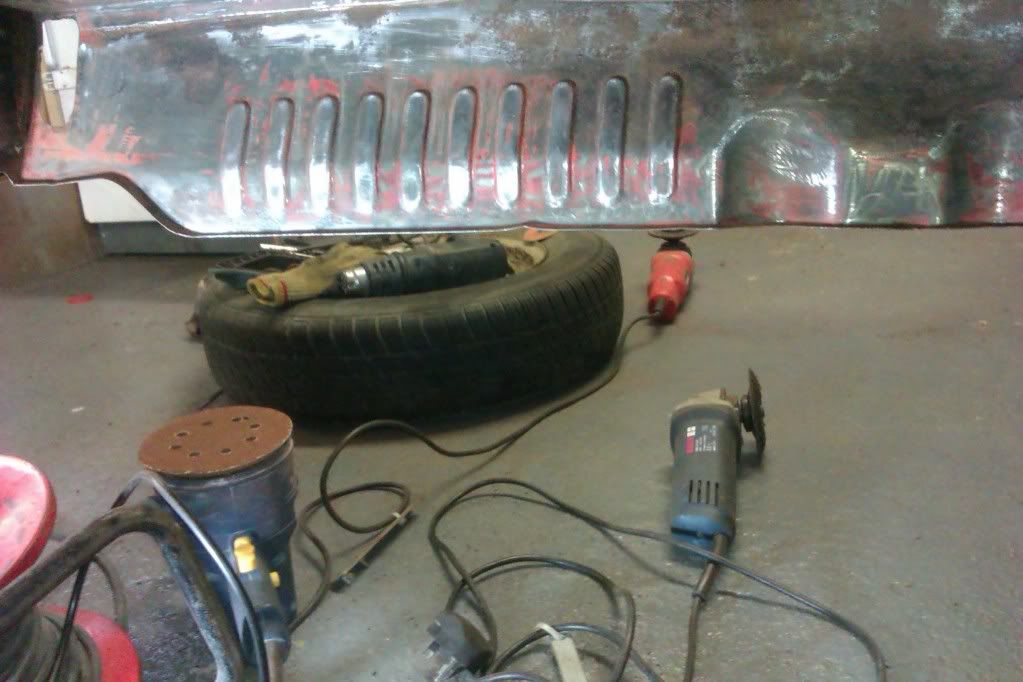
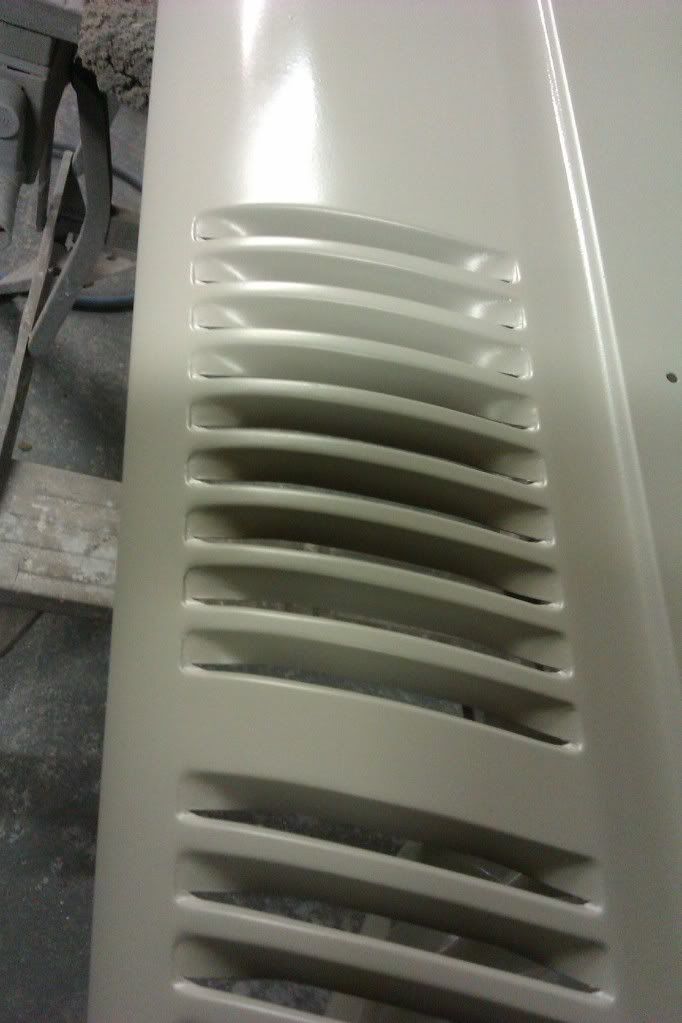
this wing is in great condition so only to small dents to straighten out..
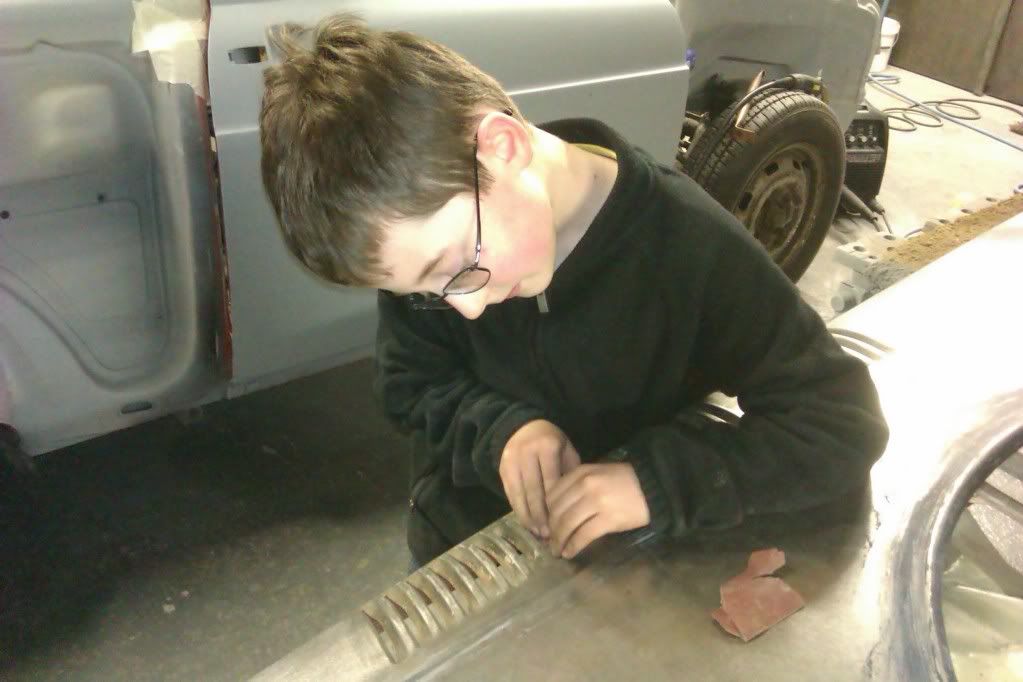
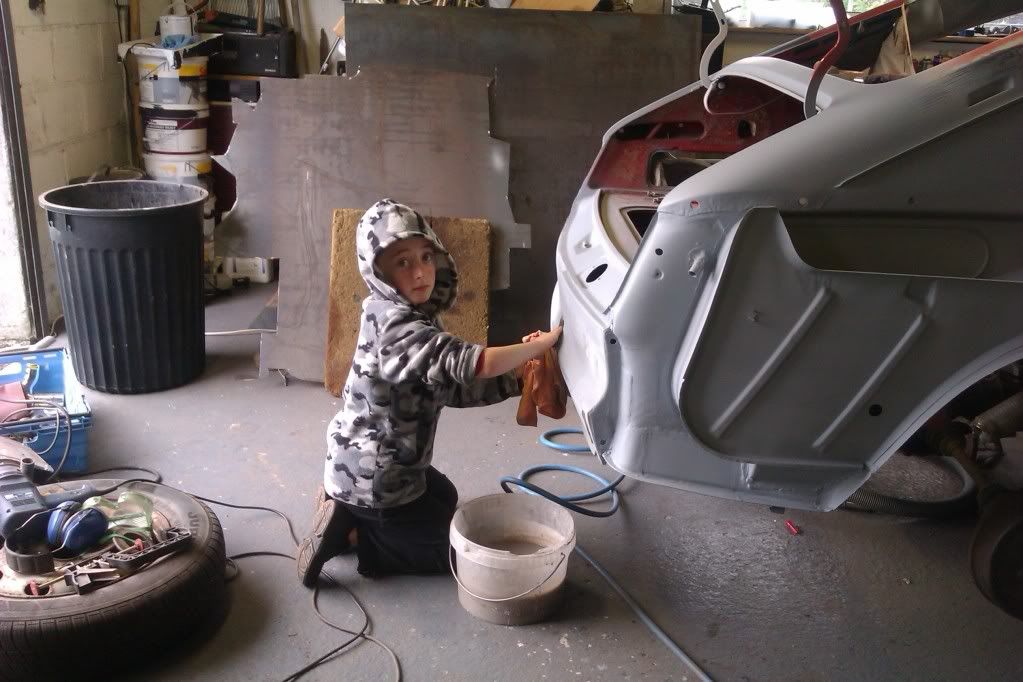
them little fingers worked very hard between all them vents...
cheers son..
all his prep work payed off.. wing in etch
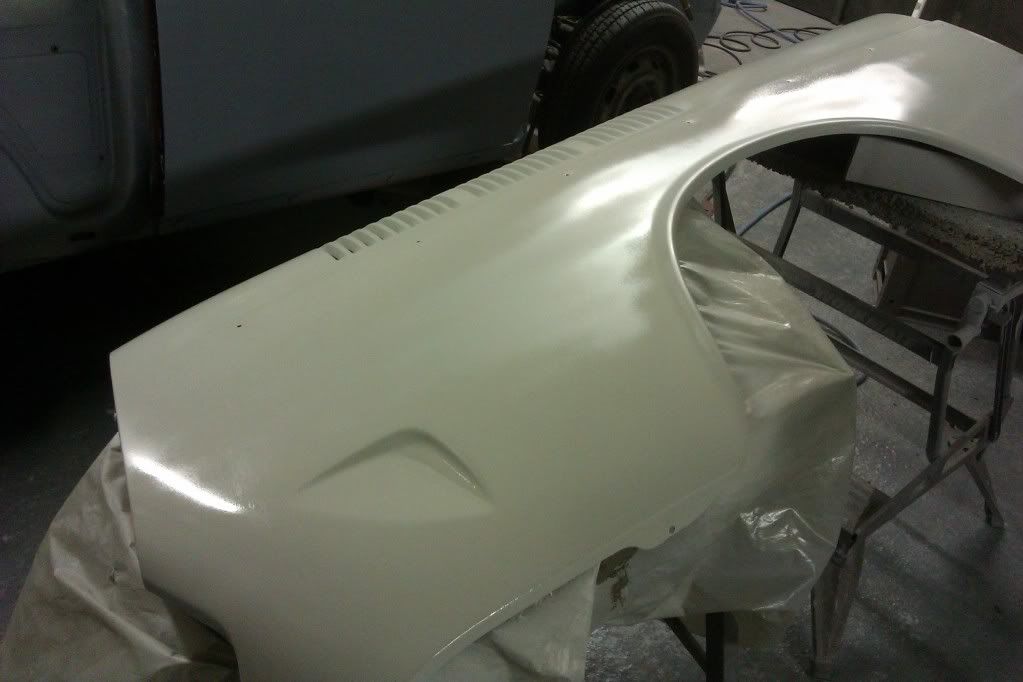
again both sides now in primer..
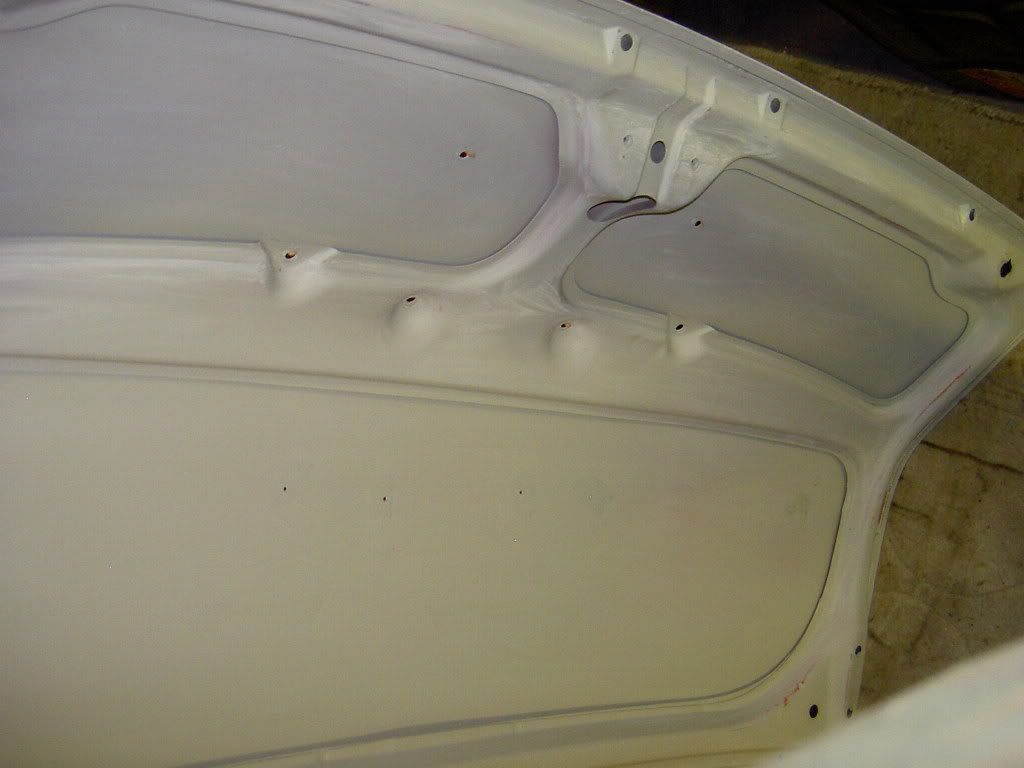
work started on tail gate. another very good panel.
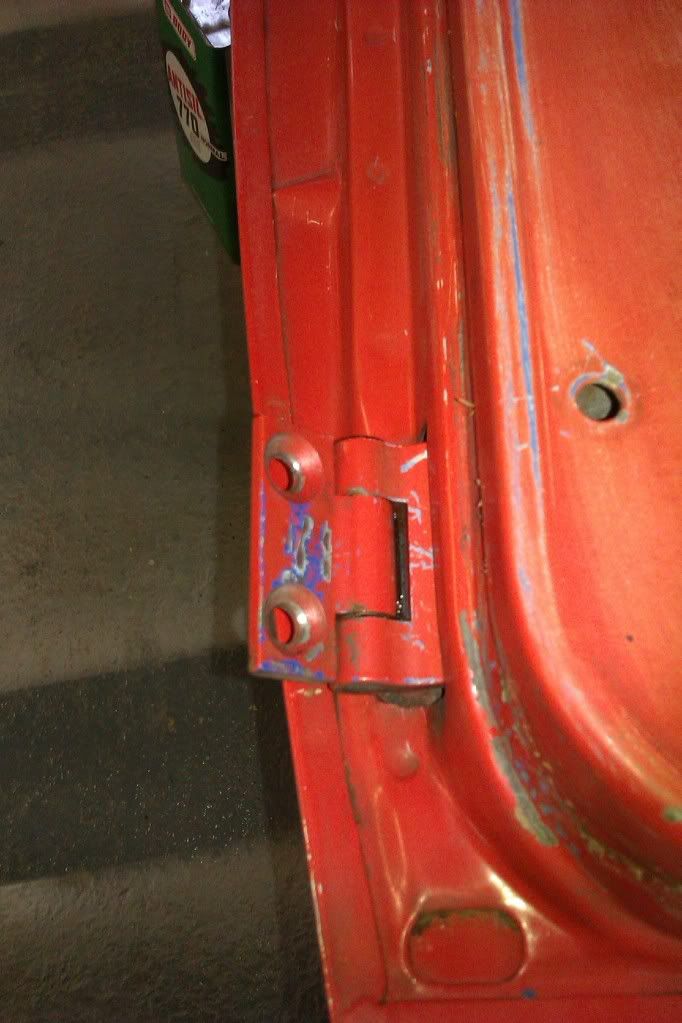
had to make a new lower hinge as the original had seized on the door
and snapped the body part. cut out the complete area renewed the metal to the
door pillar and welded on hinge plate.
only tacked for now untill i check the alignment of the door then weld her home.
noticed small vane like rust patterns under some of the base primer so.....
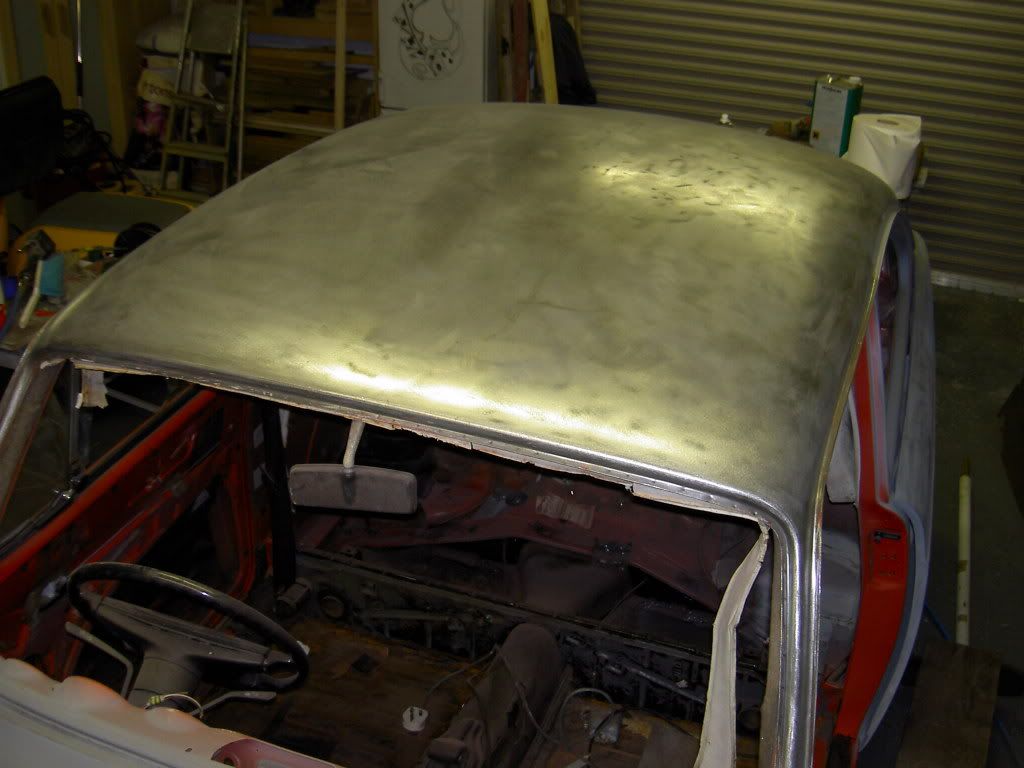
bare metalled the hole lot....not a five minute job!!!. but didnt want to leave anything
to chance.
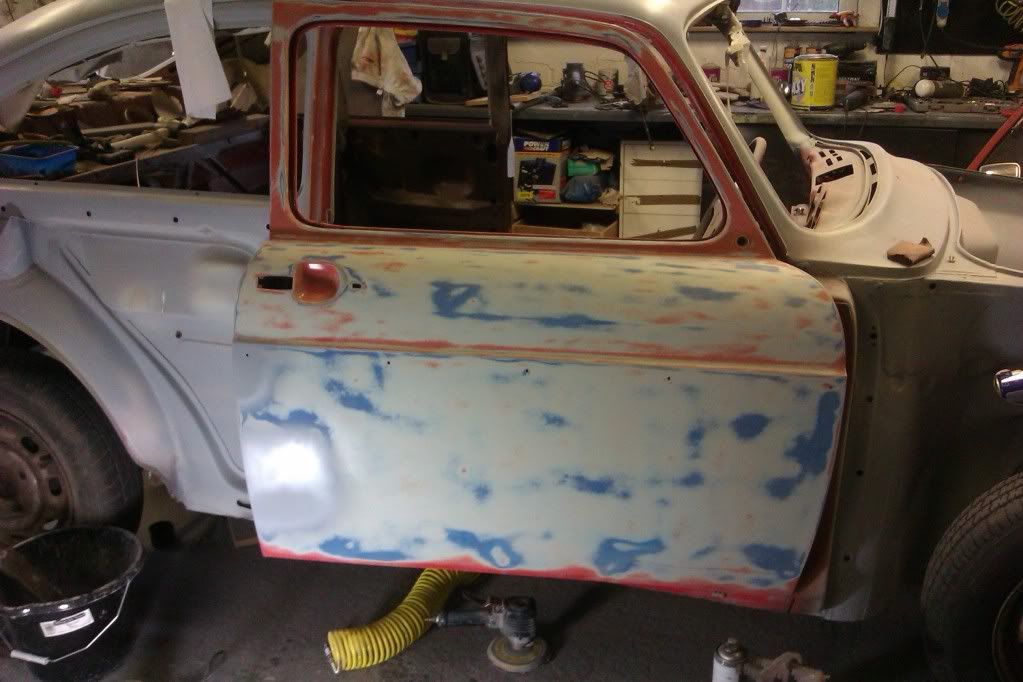
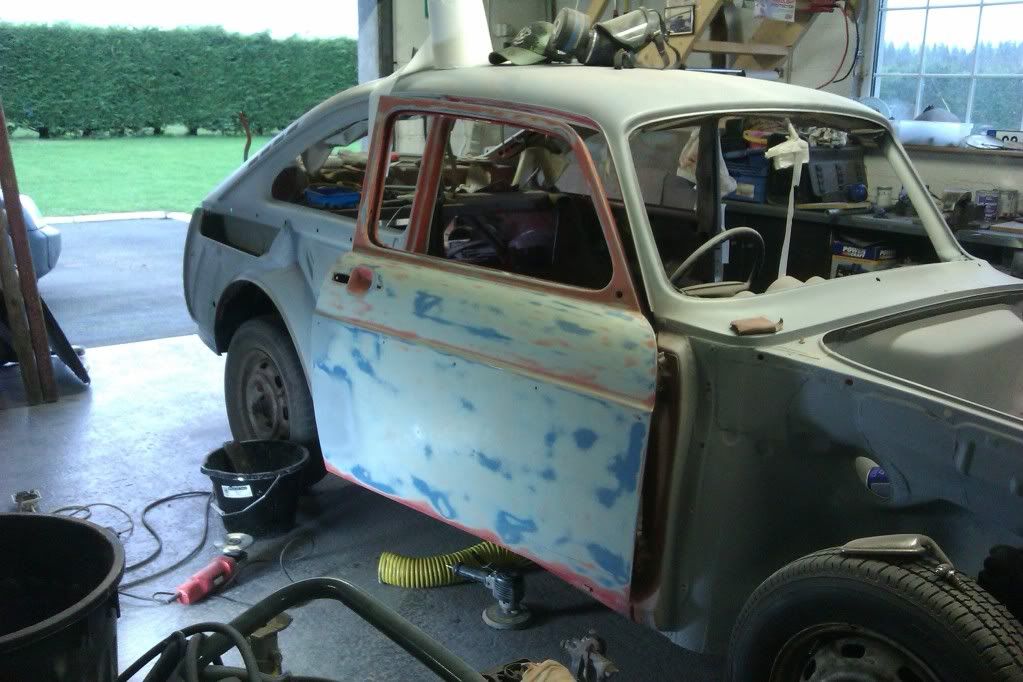
door shut needs prep and also inside of door but it was easier to work on
the door on the car...
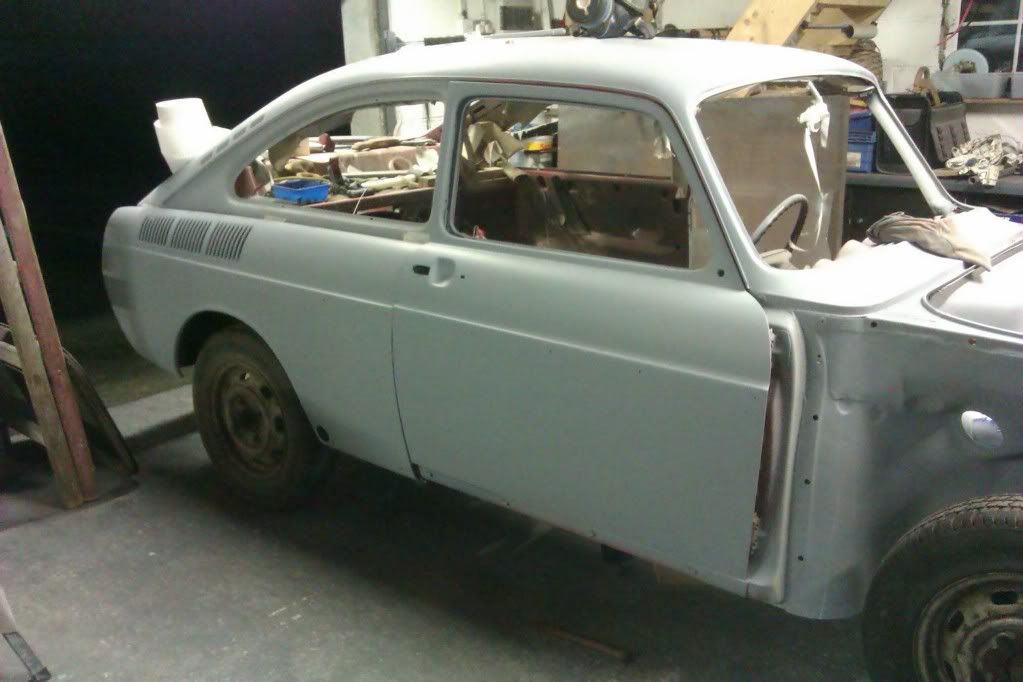
so a nice bit of the body work sorted. the front wings are not great i could patch these up but i would much rather start off with a better pair (still searching!!) not sure if i want f/glass ones not to sure what the fit is like with them?? theres still some welding to do on the floor (battery area shot).
and a little to do on the rear inner arch but the bodys coming off soon so that can wait till then
and it'll give me a lot more room to work on it.
a fair bit of work to do on this wing
a bad corner......
thats better.....
rear damage sorted and shrunk back to shape.
inspection hole not in great shape so cut out and mocked up a new piece.
wing etched then primed
a guide coat shot and block sanded back to check for highs and lows.
its all in the prep the underside is also treated to the same amount of detail
and put into primer..
just to make 100% sure there were no ripples in any of the repairs
i shot some 2k black down then used a straight edge and checked the reflection
for straightness maybe and over kill after block sanding but id rather do this step
and find it now rather than when shes in her final colour.
this wing is in great condition so only to small dents to straighten out..
them little fingers worked very hard between all them vents...
cheers son..
all his prep work payed off.. wing in etch
again both sides now in primer..
work started on tail gate. another very good panel.
had to make a new lower hinge as the original had seized on the door
and snapped the body part. cut out the complete area renewed the metal to the
door pillar and welded on hinge plate.
only tacked for now untill i check the alignment of the door then weld her home.
noticed small vane like rust patterns under some of the base primer so.....
bare metalled the hole lot....not a five minute job!!!. but didnt want to leave anything
to chance.
door shut needs prep and also inside of door but it was easier to work on
the door on the car...
so a nice bit of the body work sorted. the front wings are not great i could patch these up but i would much rather start off with a better pair (still searching!!) not sure if i want f/glass ones not to sure what the fit is like with them?? theres still some welding to do on the floor (battery area shot).
and a little to do on the rear inner arch but the bodys coming off soon so that can wait till then
and it'll give me a lot more room to work on it.
You Love It.!!!
Re: orange fastback
Inspirational, this is pushing me to get onto mine - keep it coming!
Re: orange fastback
Good to see your son working on the air vents. My wife did them on the Fastback 12 years ago, and I've not heard the last of it yet!
Dave.
Re: orange fastback
fantastic, just starting work on my square now, inspirational.
Re: orange fastback
having hassle with one of the lower door hinges its nearly seized. ive drowned it in penetrating oil and diesel but doesnt want to loosen. is it possible to remove the hinge from the door, it looks like it fits into a pocket in the door but i cant see any fixings..
You Love It.!!!
Re: orange fastback
It's welded to the inner frame I think.
I'd prefer not to mess with that.
My Fastback had a badly seized hingepin. Successive doses of penetrating oil and working it to and fro with a pair of mole-grips eventually freed it up enough to work, and then once in use, it deposited a gob of rusty debris and began working perfectly. The hinge pins are removeable, but it might be quite tricky if the rust is bad as it will have to come through at least one of the 'eyes'. Heat from a localised blowlamp might help - heat the centre part so it expands a bit. Put more fluid on it and let it suck it in. Tap it one way and back, then repeat ad nauseam!
Dave.
Re: orange fastback
I had a very stiff hinge on the drivers door of my fasty which I soaked, heat treated, then soaking it again with no joy. Rightly or wrongly, I then ended up resorting to drilling a 3mm hole into the centre section in to the pin cavity, as soon as I'd done that and sprayed in a WD40 nozzle, it worked perfectly and I then filled the hole with seam sealer so that I can get back in to oil it when I need to again. Not saying that it's the best method, but it saved me changing the door in this case!
Re: orange fastback
The plastic cap on the top comes off, and you can fill the hollow with the fluid and leave it to work. the hinge pins have spiral grooves in them to carry the fluid down. They'll probably need plenty of applications and working to and fro. I don't suppose drilling a small hole will have hurt though.
Dave.
Re: orange fastback
got the hinge sorted. after drowning the hinge for about a week it didnt change much at all.
so i got my sds drill and put it on the hammer lock setting (hammer action with no rotation) put a 5.5 masonary drill in the sds chuck and jack hammered the pin. after about 30 seconds it had shook the life out off the stubborn rust that had taken a grip and the hinge was well on its way, another dose of oil and all was good..
so i got my sds drill and put it on the hammer lock setting (hammer action with no rotation) put a 5.5 masonary drill in the sds chuck and jack hammered the pin. after about 30 seconds it had shook the life out off the stubborn rust that had taken a grip and the hinge was well on its way, another dose of oil and all was good..
You Love It.!!!
Re: orange fastback
Well done - that's a tip to remember!
When mine finally gave in, it was after we'd started using the car again, and one day there was a blob of oiul and rust, and it was free.
When mine finally gave in, it was after we'd started using the car again, and one day there was a blob of oiul and rust, and it was free.
Dave.
Re: orange fastback
looking very nice, I just started rebuilding my air boxes and it's a bit of a nightmare figuring out how it should look! (badly welded in the past). what are the small rectangular ducts for at the bottom that lead to the engine bay? mine appear non existent!
Mark.
Mark.
my 1968 Fastback Automatic build thread
viewtopic.php?f=4&t=6896
viewtopic.php?f=4&t=6896
Re: orange fastback
Drain valves. They have a gravity closing flap to stop hot air getting in, but water to drain out.
Dave.
Re: orange fastback
ok im back. been doing more body work, both rear wings all sorted, both doors sorted aswell.
gearbox pulled out and............. AT LAST GOT ME BODY OFF!!
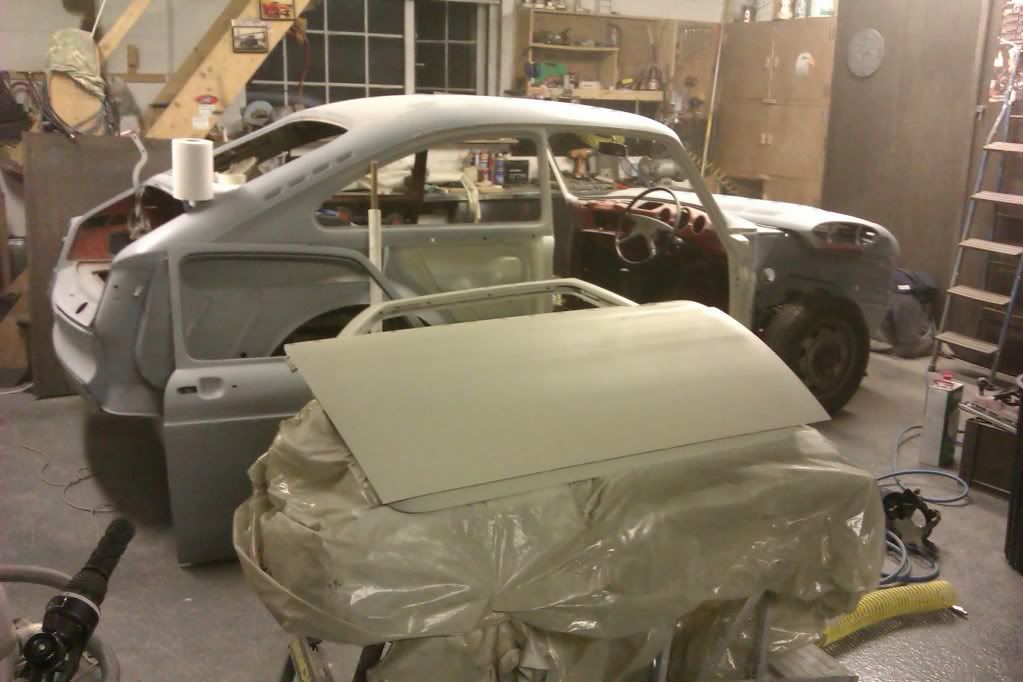

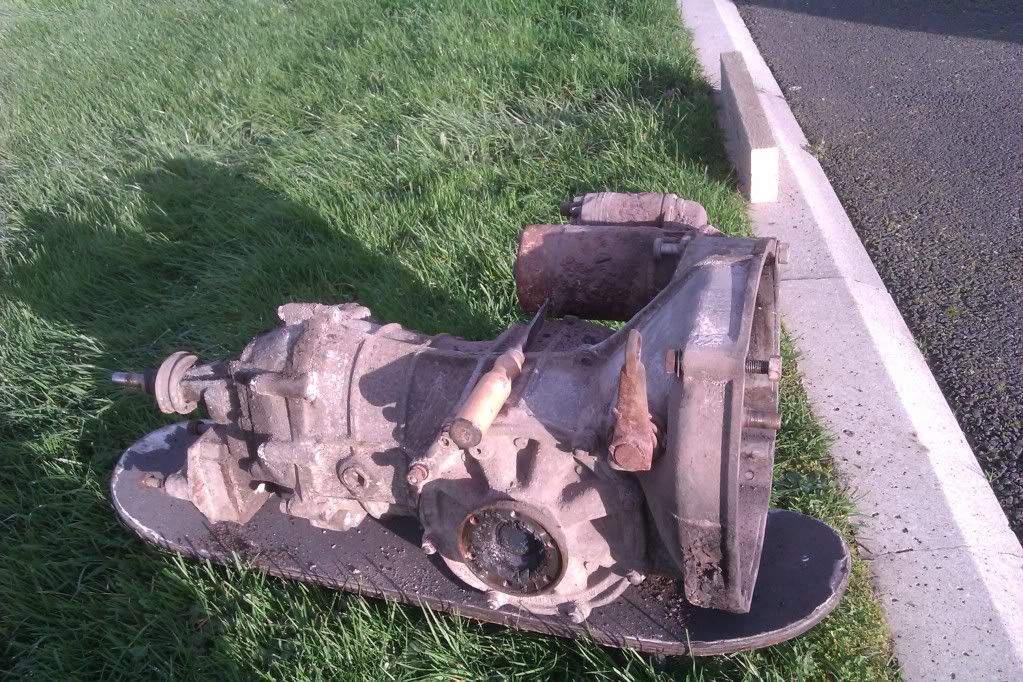
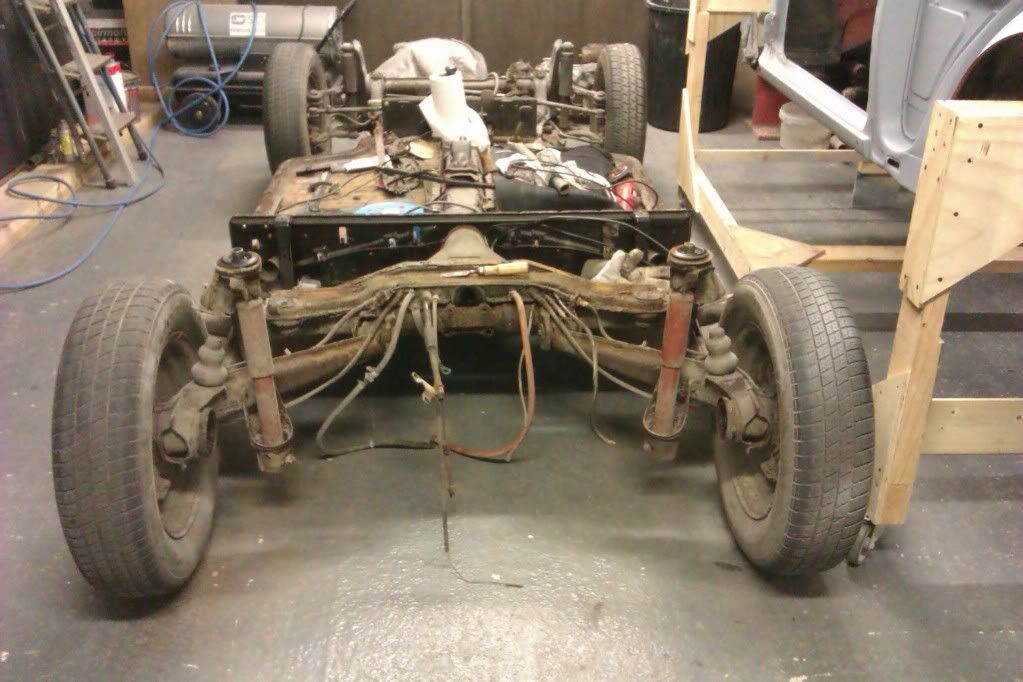
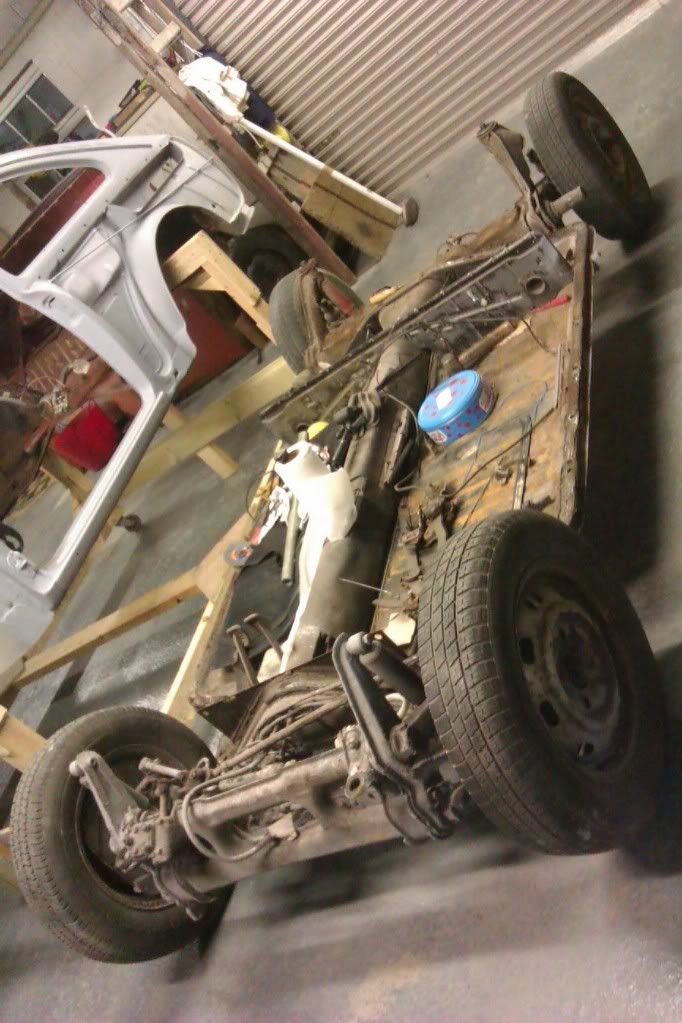
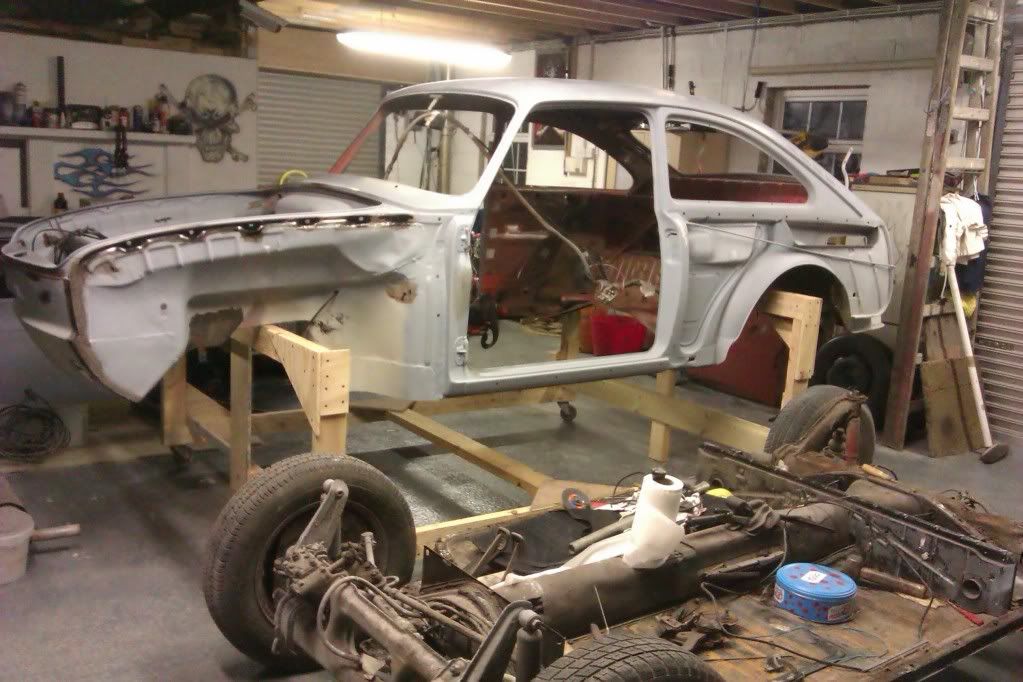
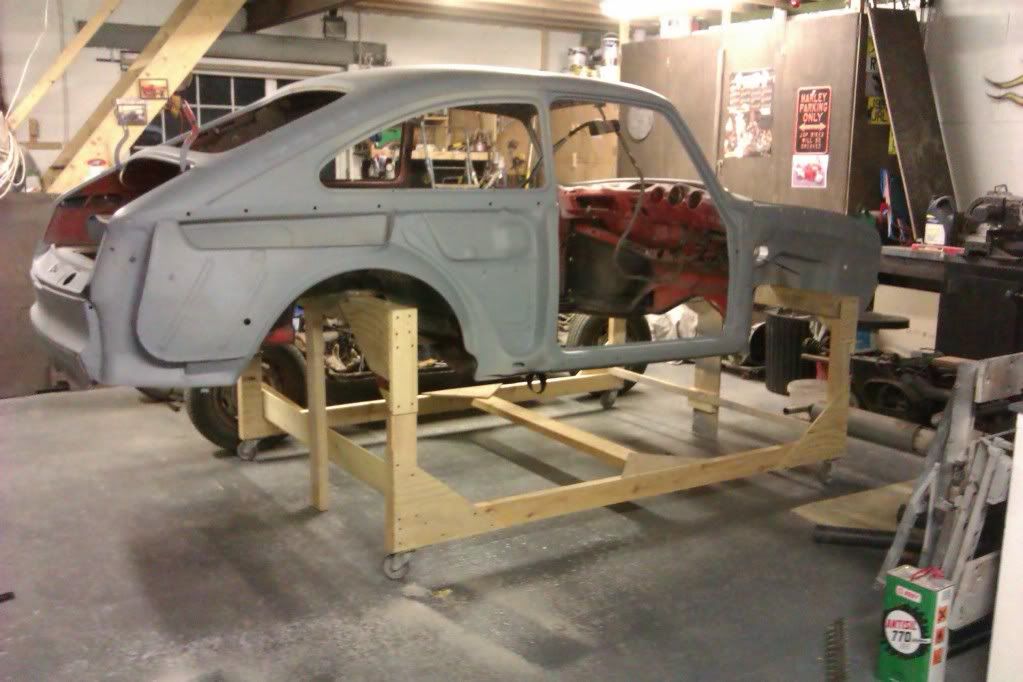
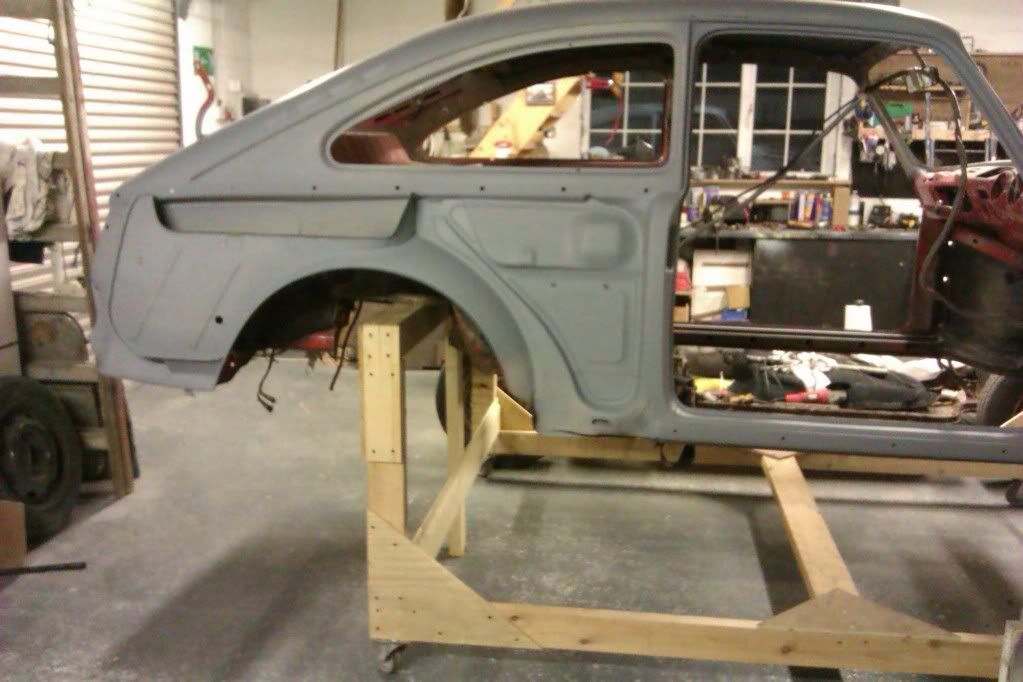
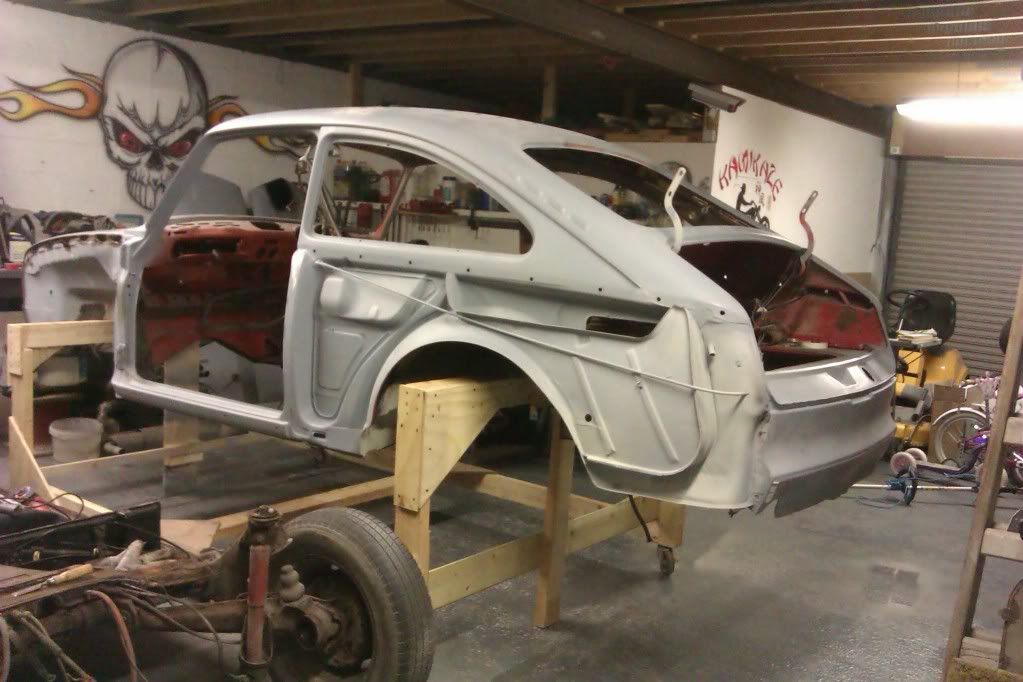
gearbox pulled out and............. AT LAST GOT ME BODY OFF!!
You Love It.!!!
Re: orange fastback
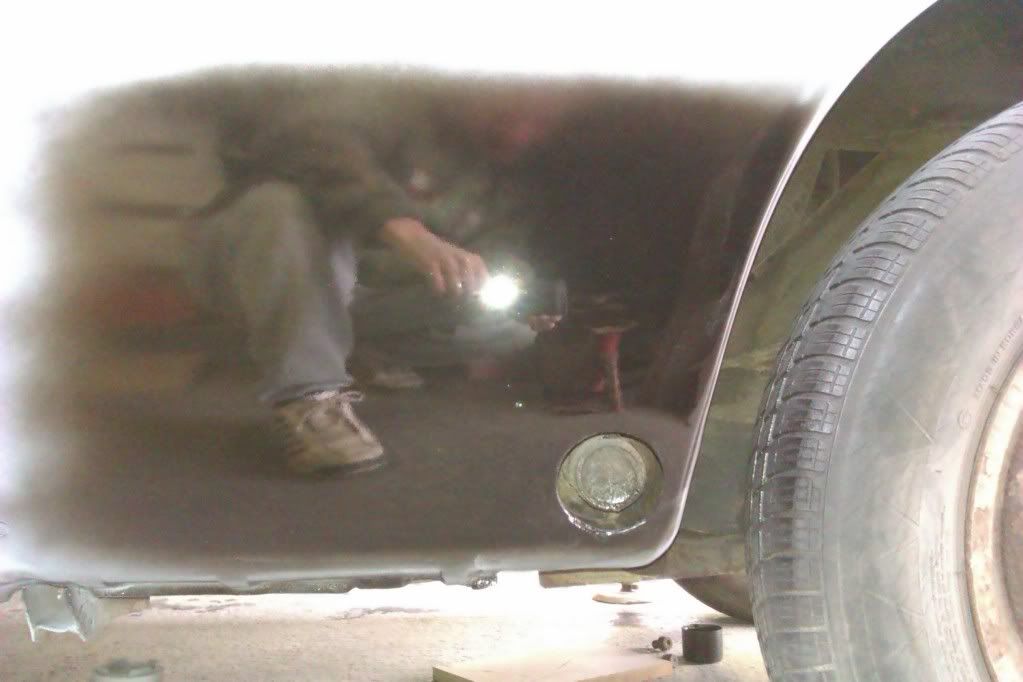
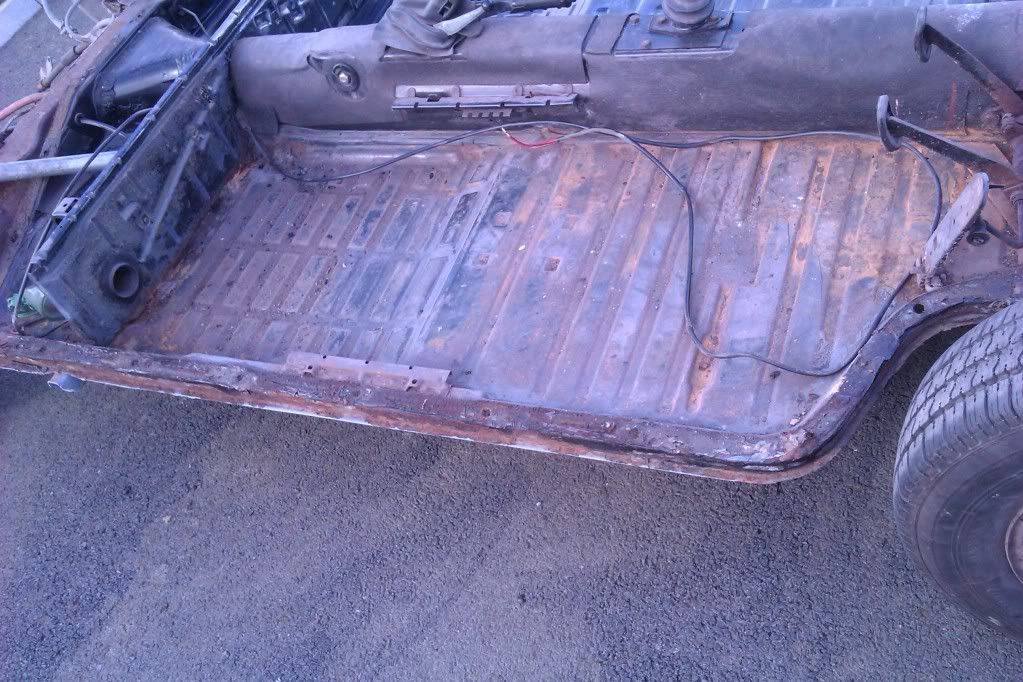
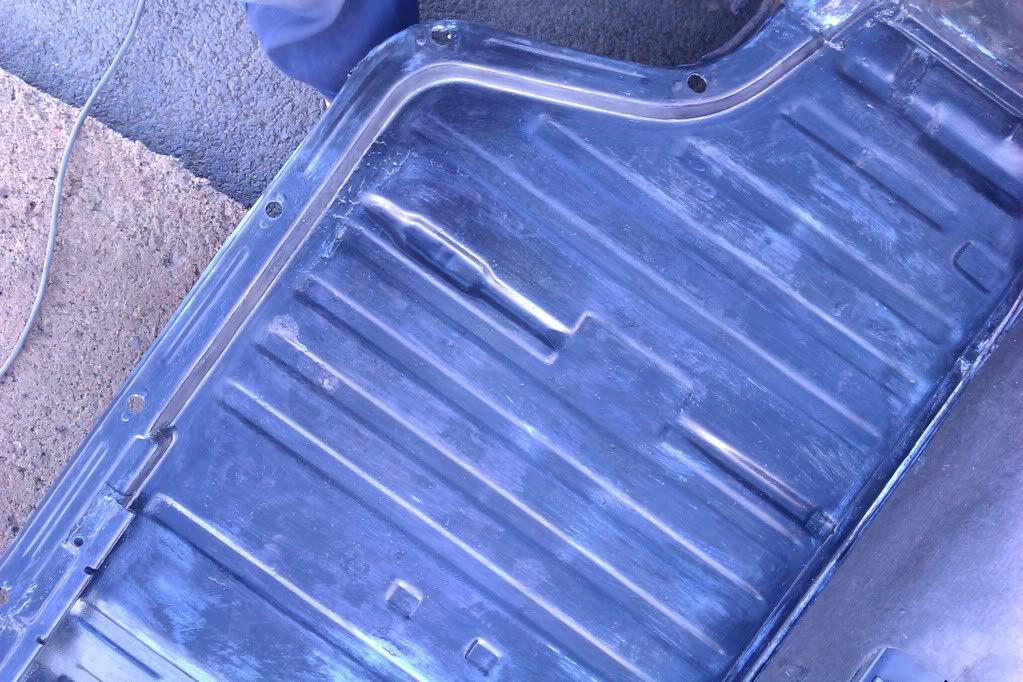
made a start on the pan. didnt see a need to blast it as it only had a bit of surface rust.
and a small hole were the jacking point is welded to the pan. so after many an hour sanding
and removing all the old glue that holds the carpet from the upstand then coating with
a few decent coats of vactan rust treatment she turned out well.
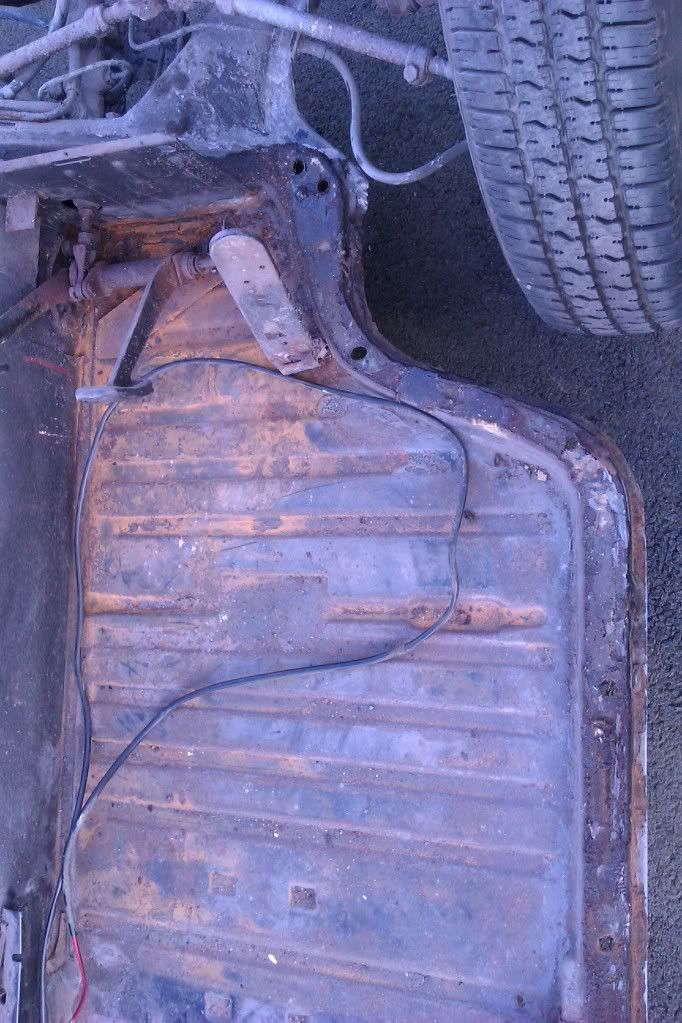

and a small hole were the jacking point is welded to the pan. so after many an hour sanding
and removing all the old glue that holds the carpet from the upstand then coating with
a few decent coats of vactan rust treatment she turned out well.
You Love It.!!!