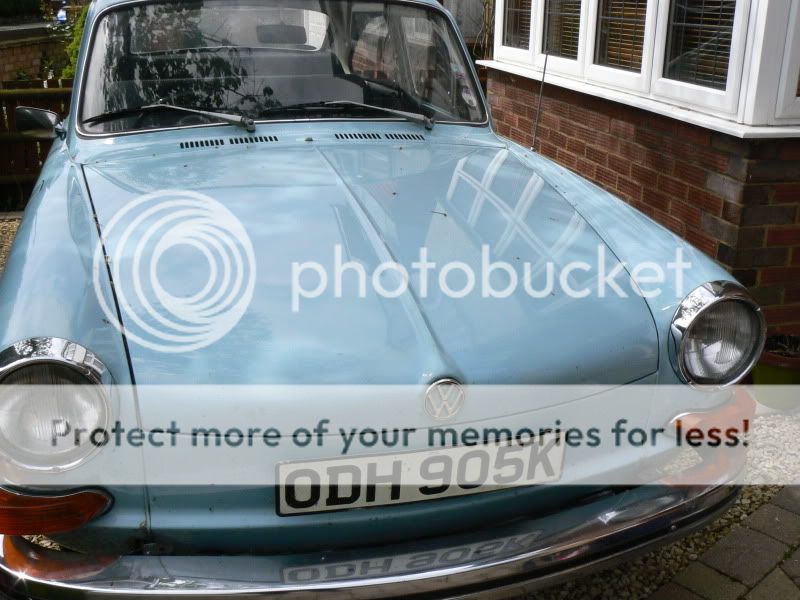
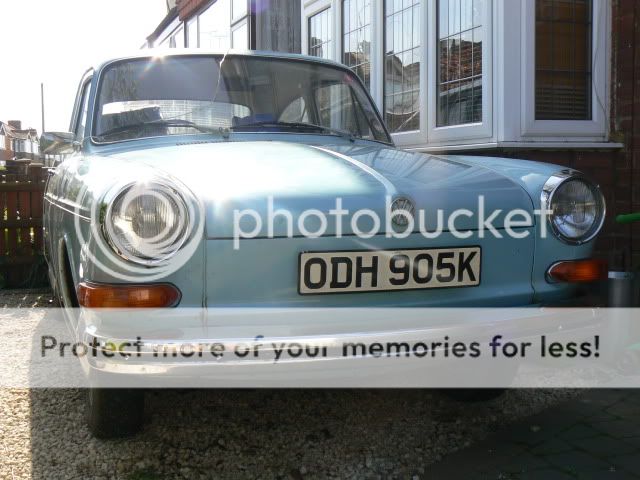
Made a decision to start looking and one of the first I saw was a light blue unrestored Fastback advertised in these forums. Took a look and I could see that it was indeed in very sound condition with minimal surface rust and would suit my desire to have something to just drive and have fun with. Paid up and took the train down to the coast yesterday before driving it back. Took a little while to get used to the unservoed brakes, but ran really well.
So here are some pictures - I am sure many of you will recognise this one!
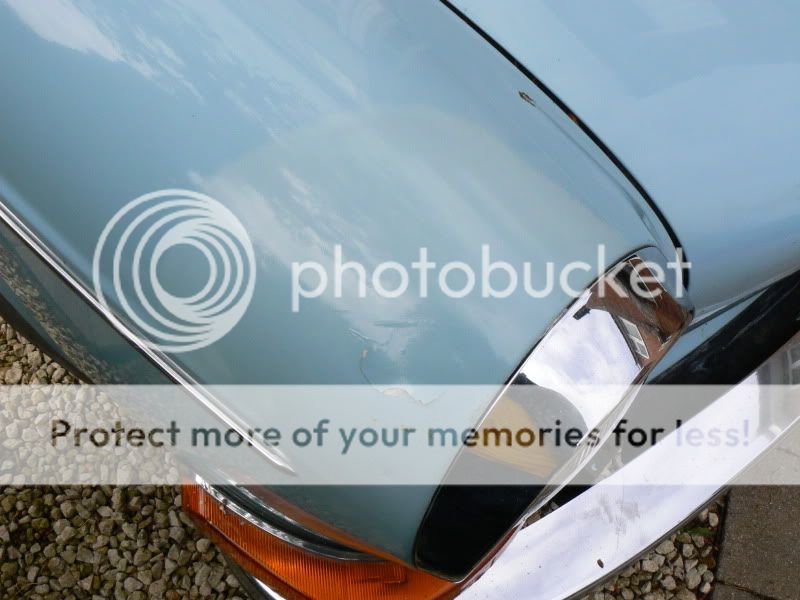
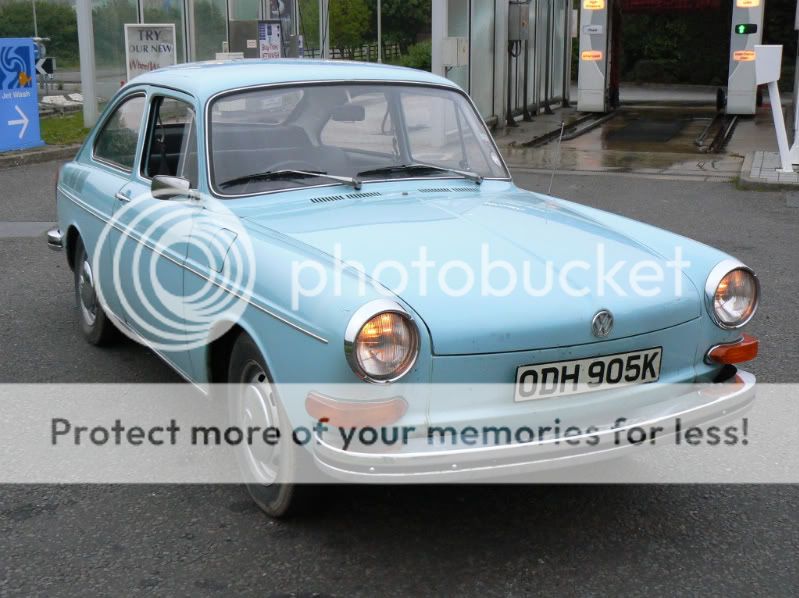
On the way home - stopped at services to make sure all lights were working:
Rear view:

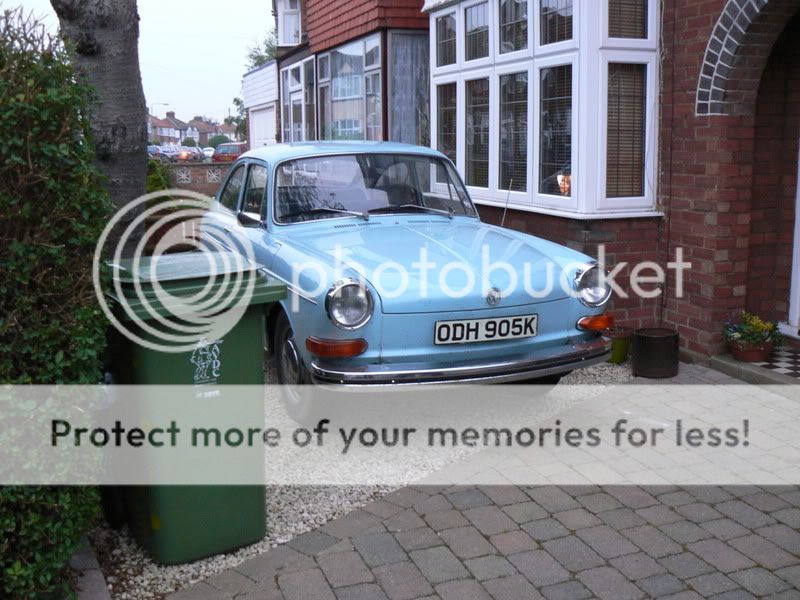
Back home:
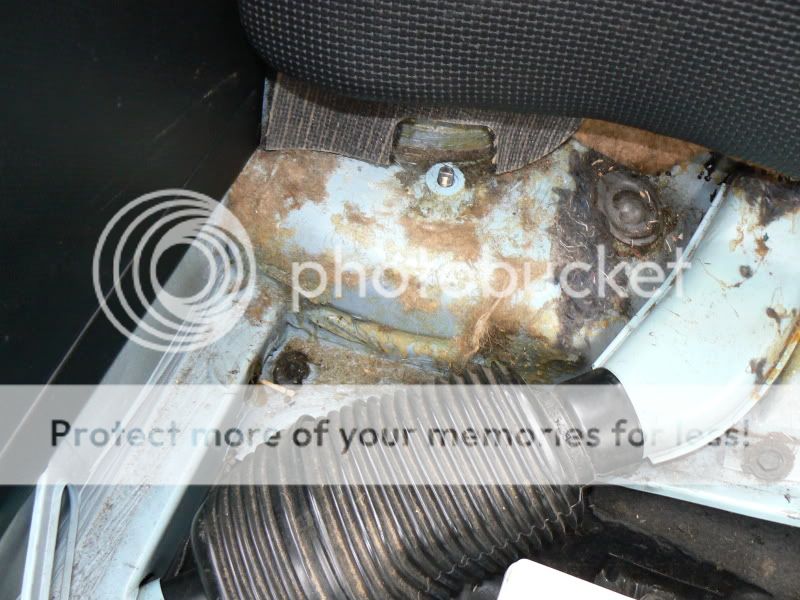
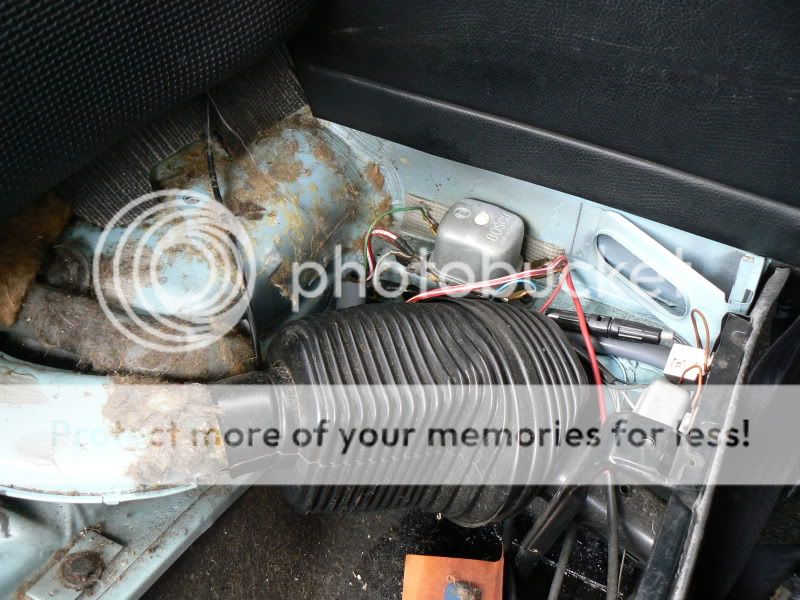
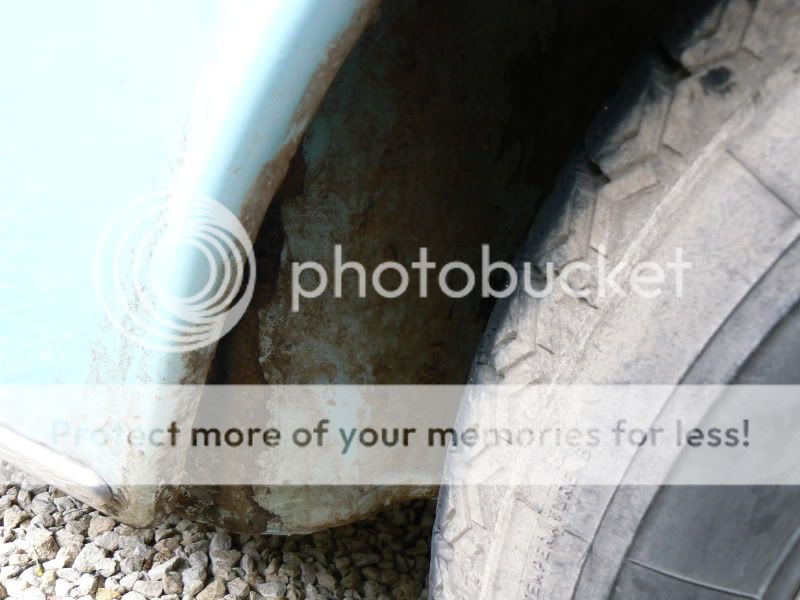
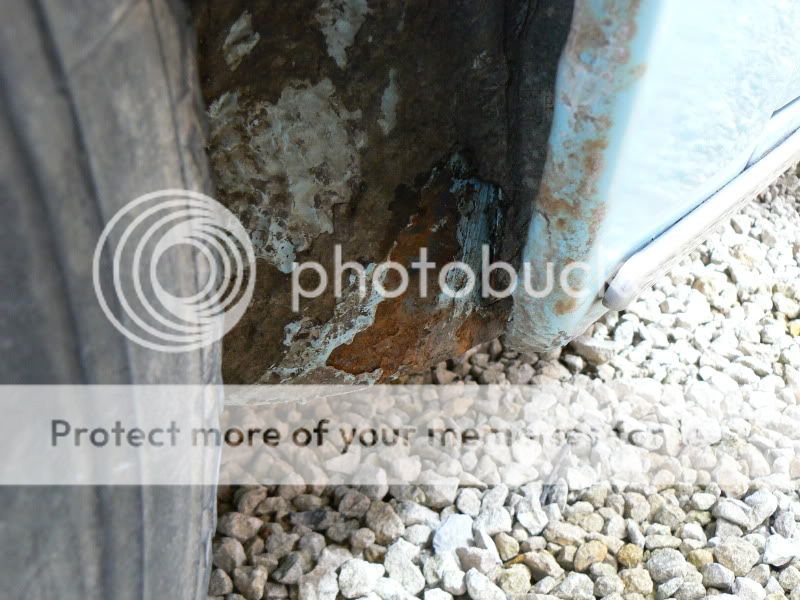
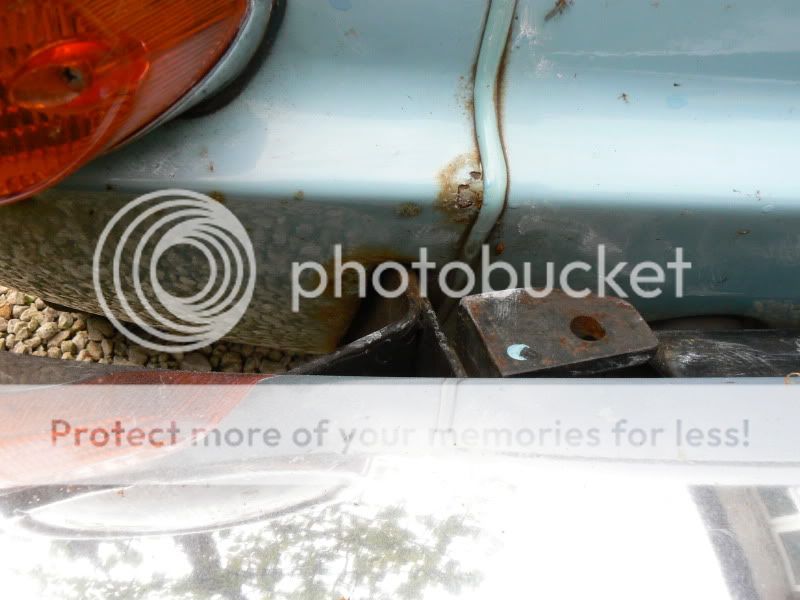
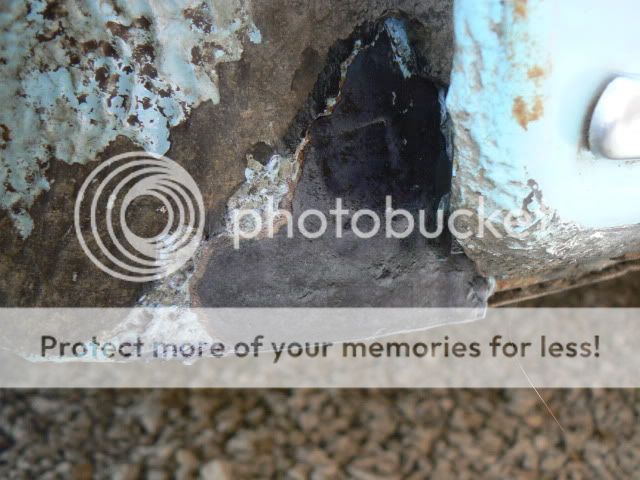
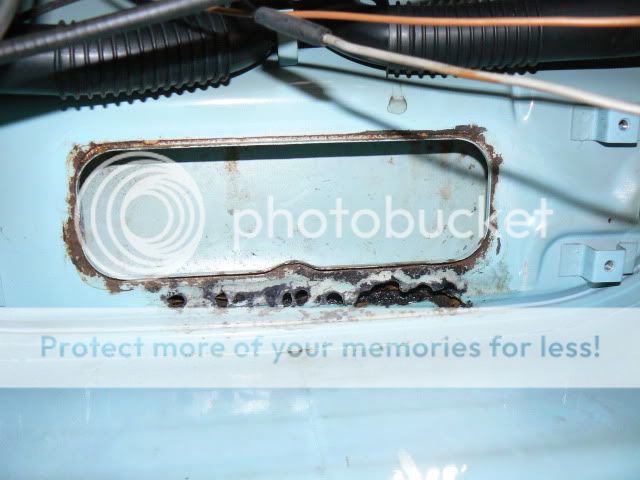
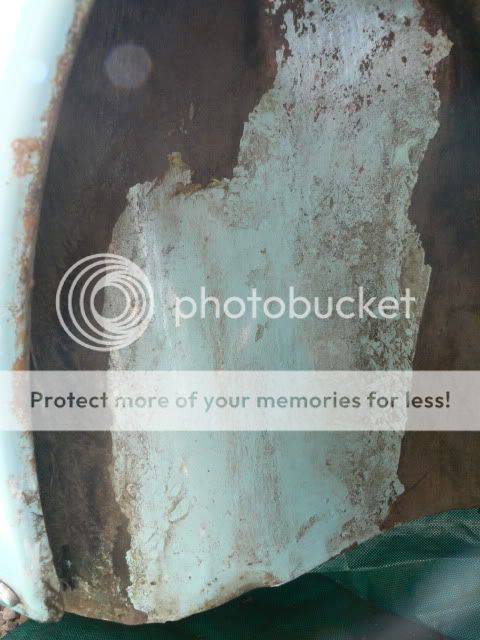
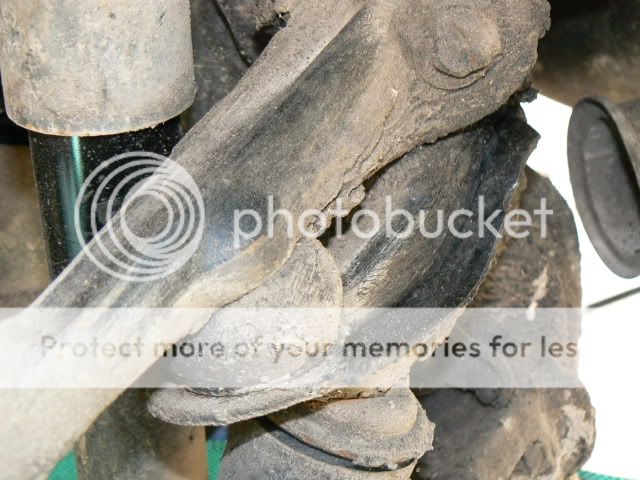
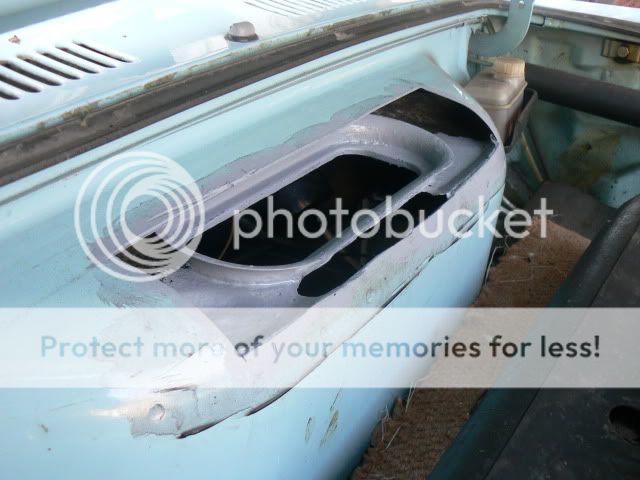
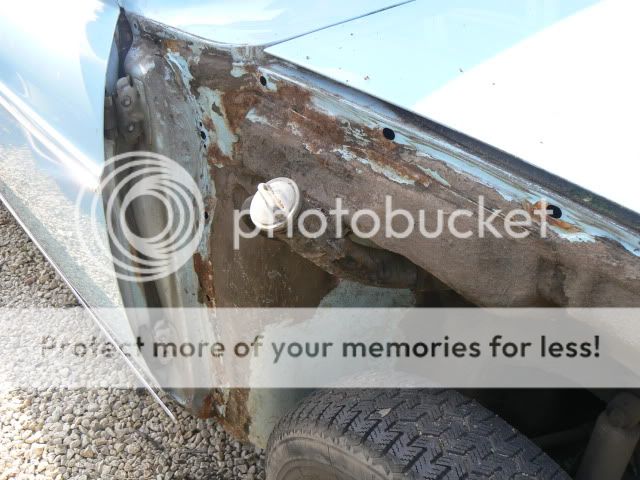
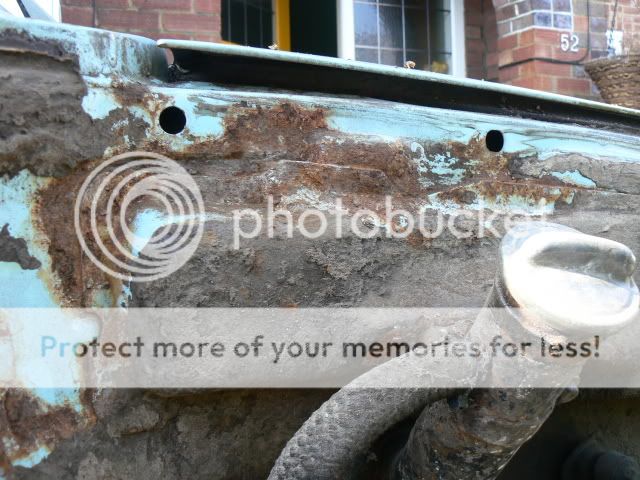
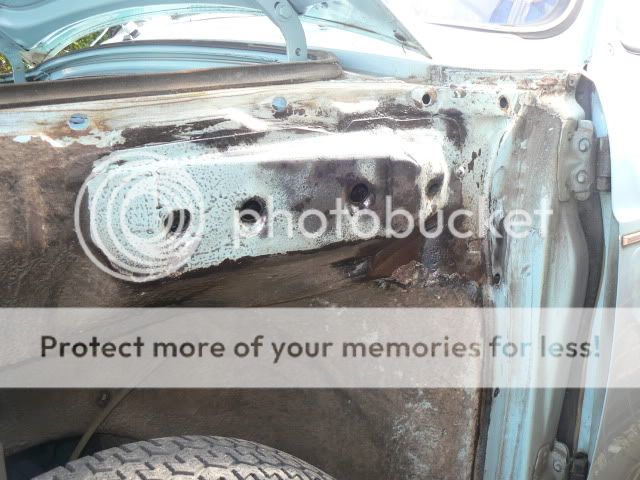
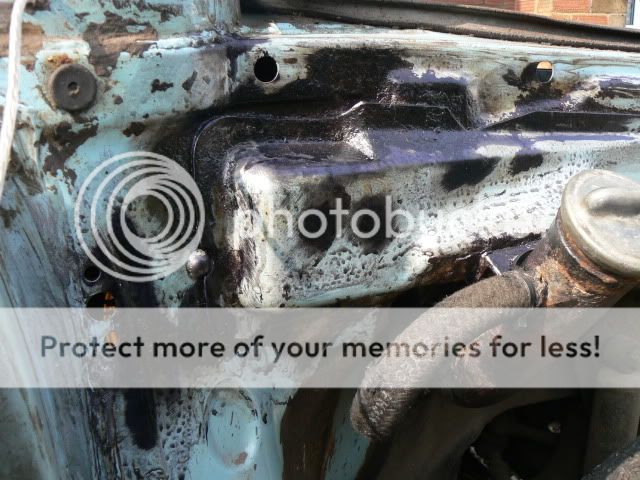
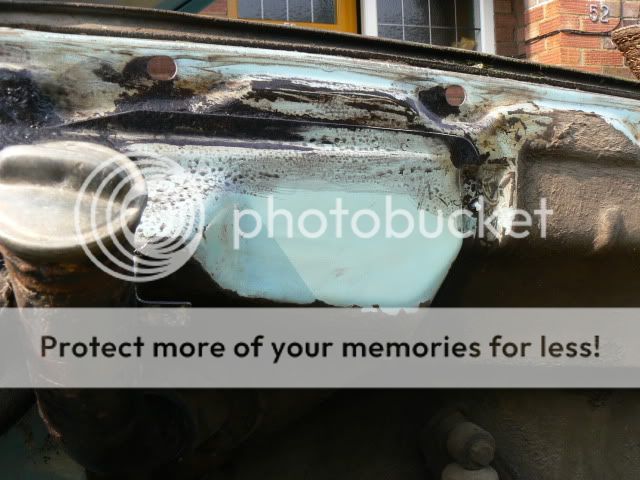
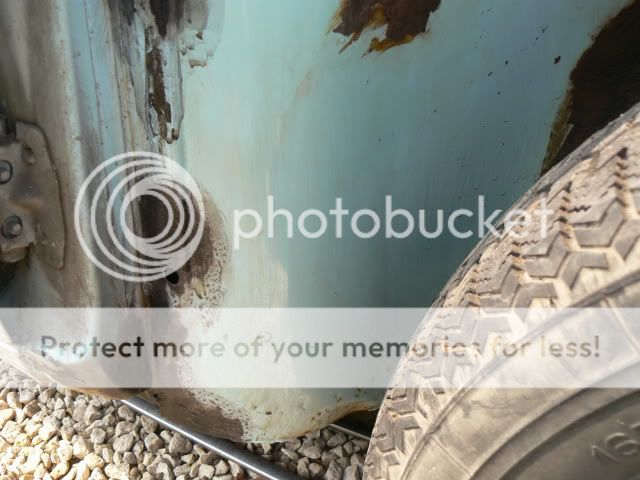
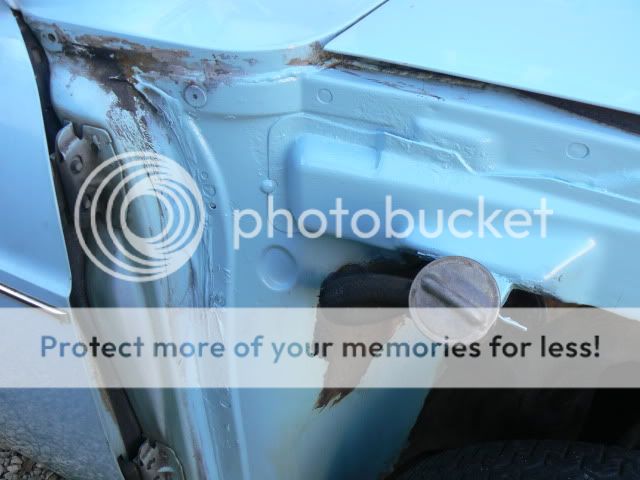
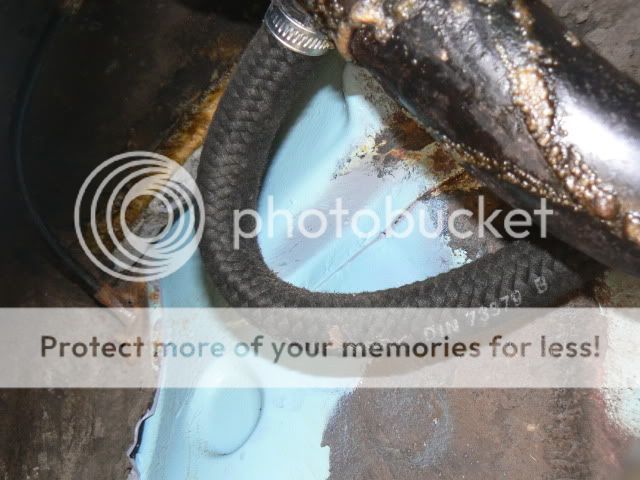
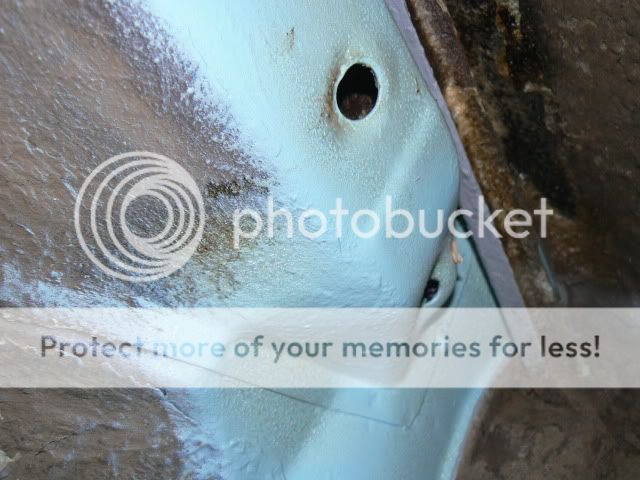
As this car is so original and mostly in OG paint, my plans are for a very sympathetic rolling resto involving cleaning up, getting rid of the very small amount of rust and preserving it. The first owner bathed it liberally in Waxoyl and it spent several decades mothballed, so it really is totally solid. Had a crawl over it today and can't find any rot - pictures to come at the weekend...
Look forward to meeting up with many of you at shows this year.
Colin